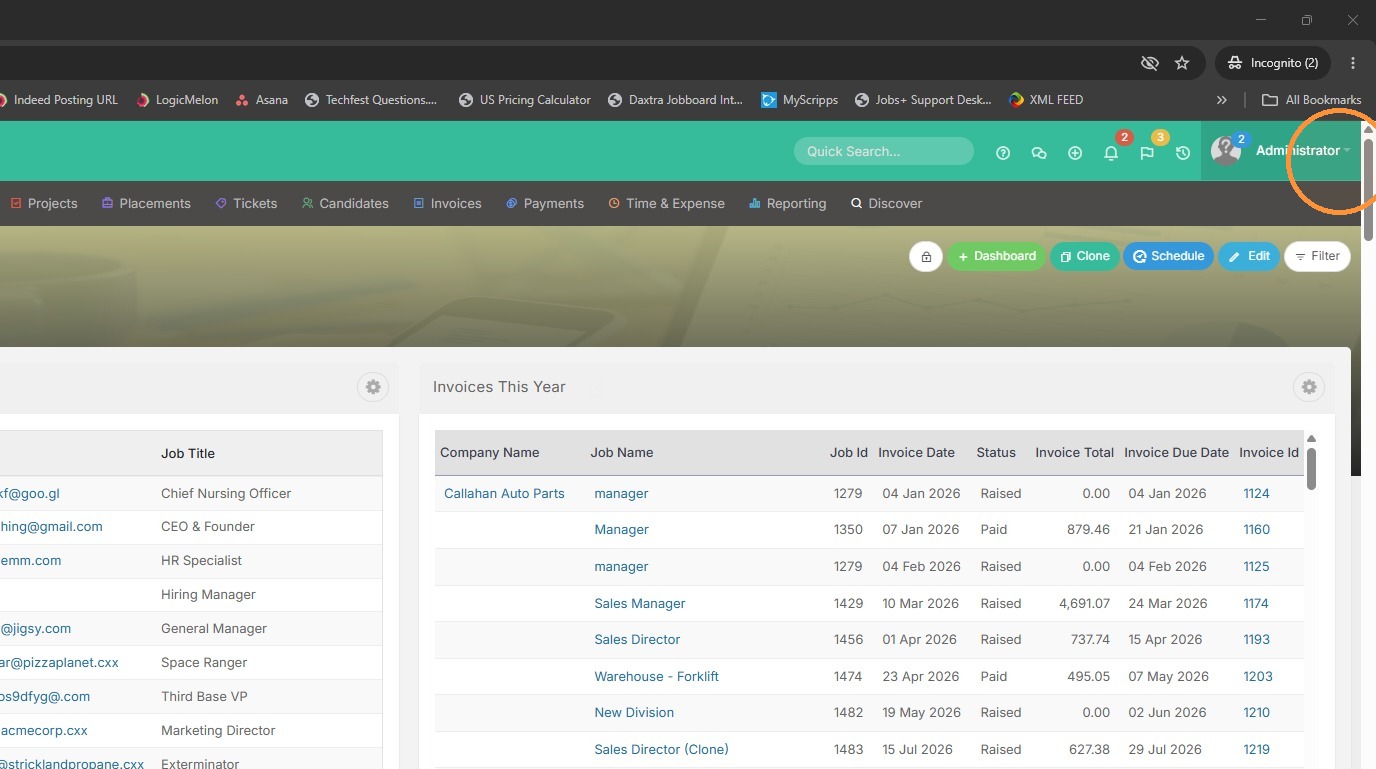
1. Click on your name to access Tools & Settings.
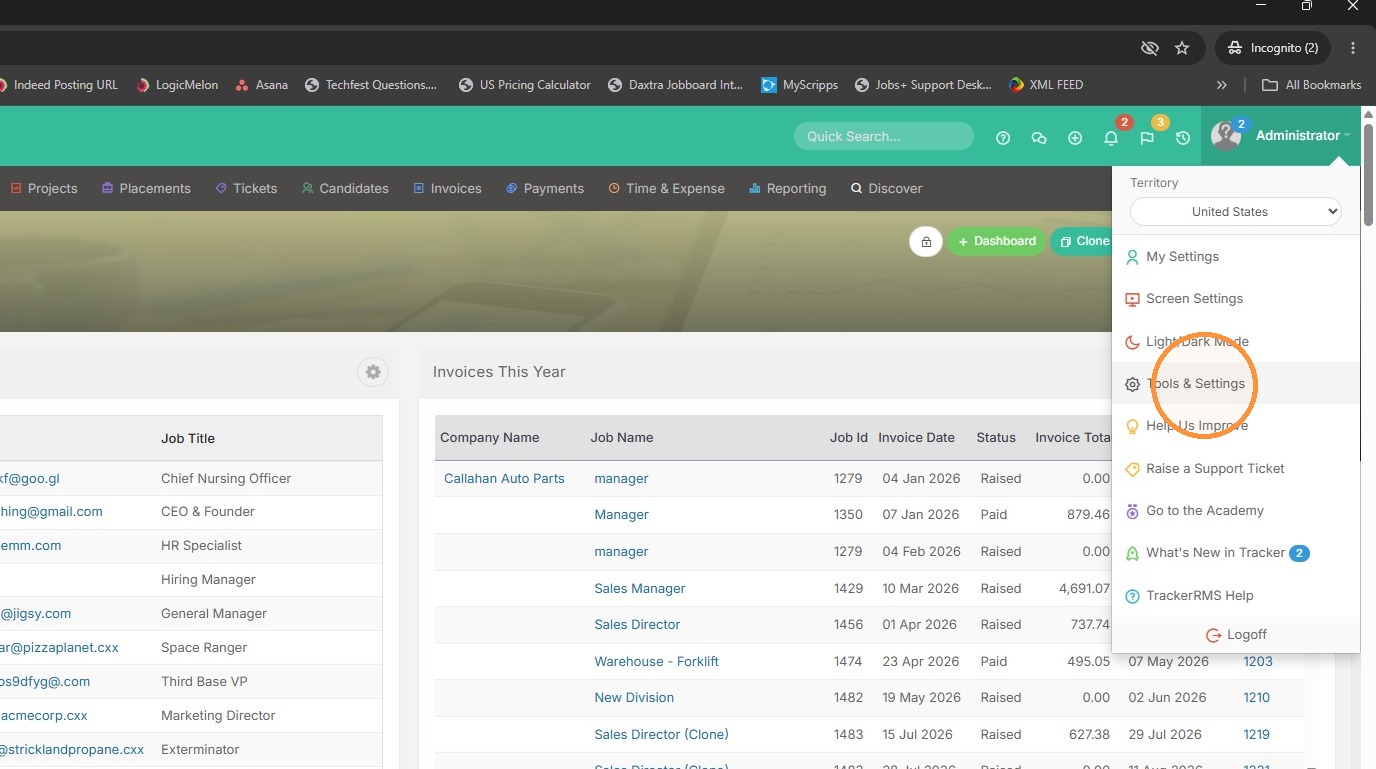
2. Click Tools & Settings
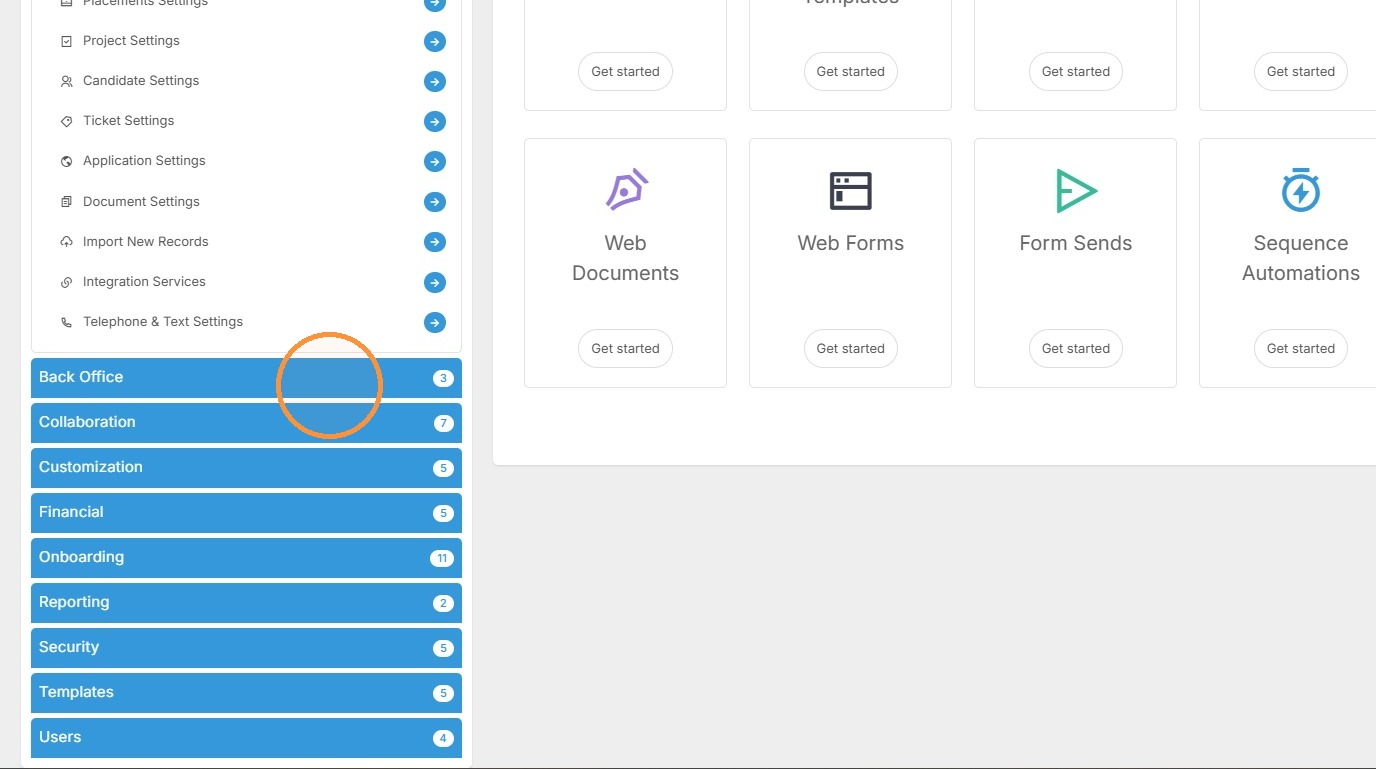
Settings Navigation
3. Click Back Office
4. Click Time & Expense Settings
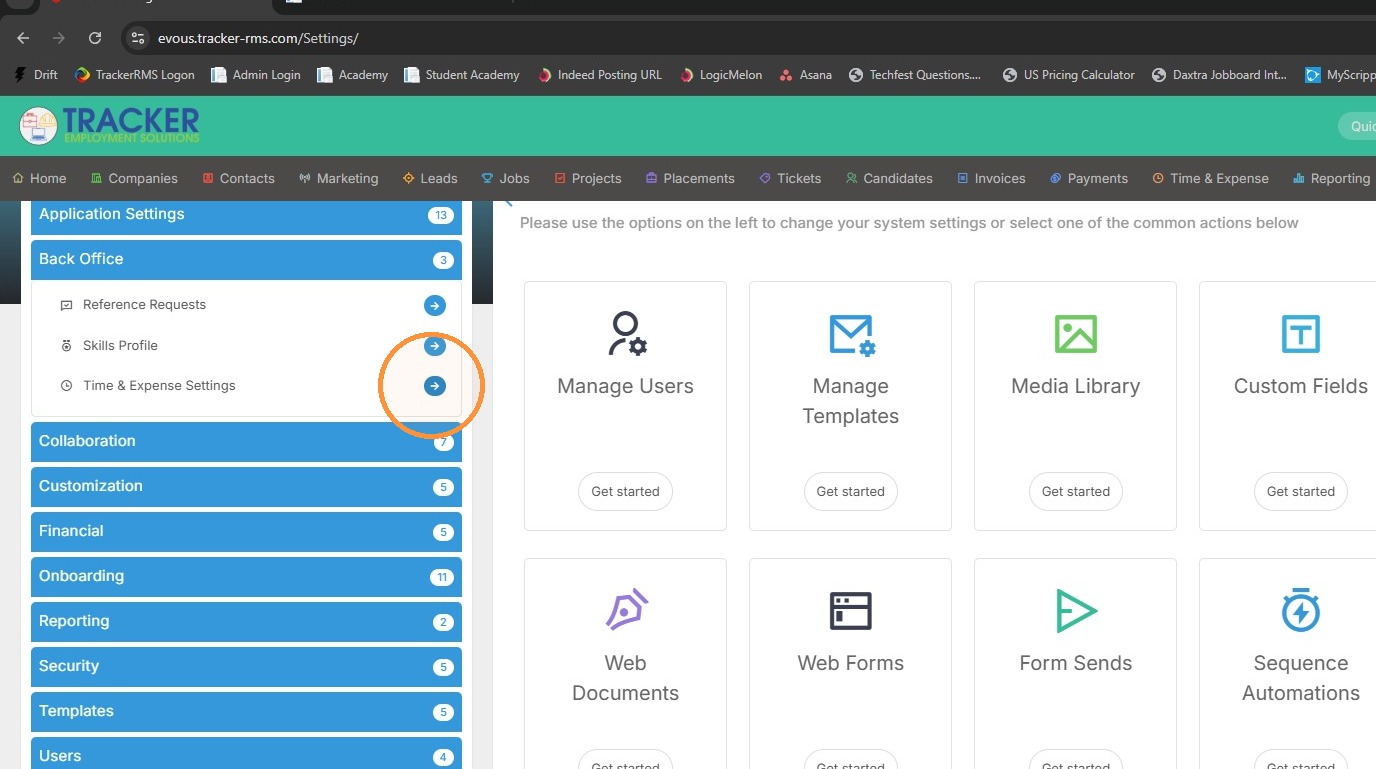
5. At the top of the Timesheet & Expense Settings page you will see the Default Settings.
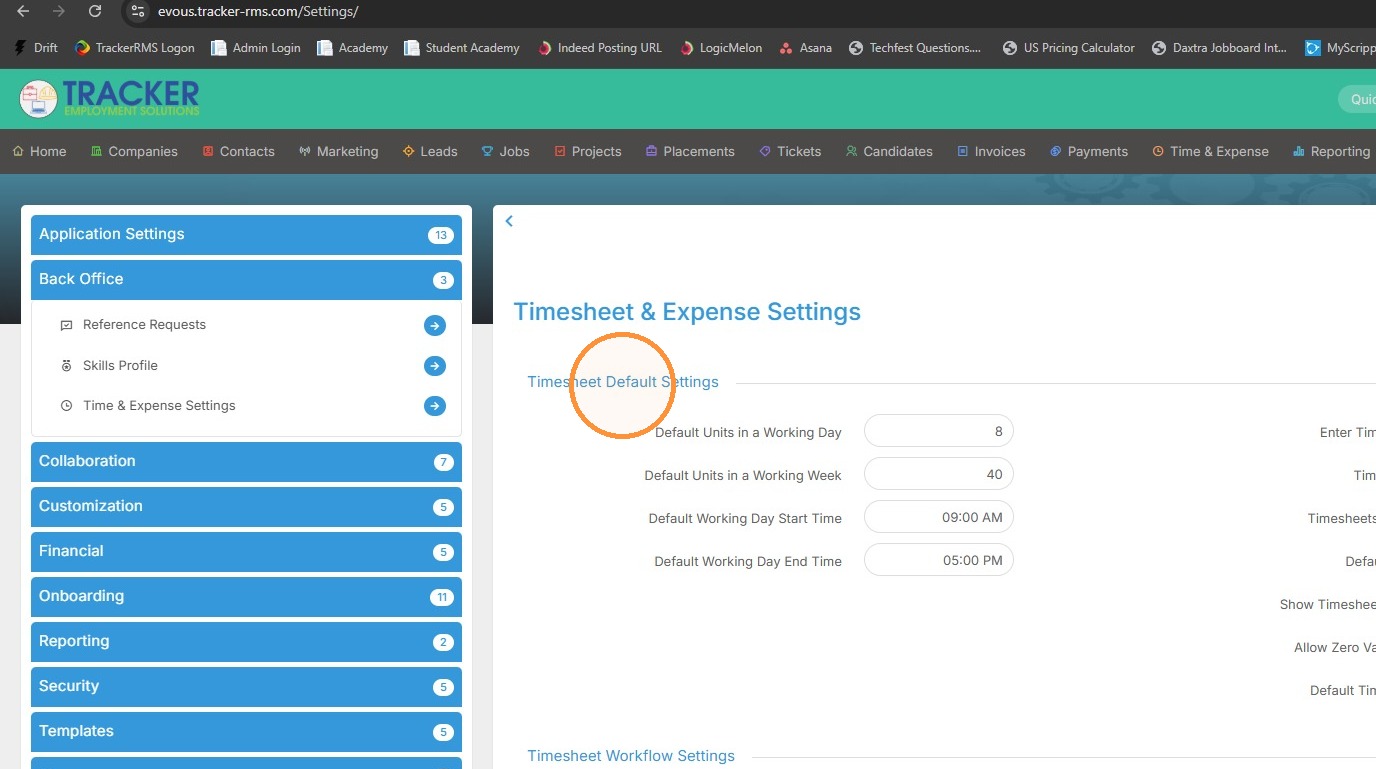
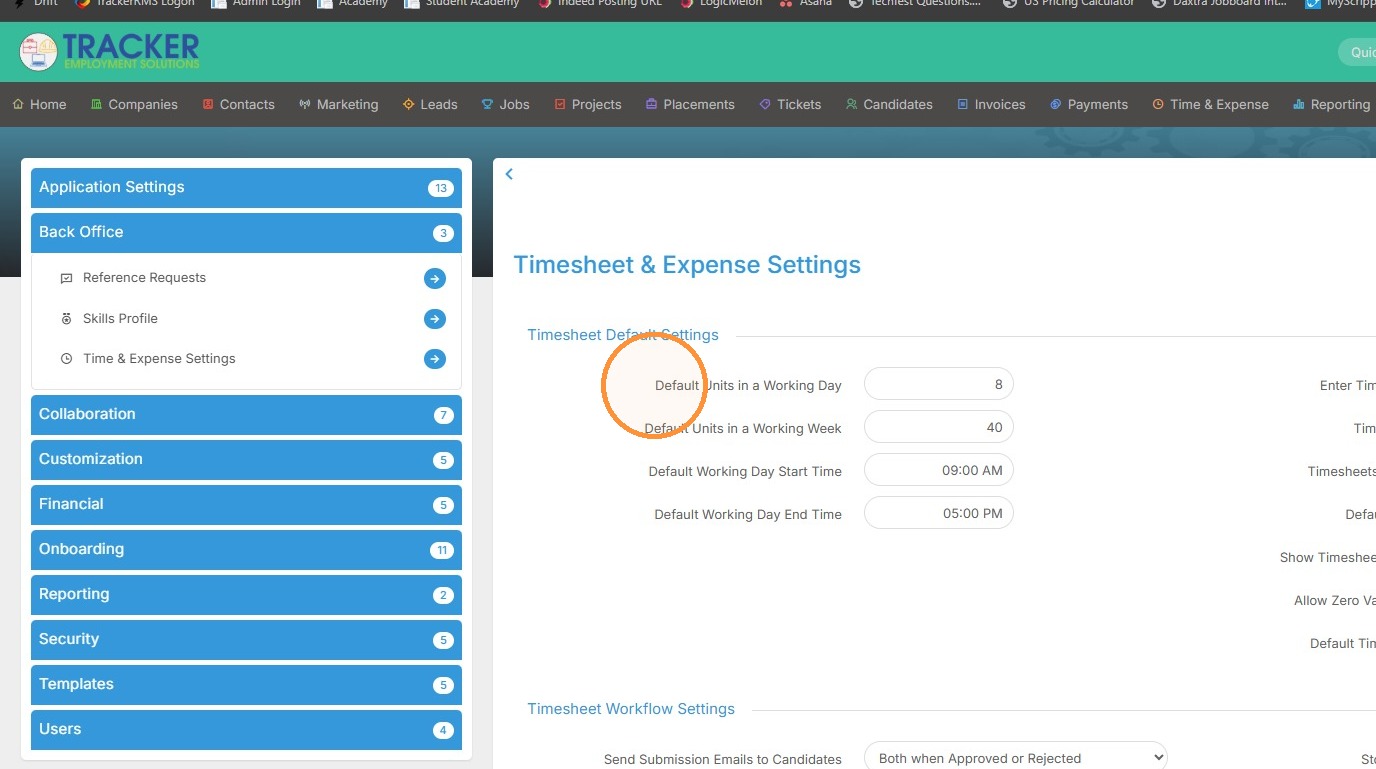
6. The first item here allows you to determine the default hours in a working day. Keep in mind, you can individually change this on a placement record if needed.
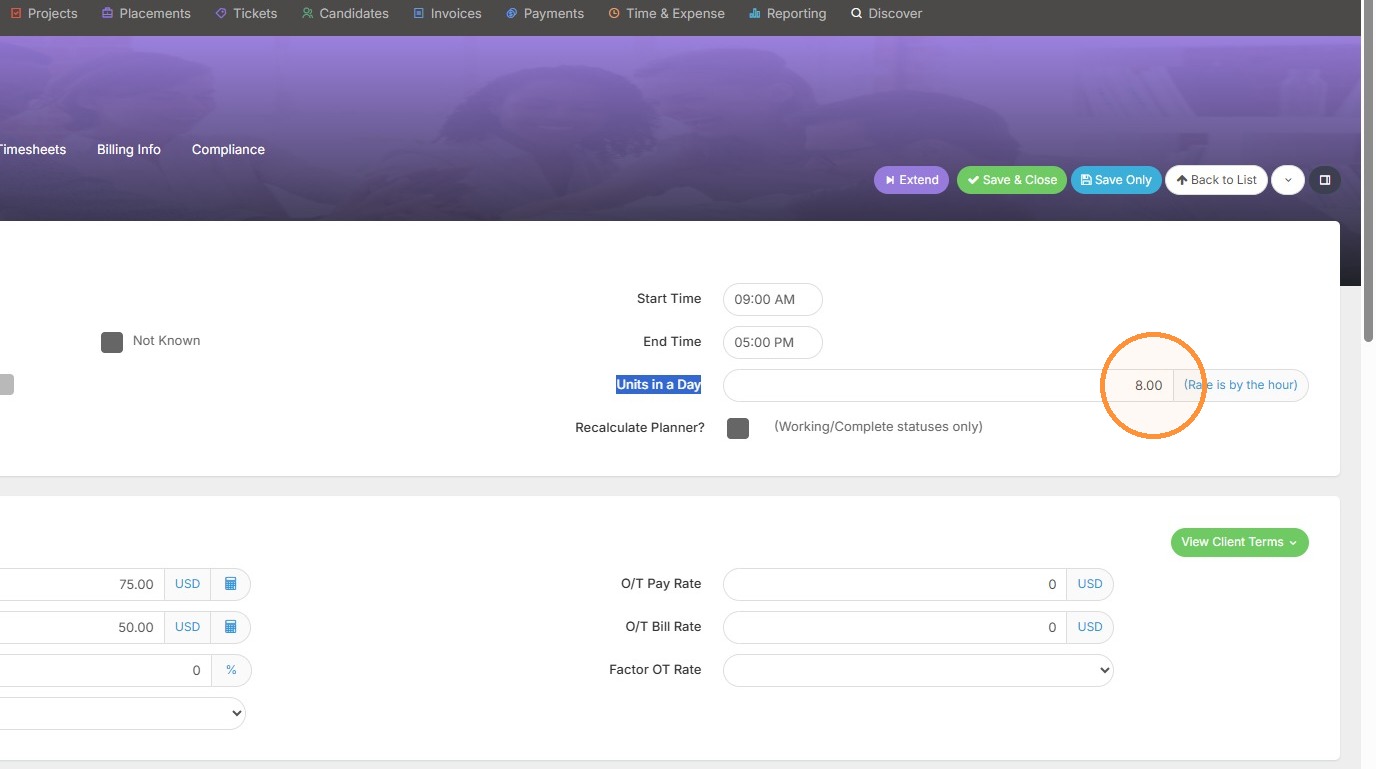
Placement Review
7. For example, in Drake Mayes placement tab you will see the default number of hours is set to 8. But if Drake had a unique circumstance, we could edit this without affecting any other placements.
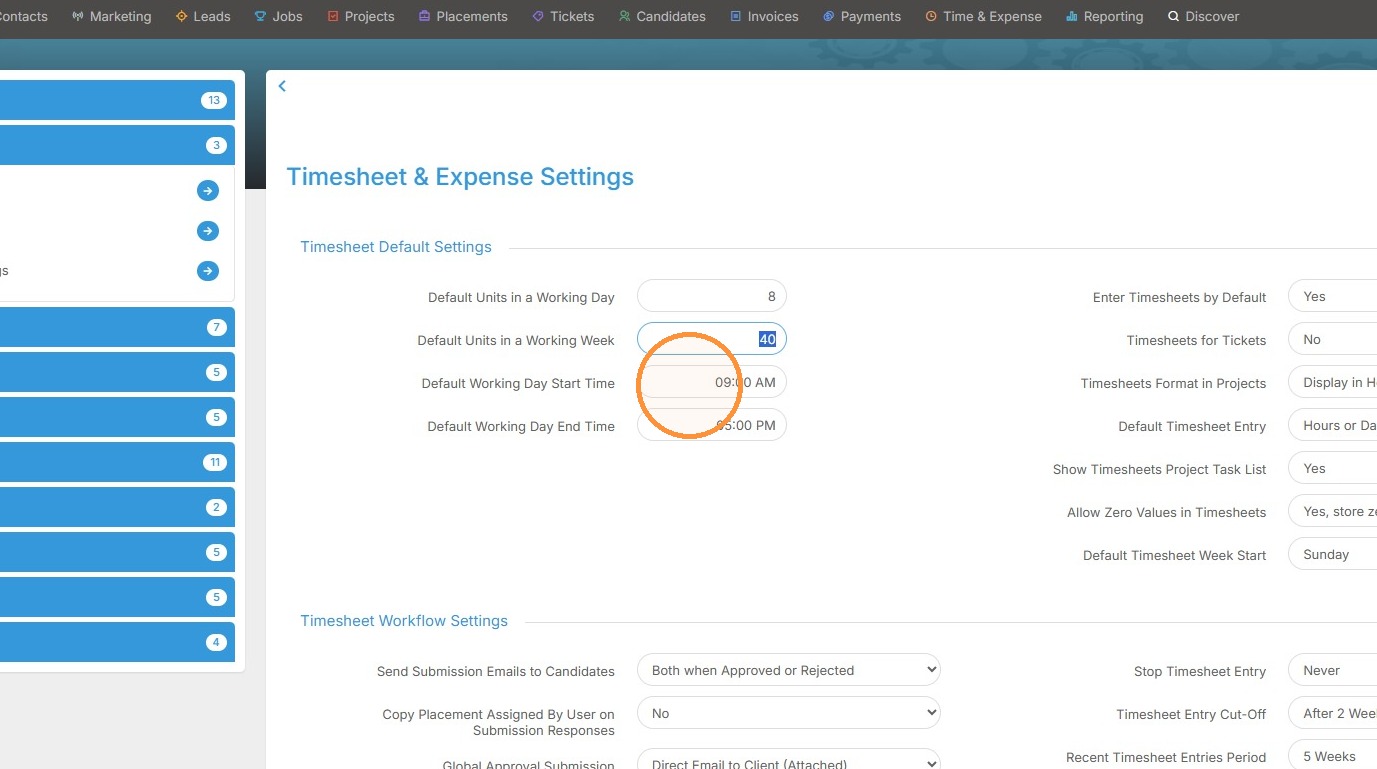
8. Back to the default settings, we can also adjust the number of hours in a work week.
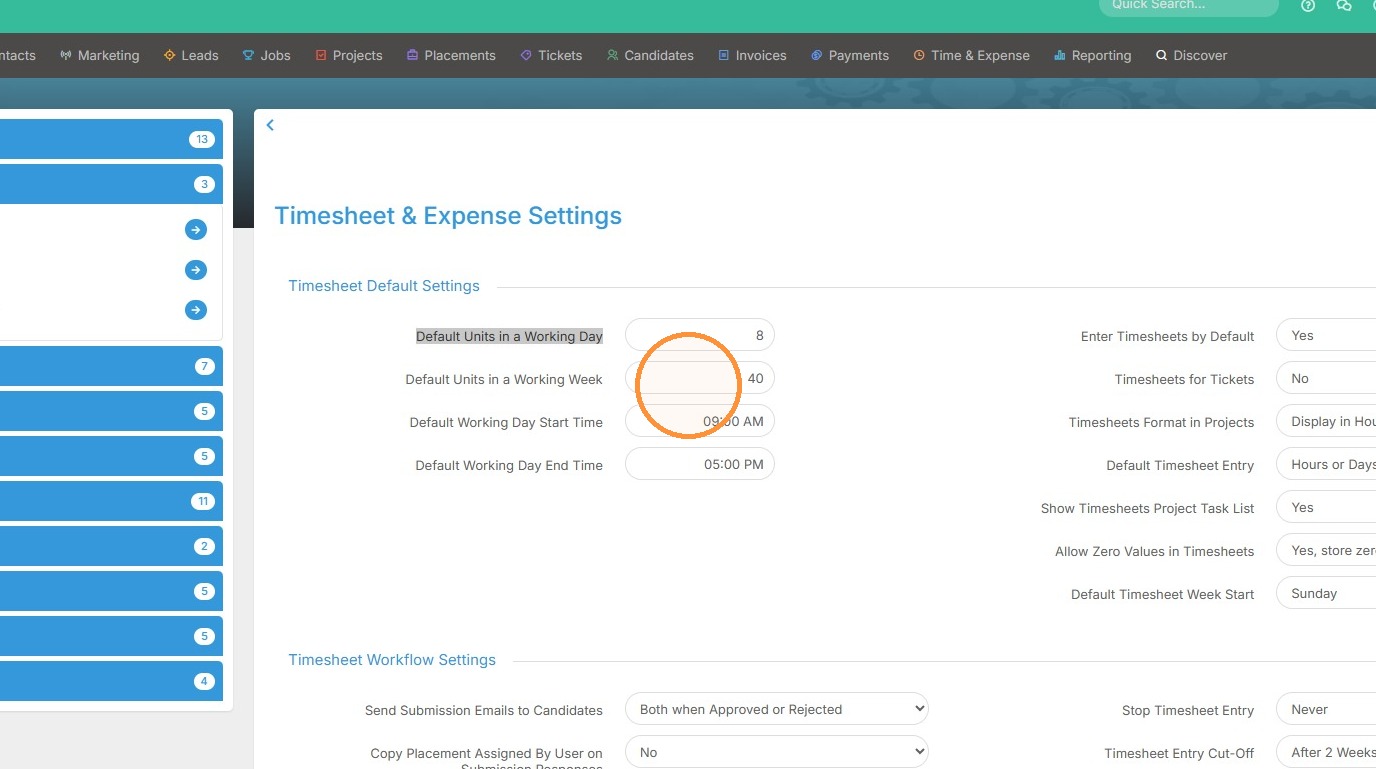
9. Next you can also set the default work day start time, and end time.
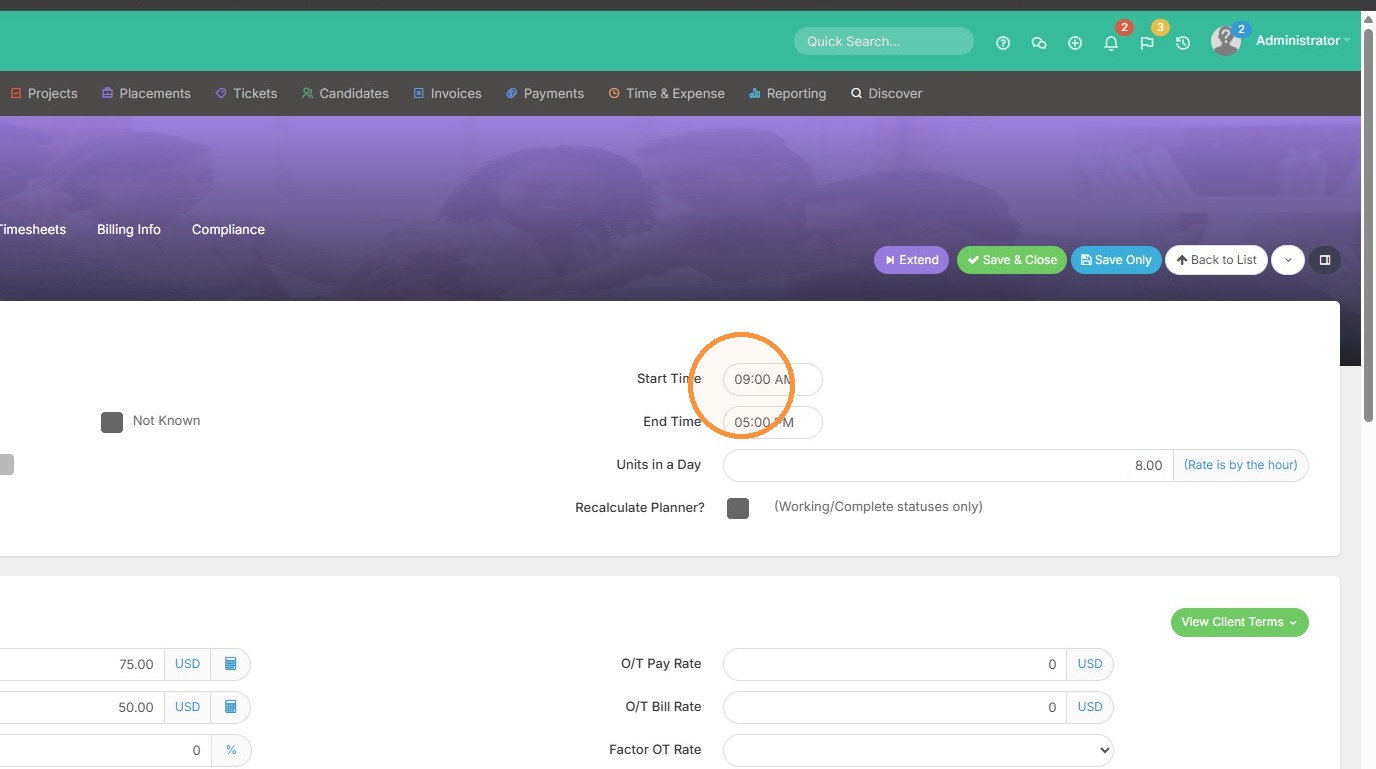
10. For example, in this placement you can see the default start time and end time matches our settings.
Timesheet Configuration
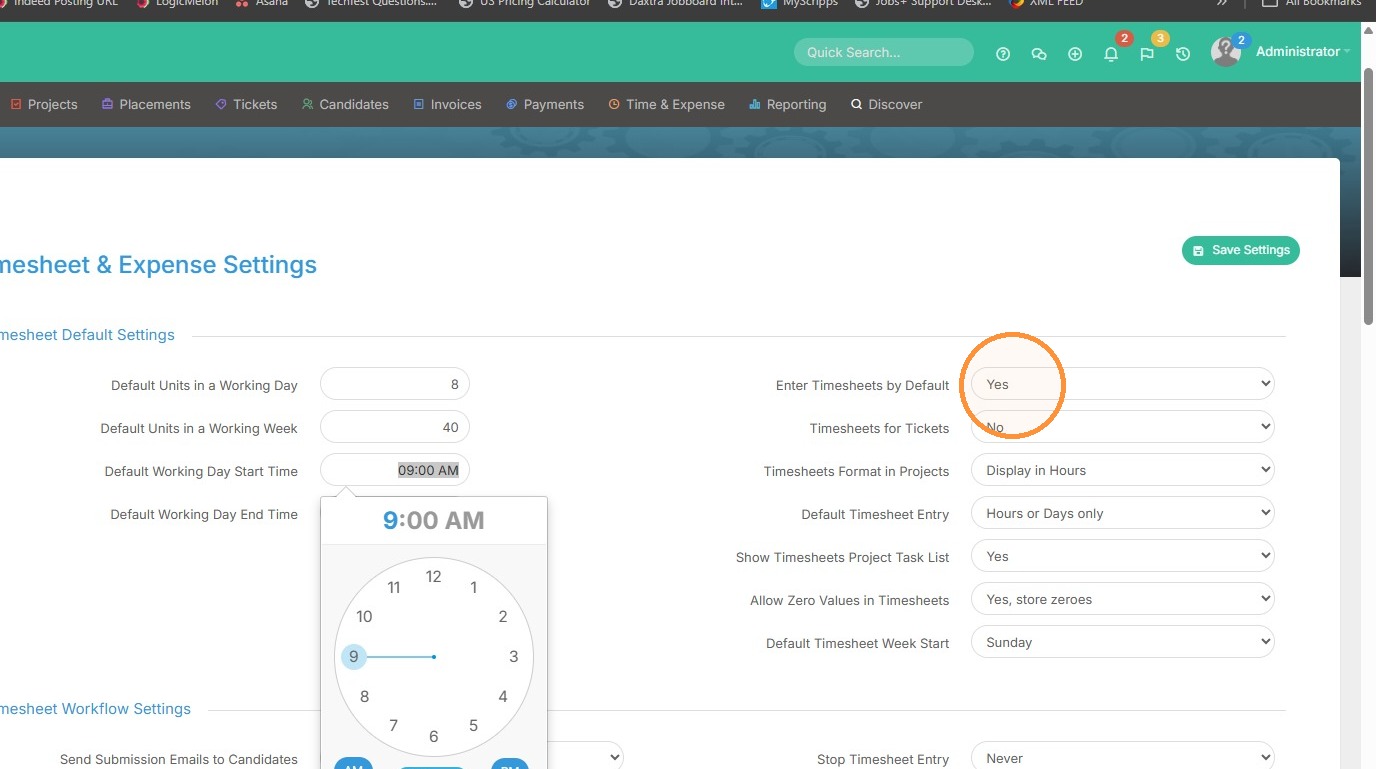
11. Next we have the "Enter Timesheets by Default" yes or no option. This determines whether placements have access to enter time into the timesheets portal. If you always want to set this to Yes, this would be the place. Keep in mind - they can't access those timesheets until you give them their username and password.
Placement Timesheets
12. In the placement record, you can check this setting under Timesheets.
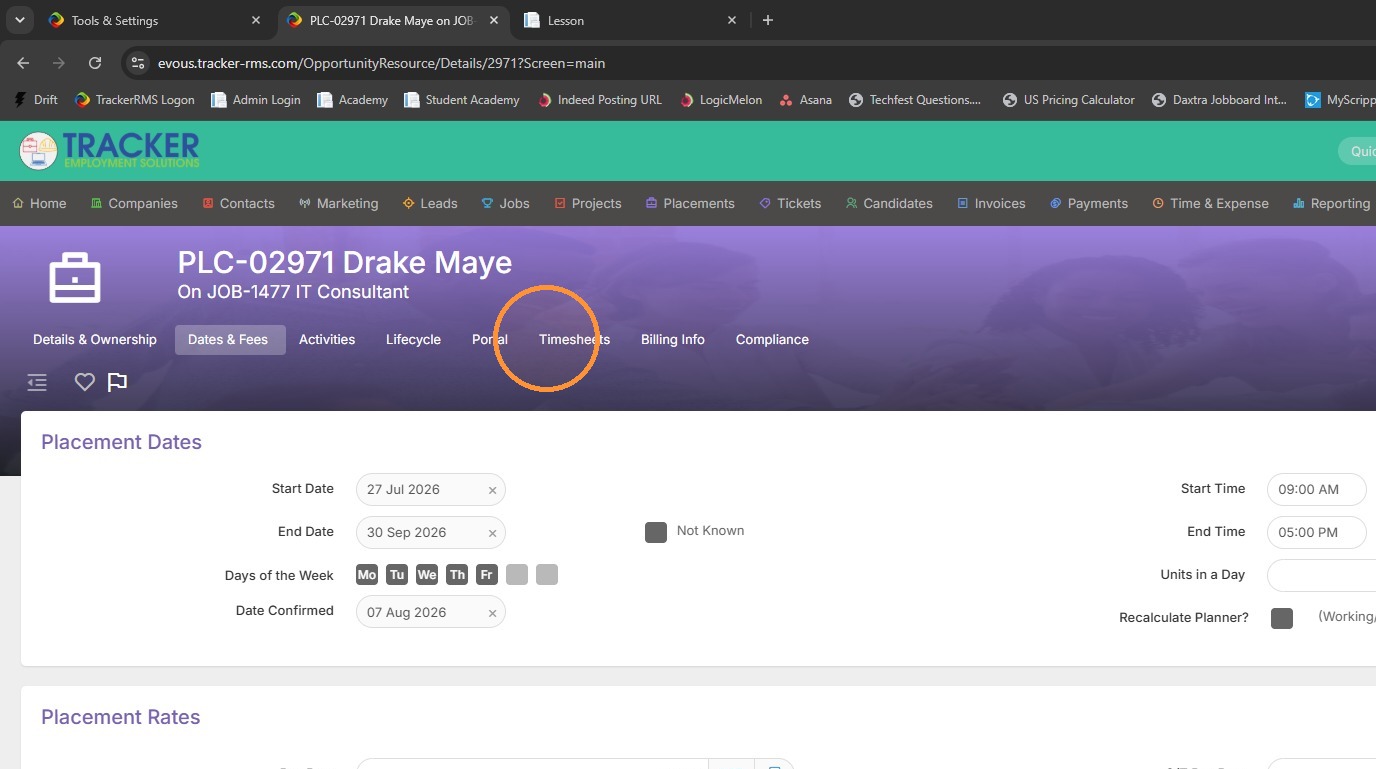
13. Here you can see Drake has his timesheets set to Yes, so he can log time through his portal.
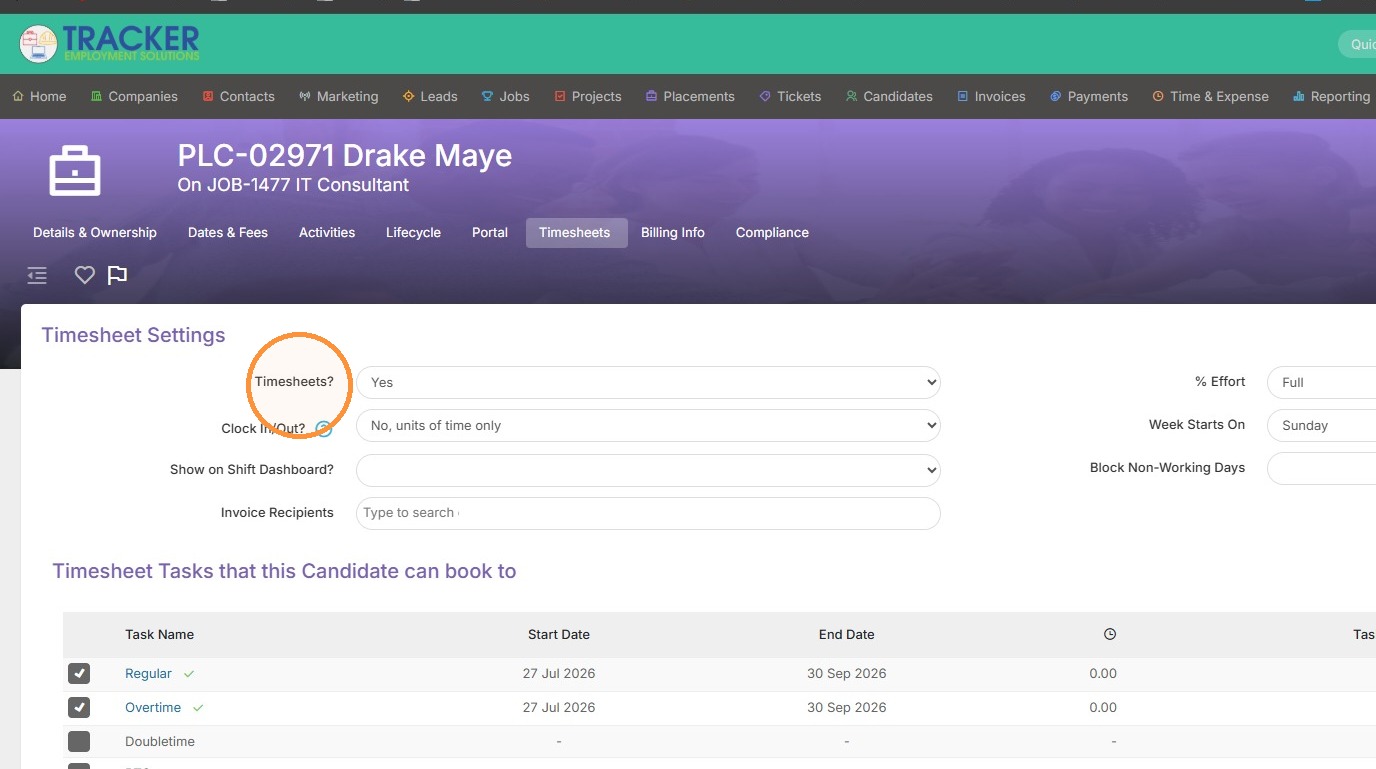
14. The Timesheets for Tickets option is if you use your own ticketing system and would like to allow your candidates access to log tickets with you directly.
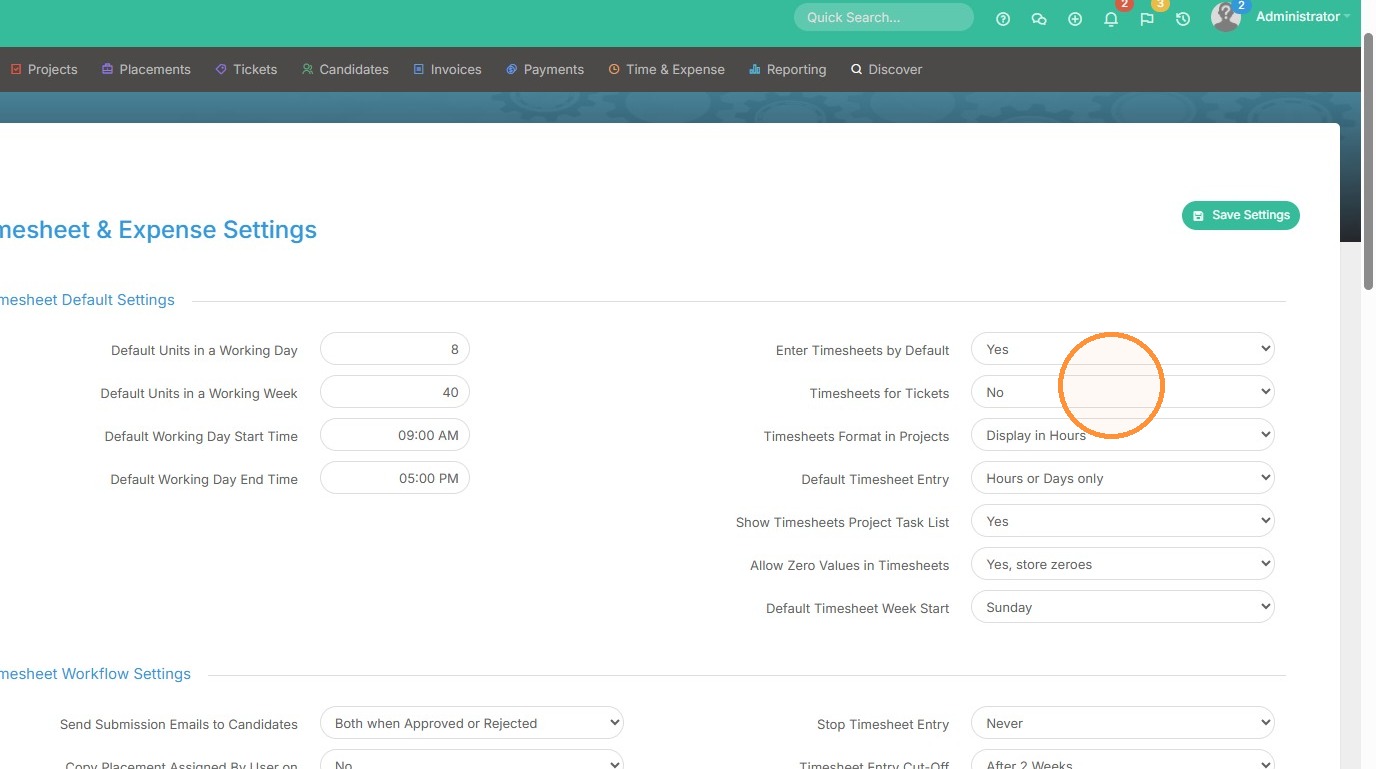
15. The timesheets format in projects allows you to select whether they're shown in hours or days.
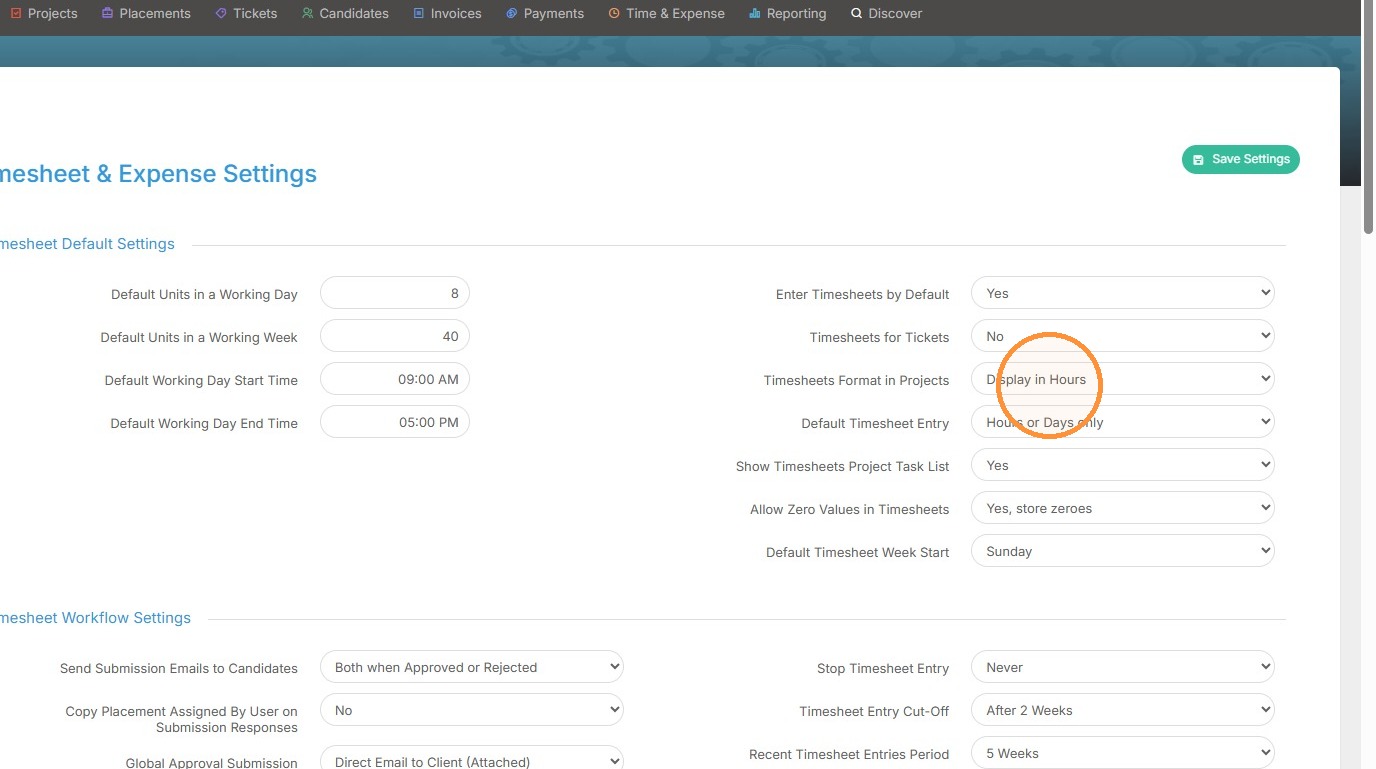
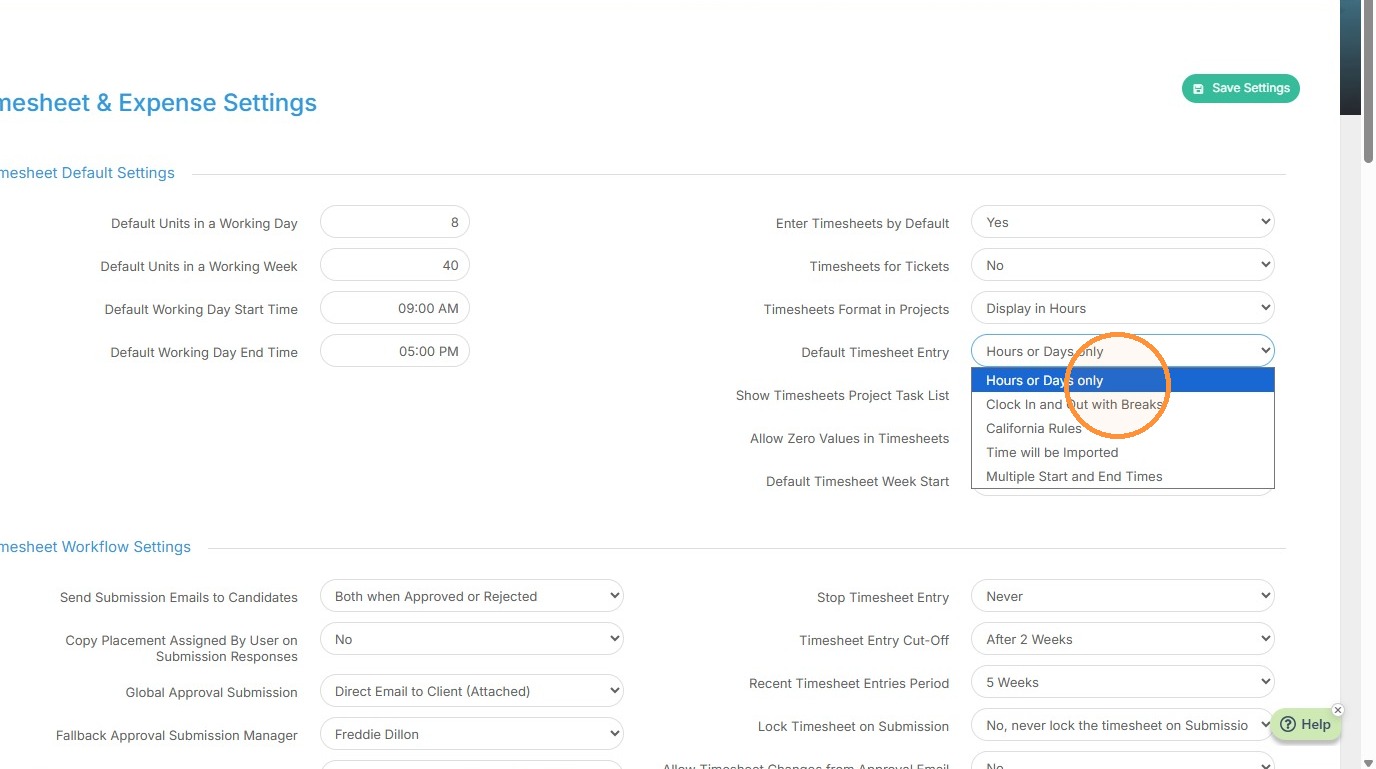
16. The default timesheet entry has a few different options. Hours or days only (where the candidate enters the number they worked), clock in/out where they select a specific time, california rules, imported time if you use a vendor management system, and multiple start and end times.
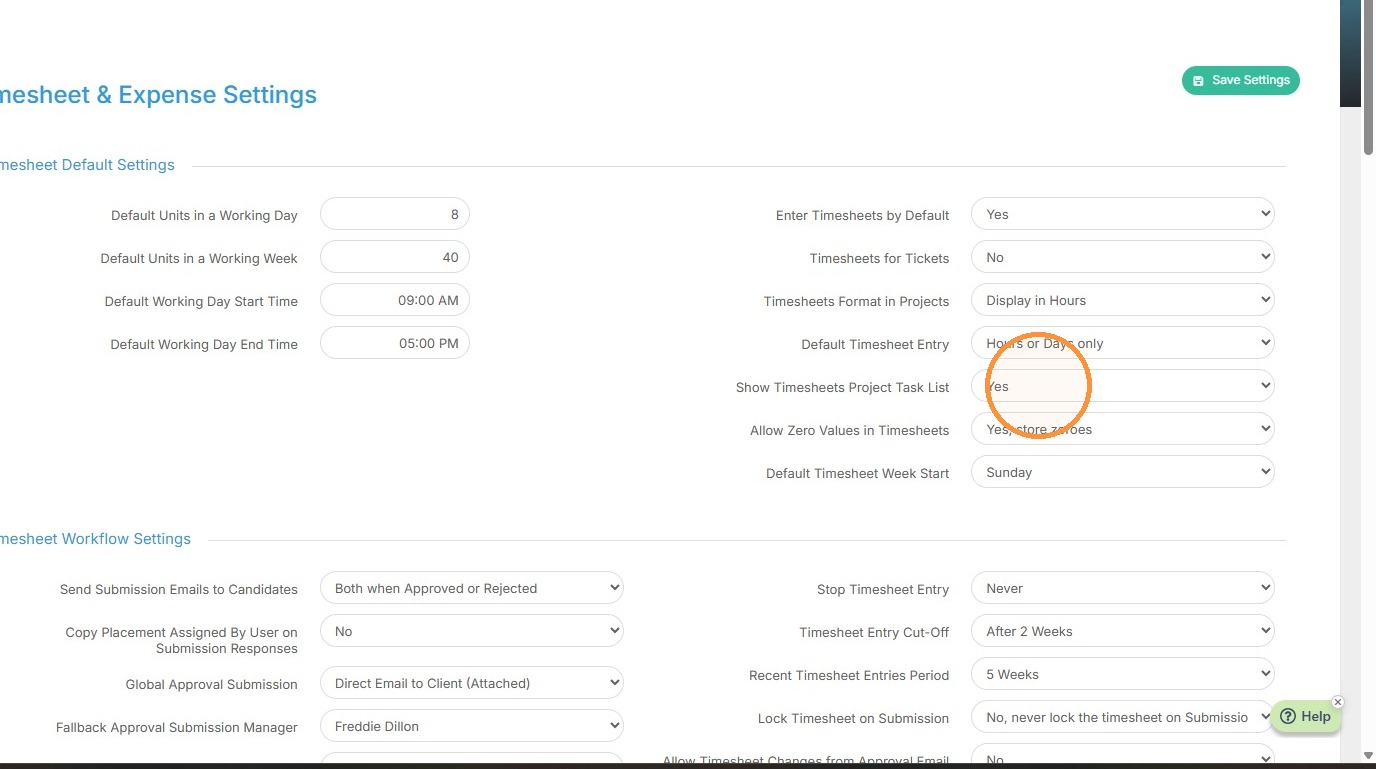
17. The project task list will display if you pick Yes here.
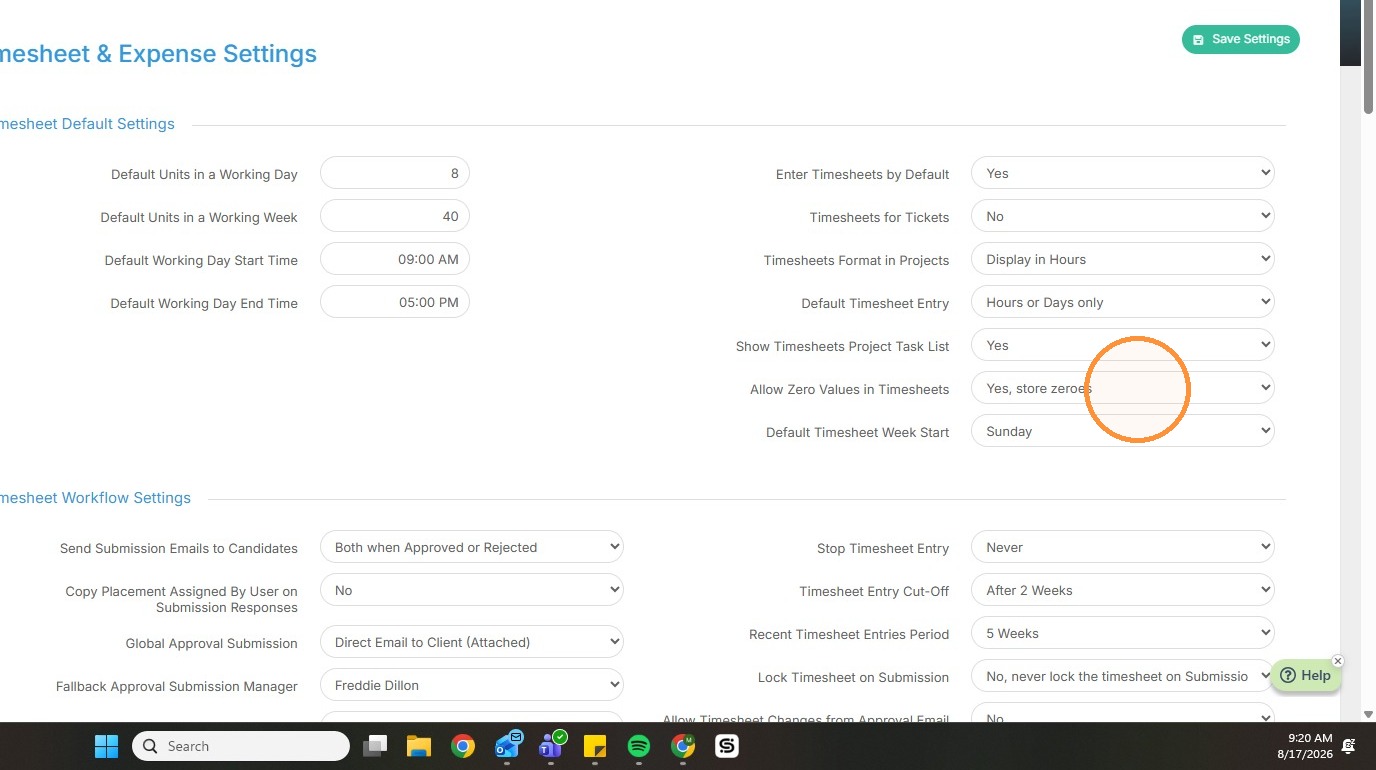
18. Allowing zero values allows a candidate to enter "0" if there was a day they didn't work. If you select "No" it will display as a blank day on their timesheet instead of "0".
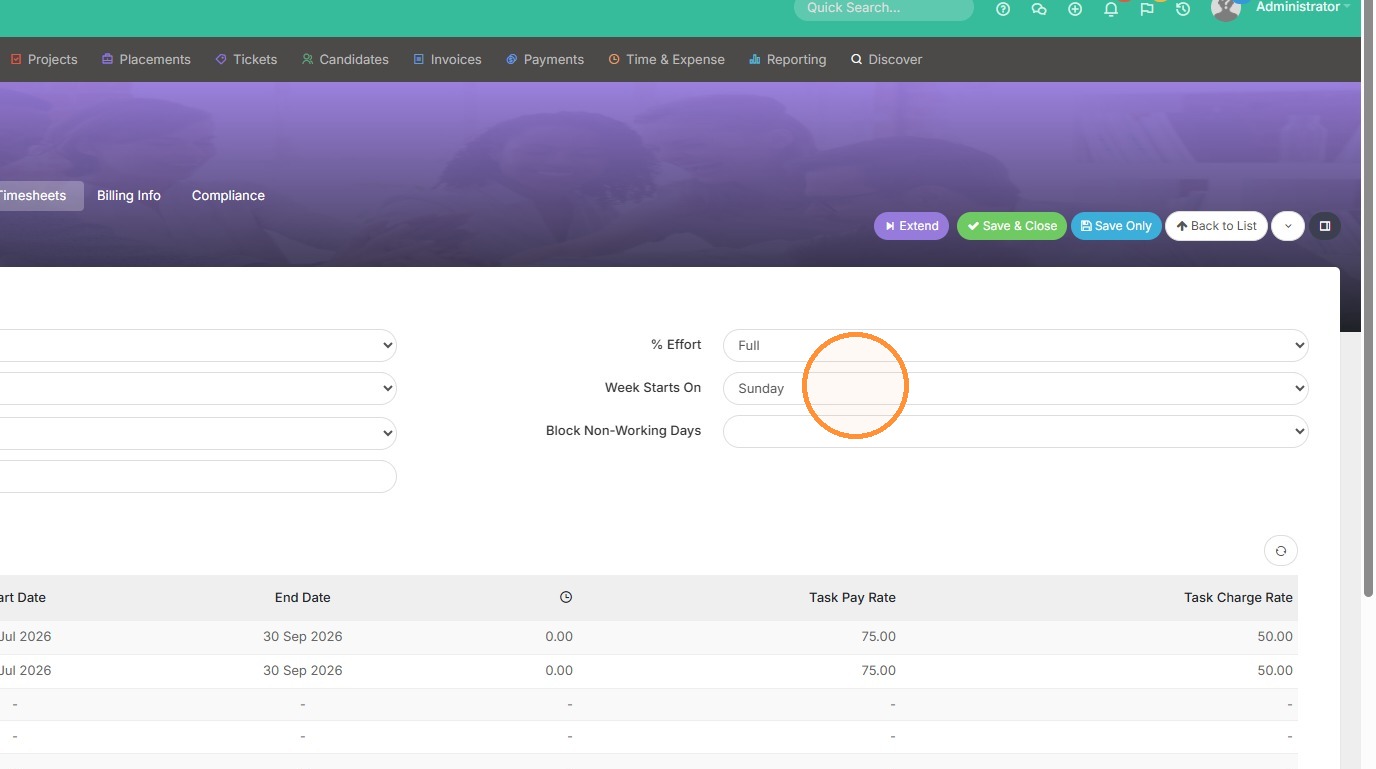
19. This setting allows you to set what day a candidate's work day starts on.
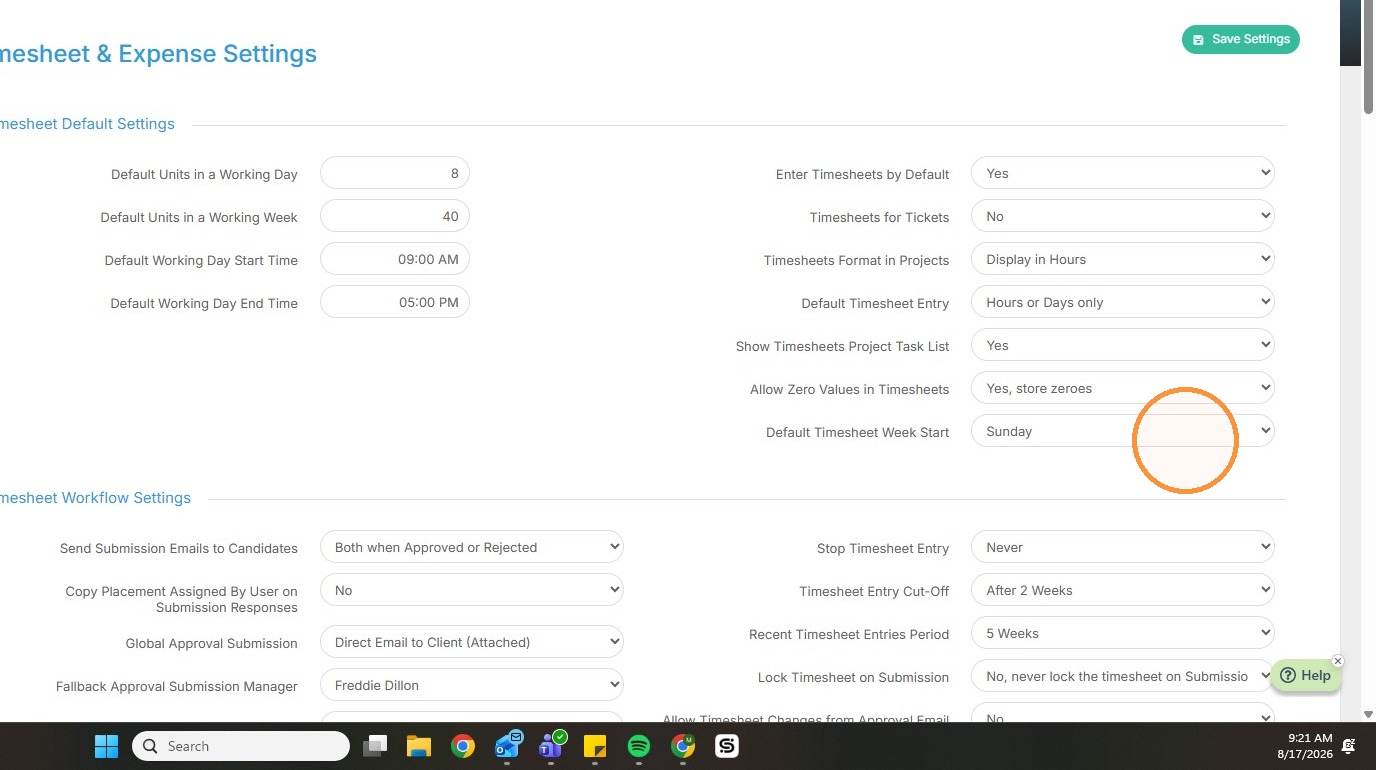
20. This can also be adjusted within the candidate's placement record individually.