Dialpad Setup
The Dialpad integration lets you dial directly from Tracker and automatically log your calls as Activities — complete with Dialpad's AI-generated call summary once the call ends.
1. The Dialpad integration lets you dial directly from Tracker and automatically log your calls as Activities — complete with Dialpad's AI-generated call summary once the call ends.
The steps below are split into two parts:
- Initial Set Up, which your database administrator will need to complete first, and then
- the Individual User Set Up, which each user completes once the admin configuration is in place.
System Set Up
2. The first step is to create an API key in your Dialpad account.
Go to the My Company dropdown and select your Company name here, in this example I've selected Tracker RMS.

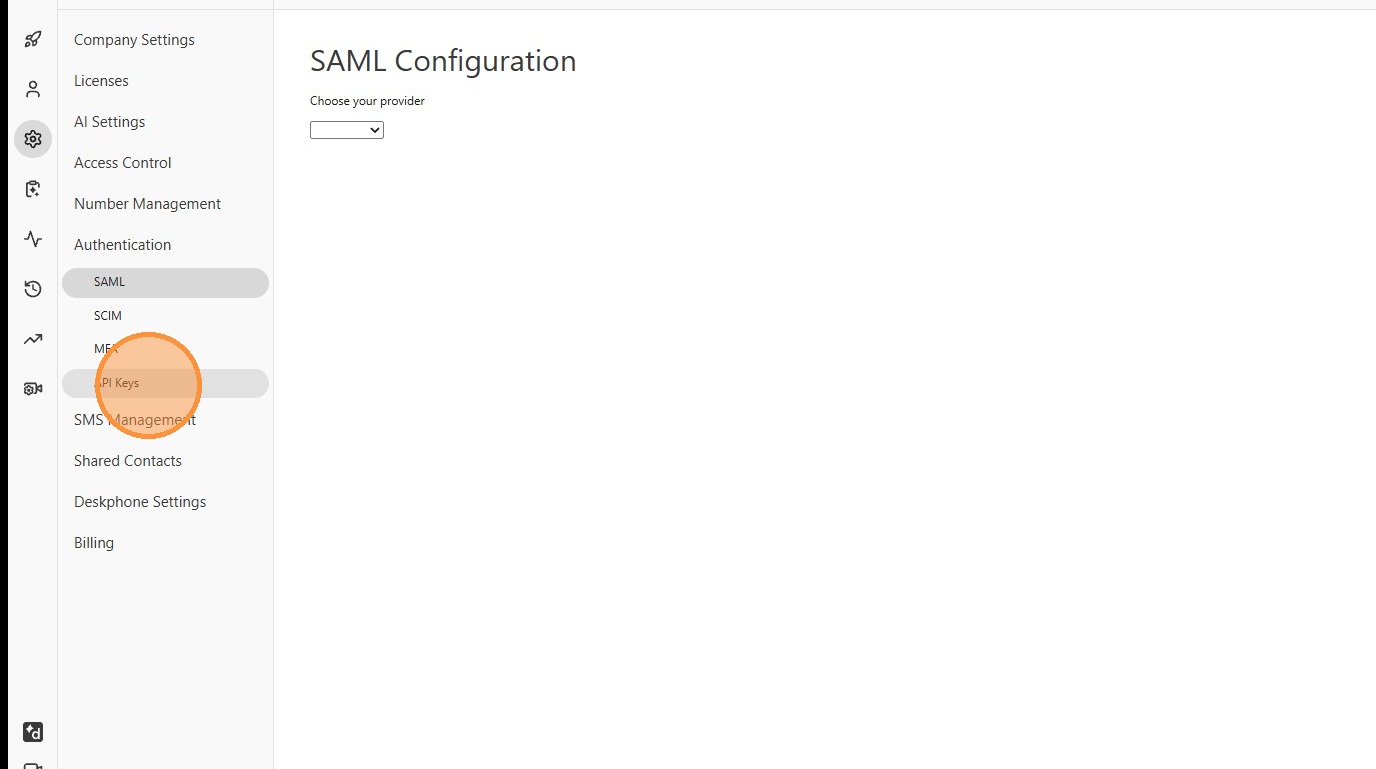
3. Next, in the menu click to expand the "Authentication" options.

4. Here, click on "API Keys".
5. This is where you'll see the option to create a new API key, click "Add key".

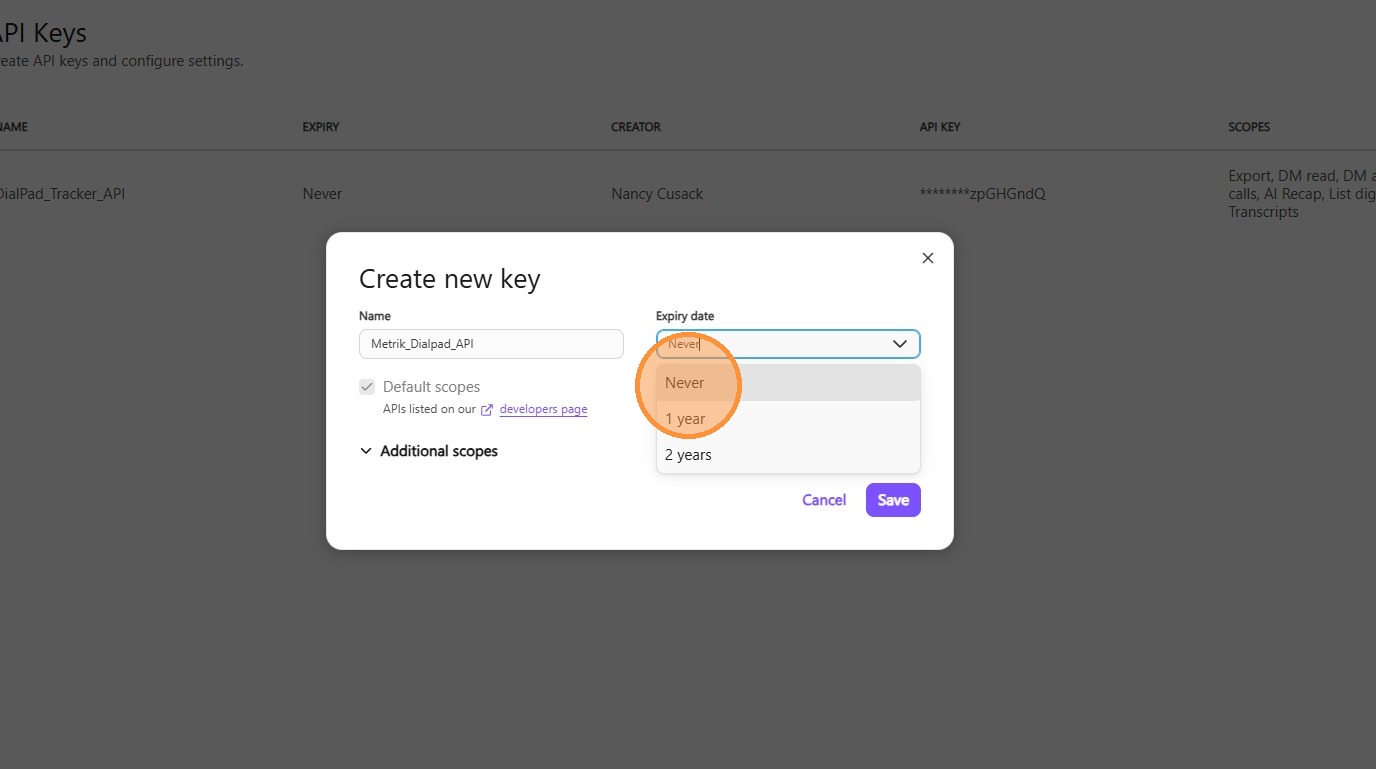
6. Create a Name for your API Key.
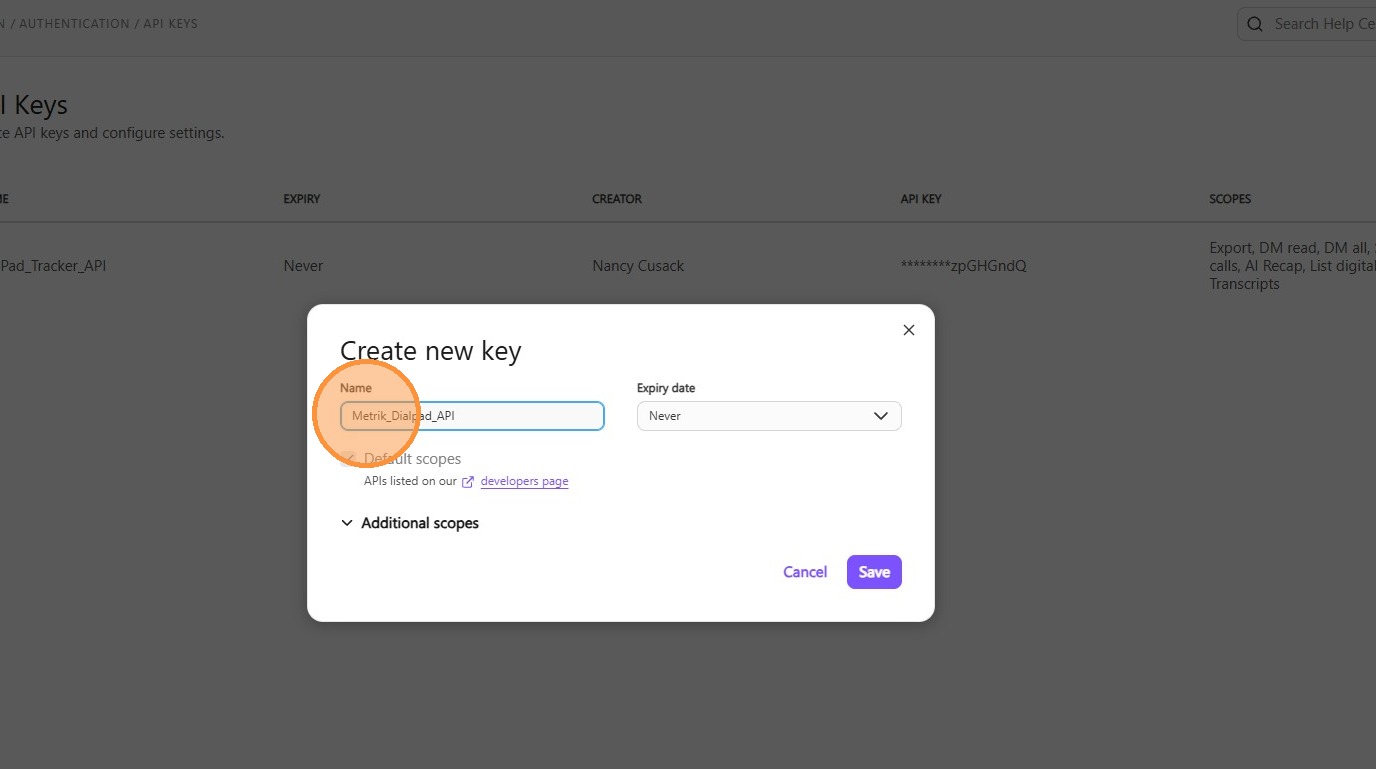
7. Under Expiry Date choose "Never".
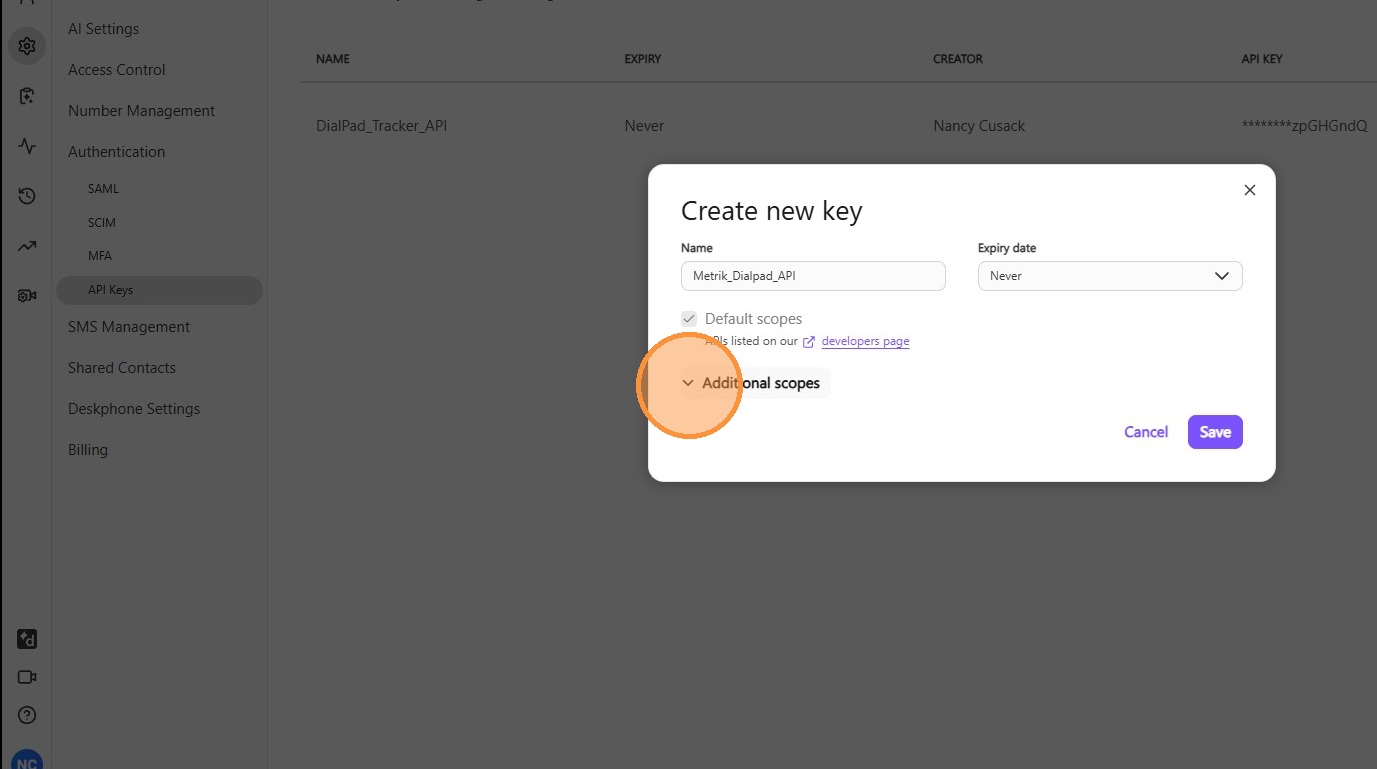
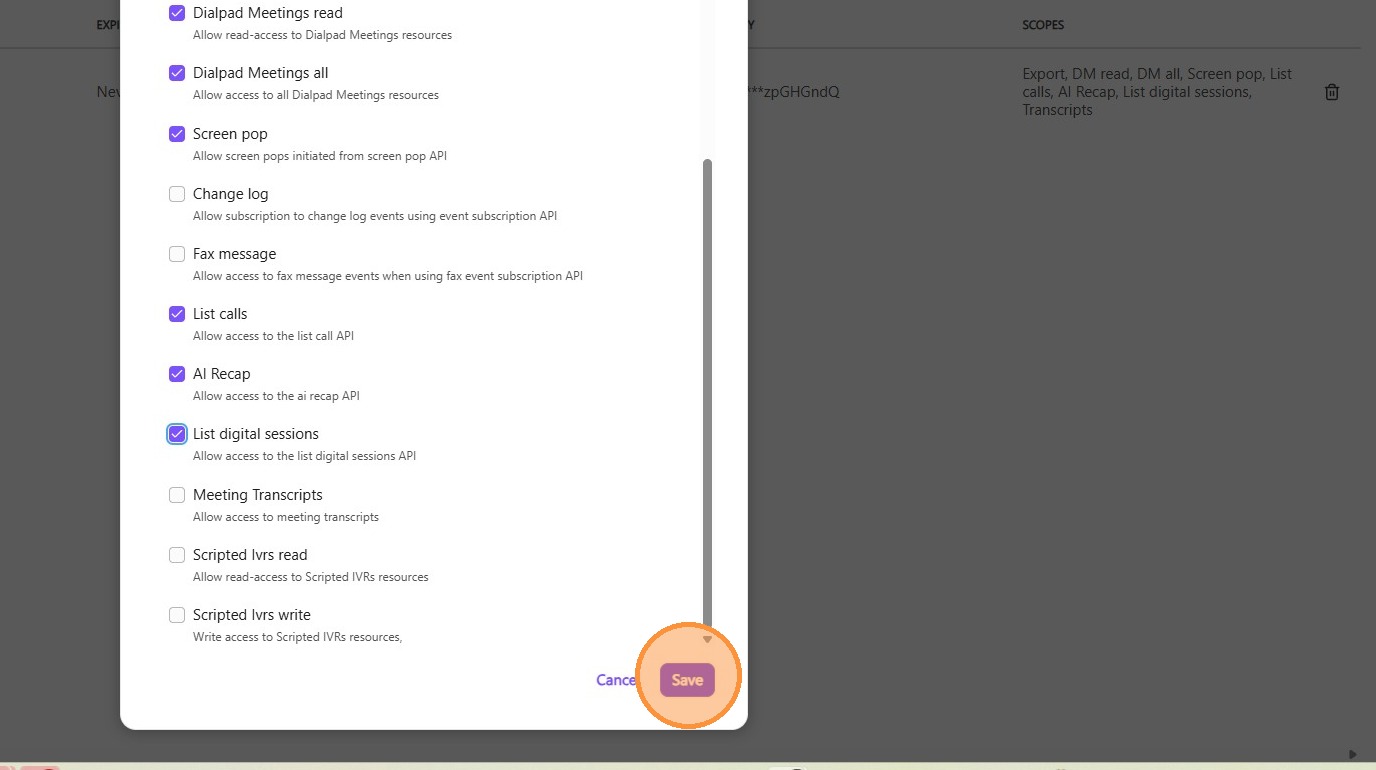
8. Expand out the "Additional Scopes" options. You will need to tick the following options.
9. Message Content Export.
10. Dialpad Meetings read.
11. Dialpad Meetings all
12. Screen pop
13. List calls
14. AI Recap
15. List digital sessions
16. Once they are all ticked, click "Save".
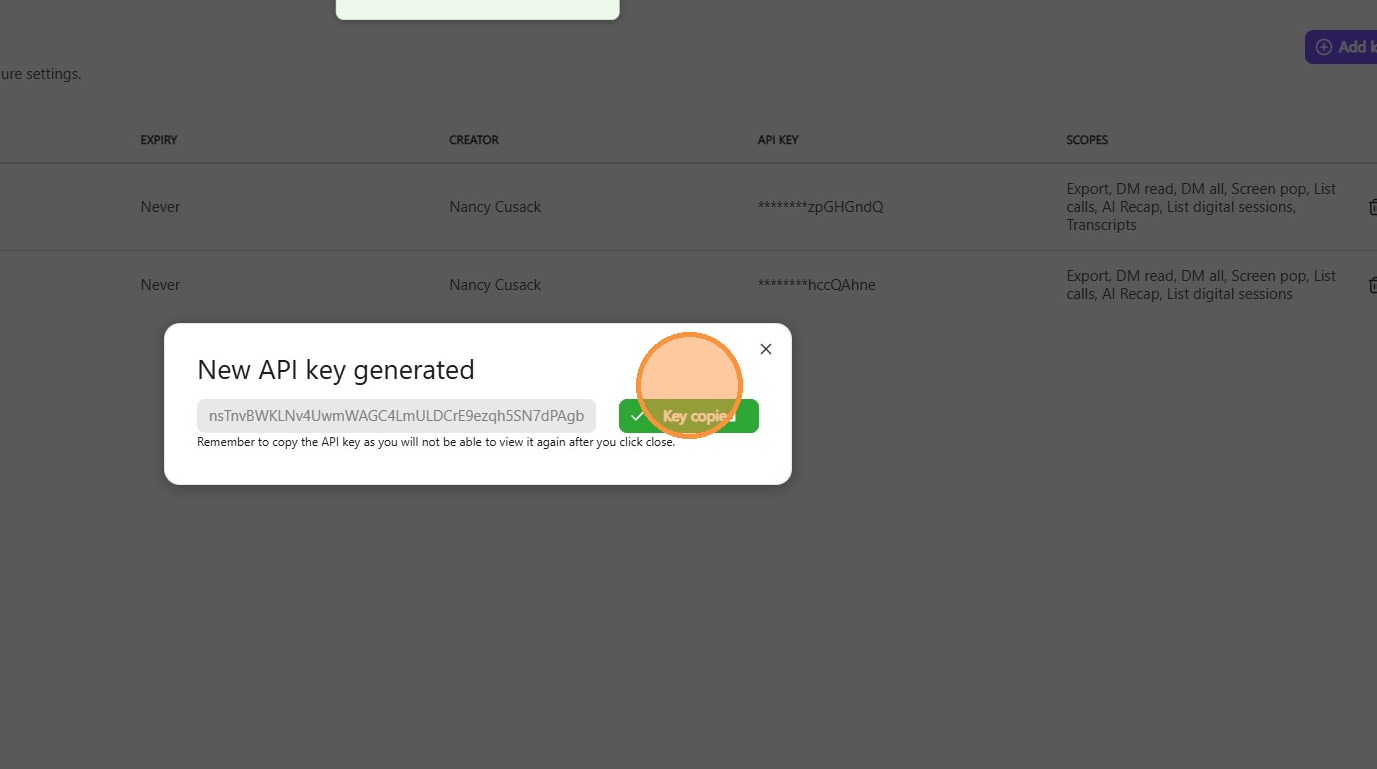
17. Copy the key to your clipboard, you will not be able to access it again. (you may want to paste in a safe place).
Next we'll move on to the Tracker settings.
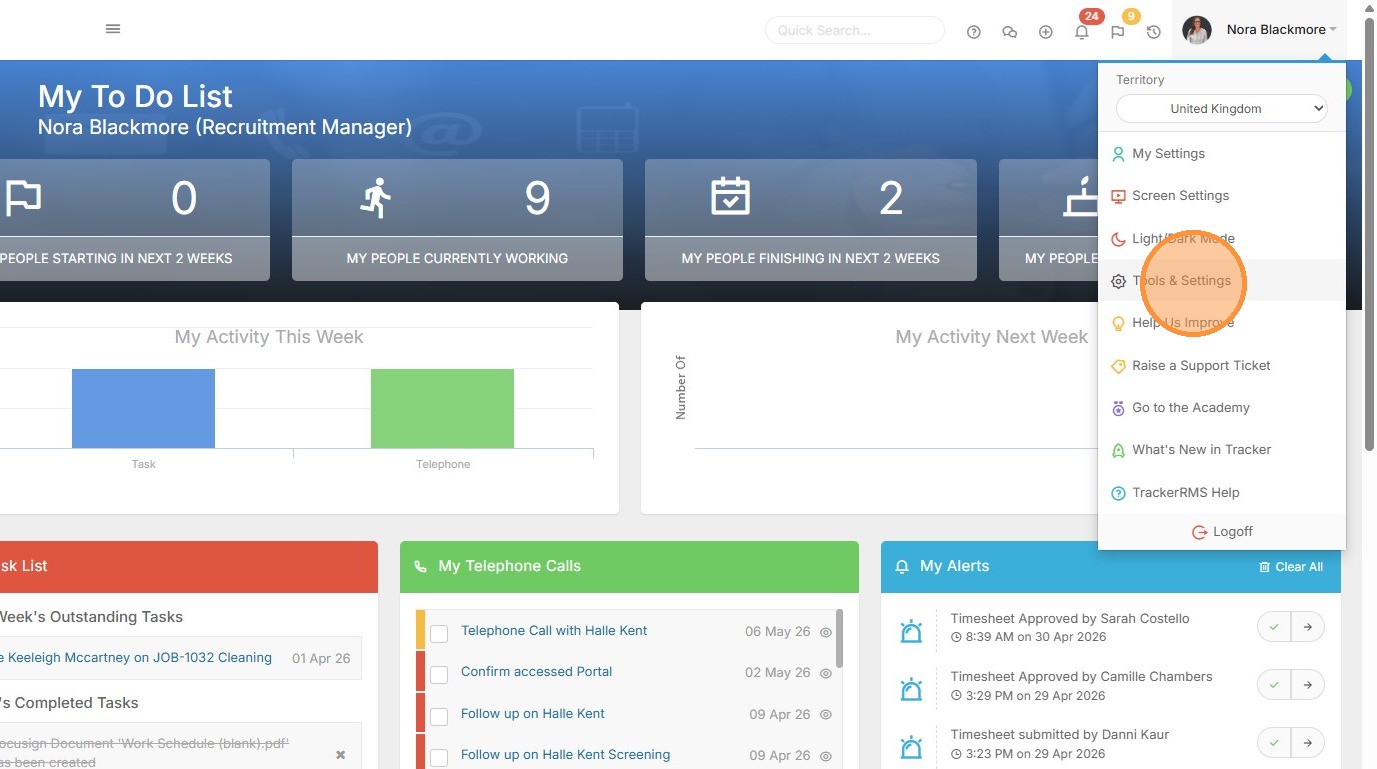
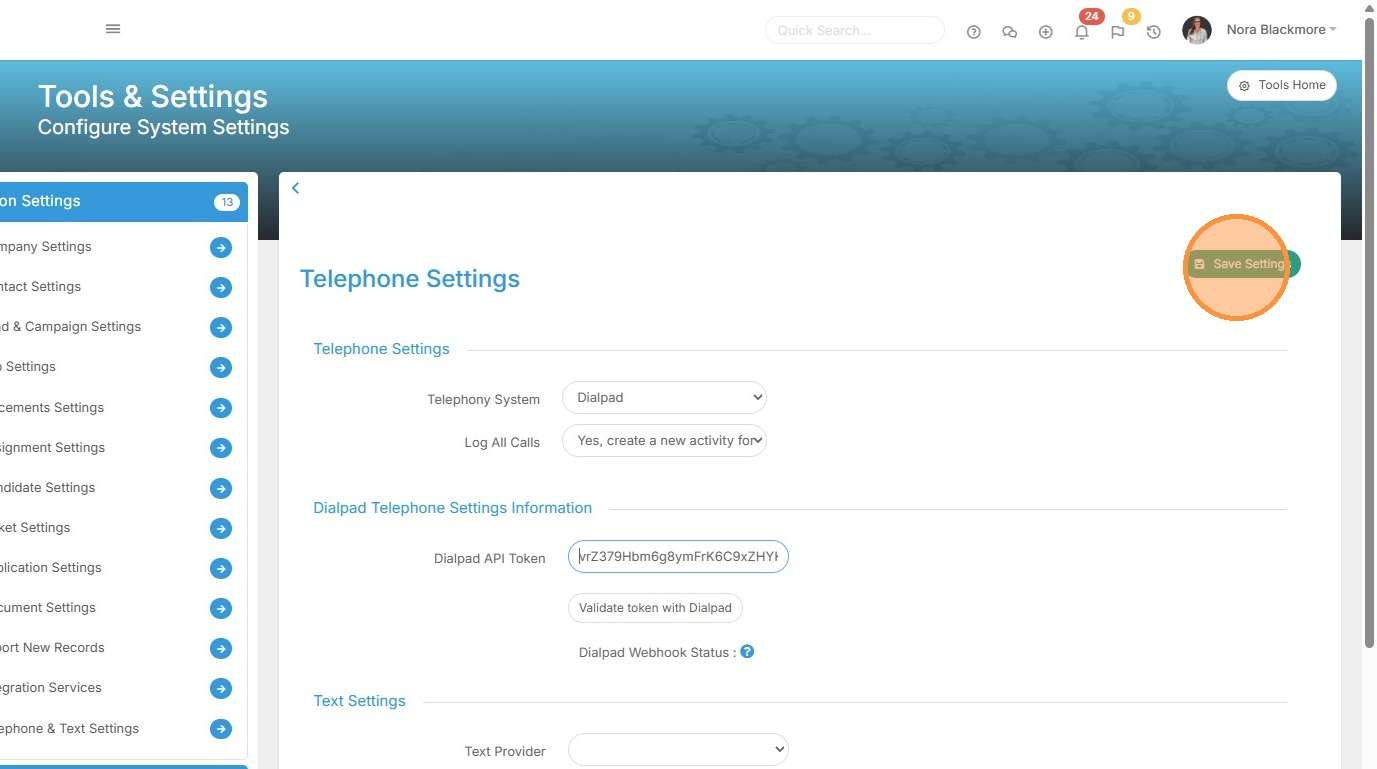
18. The first part of the Tracker settings required are via Tools & Settings, accessed from the Profile Menu.
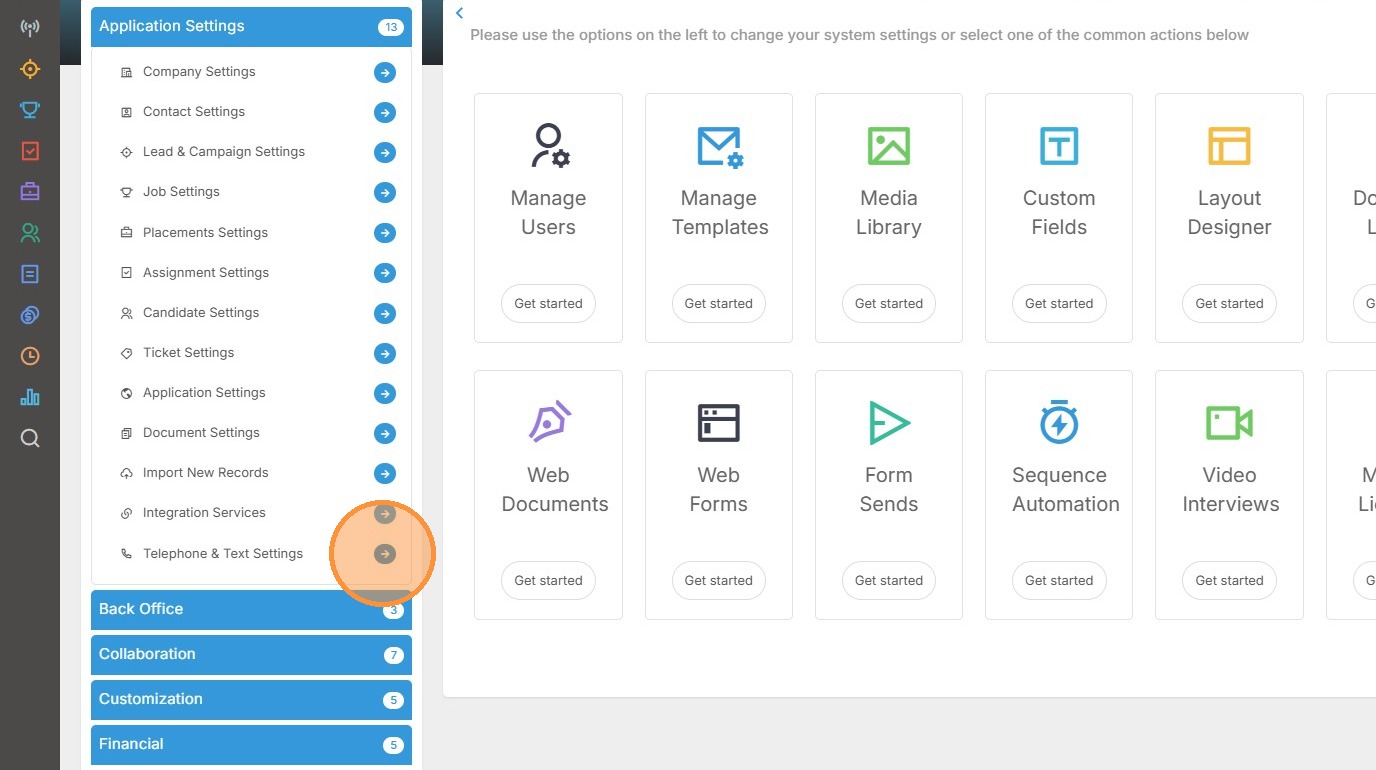
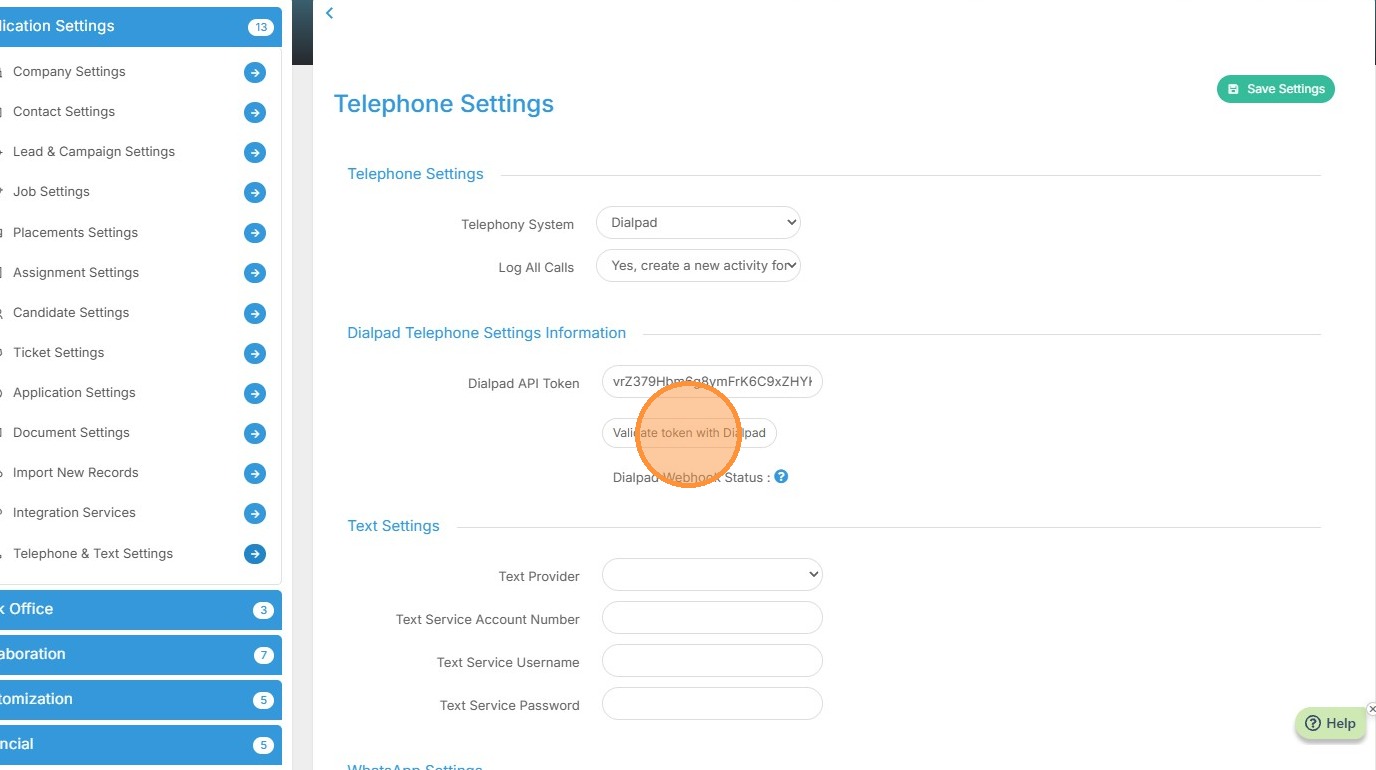
19. Here you will need to go to Telephone & Text Settings.
20. Set "Telephony System" to Dialpad and choose your preferred option under Log All Calls.
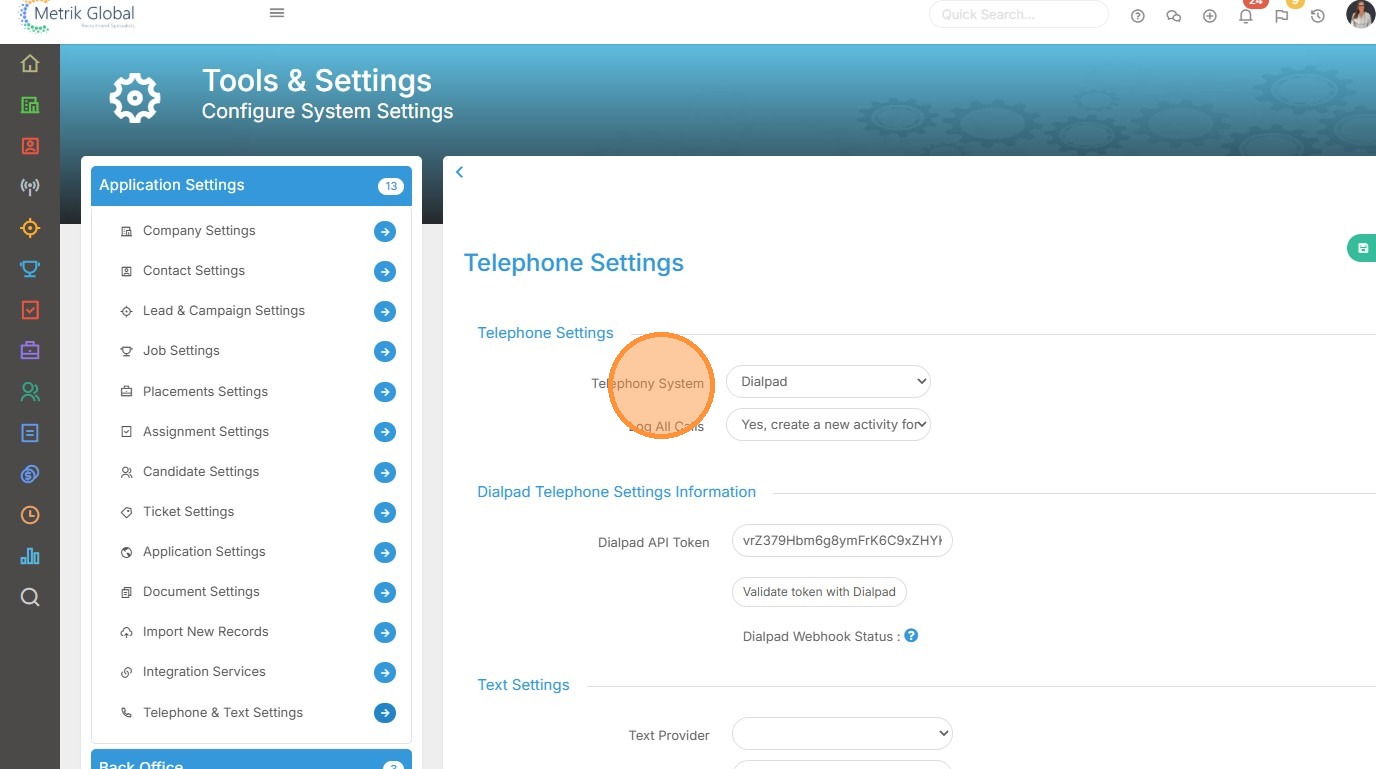
21. In the Dialpad API Token field paste your API Key.
22. Click "Save Settings".
We'll now move onto the next step for completing the set up.
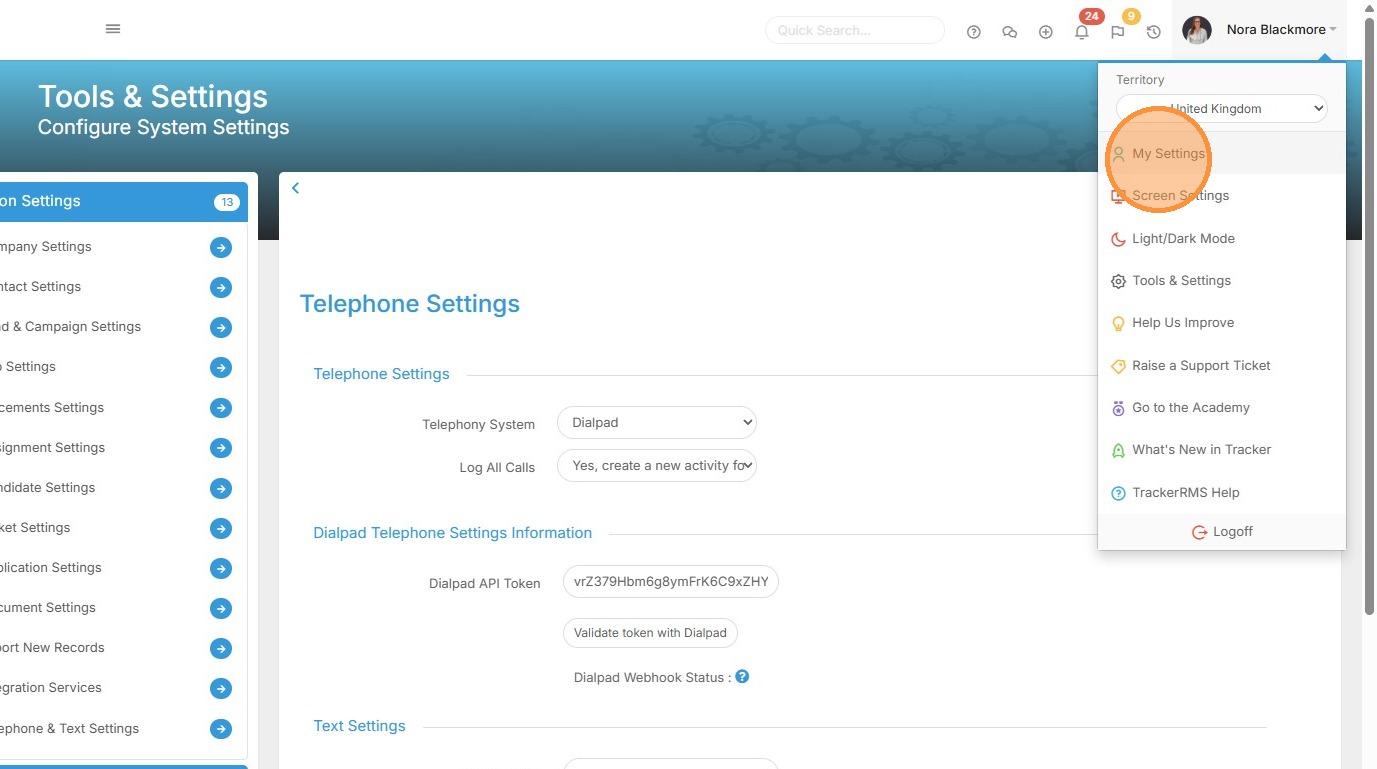
23. Under the Profile menu click "My Settings".
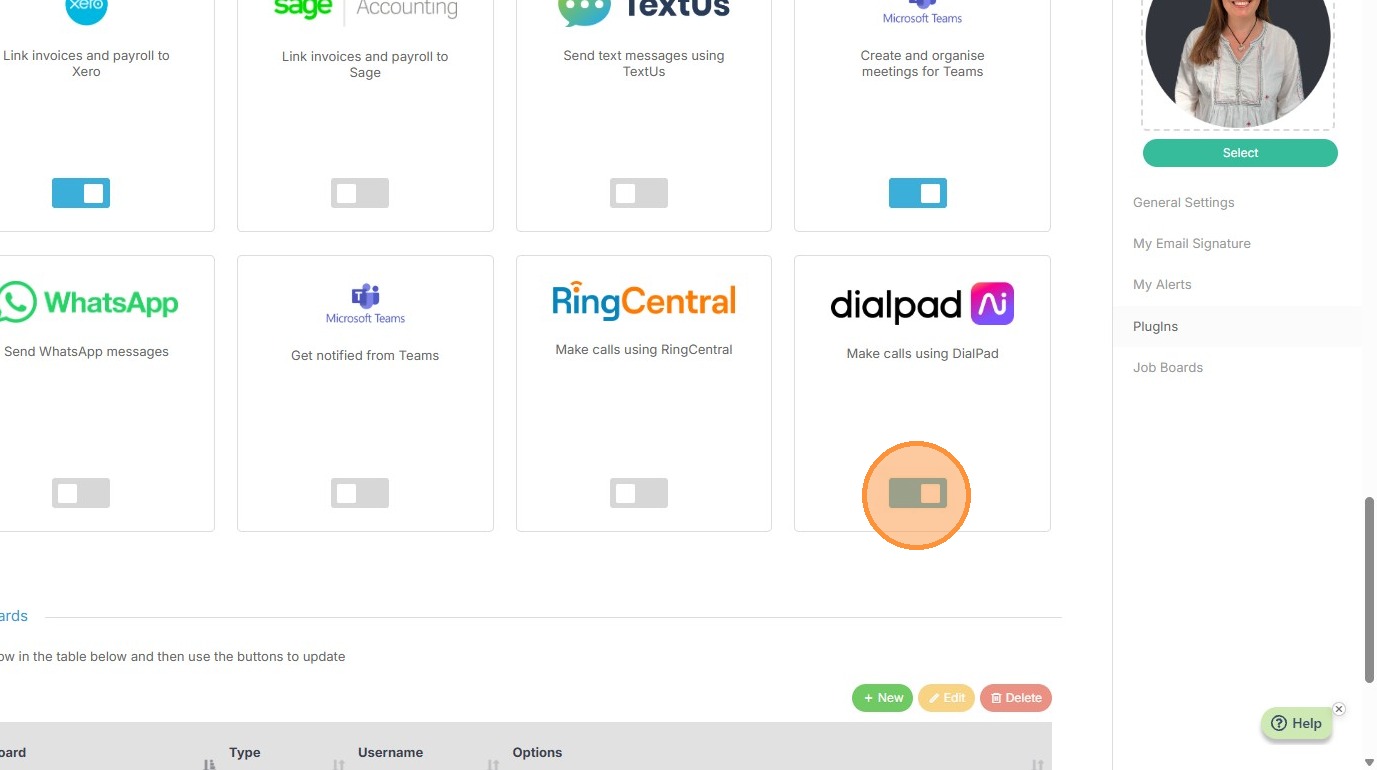
24. Scroll to the Add Ins area and toggle on Dialpad.
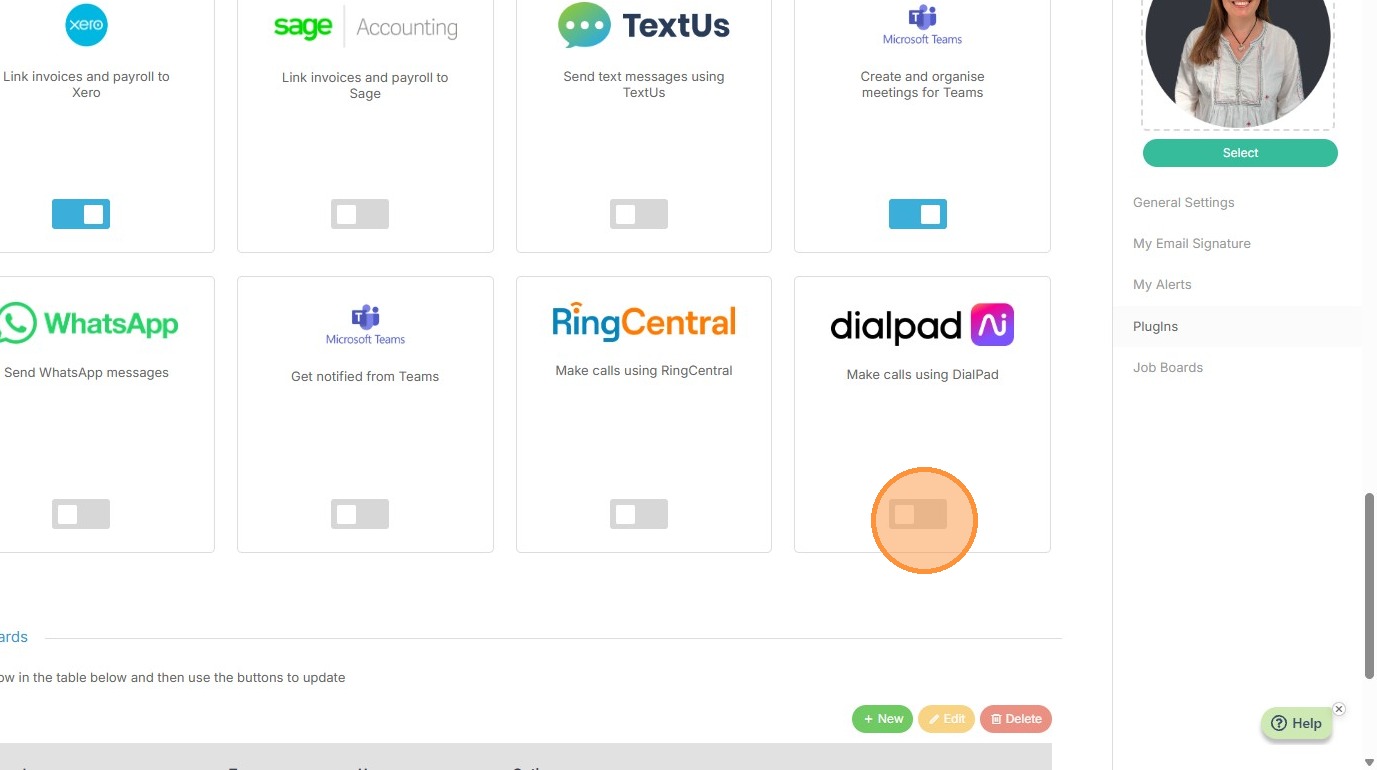
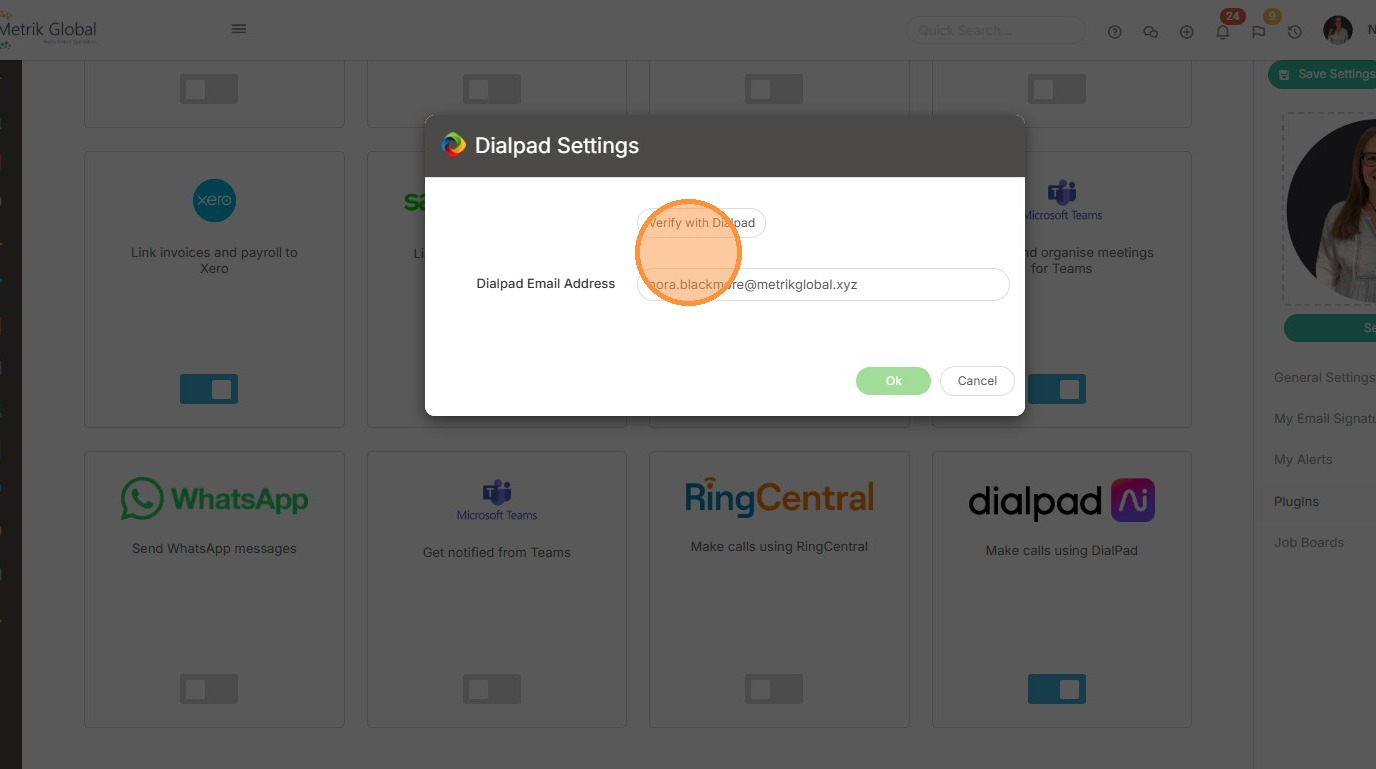
25. Enter the email address associated to your Dialpad account and click "Verify with Dialpad Email Address".
If the email address that you entered is correct you will get a pop up that shows your email address was validated, click the OK buttons.
Save your settings in the top of the My Settings area before moving to the final set up stage.
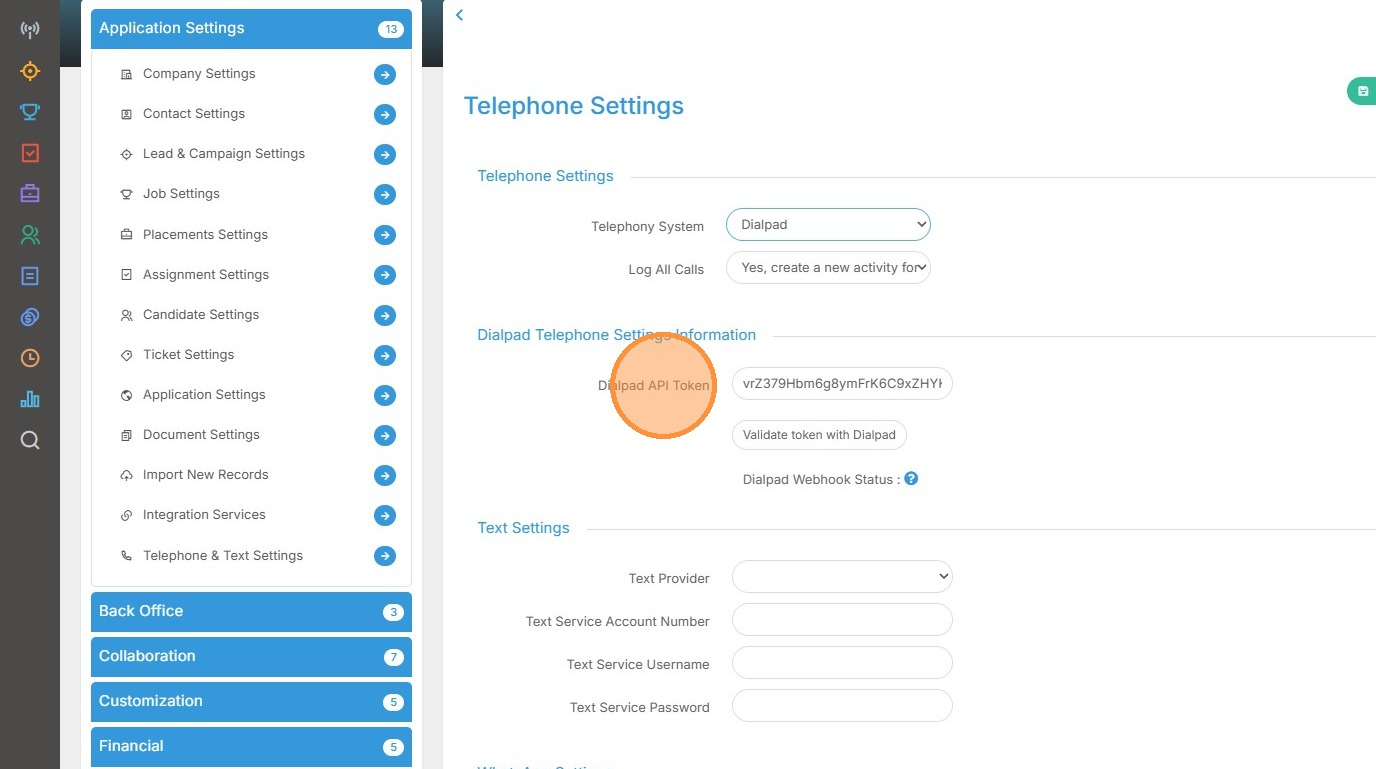
26. Return to Tools & Settings > Application Settings > Telephone and Text Settings and click “Validate token with Dialpad.
27. Click "OK" to the Validation Successful message.
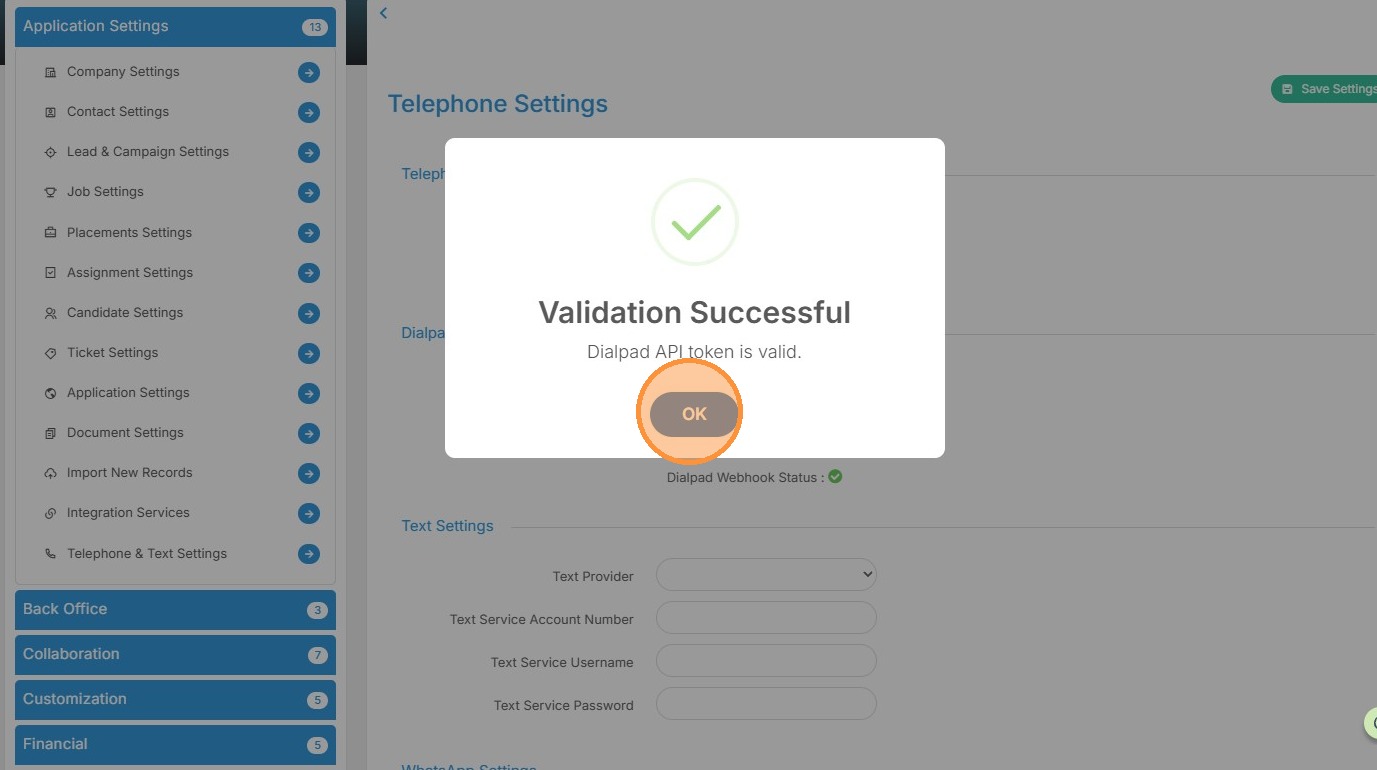
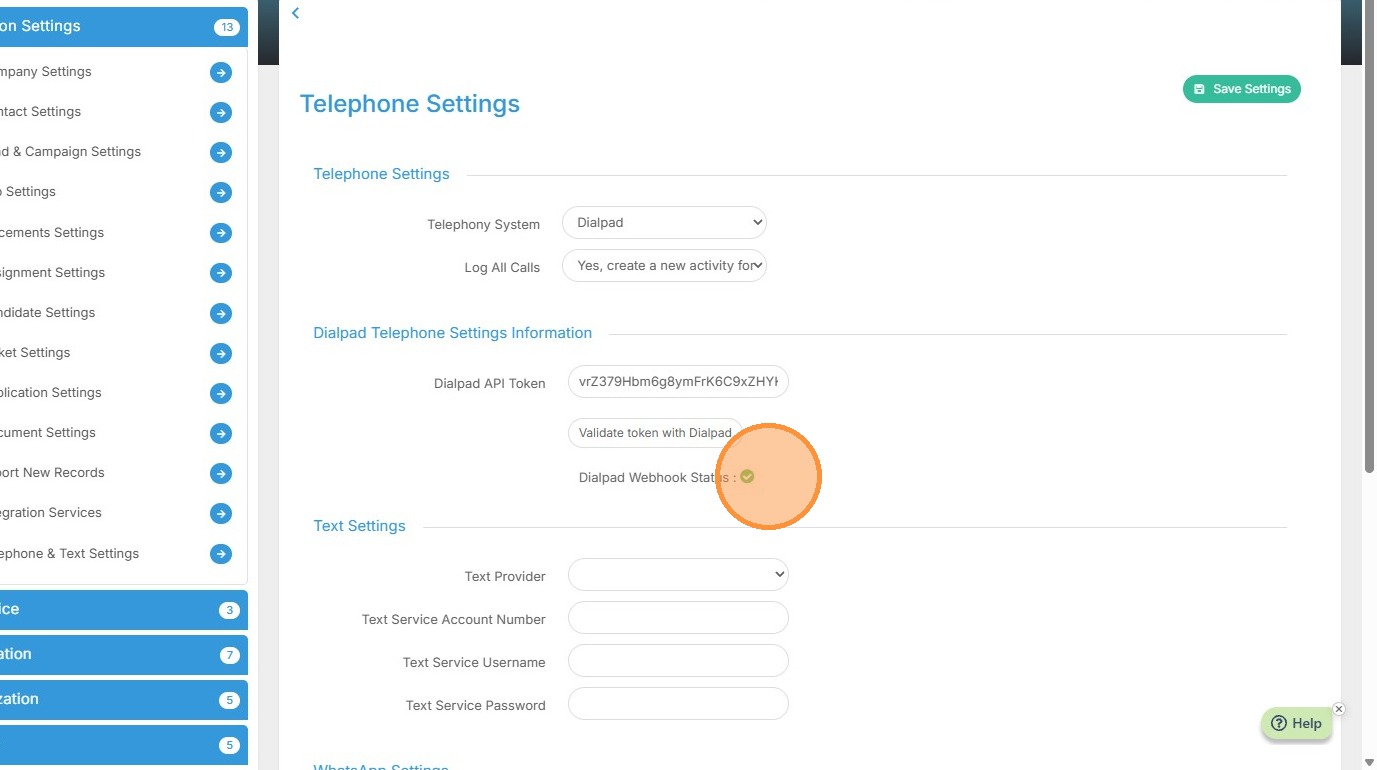
28. The Dialpad Webhook Status should now have a green check next to it.
Individual User Set Up
29. Once you have completed the Set Up steps above, each User that needs to dial using Dialpad will need to download the Dialpad App: https://www.dialpad.com/download/
Once this is downloaded each users will need to complete the following steps (as previously seen in steps 24 and 25 above) under their own My Settings to connect their account in Tracker.
Go to the Profile Menu and choose My Settings > scroll down to the Add Ins area > toggle on Dialpad > enter their Dialpad email address and click Verify, then Ok.
Remember to Save My Settings once the steps are complete.