In this video we will demonstrate how to set the link between Tracker and Xero, before covering the relevant settings.
Xero Integration - Settings
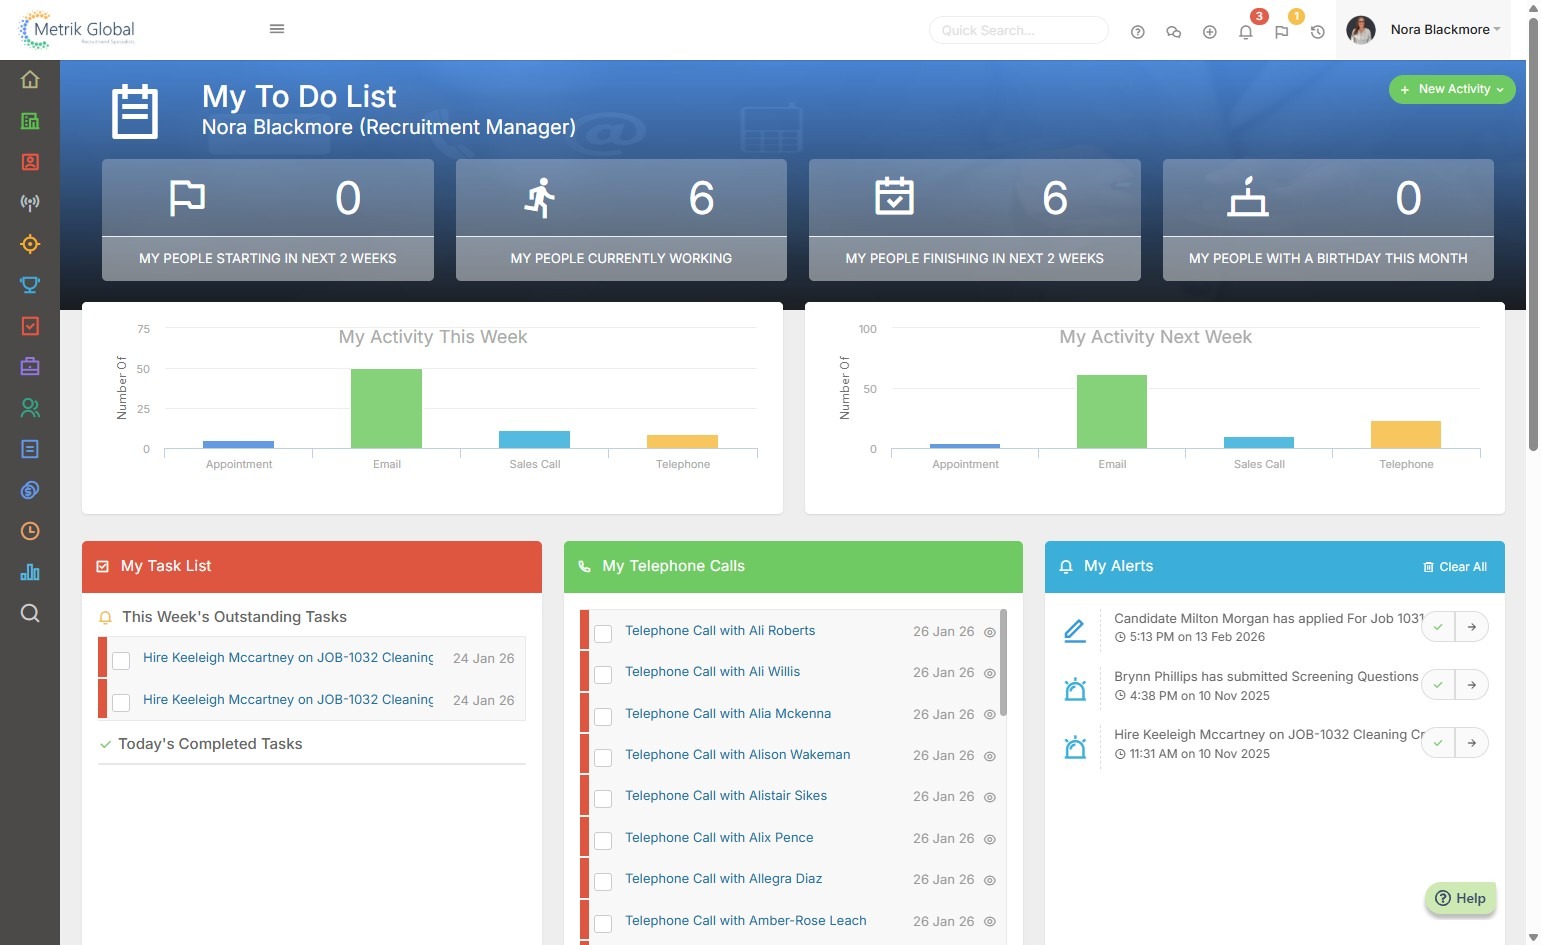
Xero is cloud-based accounting software designed for small businesses, offering real-time financial visibility through automated bank feeds, invoicing, and expense tracking. By linking Xero with Tracker, you can streamline financial processes, automatically sync candidate and client data, and maintain accurate records without manual data entry between systems.
1. Below we will demonstrate how to set the link between Tracker and Xero, before covering the relevant settings.
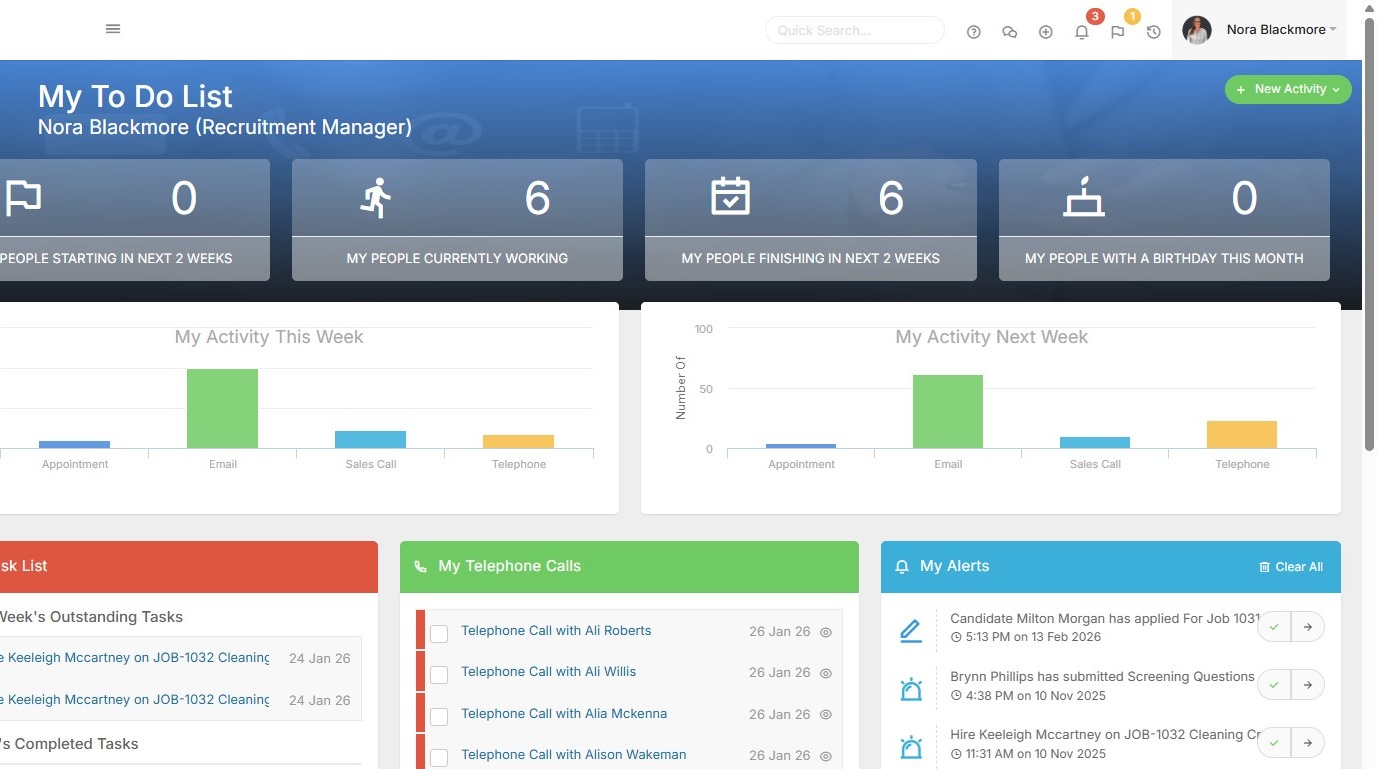
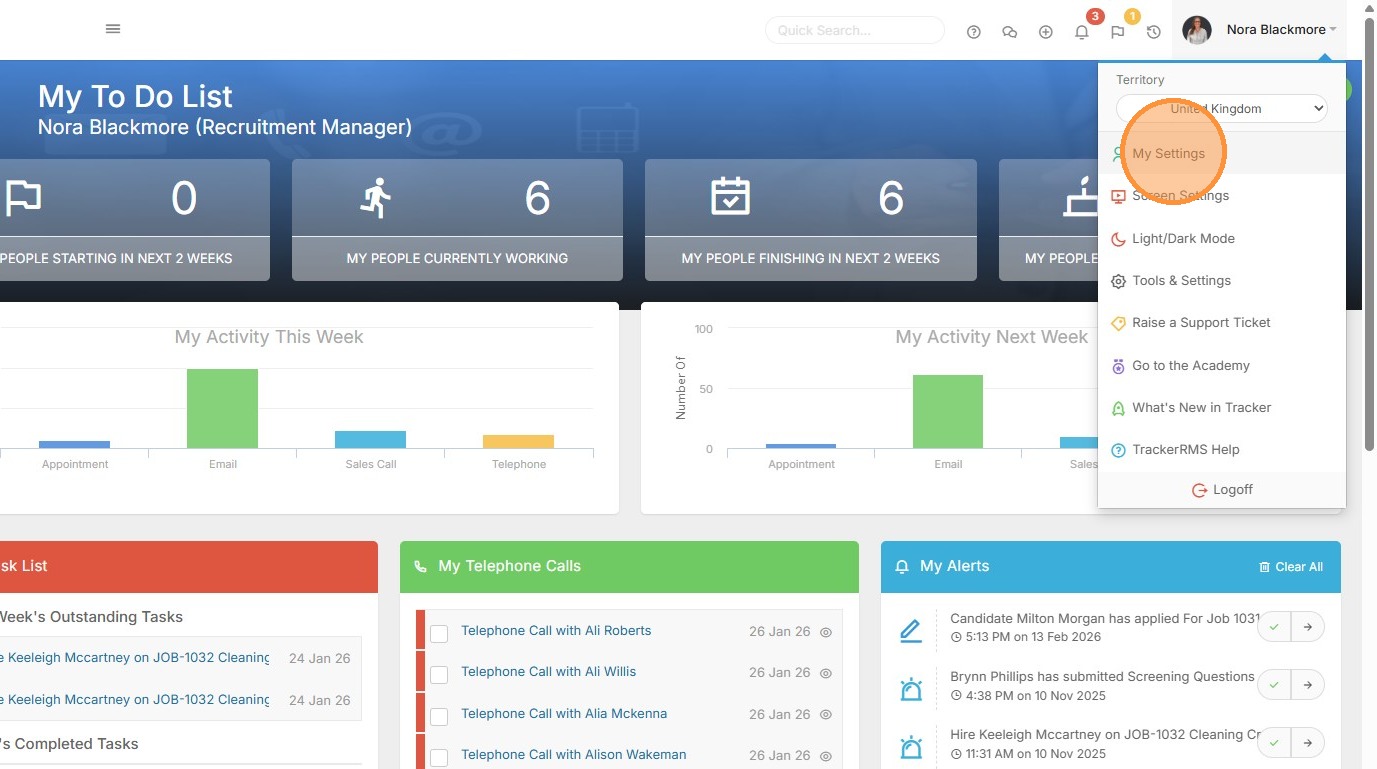
2. The first step is to go to "My Settings", accessed via the Profile Menu.
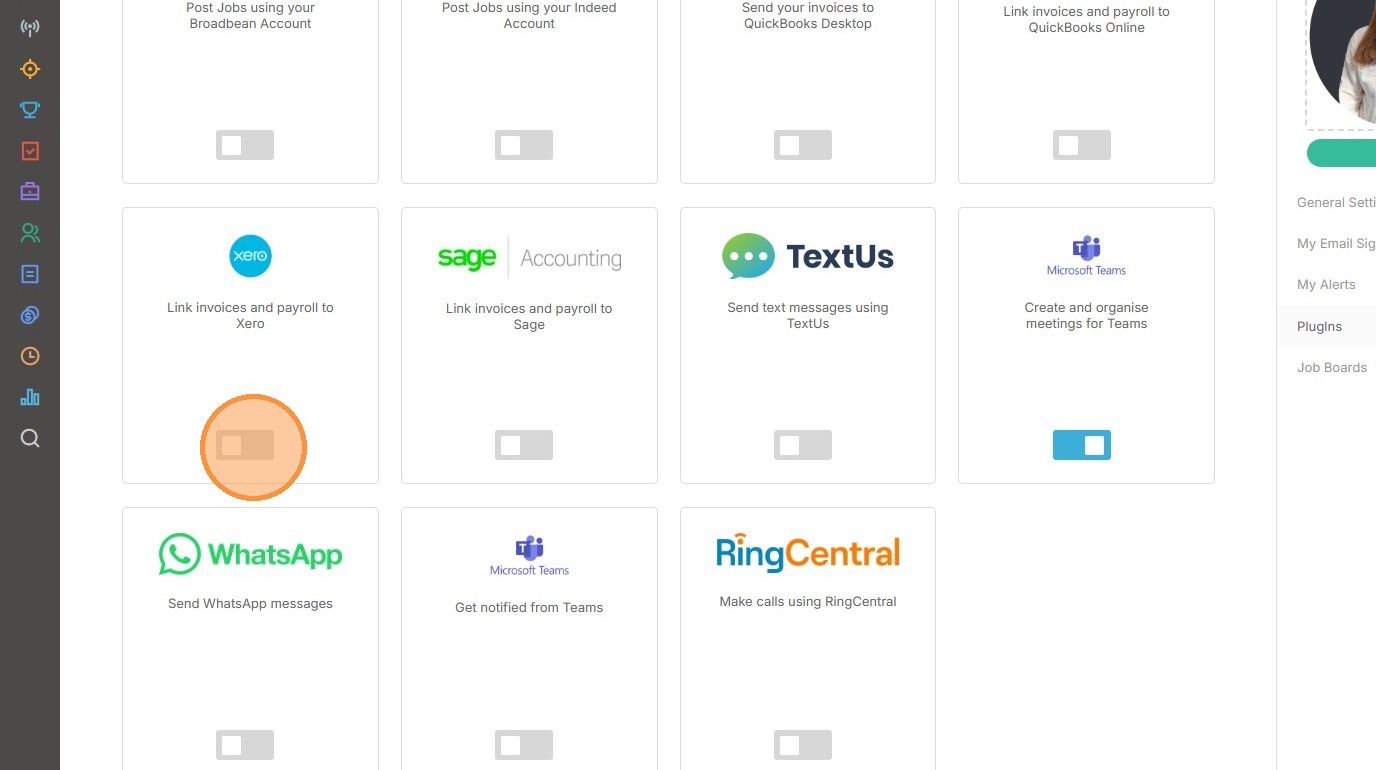
3. You'll need to scroll down to the Plug Ins area.
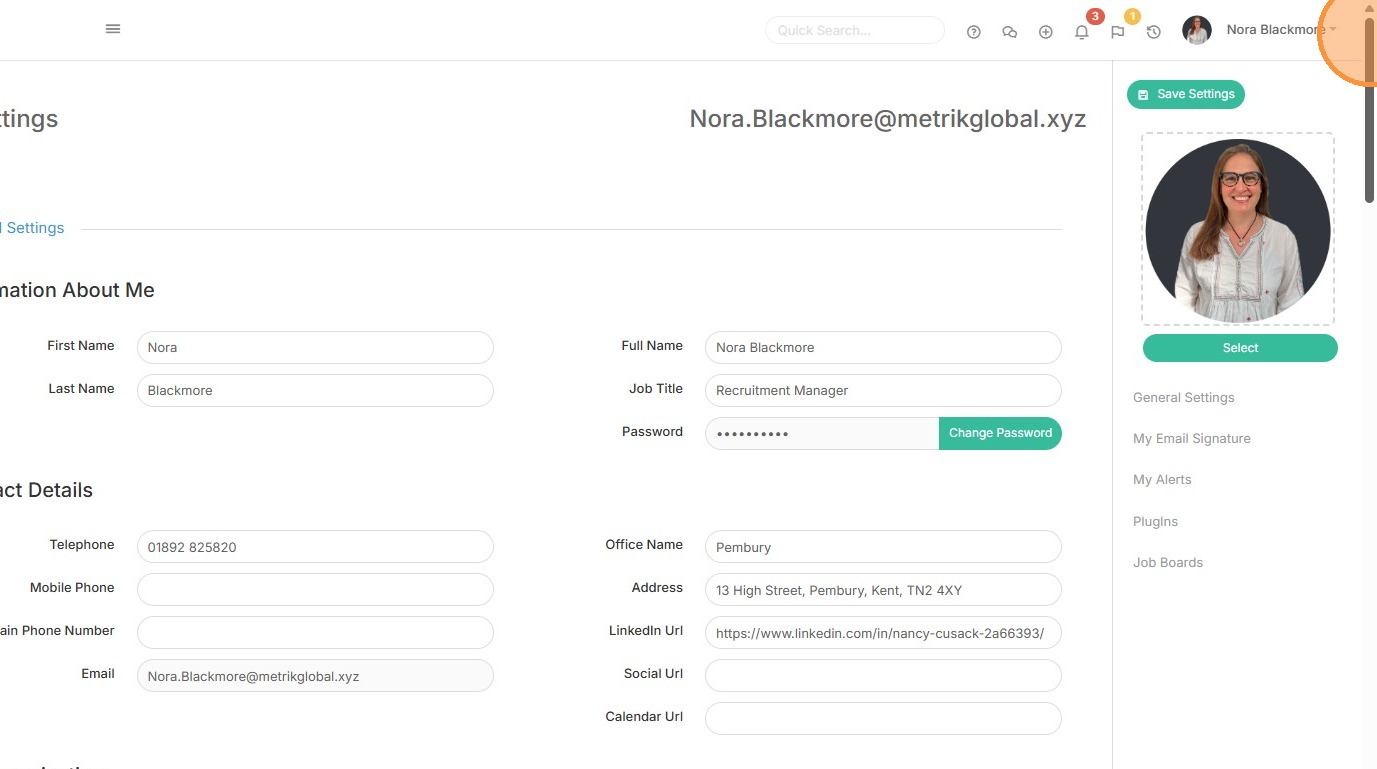
4. This is where you will see the option for Xero.
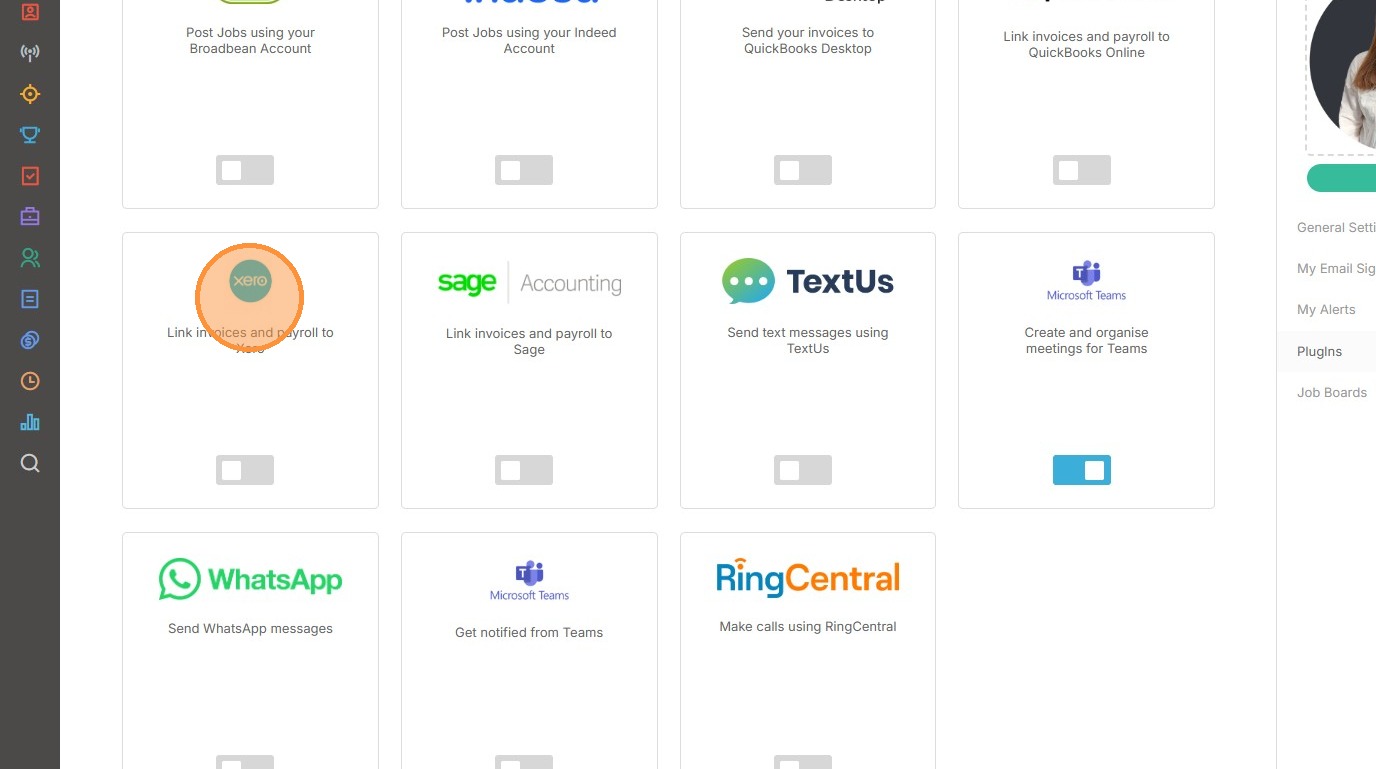
5. Start by Toggling on this plug in.
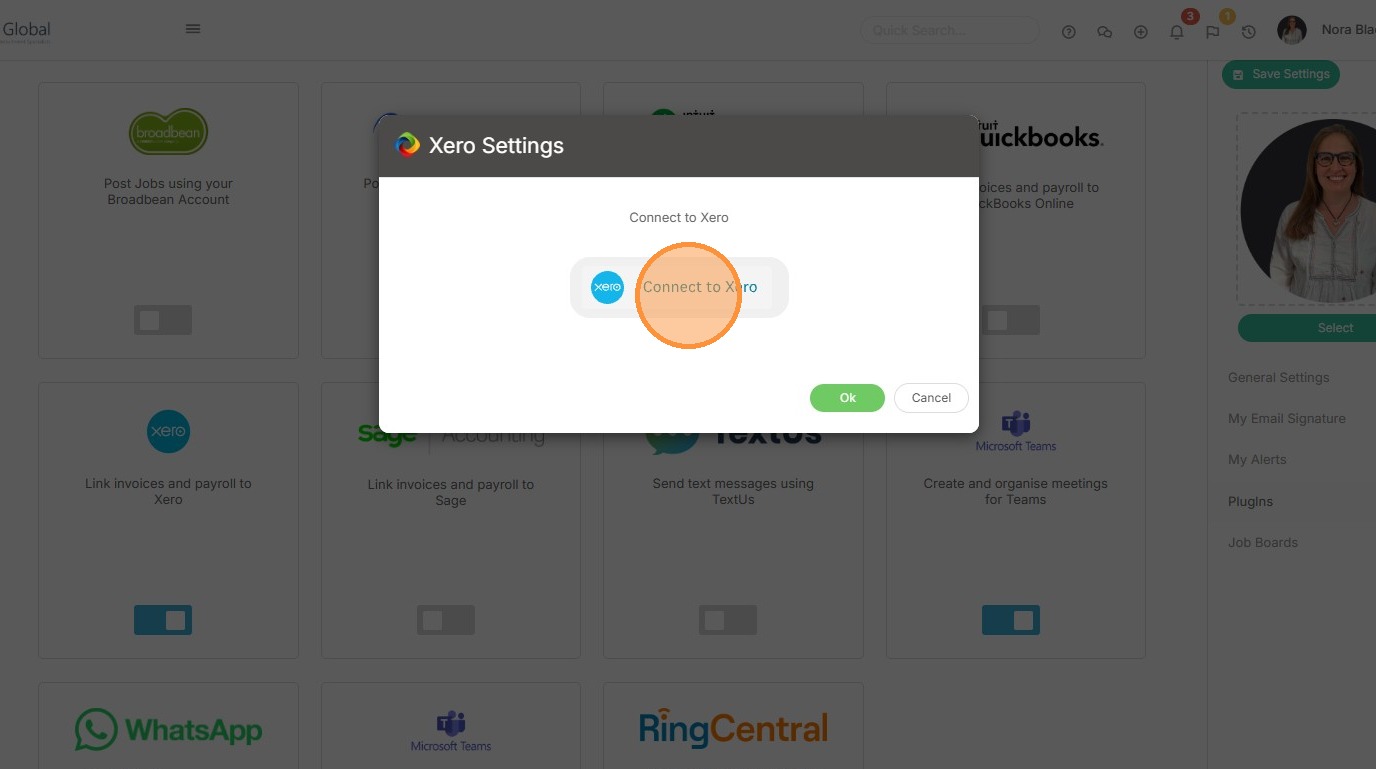
6. You will see a pop up window asking you to Connect to Xero.
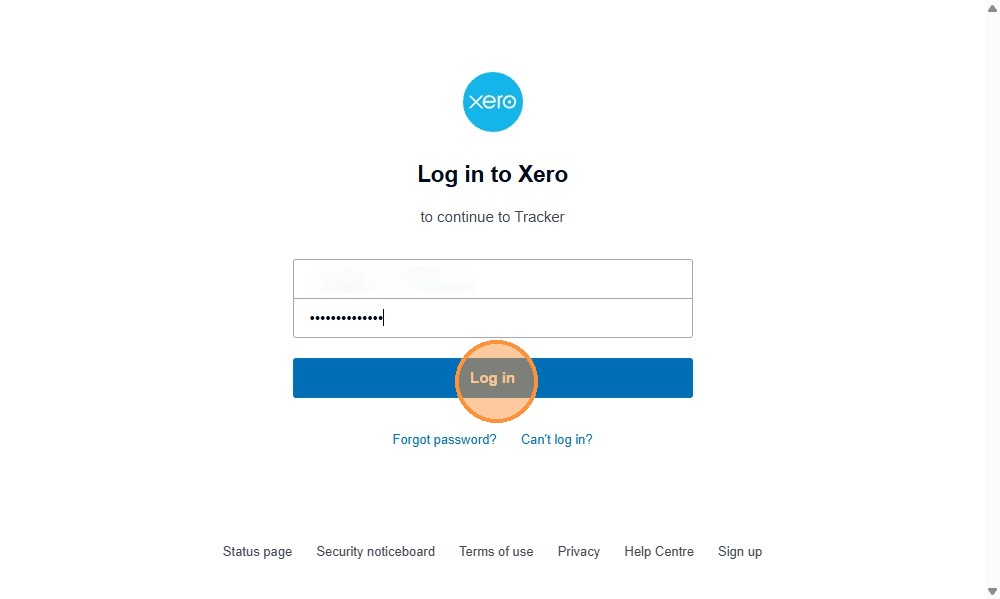
7. You will need to add in your Xero User name and password, then click "Log in".
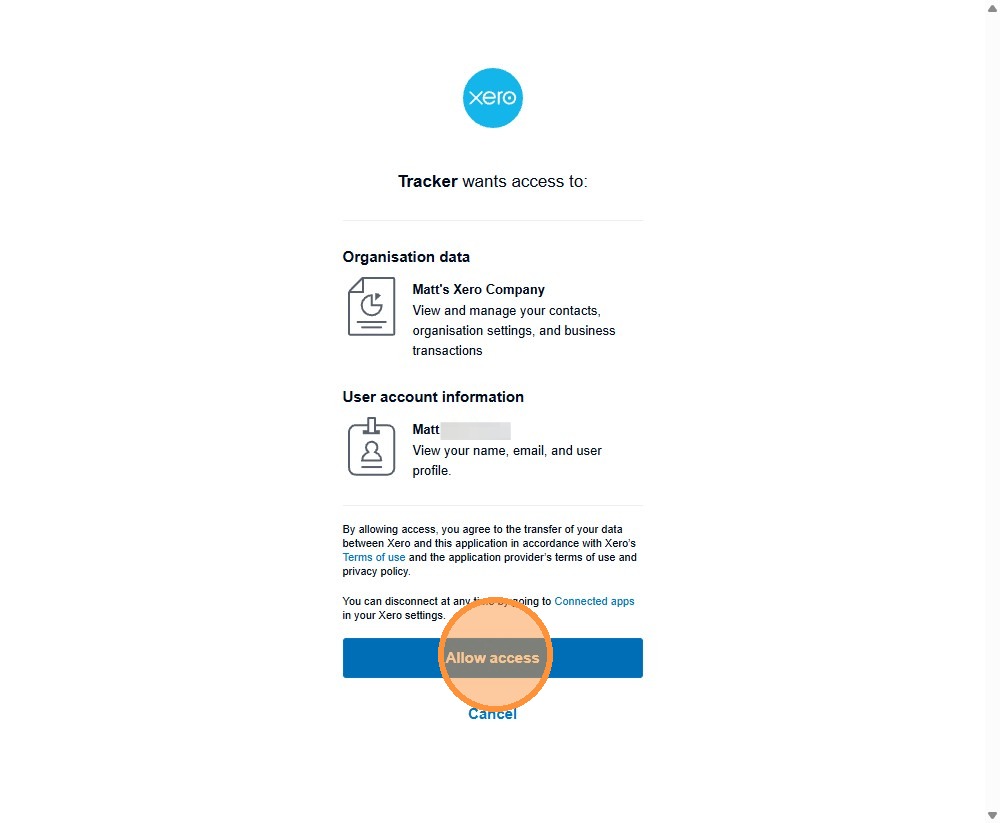
8. On the "Tracker wants access to" screen, click "Allow access"
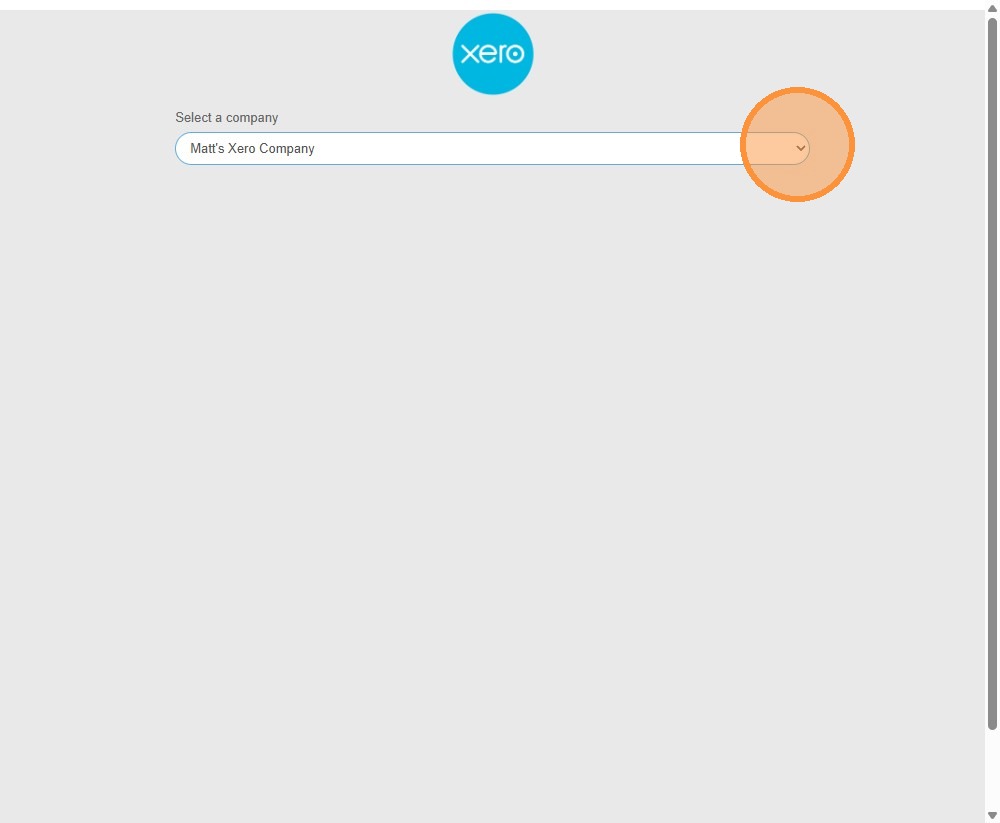
9. Select the relevant company option via the drop down.
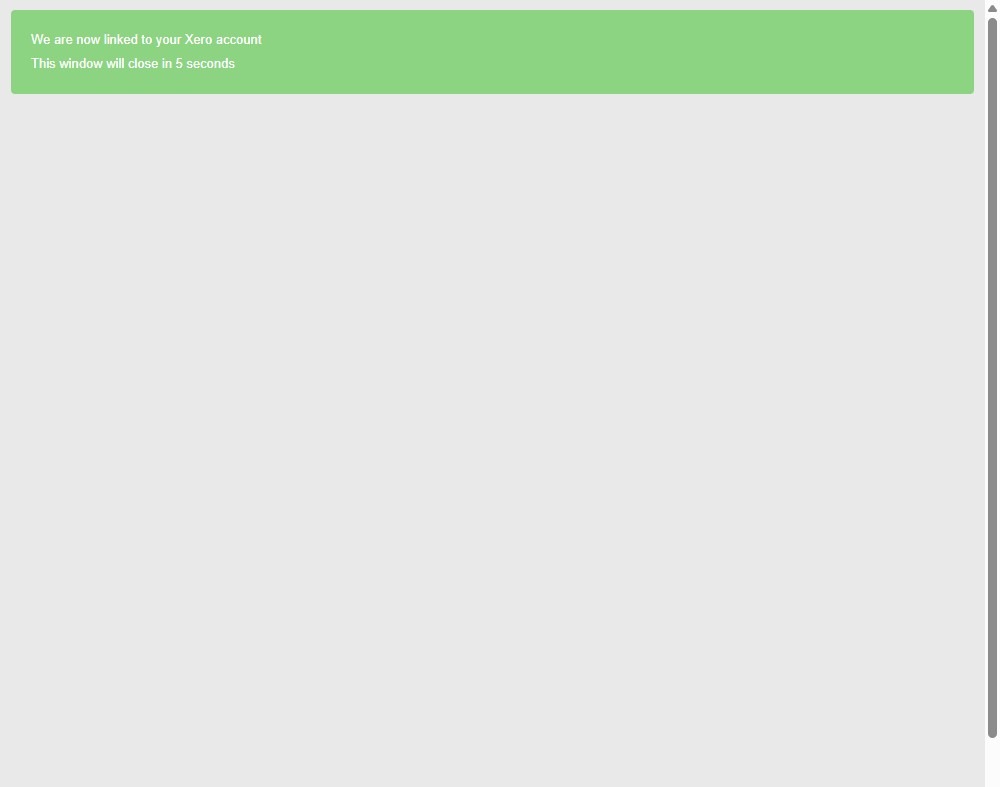
10. You will receive confirmation that the two systems are now linked. You can either close this window or wait for it to close automatically.
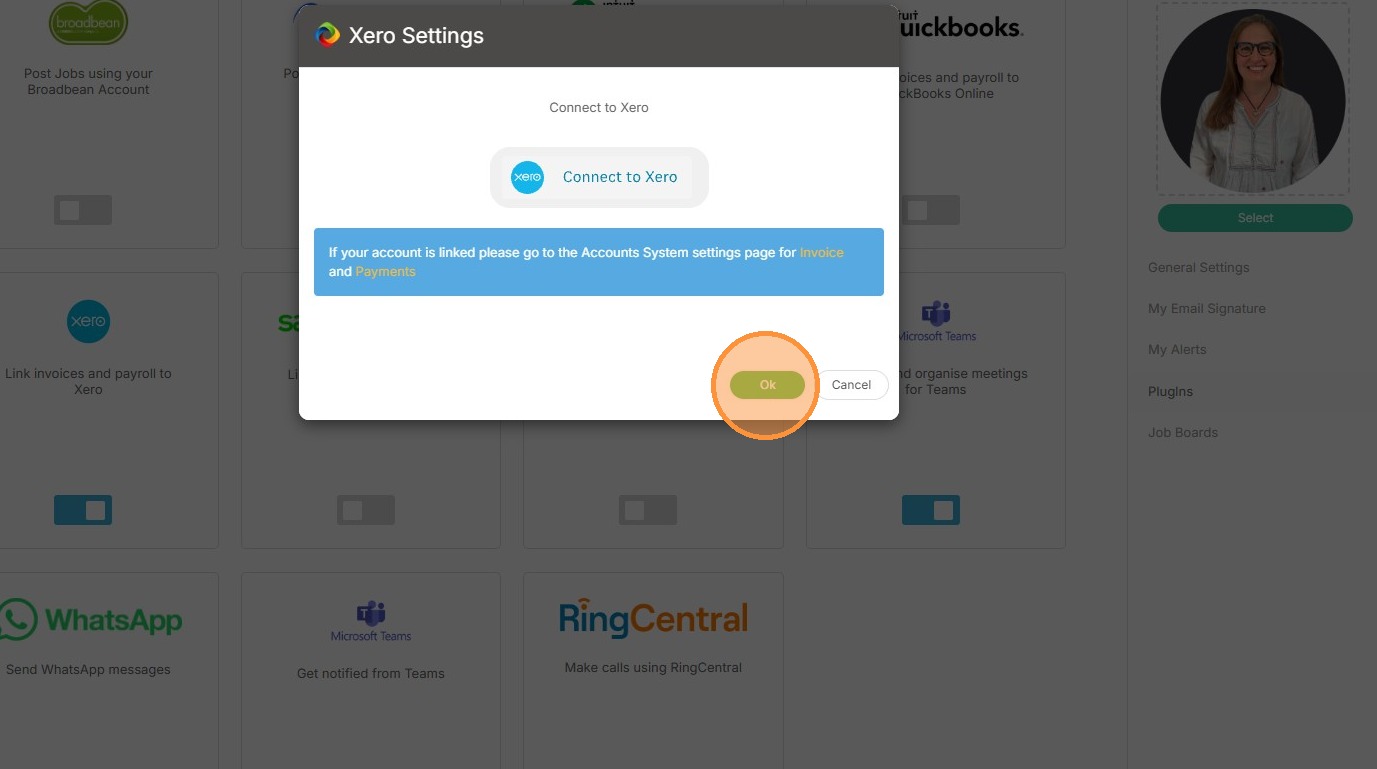
11. The next window reminds you to complete your setup by visiting the Accounts System settings page for Invoices and Payments, found within Tools and Settings.
This ensures Tracker is correctly configured to use the appropriate accounts and tax codes for various transactions between Tracker and Xero, and is covered in a separate article.
You can click ok to this window.
12. Once you have enabled the plug in you must configure your Payment and Invoice settings within Tracker to allow for the syncing financial data between Tracker and Xero.
This setup ensures accurate financial records flow seamlessly between Tracker and Xero.
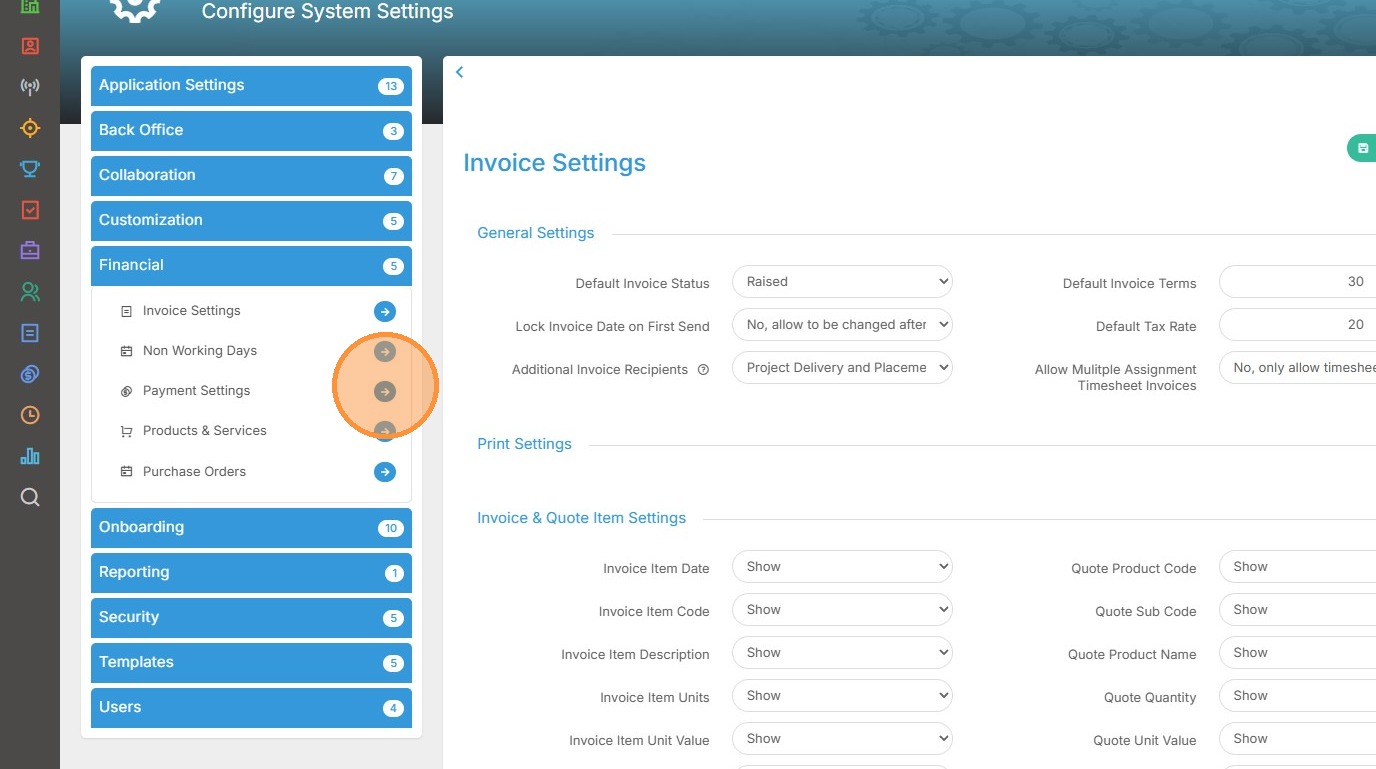
13. These settings are held within your "Tools & Settings", accessed via your Profile Menu.
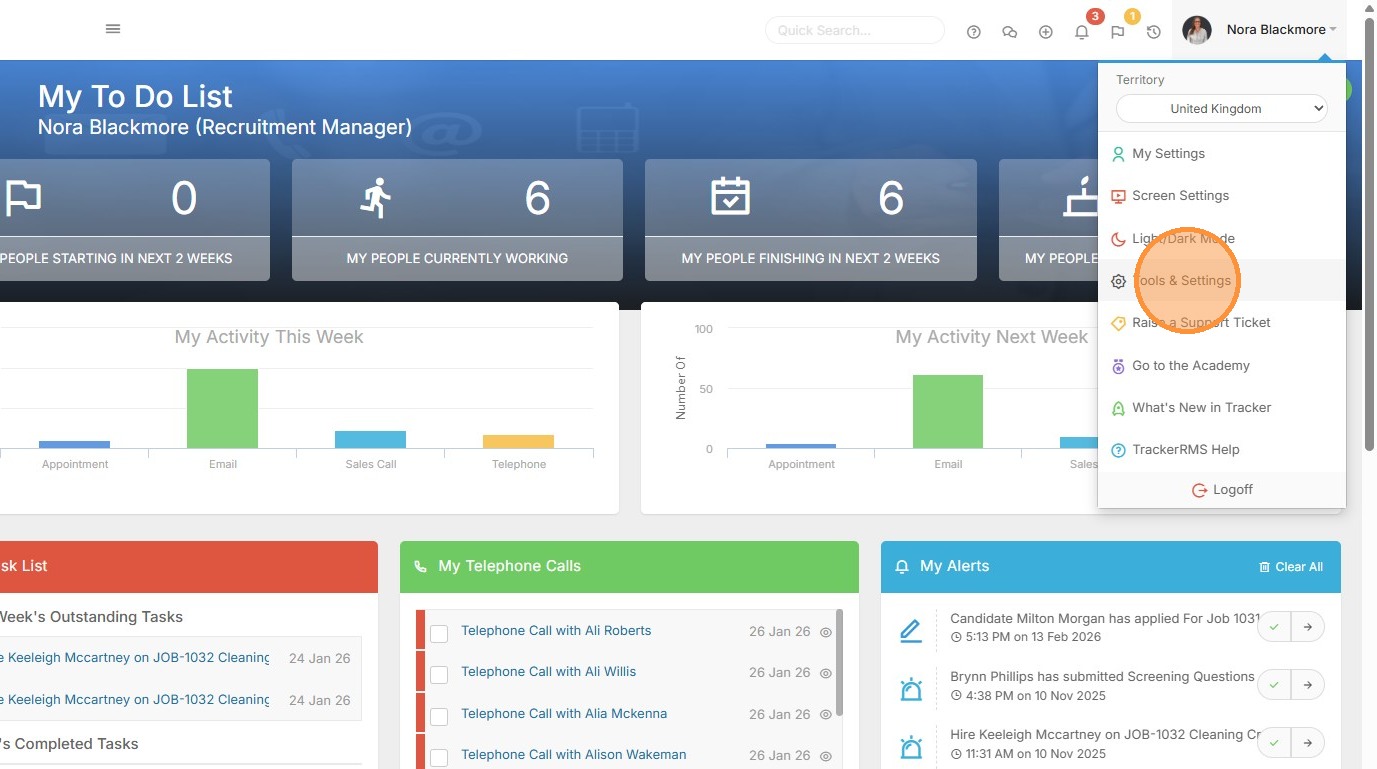
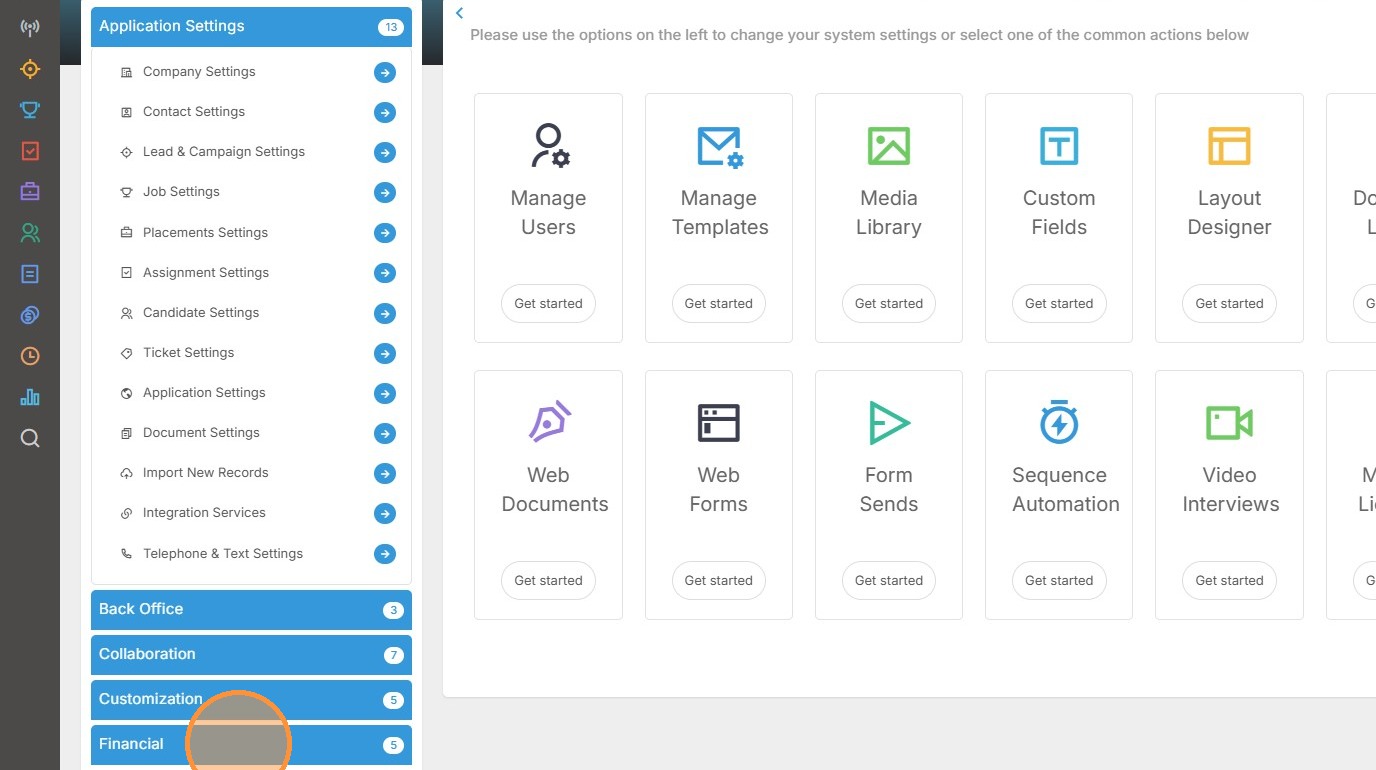
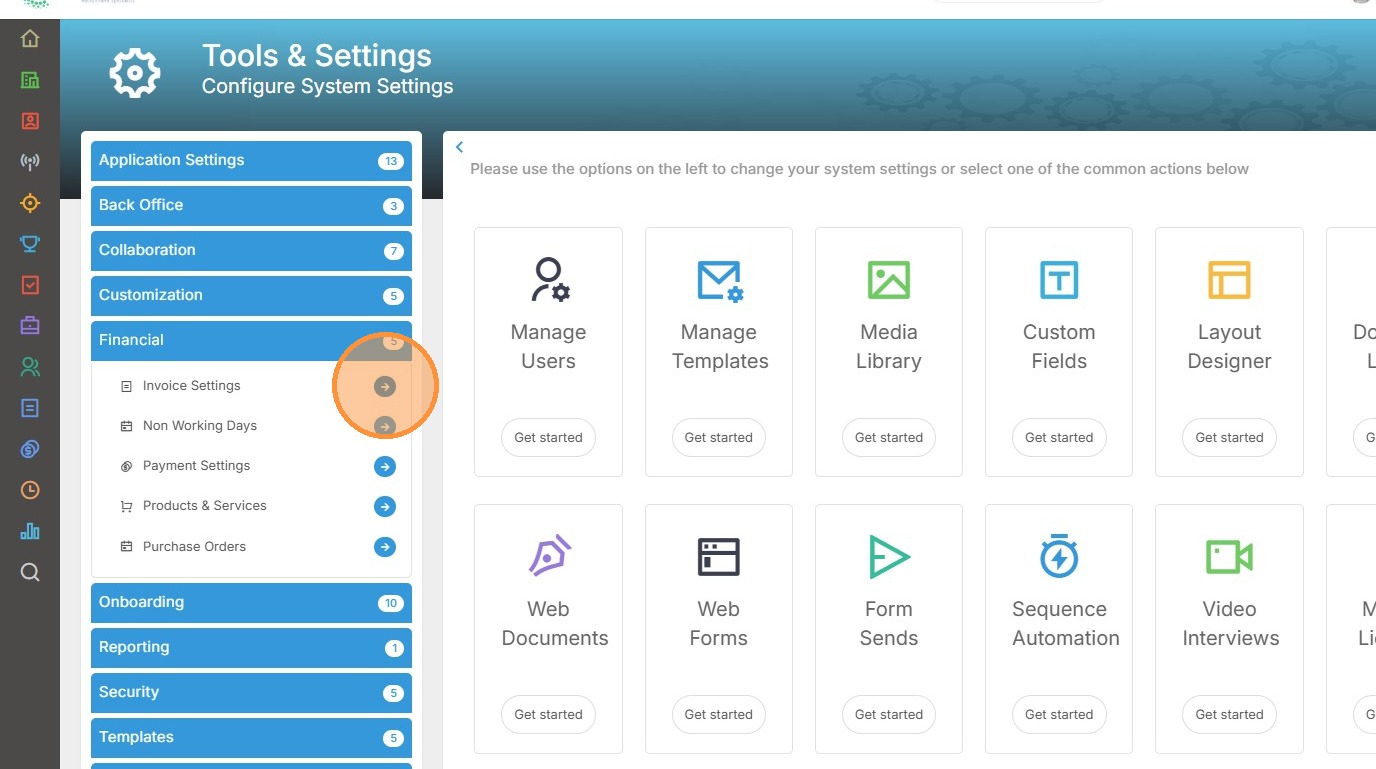
14. Within Tools and Settings scroll down and expand the Financial menu.
15. We'll start with Invoice Settings, click to access this area.
16. Scroll down to the "Accounts System" settings. There are a number of settings here to complete as follows.
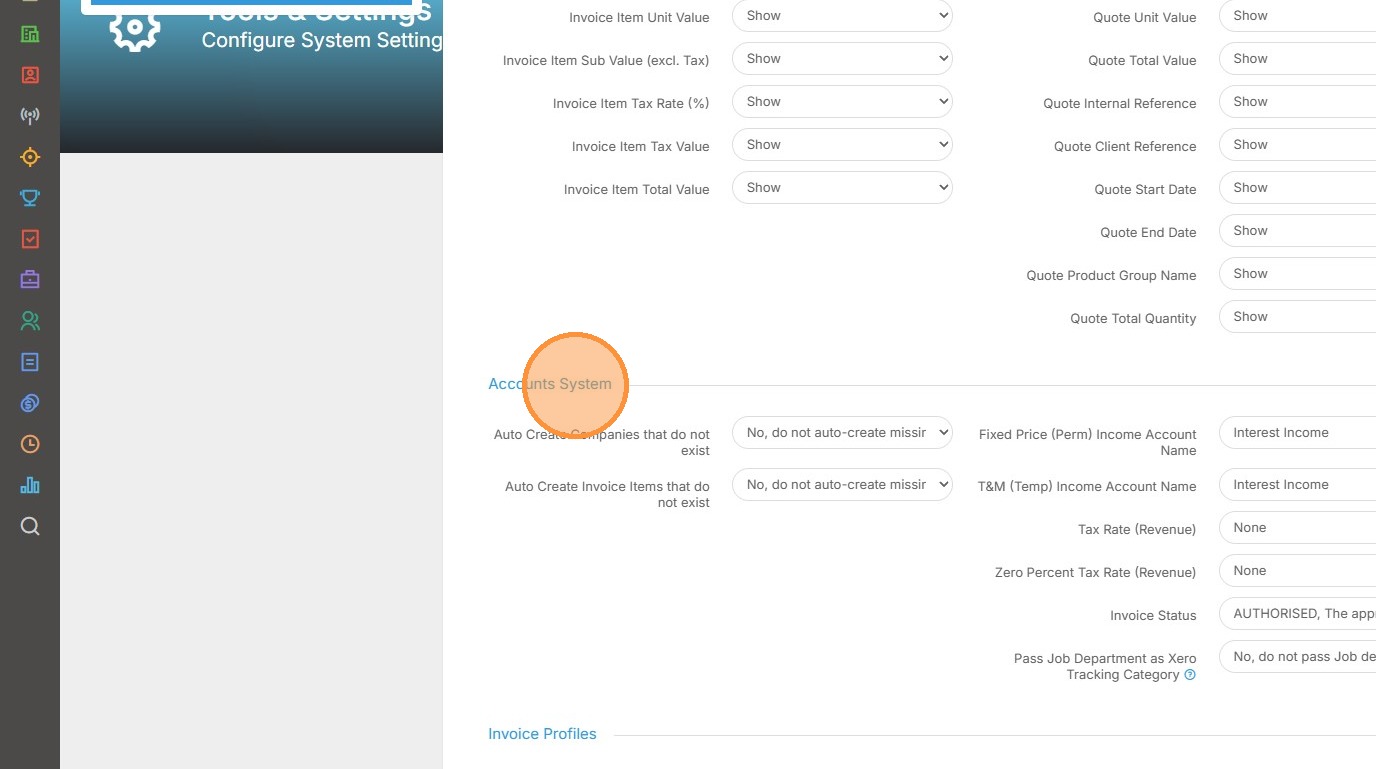
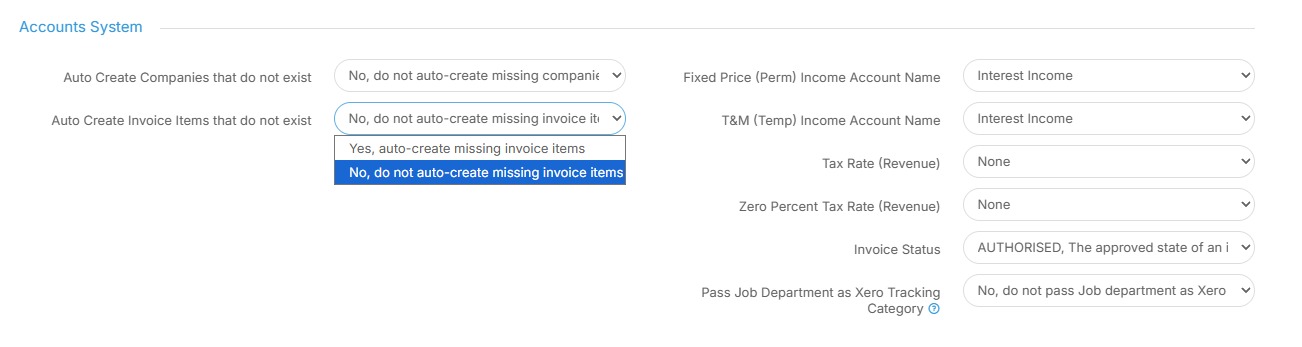
17. First we have the two options: "Auto Create Companies that do not exist" and "Auto Create Invoice items that do not exist".
These will instruct Tracker to automatically create Companies or Invoice Items that are not already in Xero, so if you would rather these be created manually in Xero first, set these to "No". Be aware however that this may result in invoices being rejected if they are not found within Xero as Tracker sends invoices.
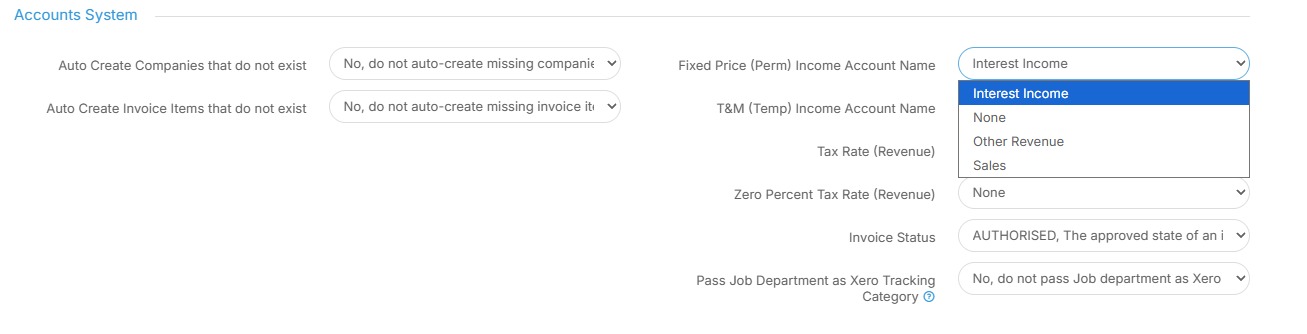
18. Next we have "Fixed Price (Perm) Income Account Name". Your options here are as follows: Interest Income, None, Other Revenue or Sales.
Select which is most appropriate for your organisation.
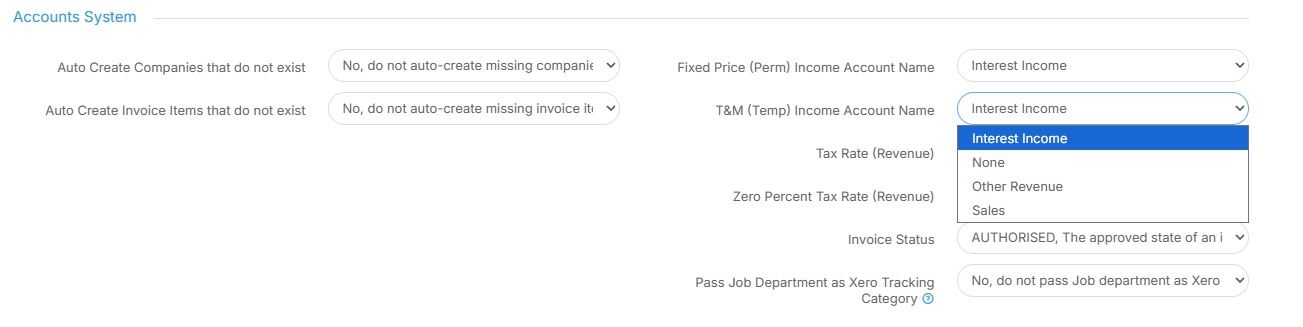
19. The next setting is "T&M (Temp) Income Account Name". Your options here are as follows: Interest Income, None, Other Revenue or Sales.
Select which is most appropriate for your organisation.
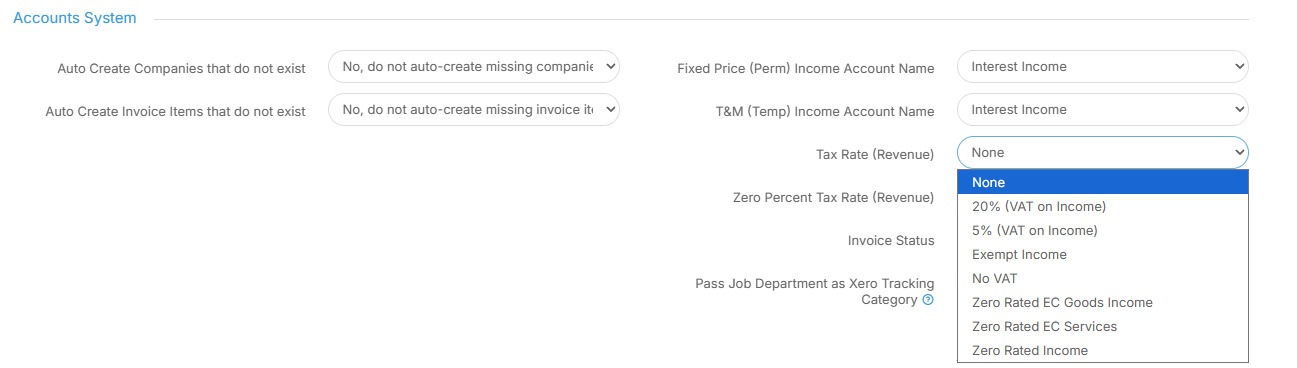
20. Next are a number of options for "Tax rate" including Exemptions, No VAT and Zero Rated options. Select which is most appropriate for your organisation.
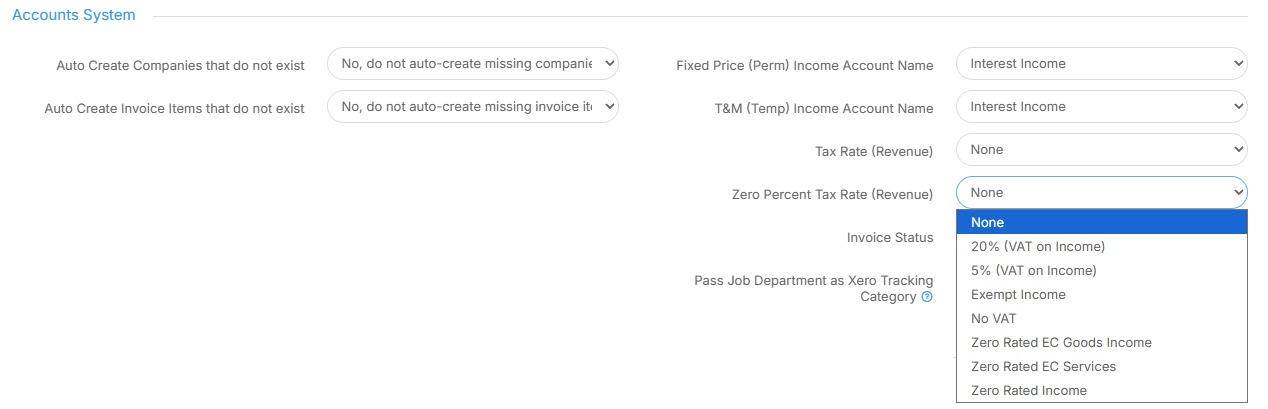
21. You have the same options as above for "Zero Percent Tax rate" including Exemptions, No VAT and Zero Rated options. Select which is most appropriate for your organisation.
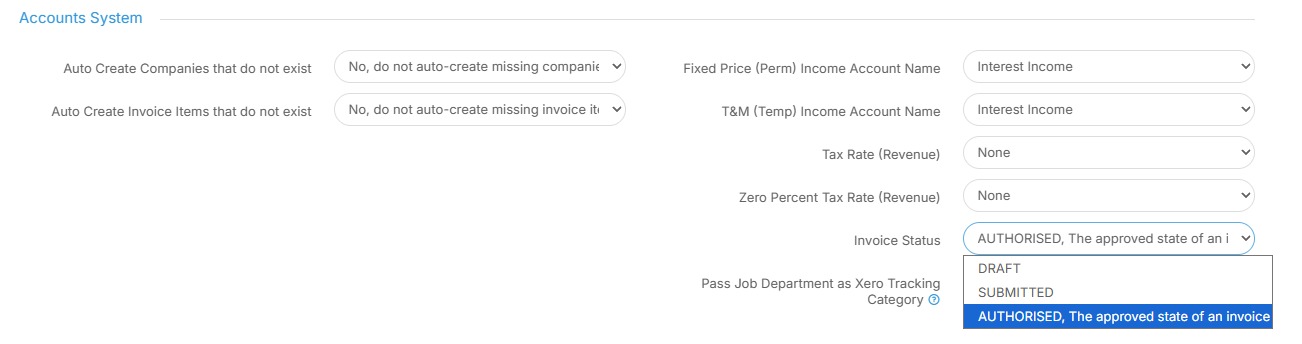
22. Next you can pick the Invoice Status. Choose from either Draft, Submitted or Authorised. Select which is most appropriate for your organisation.
23. Finally, we have "Pass Job Department as Xero Tracking Category". If you select "Yes" please ensure you have a tracking category in Xero named "Departments" with options that match your Tracker Department names.

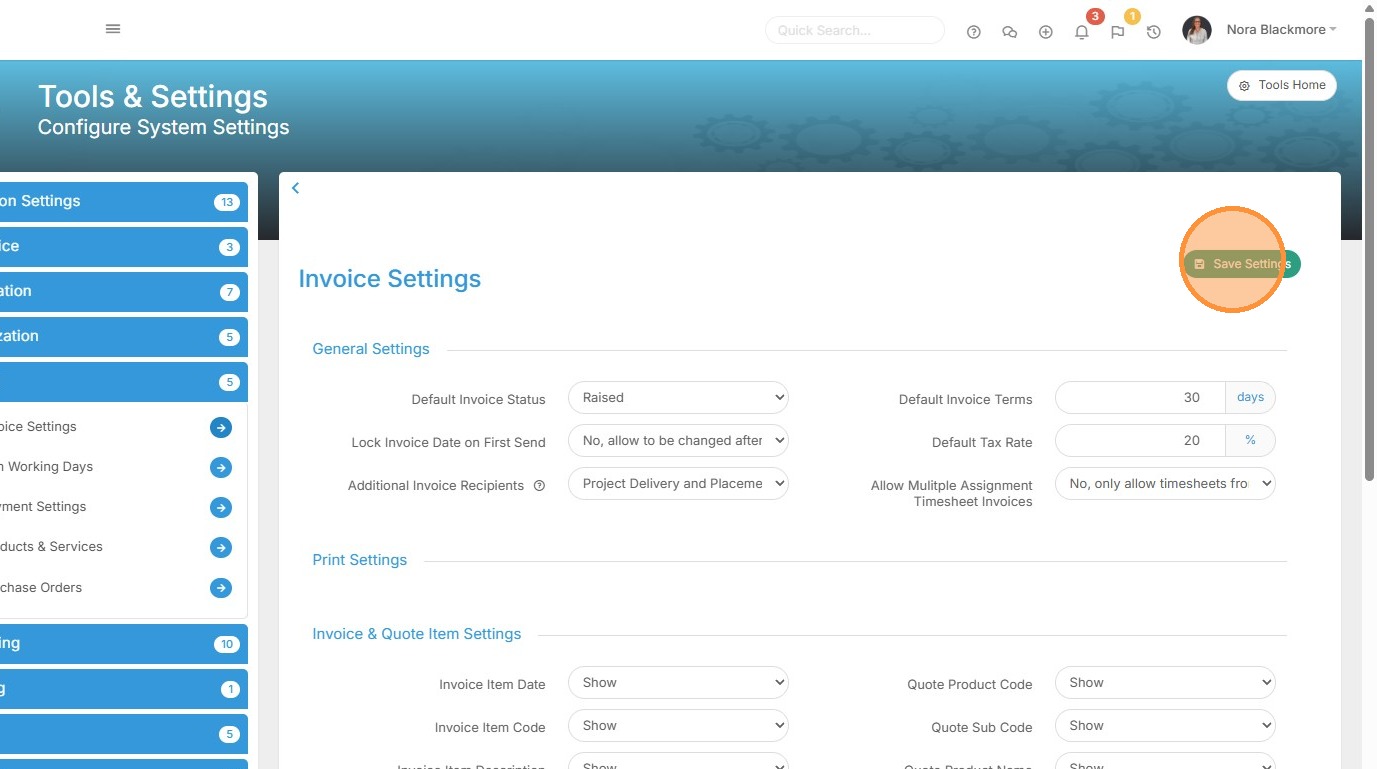
24. Remember to scroll to the top and click "Save Settings". Next we'll take a look at Payment Settings.
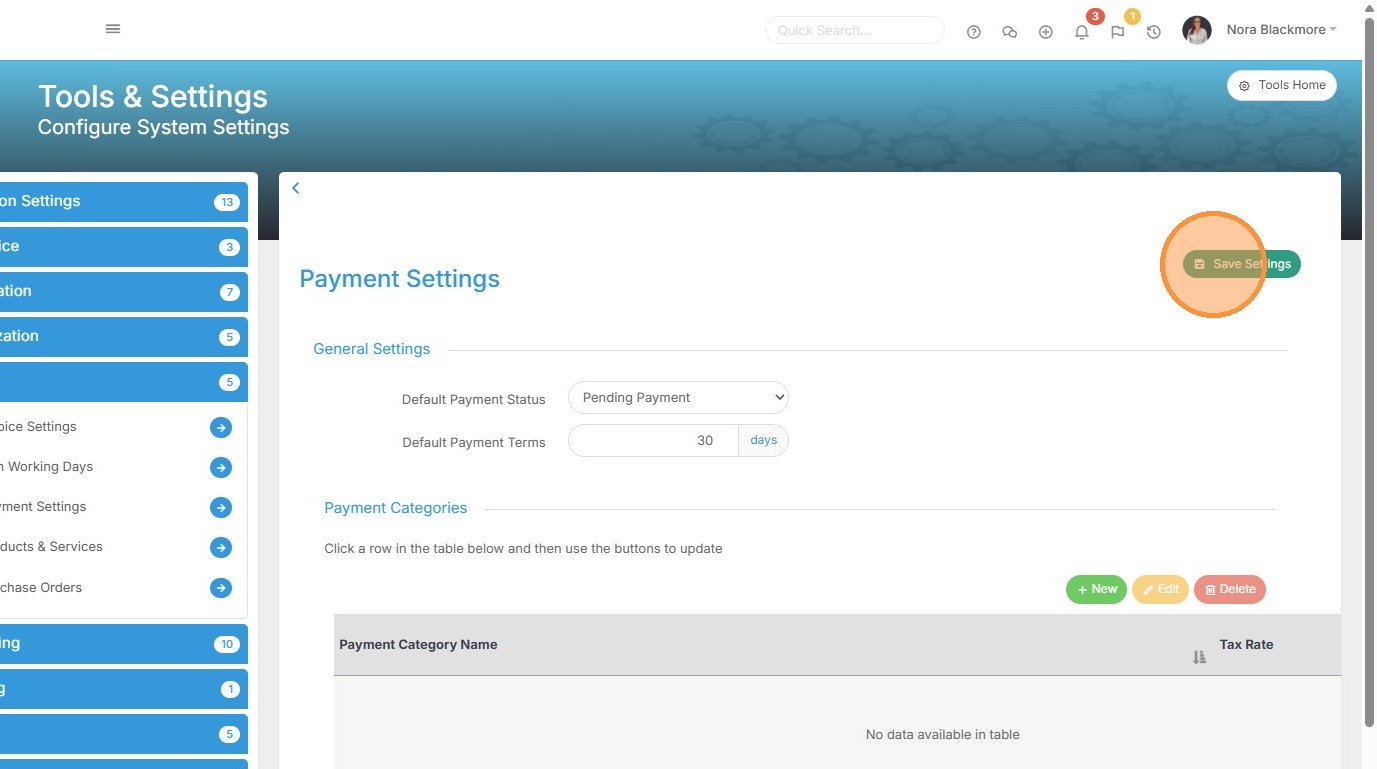
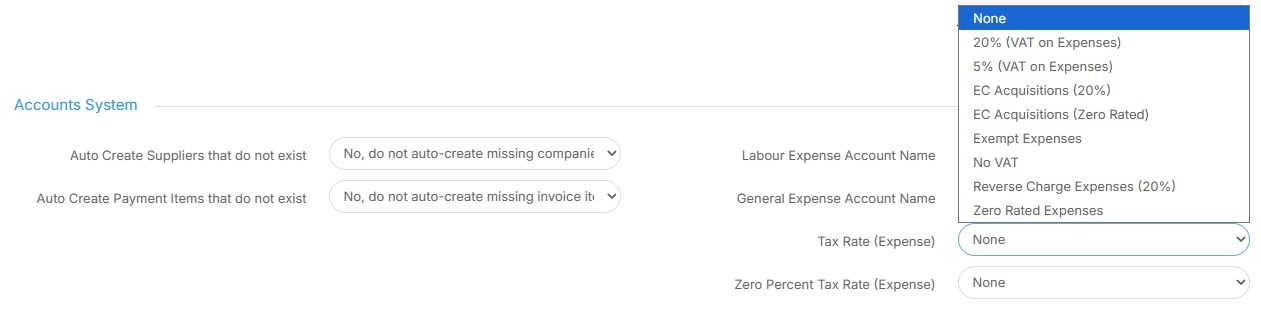
25. Back under the Financial sub-menu on the left select Payment Settings. Scroll down to the Account System Settings area.
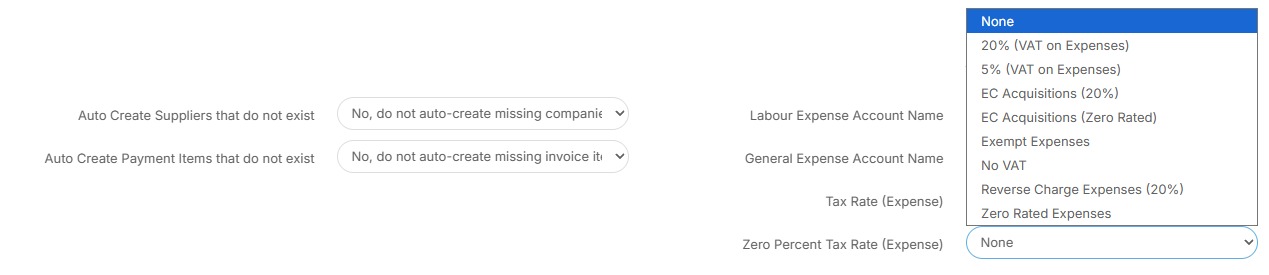
26. As with Invoice Settings, there are 2 options: "Auto Create Suppliers that do not exist" and "Auto Create Payment items that do not exist"
These will instruct Tracker to automatically create Suppliers or Payment Items that are not already in Xero, so if you would rather these be created manually in Xero first, set these to "No". Be aware however that this may result in payments being rejected if they are not found within Xero as Tracker sends payments.

27. Next you'll want to select an appropriate option from the "Labour Expenses Account Name" drop down. Select which is most appropriate for your organisation.
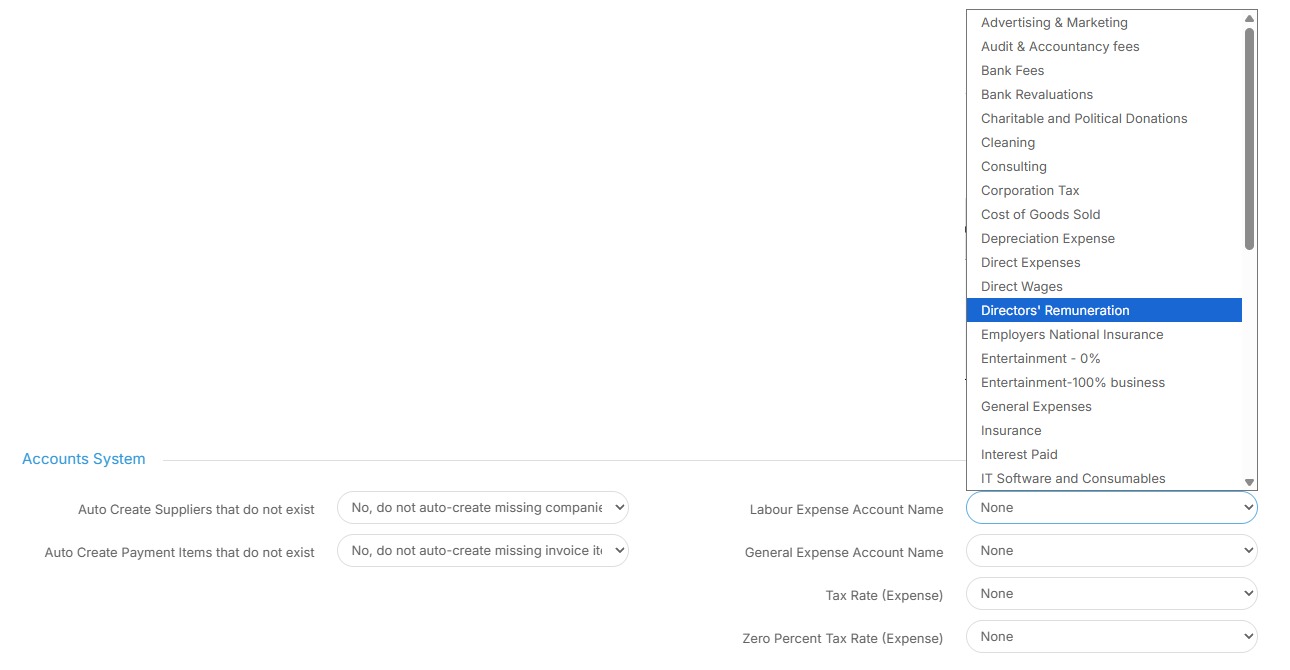
28. You have similar options to select under the "General Expense Account Name". Select which is most appropriate for your organisation.
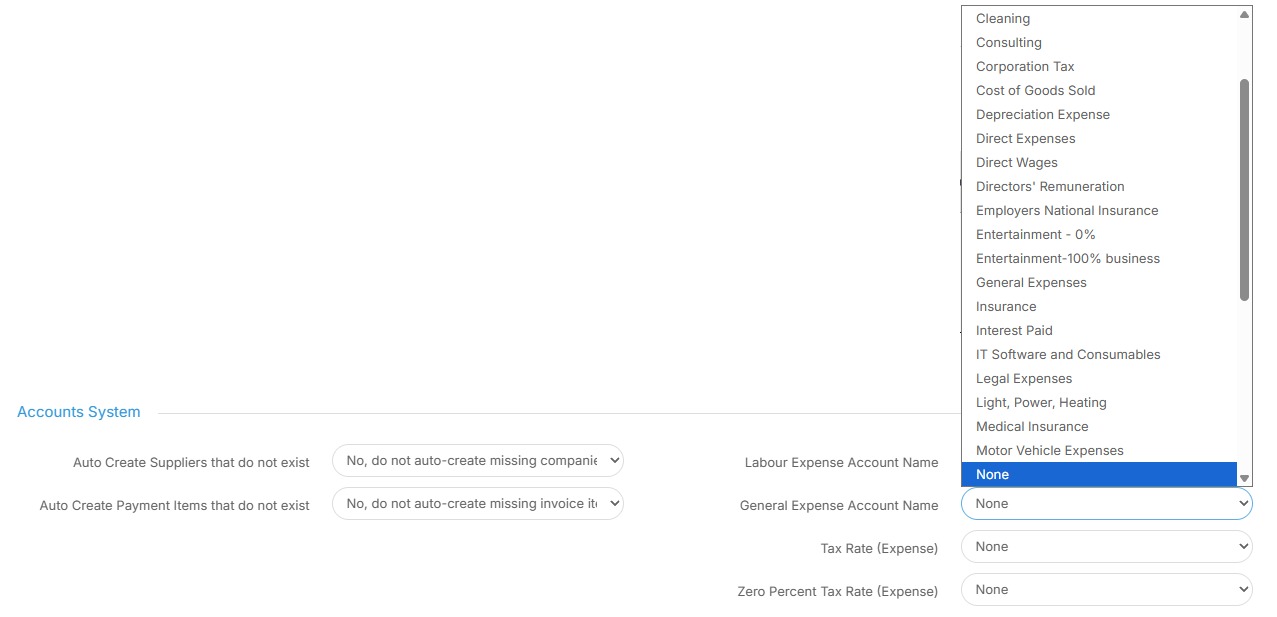
29. Choose your Tax Rate selecting which is most appropriate for your organisation.
30. Finally, select an appropriate setting under "Zero Percent Tax Rate".
31. Remember to scroll to the top and click "Save Settings".