LinkedIn Recruiter | Connected Projects
Create LinkedIn Recruiter projects directly from your Tracker jobs and leverage AI-powered candidate evaluation to streamline your hiring process.
Connected Projects and Hiring Assistant
1. Tracker supports LinkedIn's Hiring Assistant functionality through Connected Projects. In LinkedIn, Projects are organisational workspaces for tracking and managing candidates, and your Tracker Jobs can be connected to a Project for streamlined evaluation and management.
With this you’ll be able to use LinkedIn's Hiring Assistant. This uses AI to compare the job description (from your Tracker Job Profile block), the candidate's CV, and their LinkedIn profile to generate an Applicant Evaluation, helping you assess candidate suitability more efficiently.
Steps covered here build upon the functionality covered in Integrations | LinkedIn Recruiter (Workflow) documentation.
Note: access to LinkedIn’s Connected Projects is linked to your LinkedIn Recruiter licence.
Here are some of the key benefits of the LinkedIn Connected Projects and Hiring Assistant integration with Tracker:
-
Evaluate ATS applicants and LinkedIn candidates side by side - Connected Projects allows Hiring Assistant to evaluate applicants from Tracker alongside those sourced from LinkedIn, including resume data. Previously, these two pools of candidates lived in completely separate places, now they are in a single, central view.
-
AI-generated qualification criteria - Qualifications are automatically generated using information from the connected job requisition, saving recruiters from having to manually define evaluation criteria, though they can edit these if needed.
-
AI-powered applicant evaluation - Hiring Assistant can evaluate LinkedIn profiles and Tracker resumes against recruiter-defined qualifications, generating structured summaries of candidate suitability.
-
Candidates are automatically categorised for you - Hiring Assistant sorts applicants into "Top Fit", "Might be a Fit", or "Might Not be a Fit", so you can quickly prioritise who deserves your attention first.
-
Evaluation results feed back into Tracker - once Hiring Assistant has assessed a candidate against the role's requirements, so your Tracker record reflects the AI-generated suitability rating without any manual update needed.
-
More time where it matters - save hours per role by letting Hiring Assistant handle the heavy lifting of screening, so you can focus on the candidates and conversations that count.
The Tracker Candidate’s Primary CV
2. With Connected Projects, Tracker automatically sends the Primary CV from each candidate linked to the Tracker Job to LinkedIn, making it available directly within Persons LinkedIn's ATS tab.
A candidate's Primary CV is stored in the Documents area of their record and is marked with a star in the Primary column.
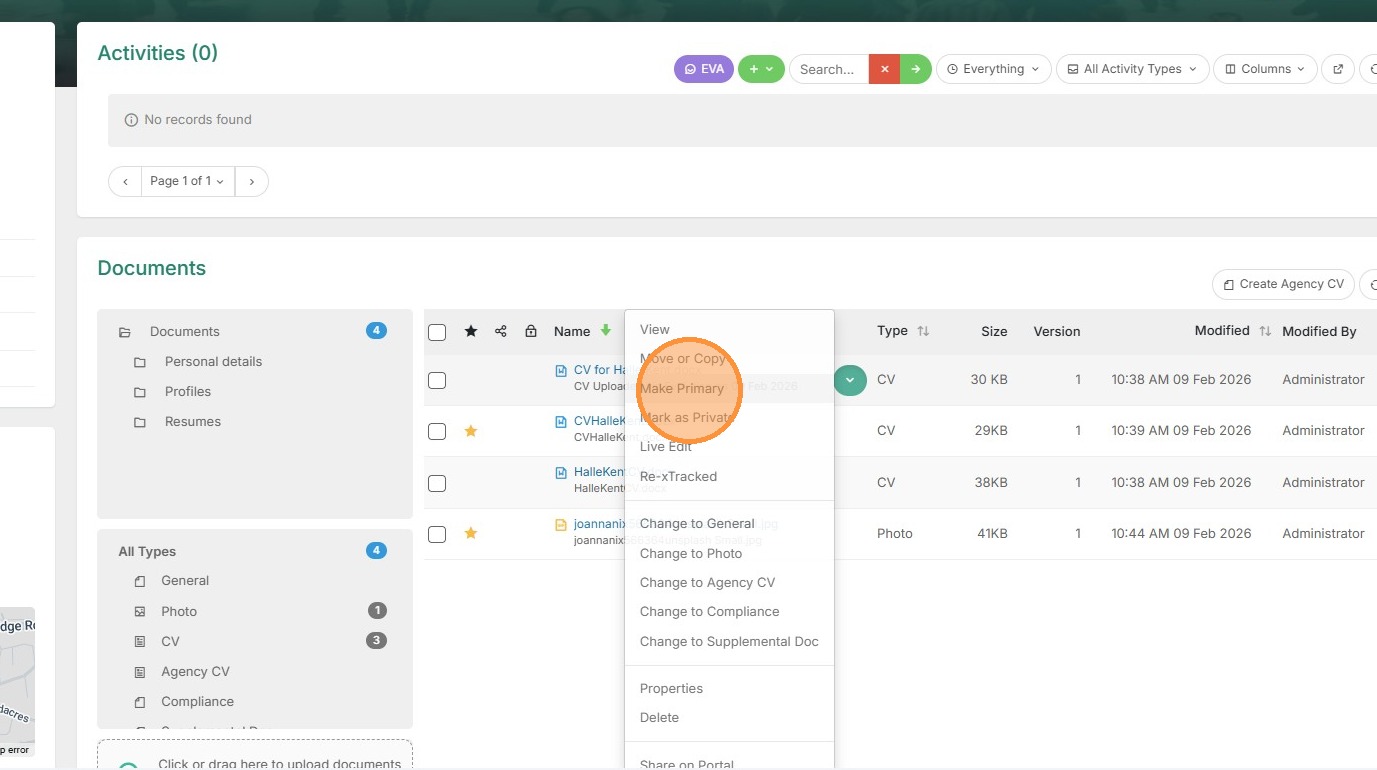
You can change the CV is primary via the dropdown menu next to any other CV.
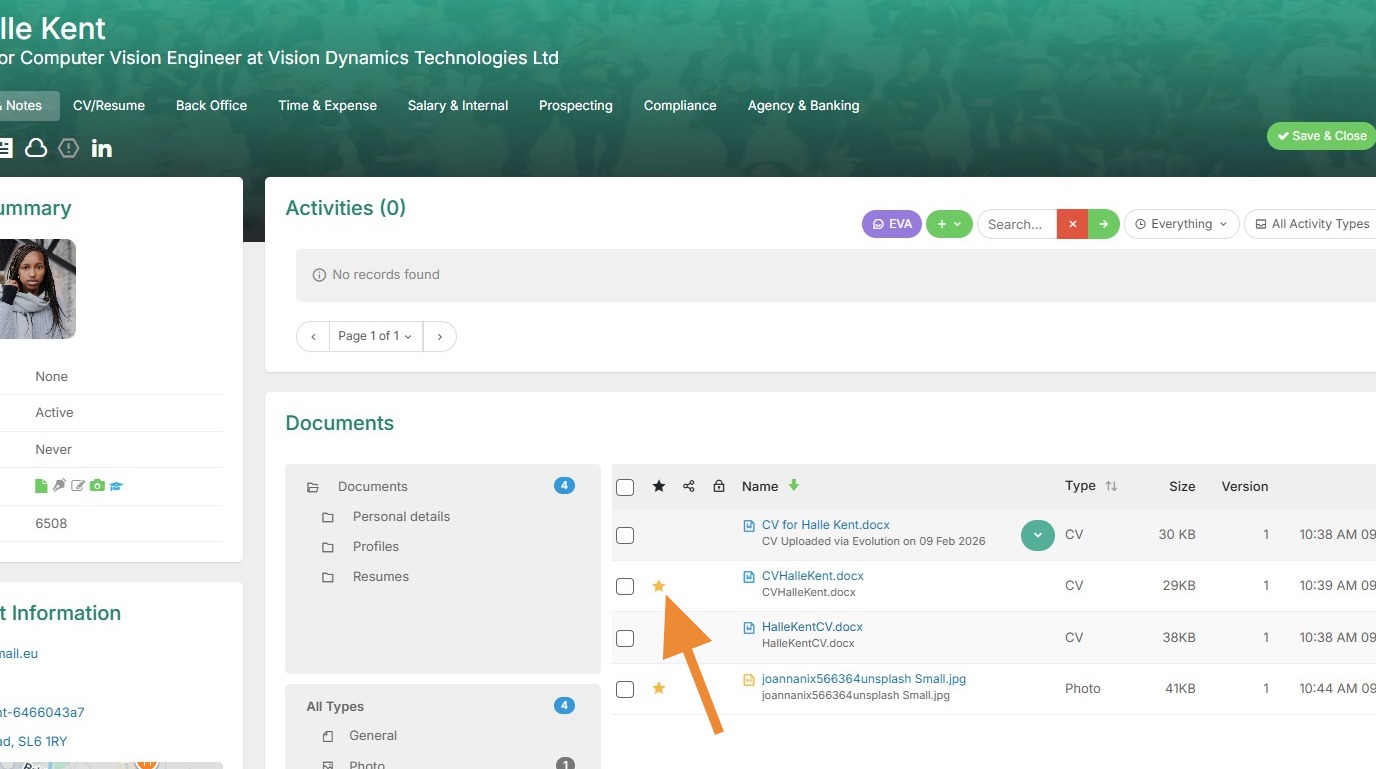
3. Select here to "Make Primary".
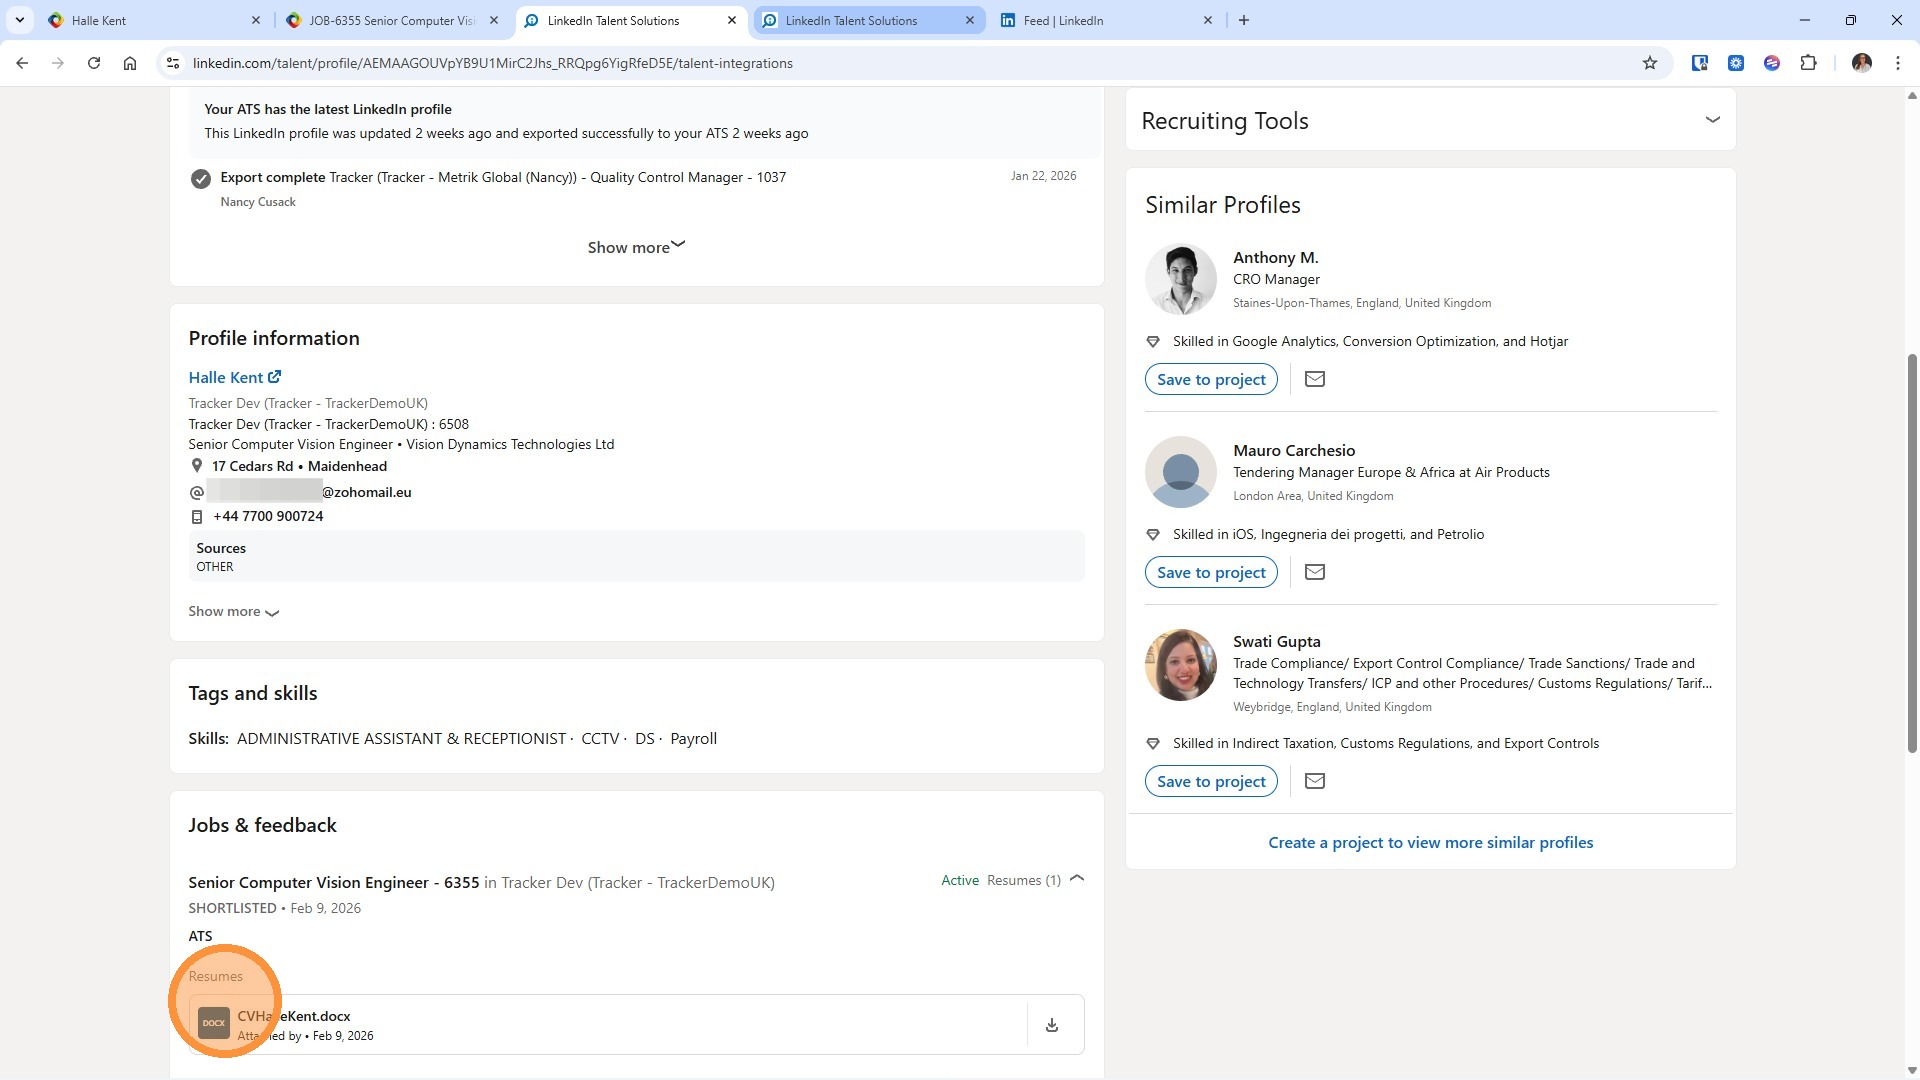
4. The Primary CV will then show in the LinkedIn ATS tab under each job the candidate is linked to (e.g. shortlisted).
Connecting your Jobs and Creating Your Project
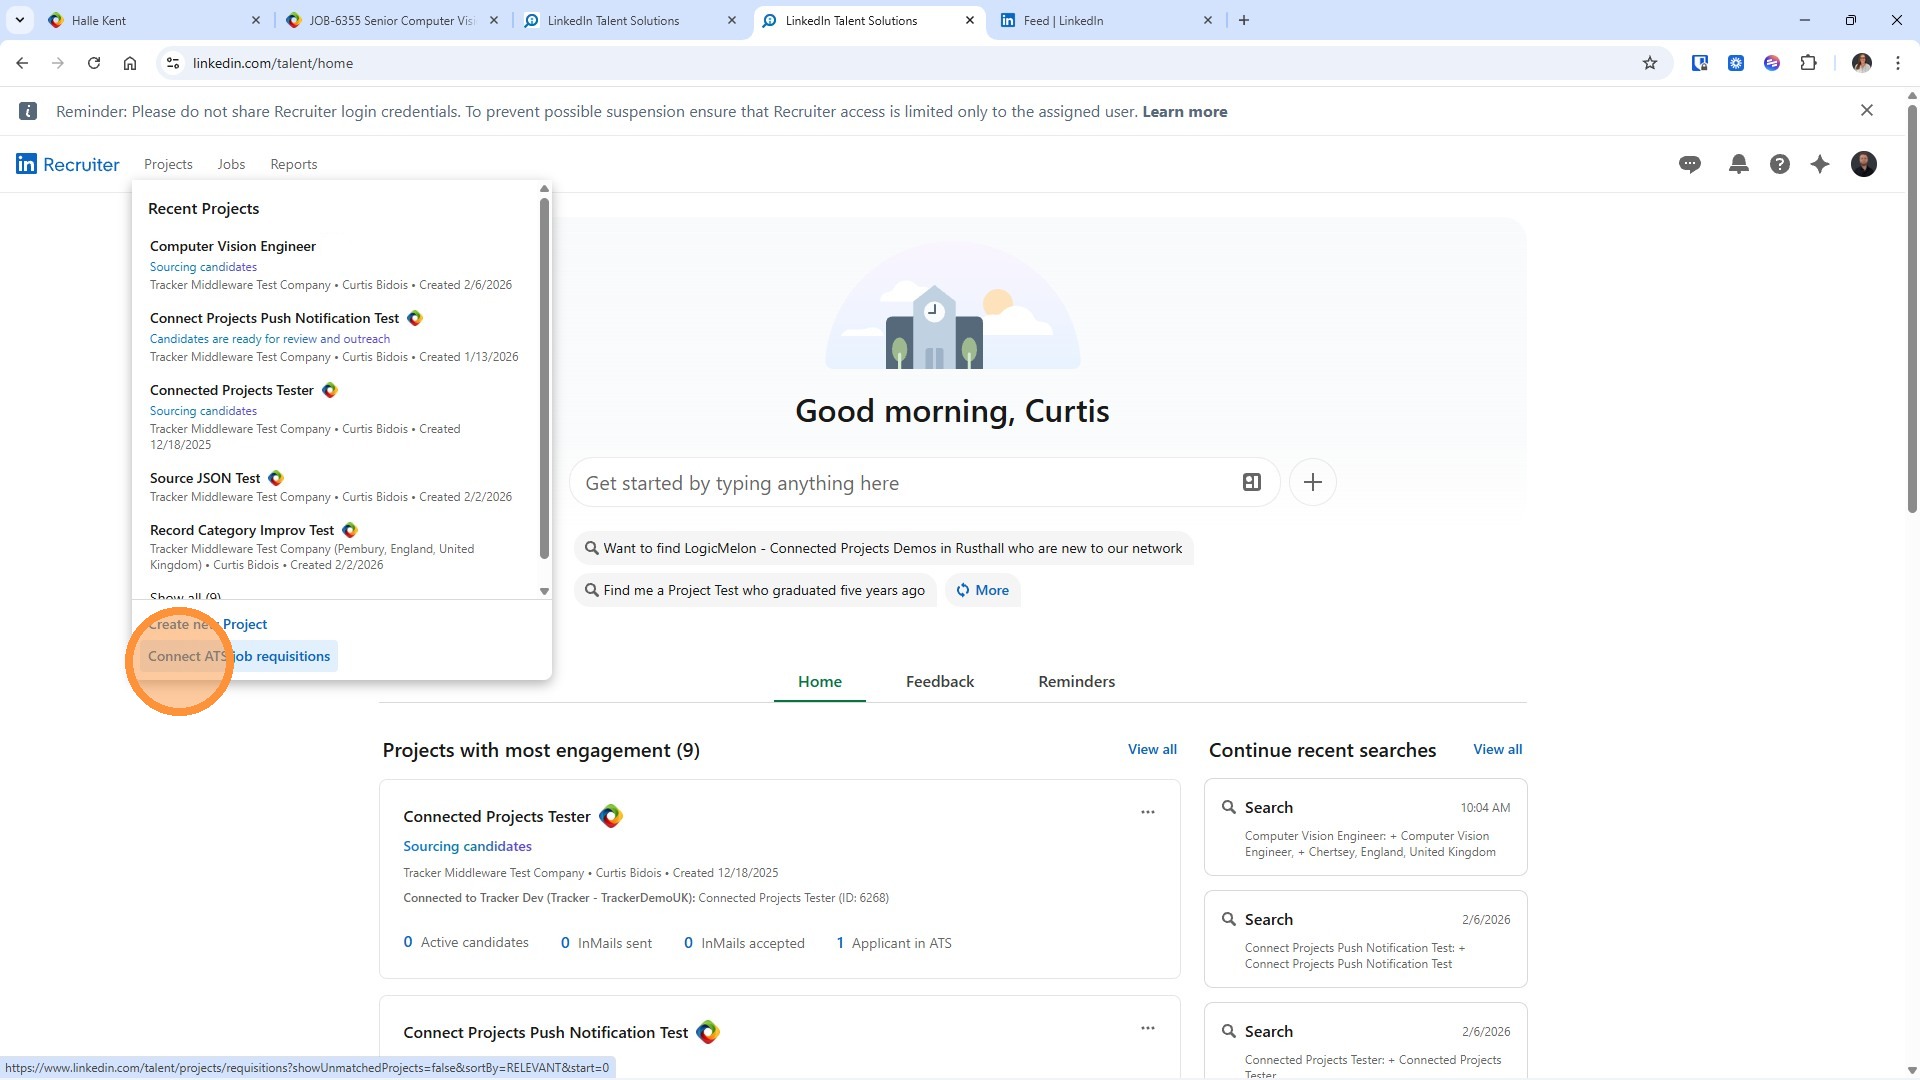
5. To begin working with Projects, navigate to the Projects menu.
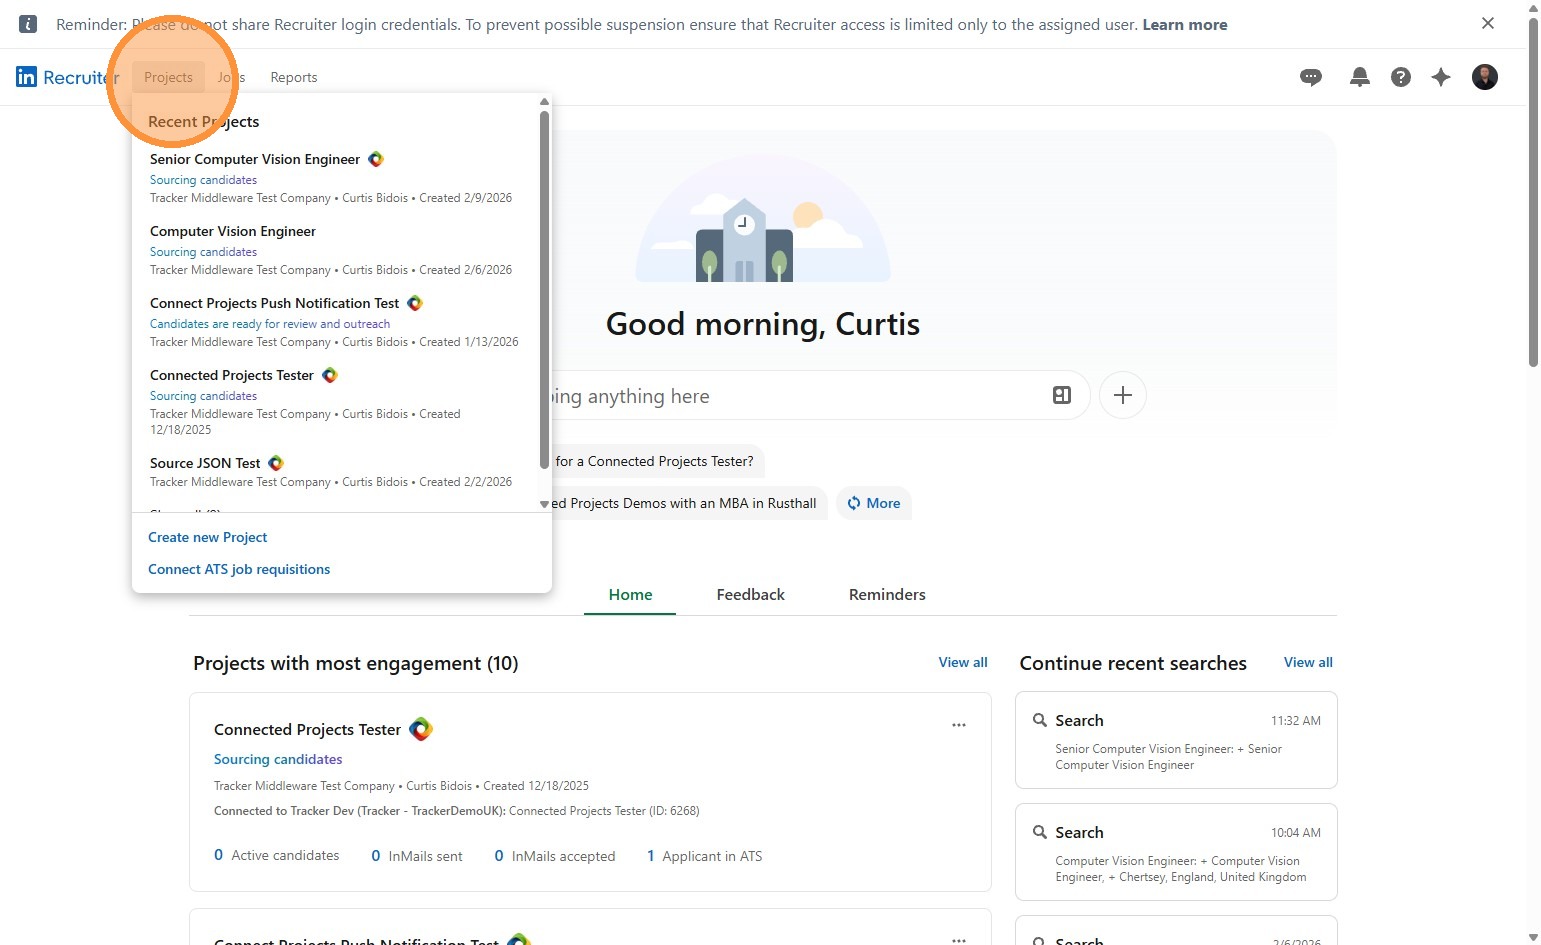
6. Select Connect ATS Job requisitions.
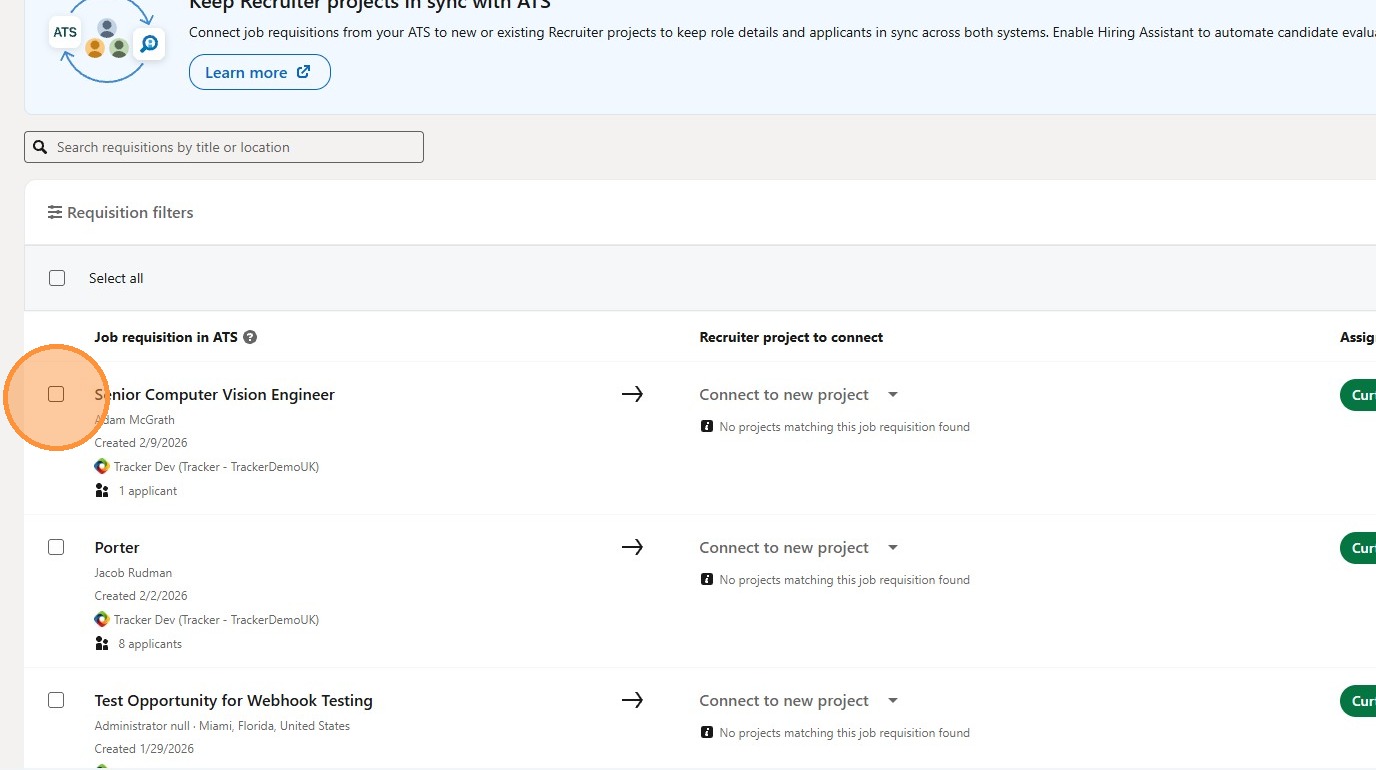
7. This displays a complete list of all your Jobs synced from Tracker, these will be the jobs you are an owner on. If you are a LinkedIn Recruiter Administrator you will see all jobs, and be able to assign them to other users.
You'll see which database each job is linked to (helpful if you have more than one contract with LinkedIn), along with helpful indicators showing how many Candidates have been shortlisted for each position.
If your jobs have already been linked to a Project that will be detailed here, and for those not already linked you can connect to a Project.
Simply tick the Job you want to create a project for—and if you need to work on multiple jobs at once, you can tick more than one and multiple projects will be created in the next step.
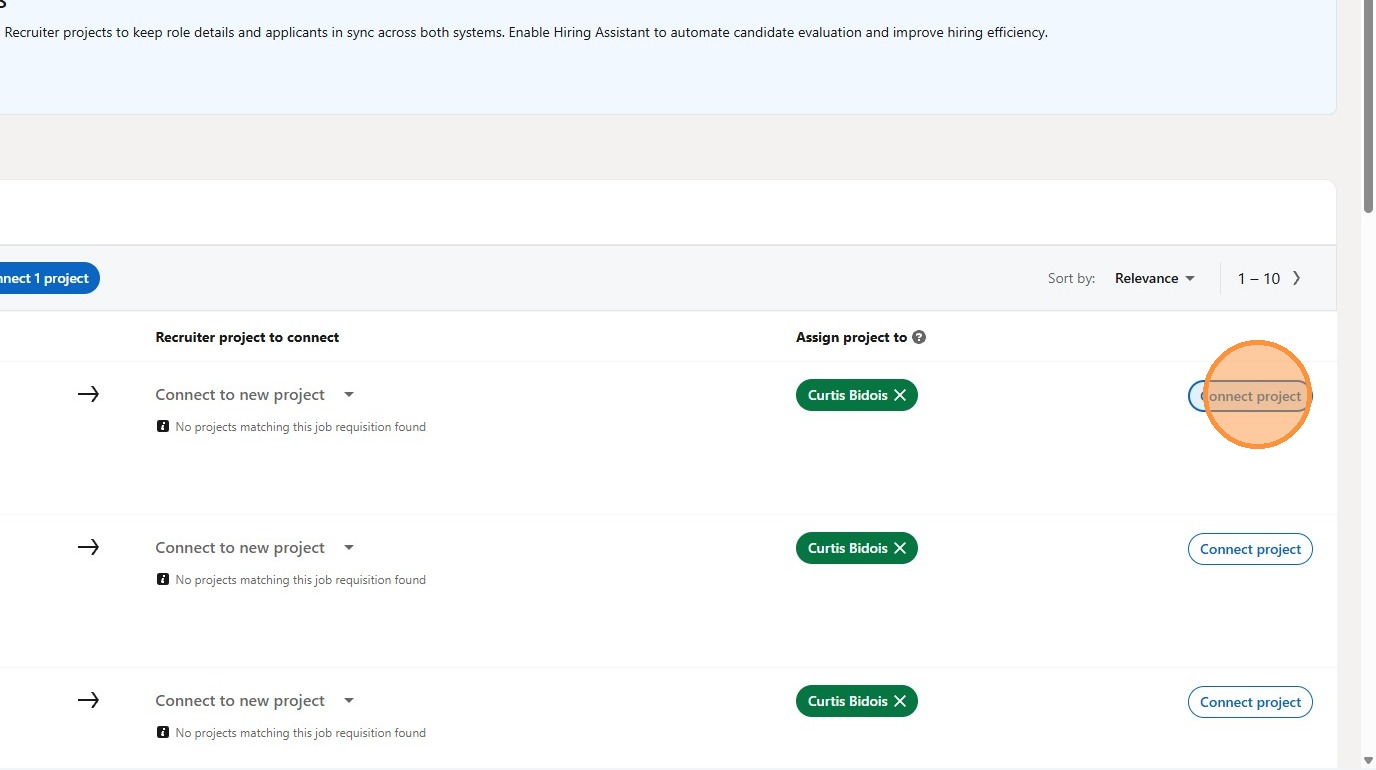
8. Once you've made your selection, click Connect Project.
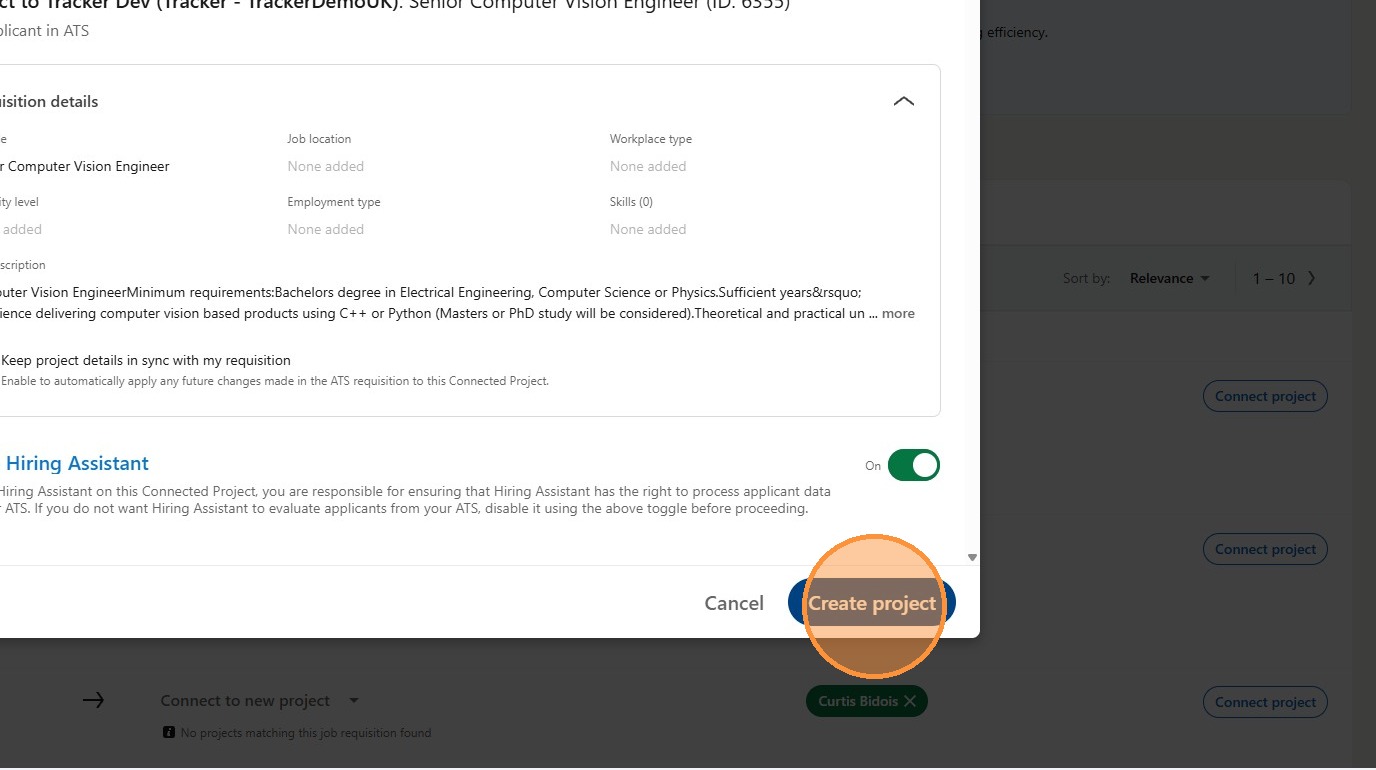
9. The Create New Project screen gives you a clear overview before you commit.
You can expand or collapse sections to see details about the job, but make sure you've got the Enable Hiring Assistant toggle switched on—this is where the AI evaluation happens.
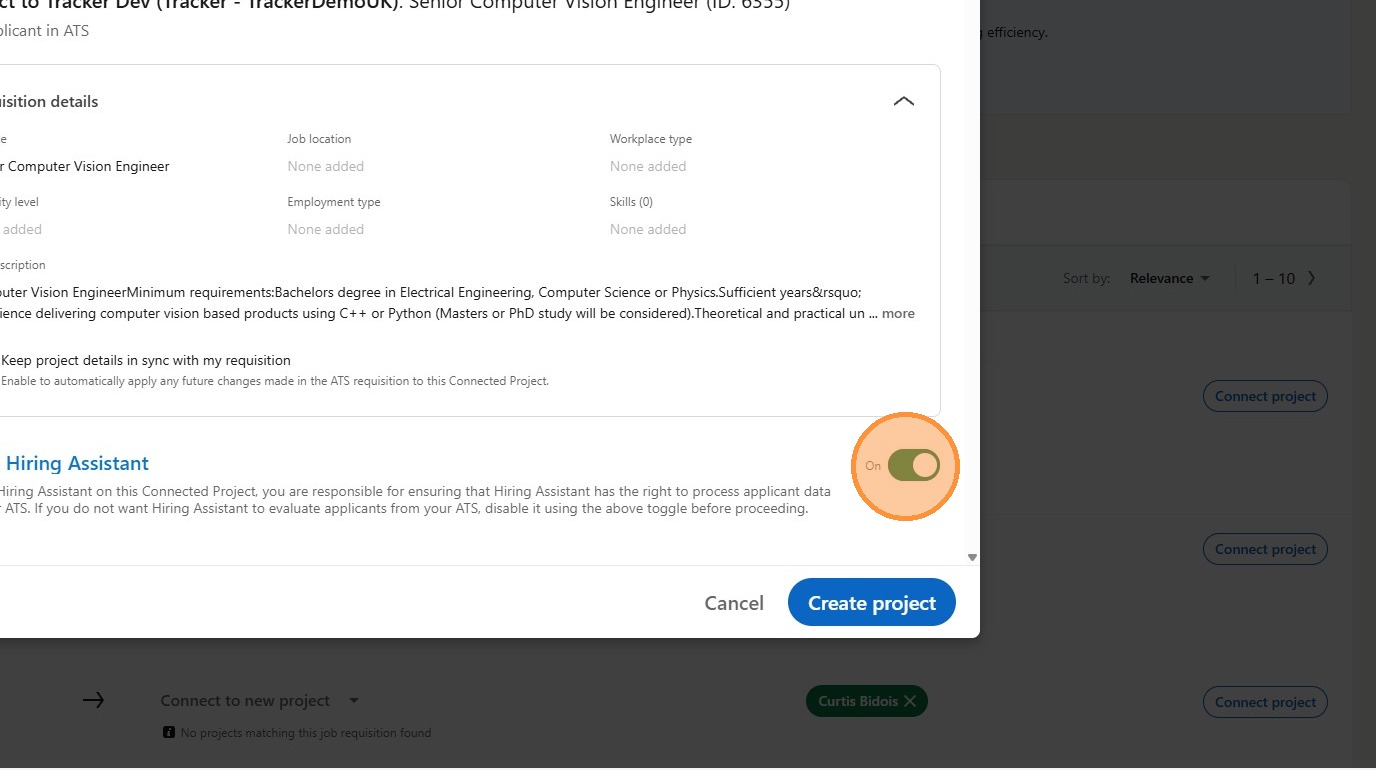
10. When you're ready, click Create Project, and you'll be taken straight to the Hiring Assistant window.
Working with the Hiring Assistant
11. The Hiring Assistant window is split into two helpful panels:
The Right Hand Side displays all the data from your Job, including any information that might be missing.
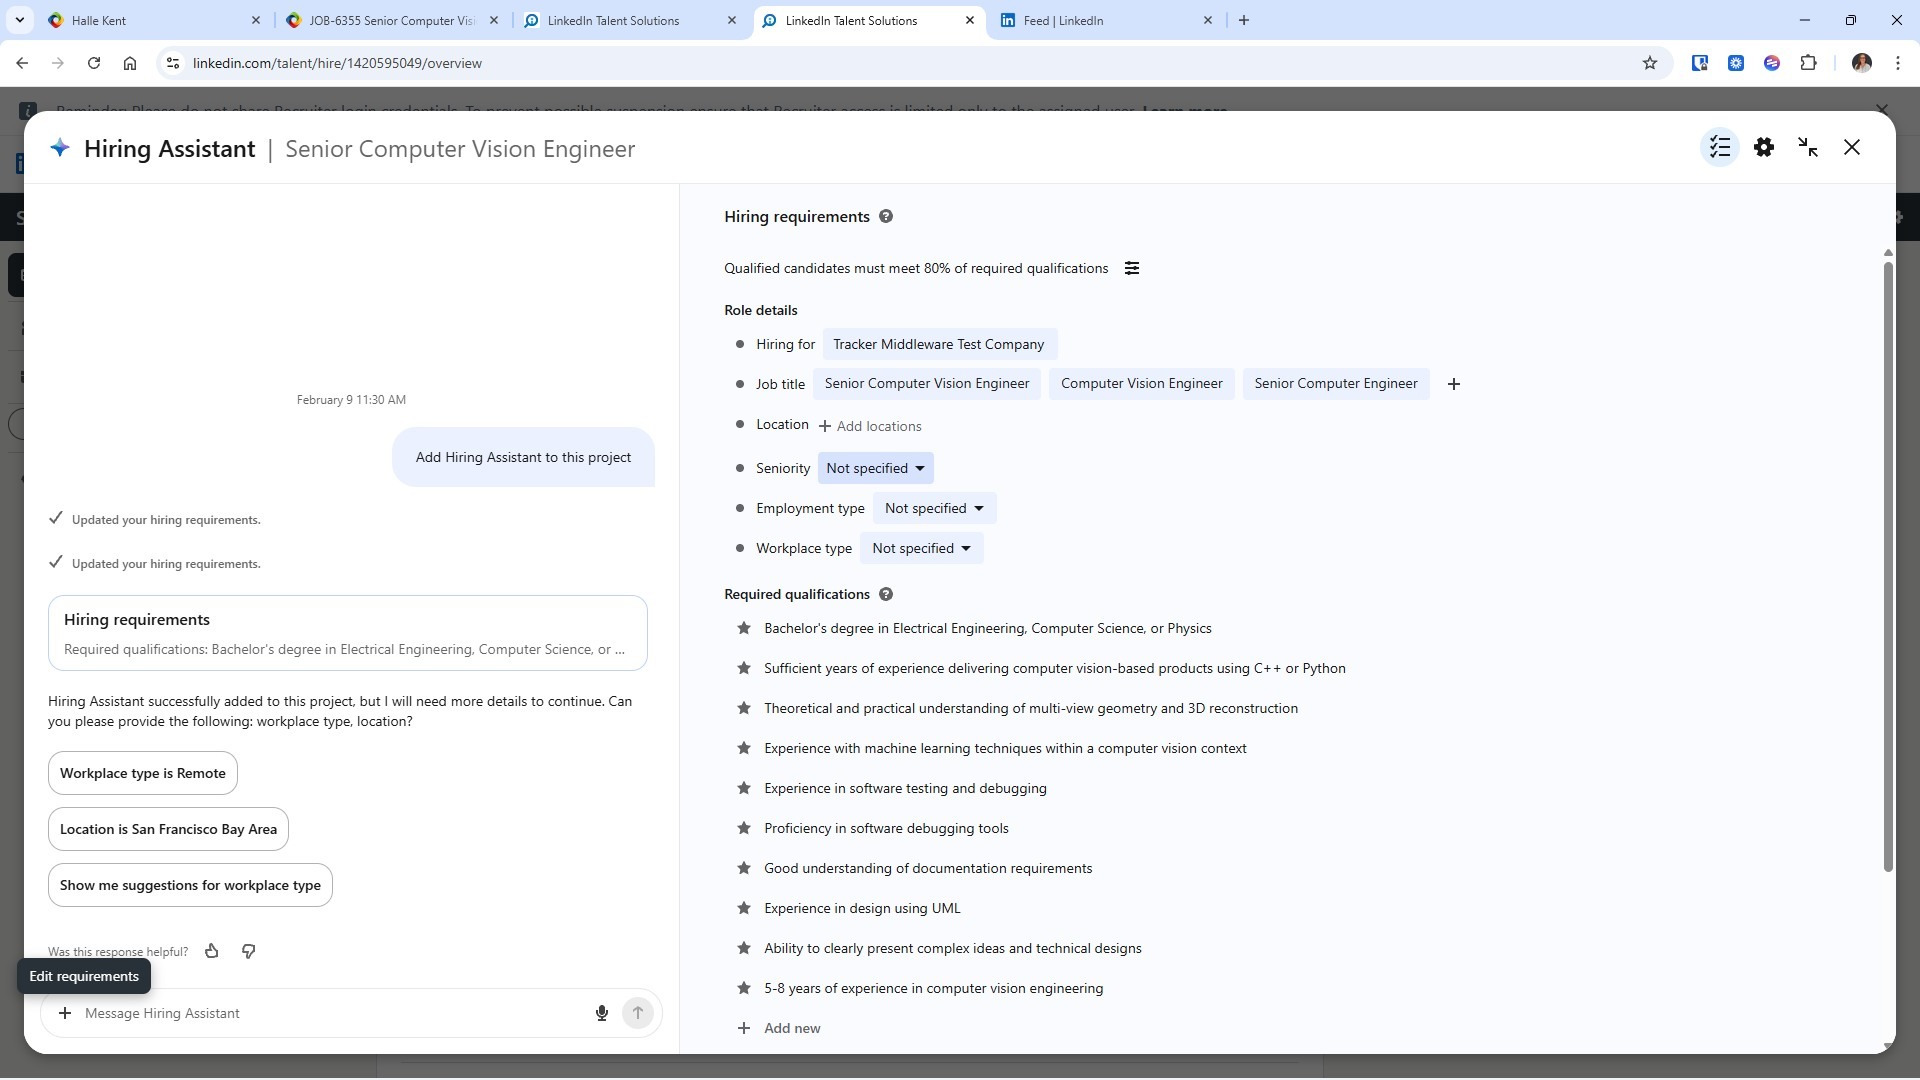
12. The Left Hand Side is your AI Chat/Prompt area, and it's pretty clever.
It will flag any missing data that needs to be completed before it can run properly.
You can either click directly on those prompts to complete them,
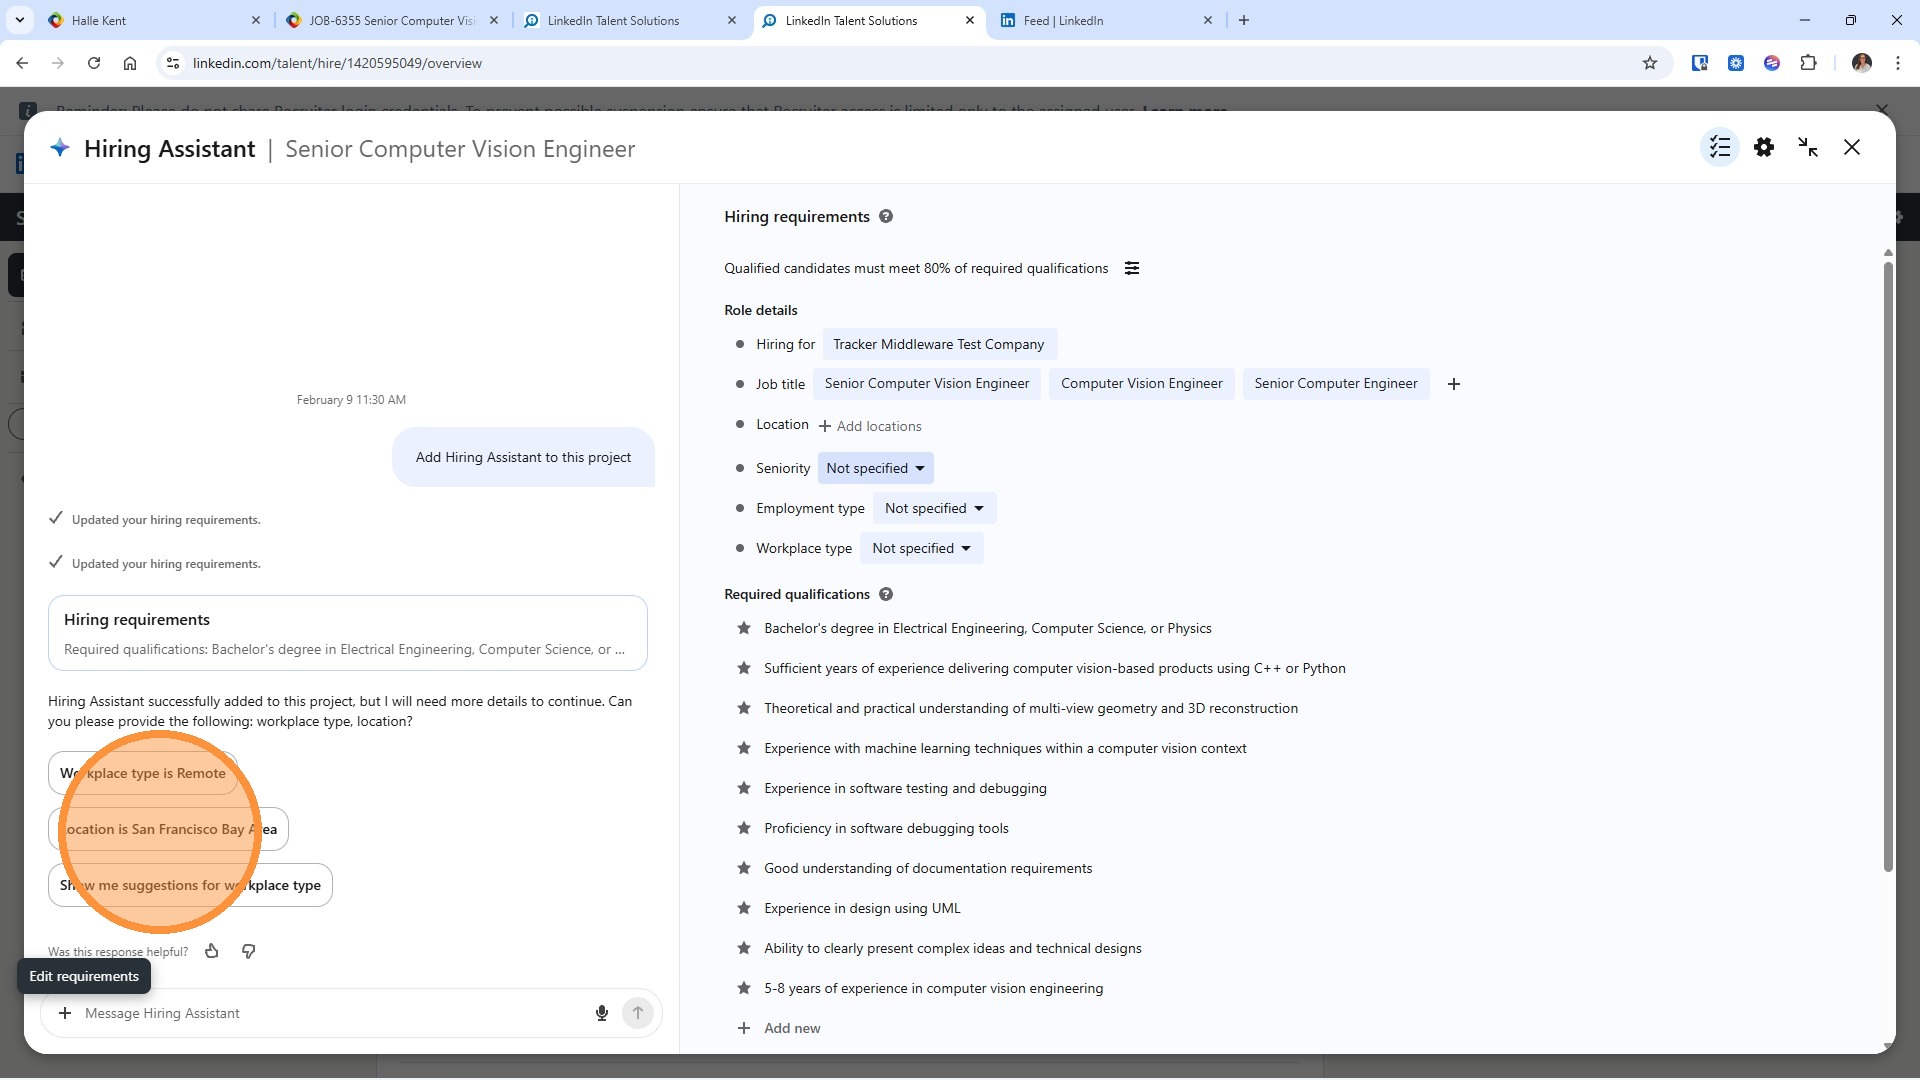
13. or fill in the information using the right-hand panel—whichever works best for you.
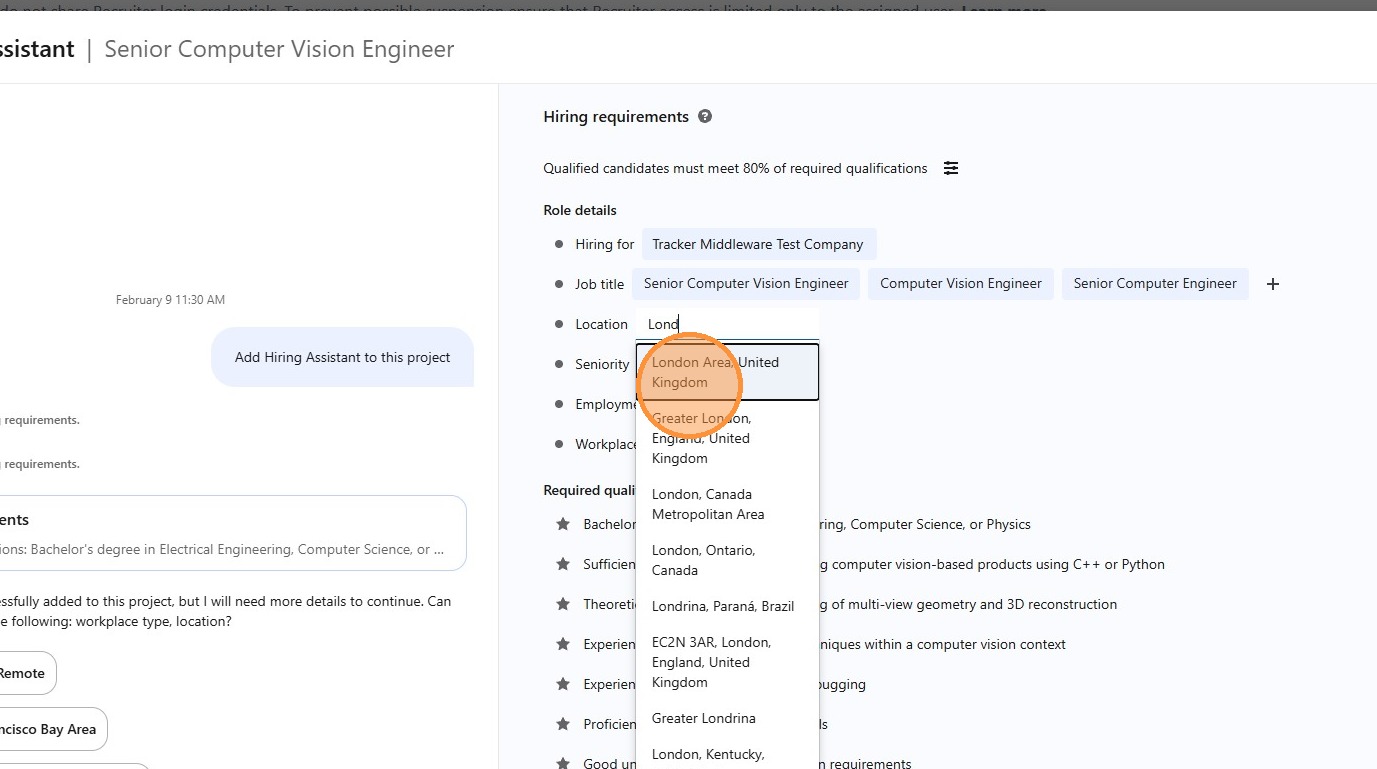
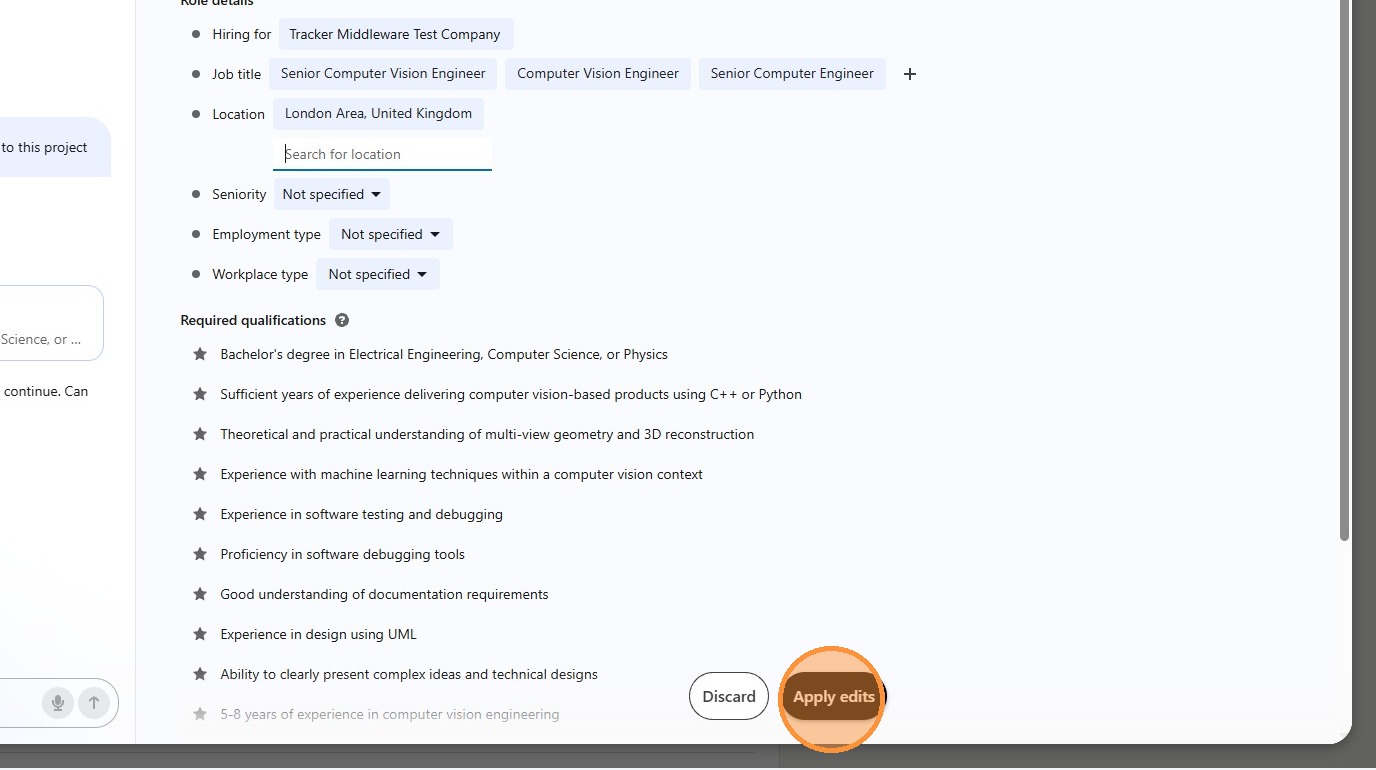
14. The quality of your results depends on the quality of your requirements. The more detail you add here, the smarter your Hiring Assistant becomes.
Once you've entered everything, click Apply Edits.
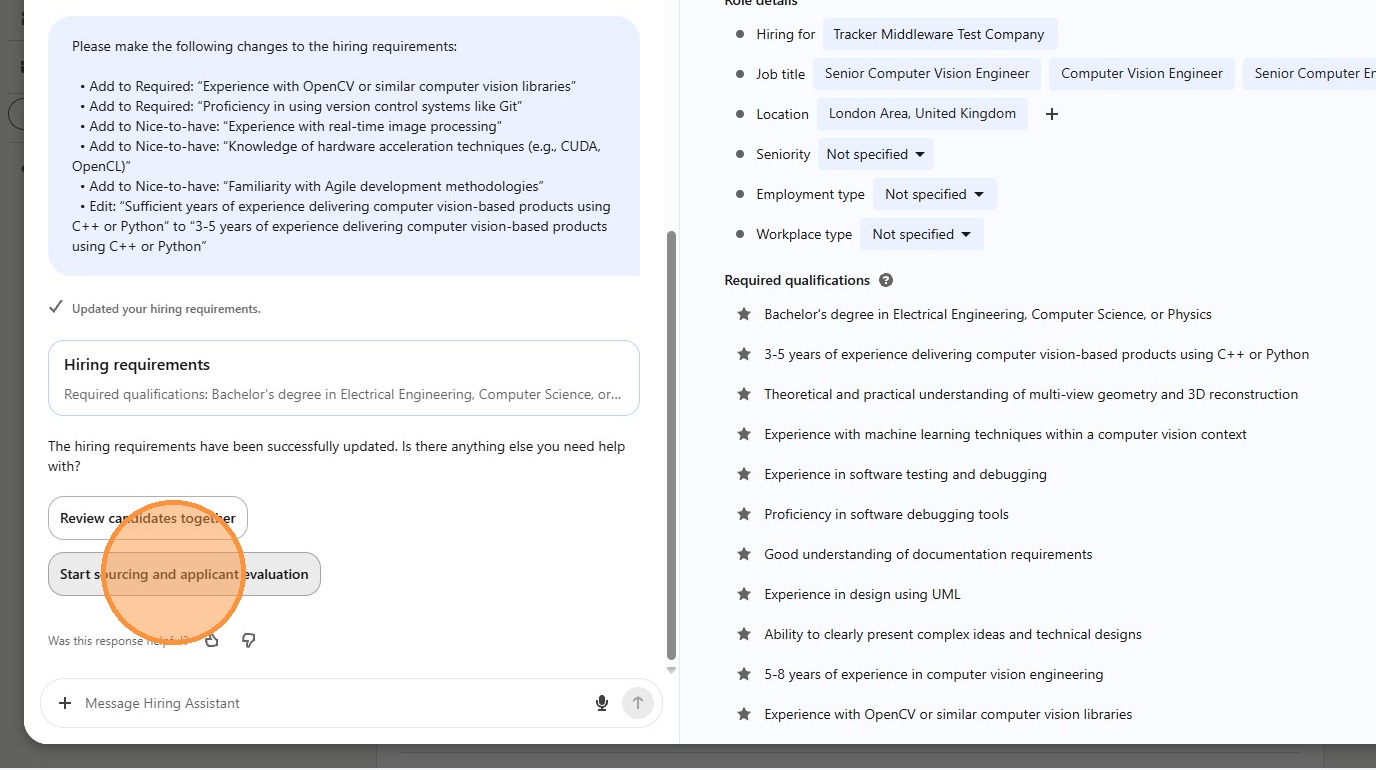
15. The left-hand panel will then present your next step options, which may include:
Help evaluate my hiring requirements - This is a LinkedIn feature that evaluates your project for potential improvements
Review Candidates Together - This is a LinkedIn feature that will give you a few example candidates for you to confirm it has understood your requirements.
Start Sourcing - This is a LinkedIn feature that searches LinkedIn Profiles (not the candidates you have already synced with Tracker and linked to your jobs), you may have LinkedIn credits available for this separately from Hiring Assistant.
Applicant Evaluation – This is where this integration comes into play as its the part that evaluates the candidates shortlisted to your Tracker database.
The AI will take each candidate's Primary CV and LinkedIn Profile, and combine them with the hiring requirements from the assistant (aka from the job description in Tracker) to deliver the Evaluation.
Viewing the Evaluations
16. To view the evaluations generated by the Hiring Assistant you will need to either minimise or close the Hiring Assistant from the top right of the window.

17. This will show the Project window and the menu, here expand out Talent Pool.
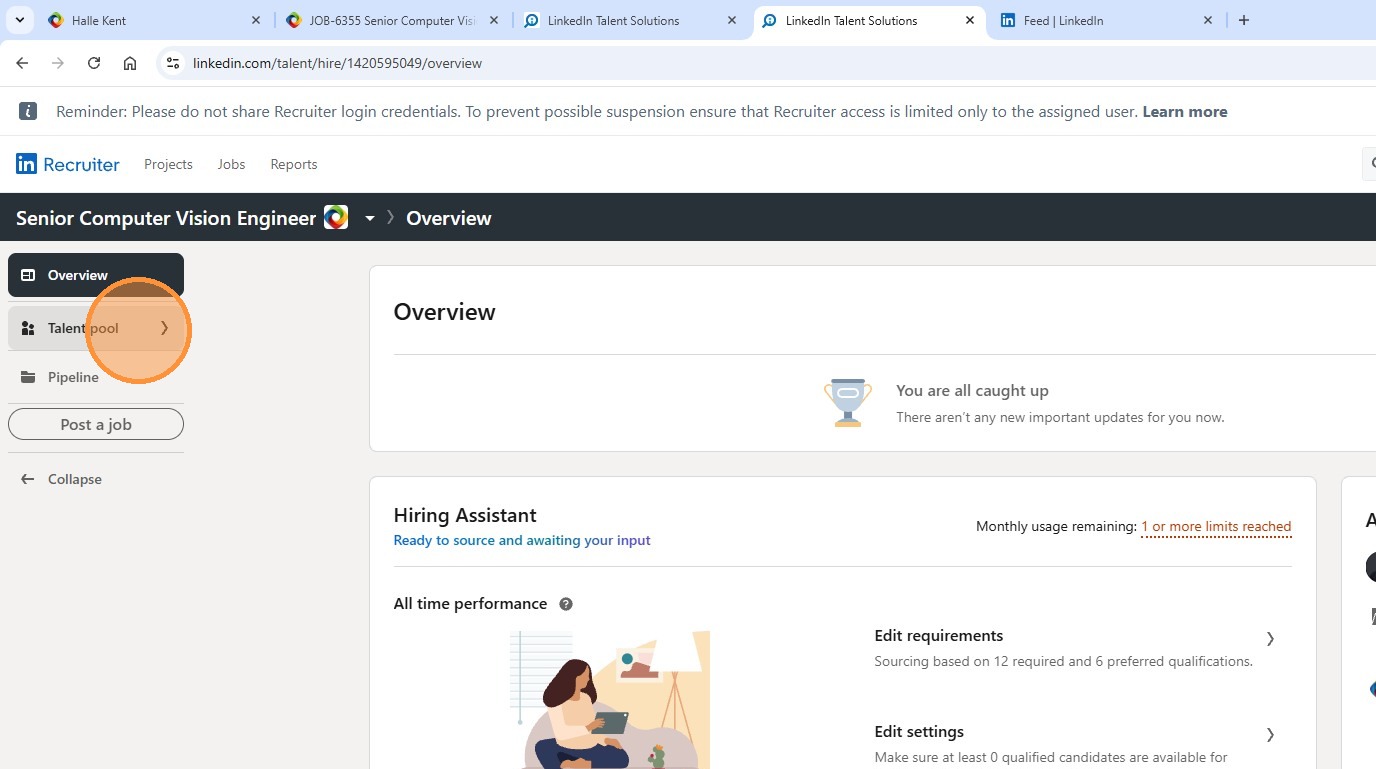
18. Click "Applicants"
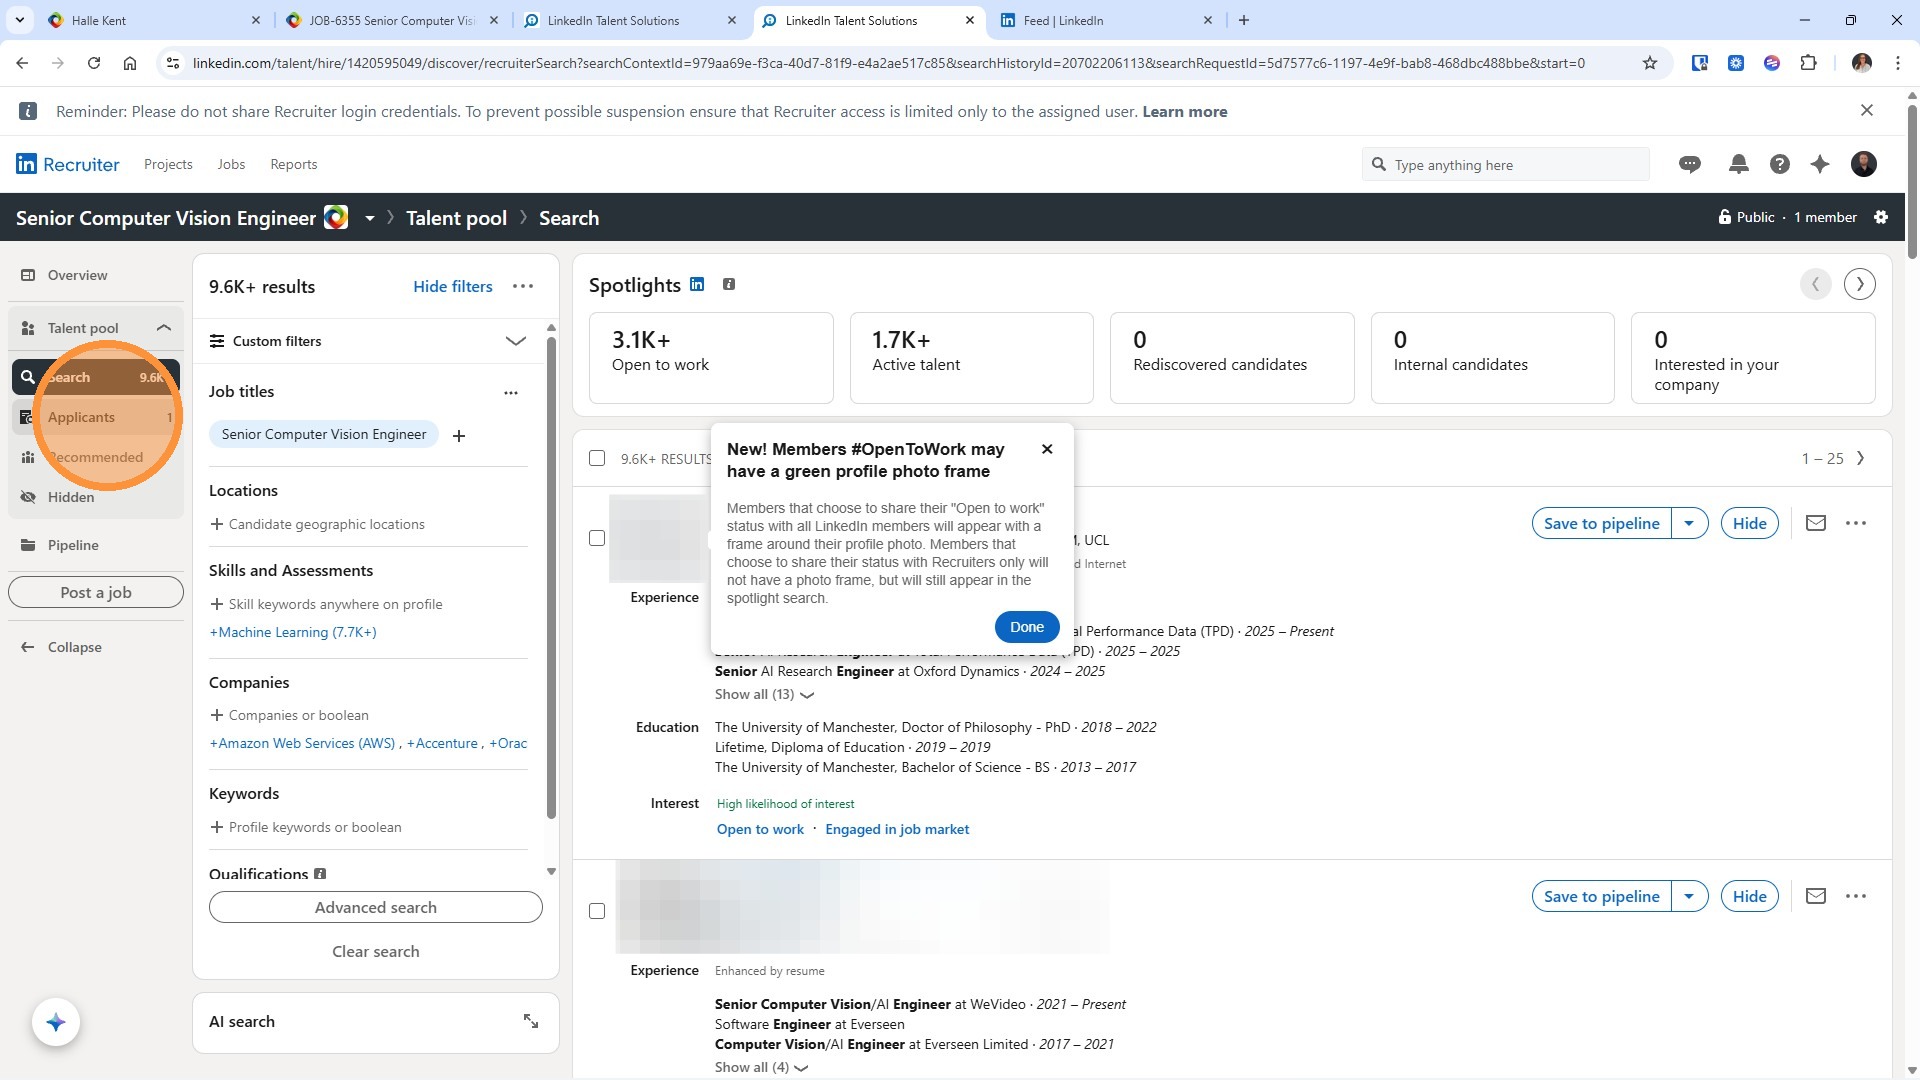
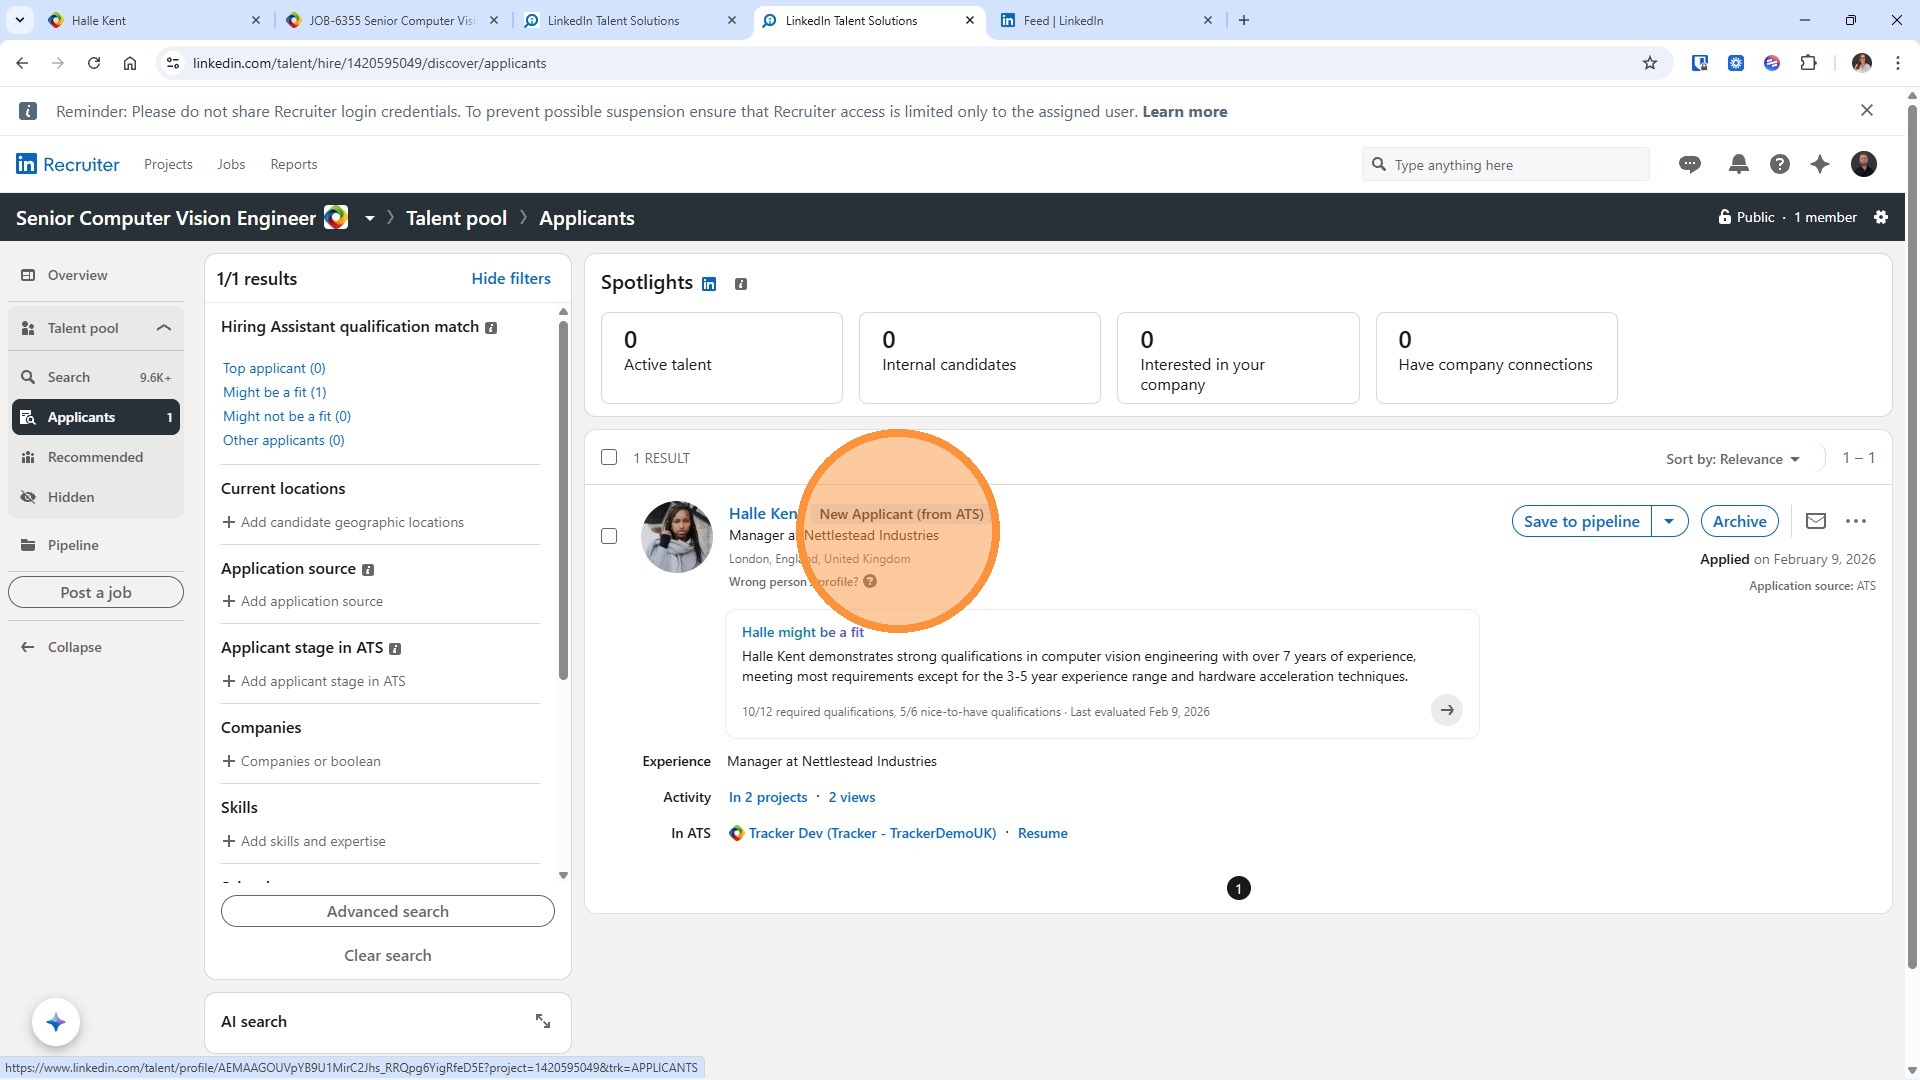
19. These are the Evaluations for the candidates you have shortlisted to the job in Tracker (with whom you have synced via the integration, and if you have the functionality, sourced applicants will show here too. Use the search filters on the left to refine your results further.
With the Evaluation you will get the following
-
An AI summary of application evaluation
-
A ranking/rating which will be one of: Might be a Fit, Might Not be a Fit, or Top Applicant. These ratings also appear in Tracker, we will see this shortly.
-
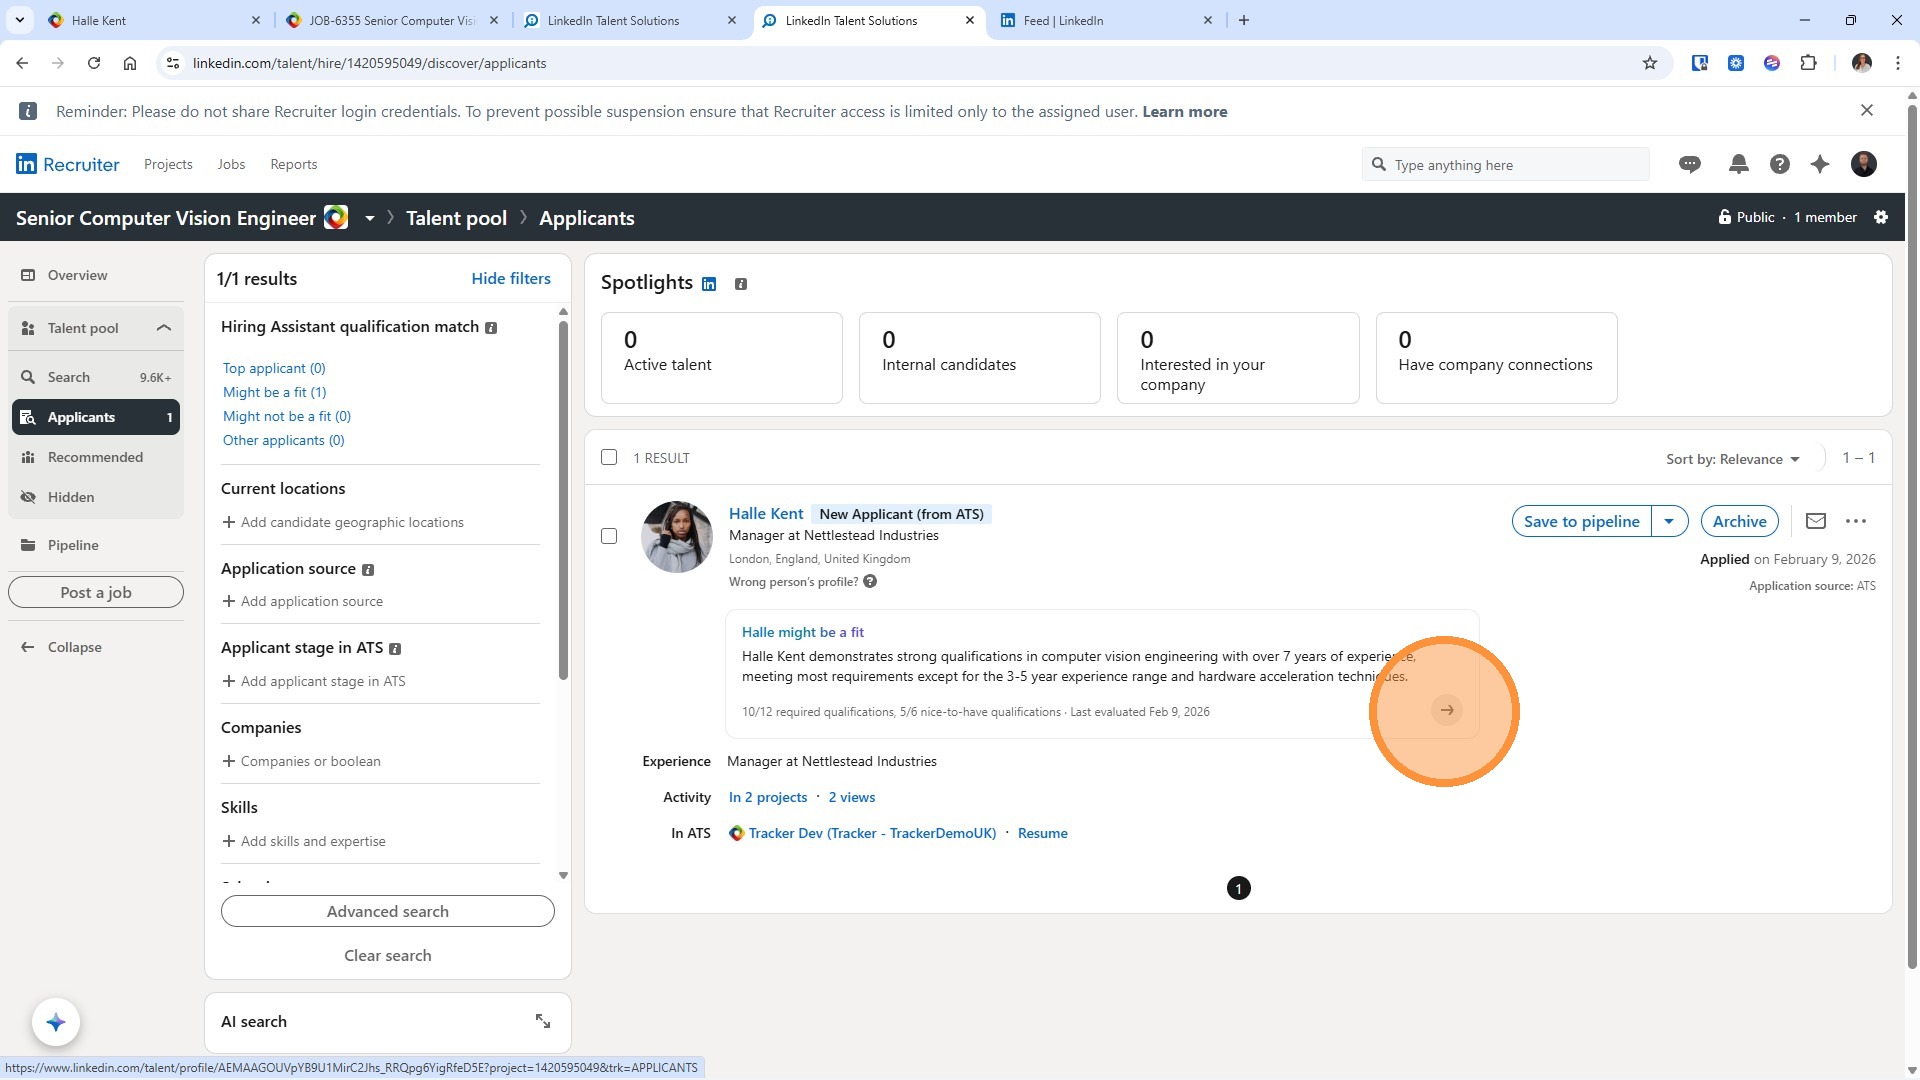
Access to the CV right there in the interface...
20. ... and a detailed Summary with an arrow that opens the candidate's LinkedIn profile
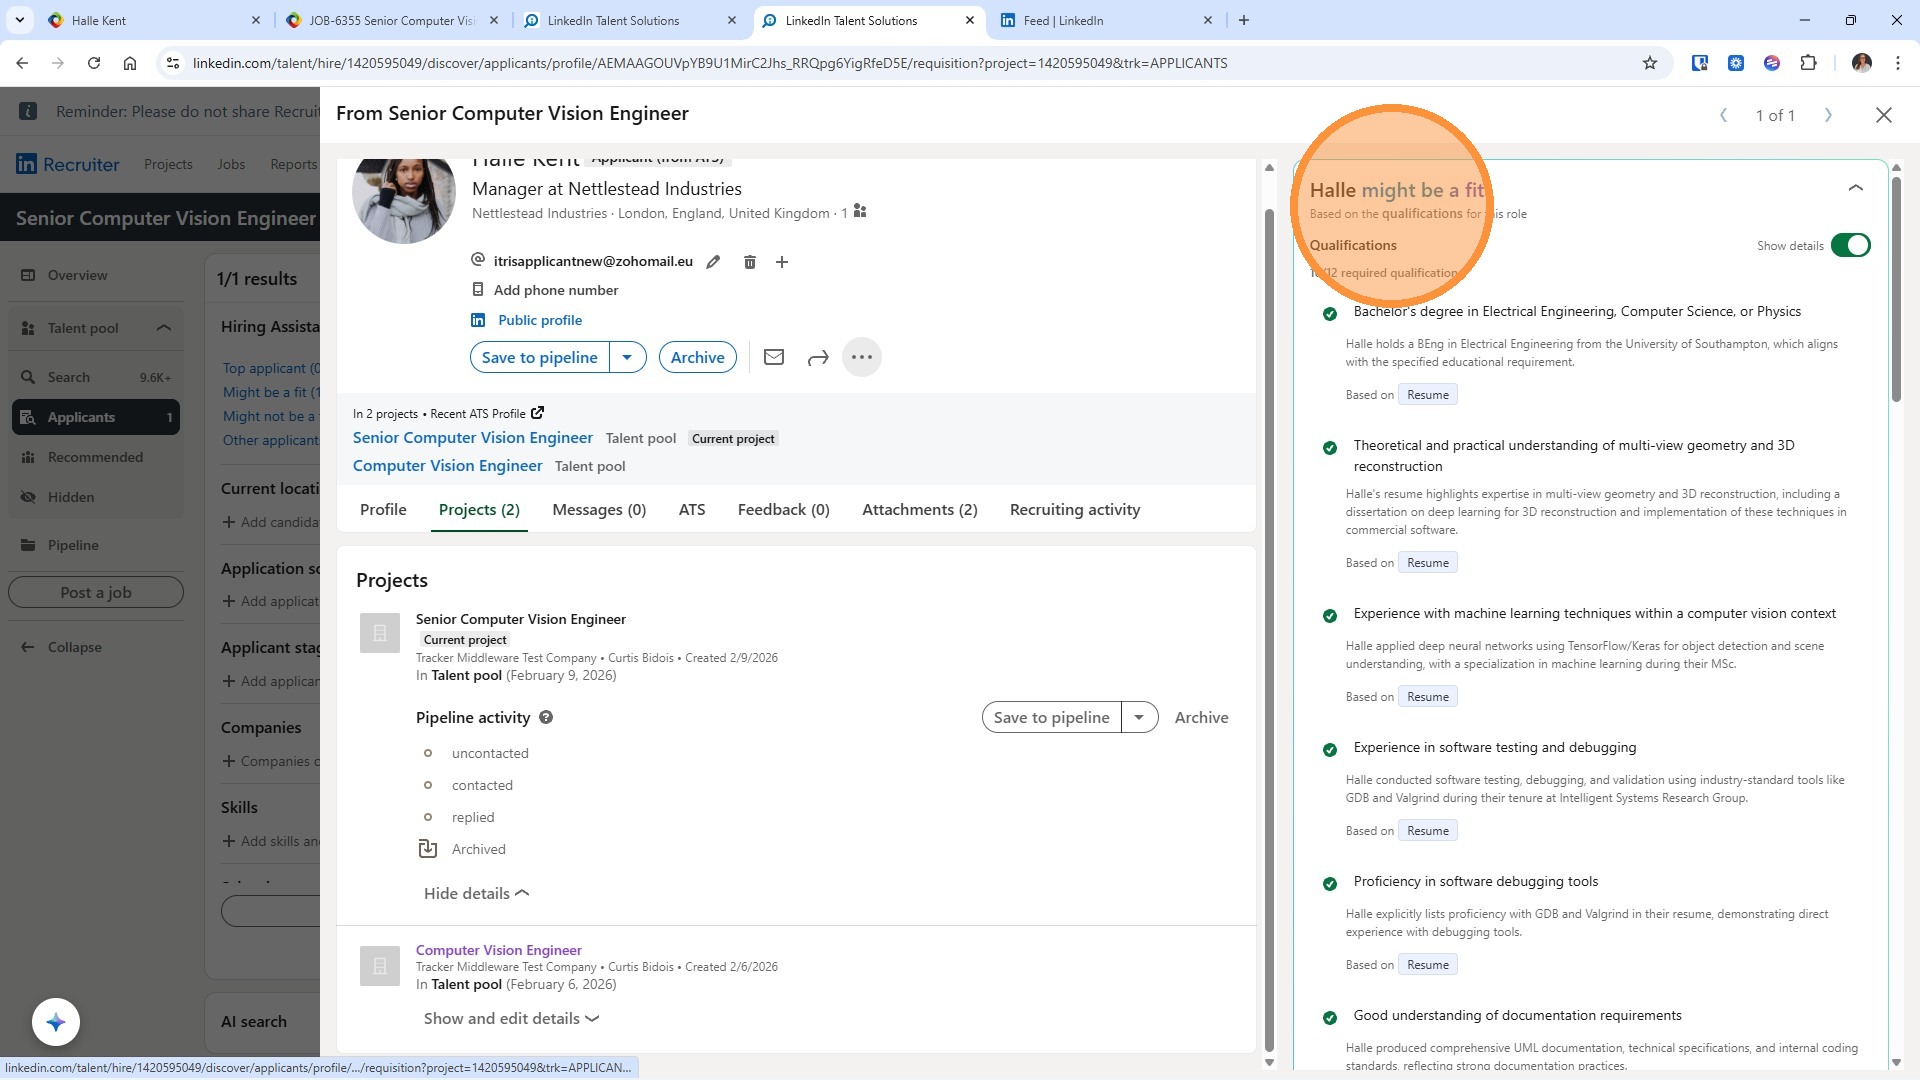
21. When you click through to the LinkedIn profile, you'll see the evaluation in even more detail in a pop-out on the right-hand side. You can tab between candidate evaluation summaries, making it easy to move through your results without losing your place.
You can toggle on/off to show more details.
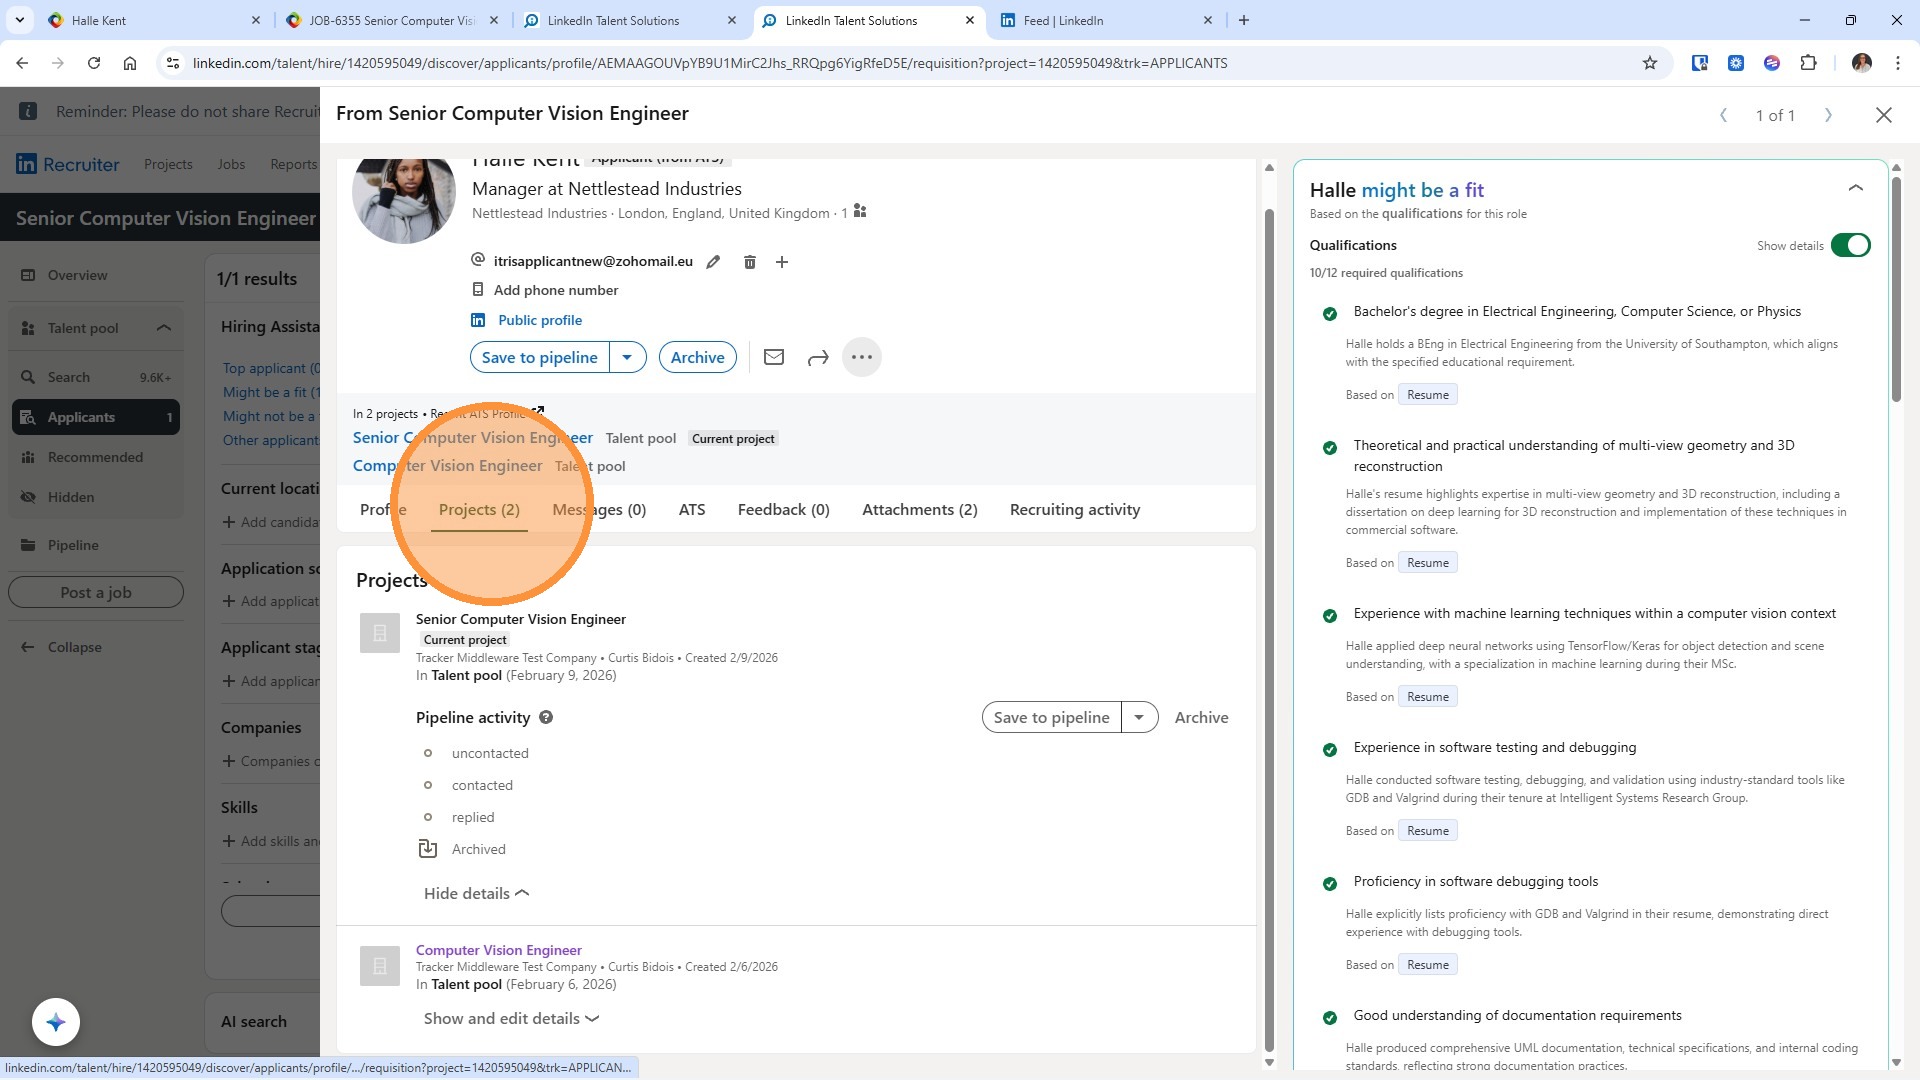
22. There's a Projects Tab that displays all the projects the candidate is linked to.
23. If you're using sourcing, you'd use the Export to ATS option to create and shortlist candidates, which will automatically add them to the LinkedIn Project.

How Evaluations Appear in Tracker
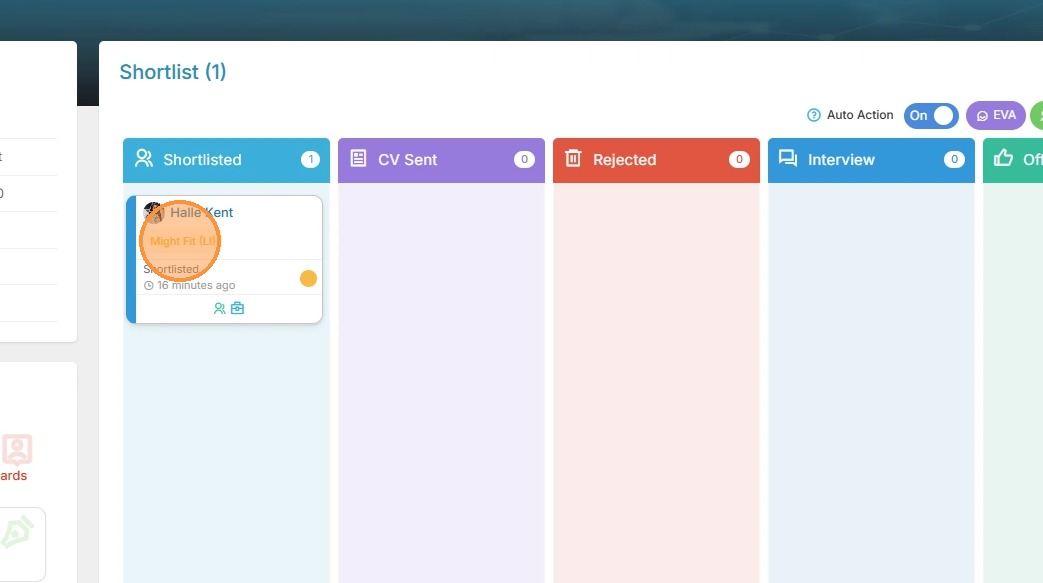
24. Back in Tracker, the integration keeps everything nicely connected:
A Category is added to the shortlist card—this is essentially a system category, so you won't be able to manage it via Tools & Settings Categories
25. The Evaluation is added as an Activity against the job and linked to the candidate
