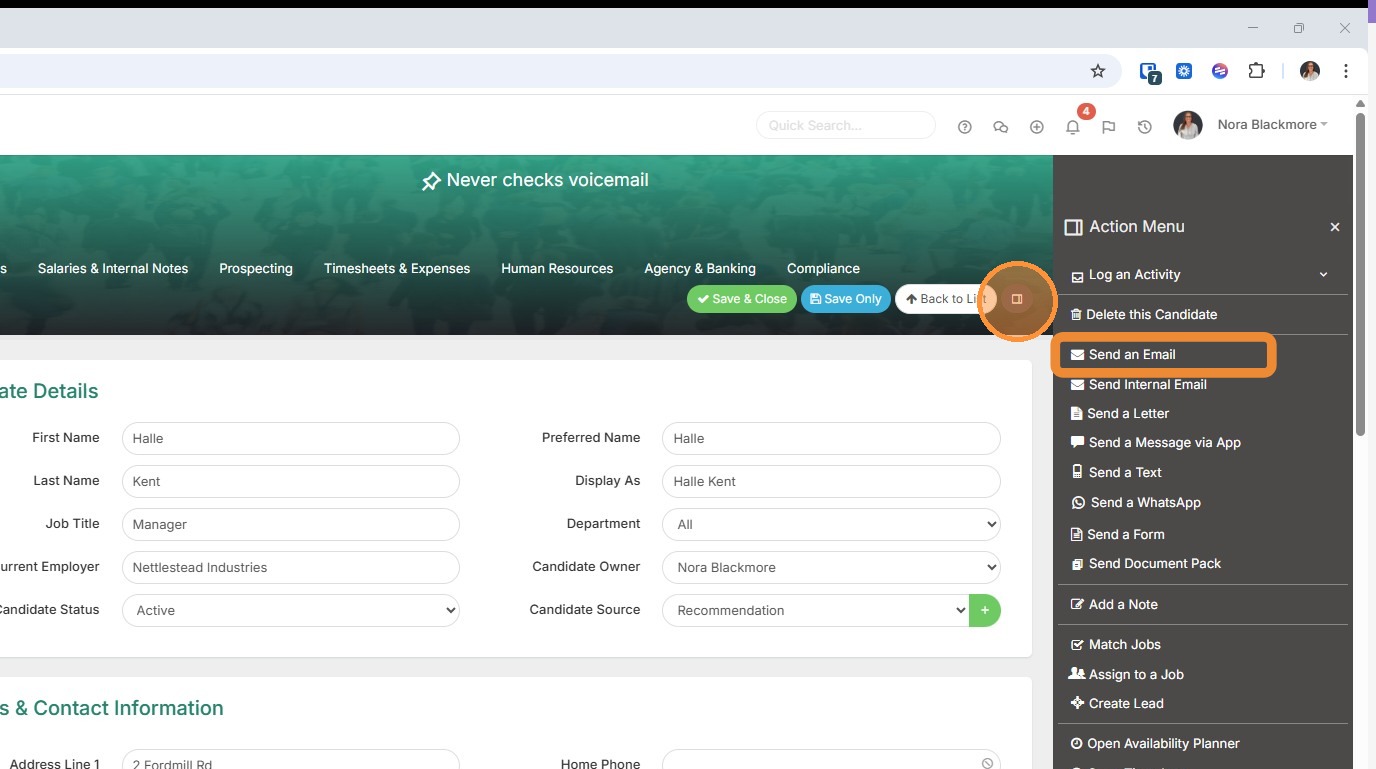
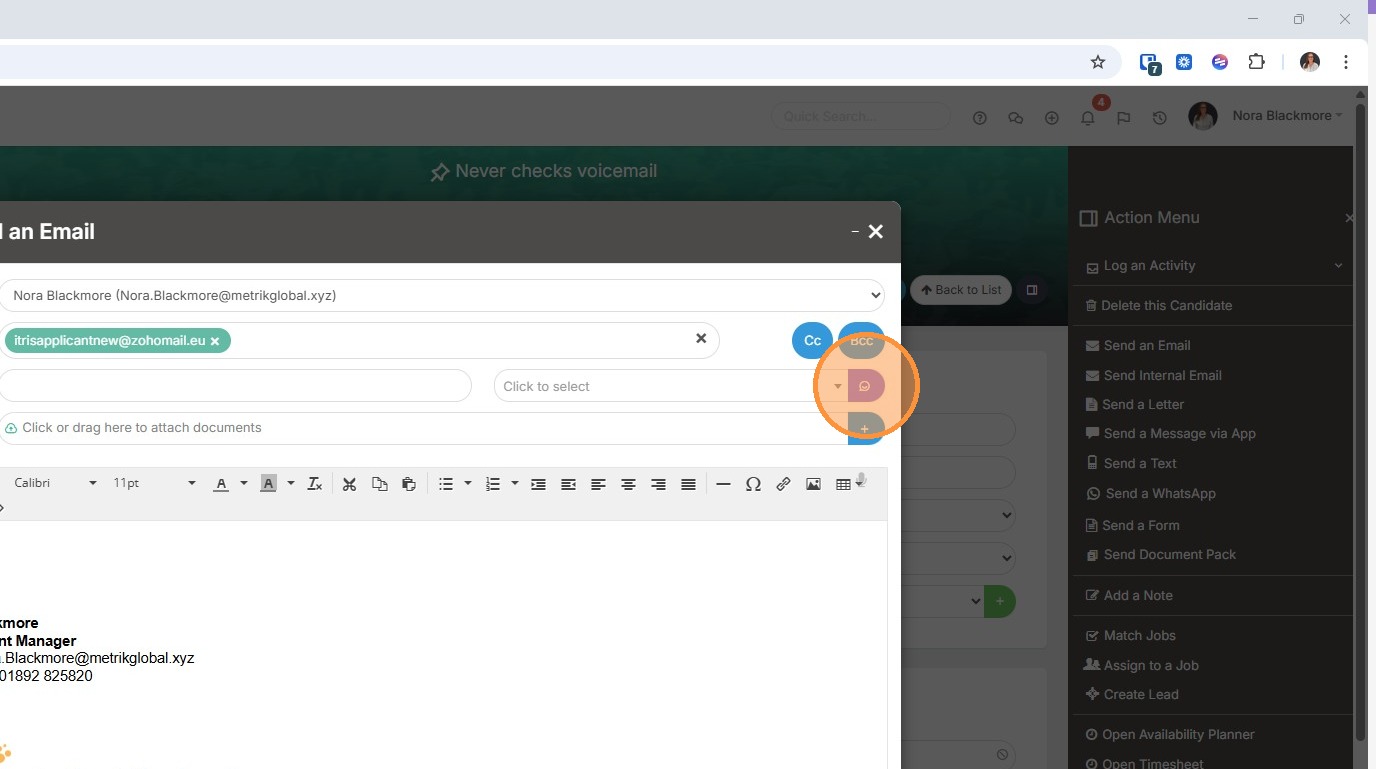
1. There are a couple of different routes you can take to send an individual from a record. The first is to expand out the Action Menu via the icon in the banner and choose "Send an Email".
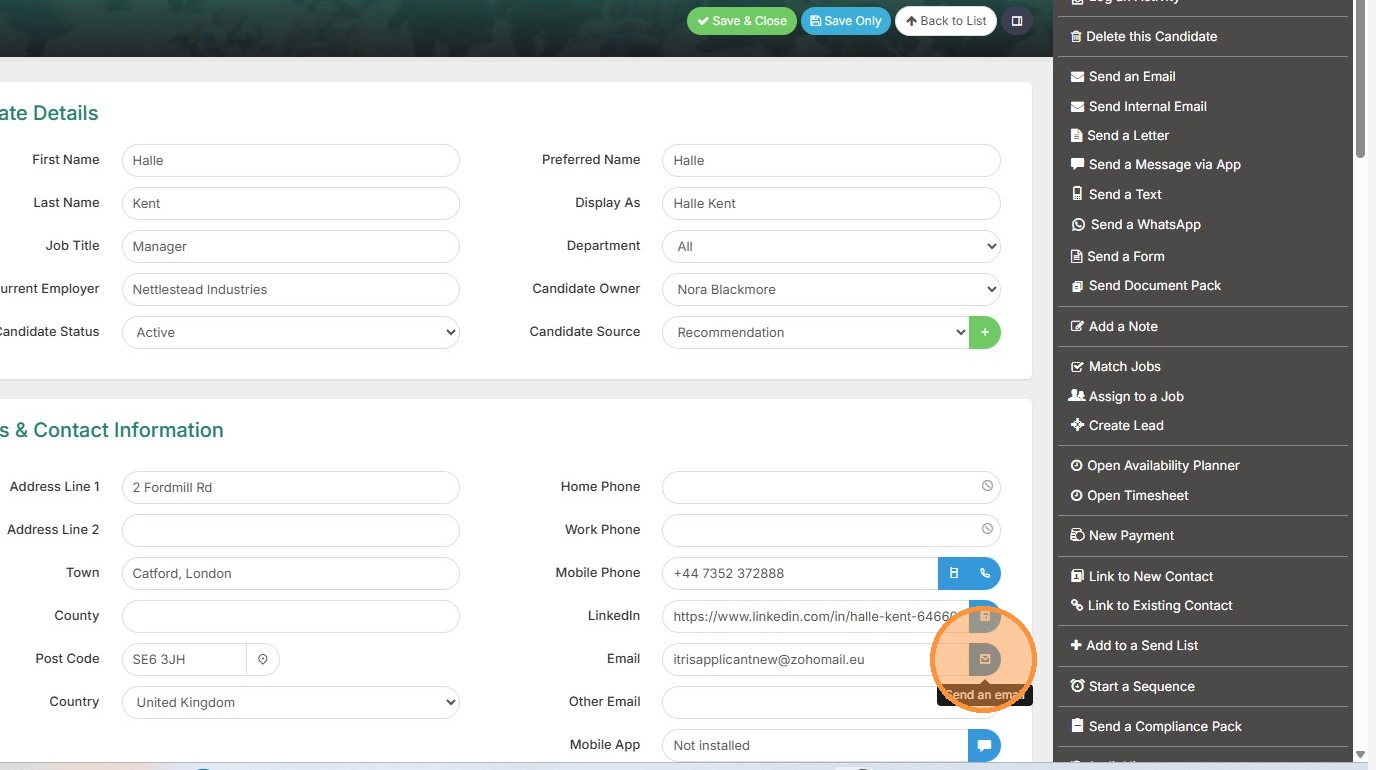
2. Alternatively, you can click the email icon at the end of the email field on the record.
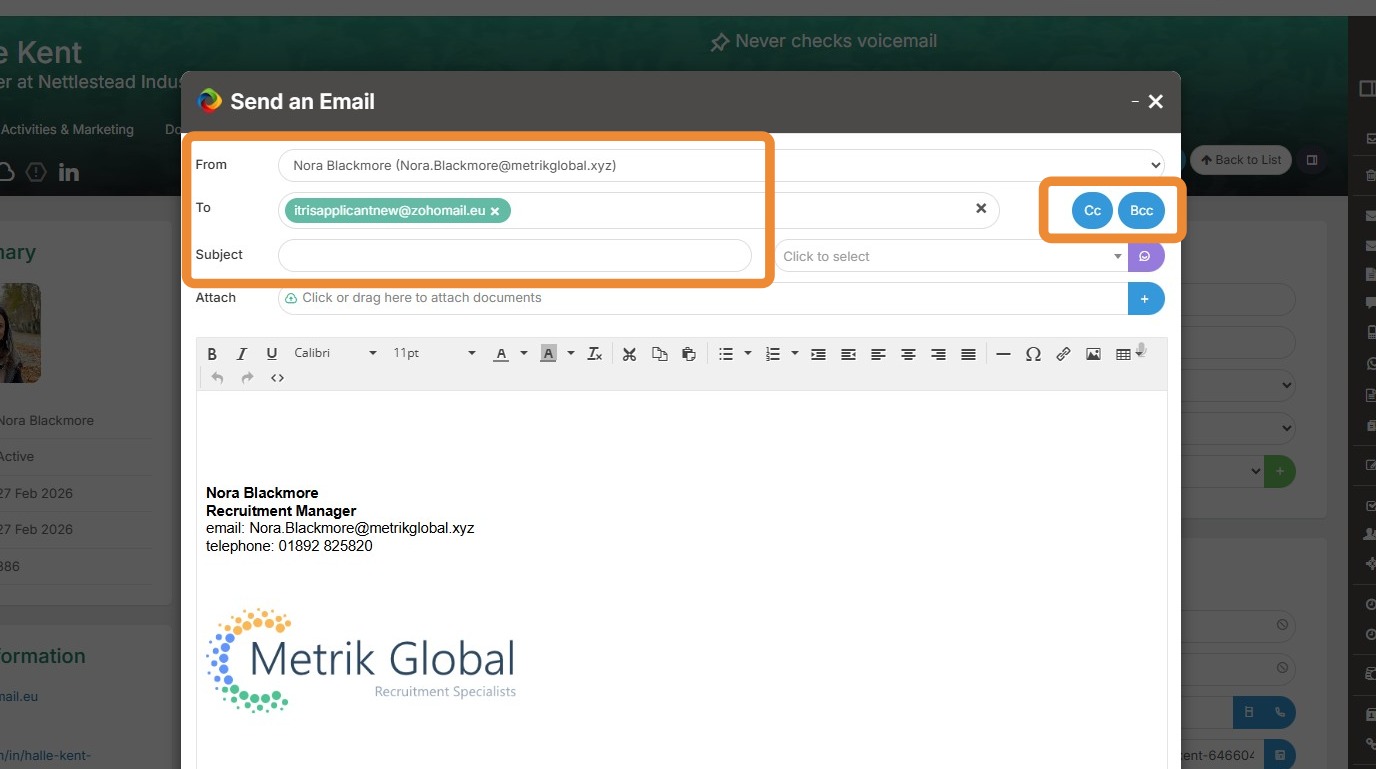
3. Within the email form, first we have the From field. If you are set up in Tracker to send from aliases you can change the sender. You can add additional To recipients by clicking in this field and searching for candidates, contacts or users to include in the email. Note you also have options to add in Cc and Bcc recipients too.
Finally, you have the Subject line. You can either type in here, or if you use a template, the subject line can be populated from that.
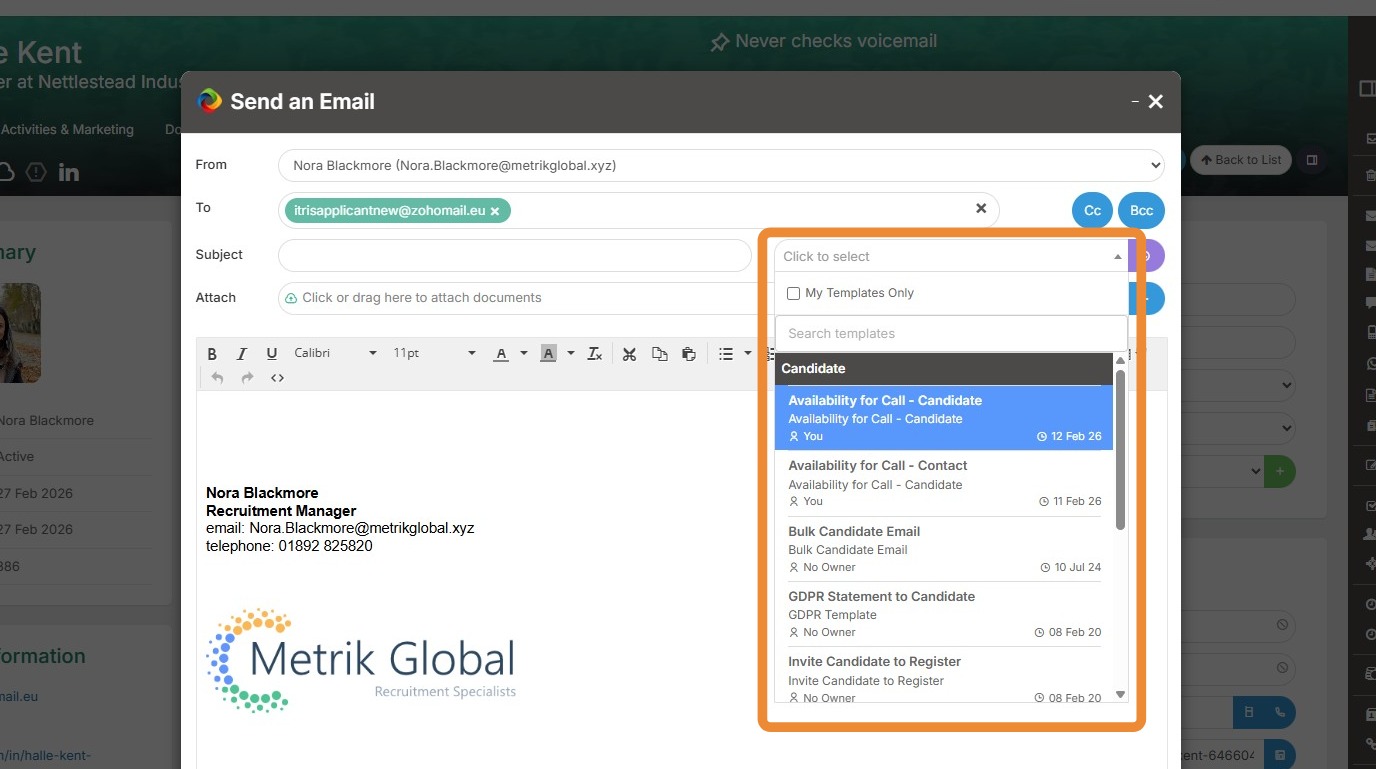
4. If you do wish to use one of your Tracker email templates, they can be selected from the drop down. Note you can filter to just your own templates and search for them by name.
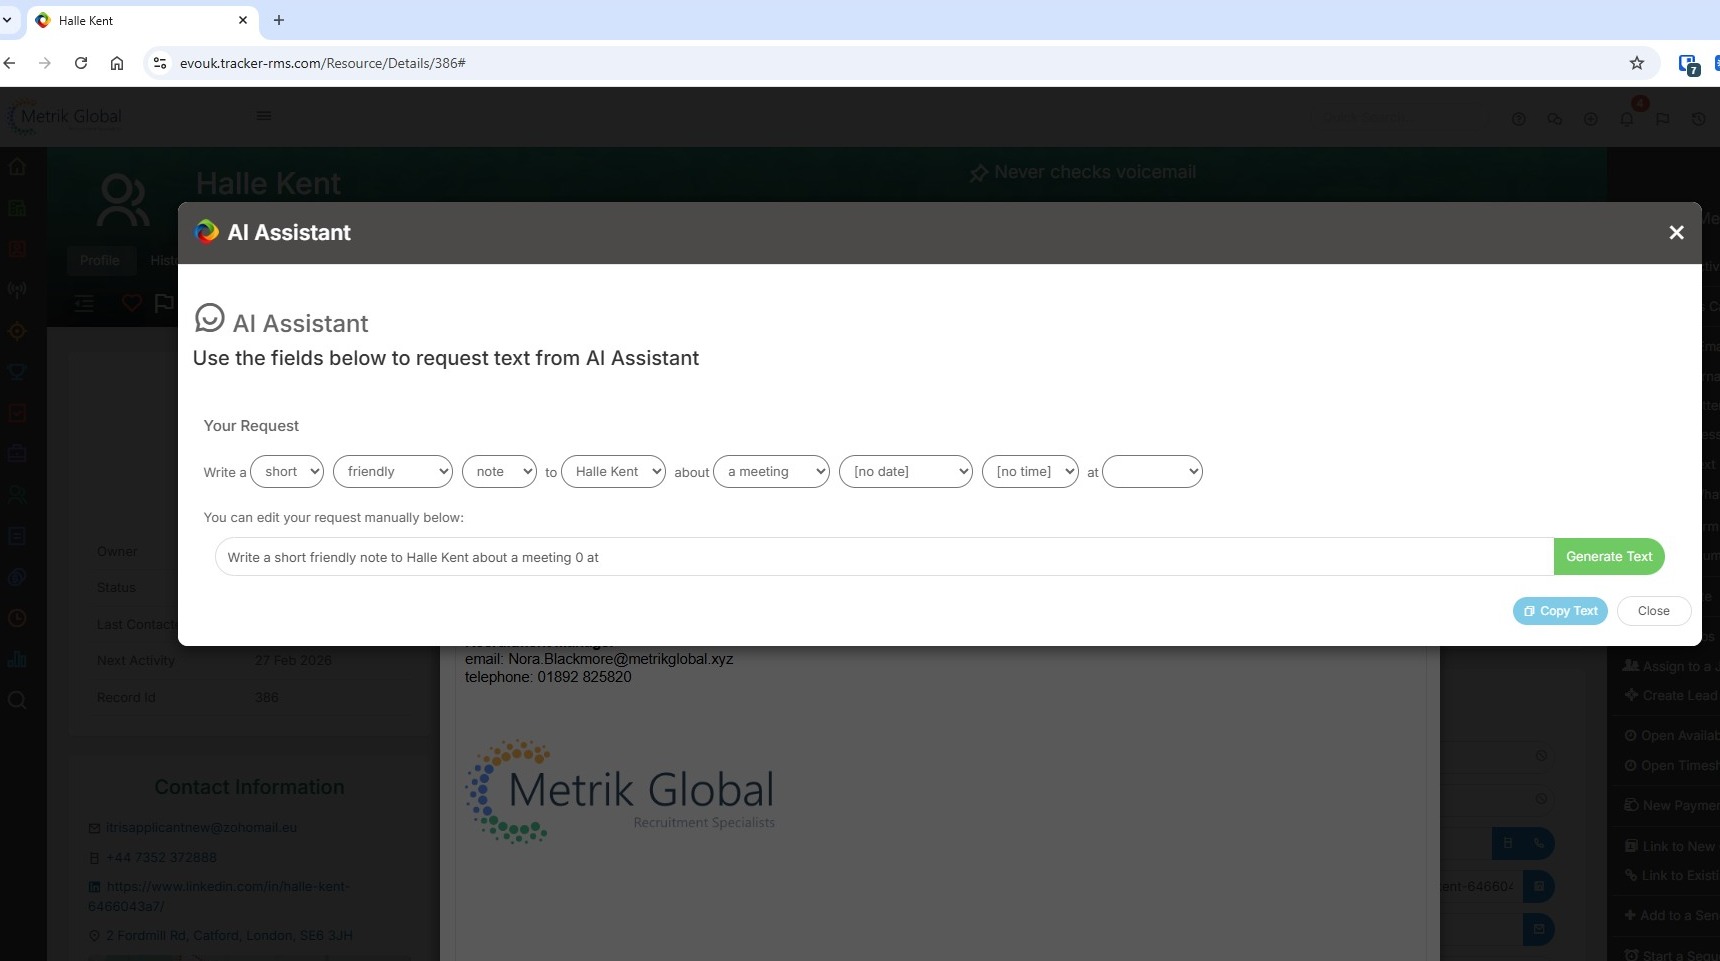
5. We also have an AI Assistant here to help you write your email. Click on the icon to load the AI Assistant.
6. The AI Assistant provides a number of prompts including length and tone to help you write the perfect email. Once you've completed the prompts you can even add in text to the summary below. Click Generate text for the AI to get to work, then use the Copy Text option. Once you close the AI Assistant you can then paste the text into the body of the email.
7. Back on the email, you can add attachments to your email. These can be from your folders outside of Tracker, from Tracker records and your Tracker Document Library.
For attachments outside of Tracker, either drag and drop them into the Attach area or click within the bar to open your folders.
For documents within Tracker, click the plus icon at the end and navigate to the required record or Document Library.

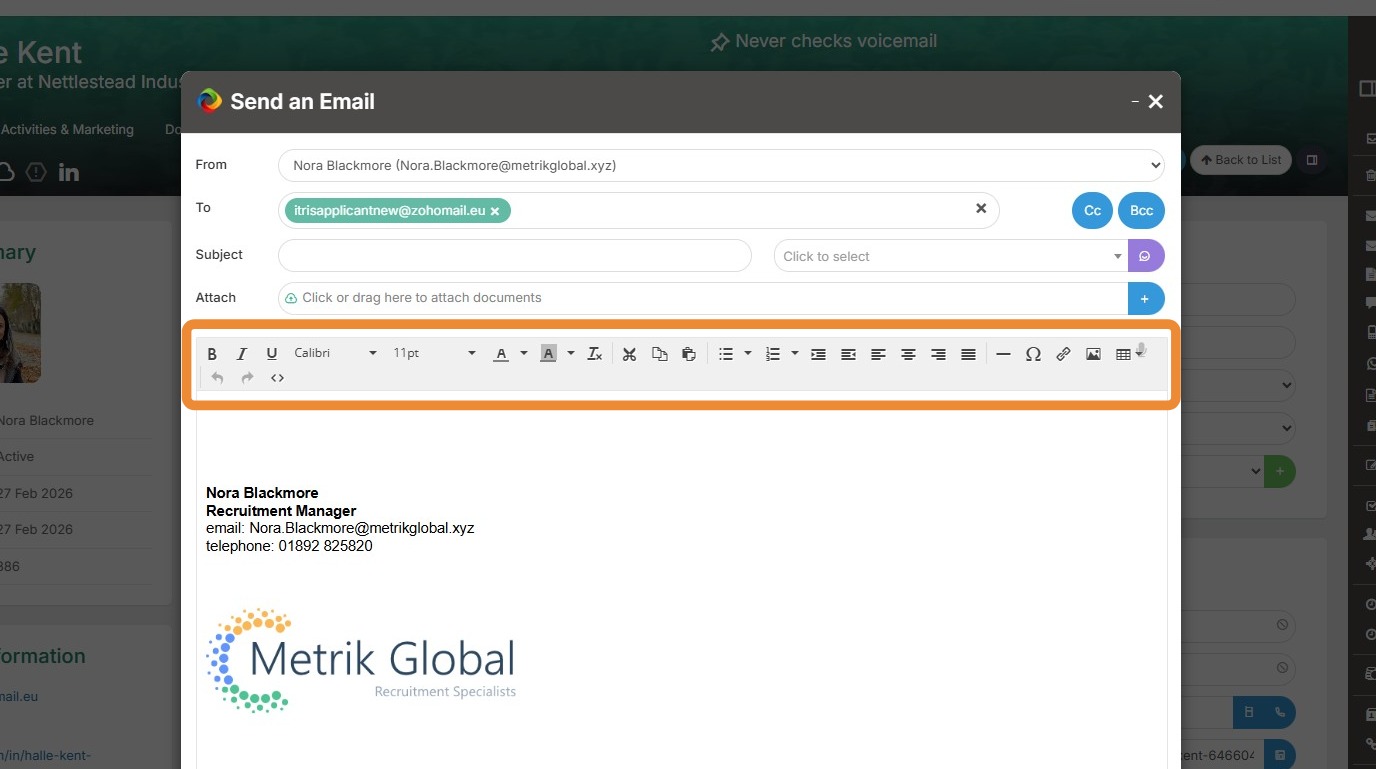
8. There is an array of formatting tools to help you create a great email.
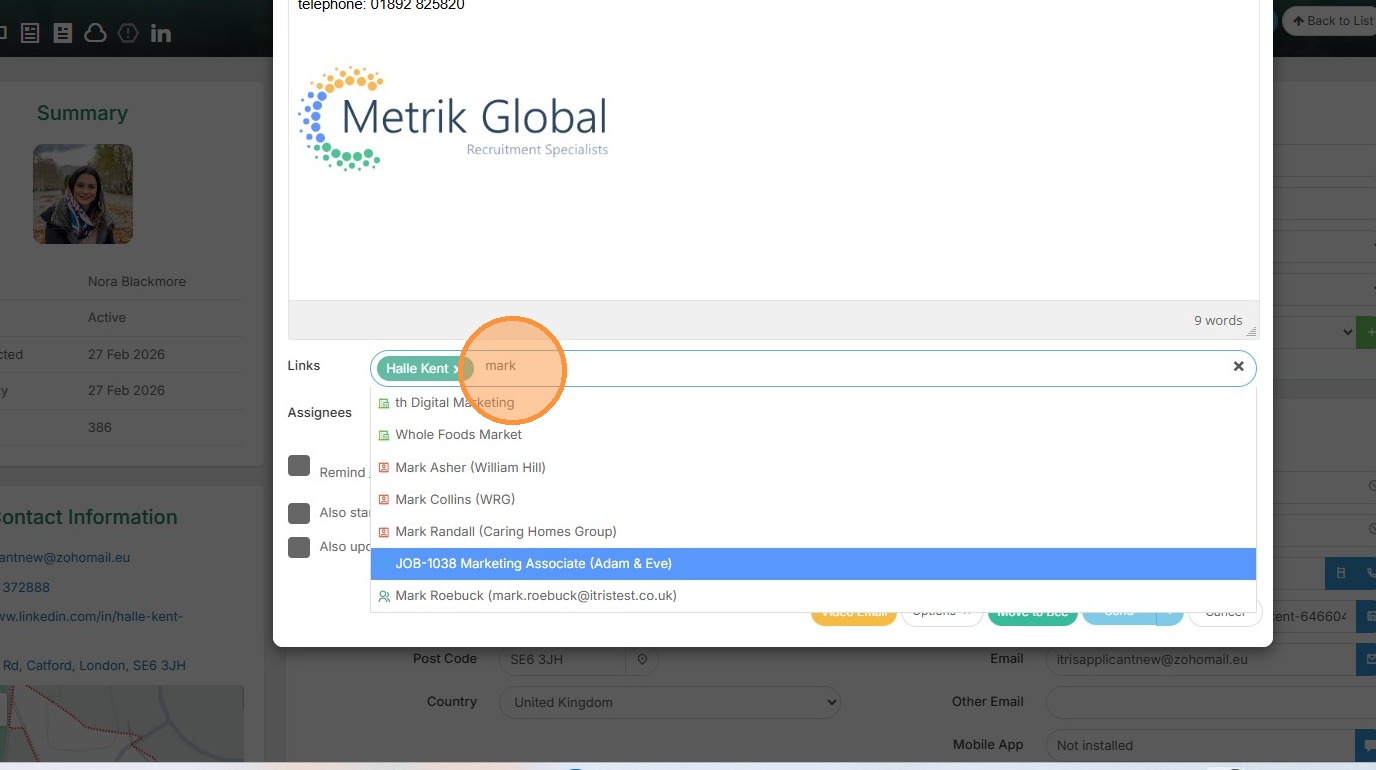
9. At the foot of the email the Links area will show you the records this email will be linked to. You can add further record links by typing the record name into the bar and selecting from the drop down.
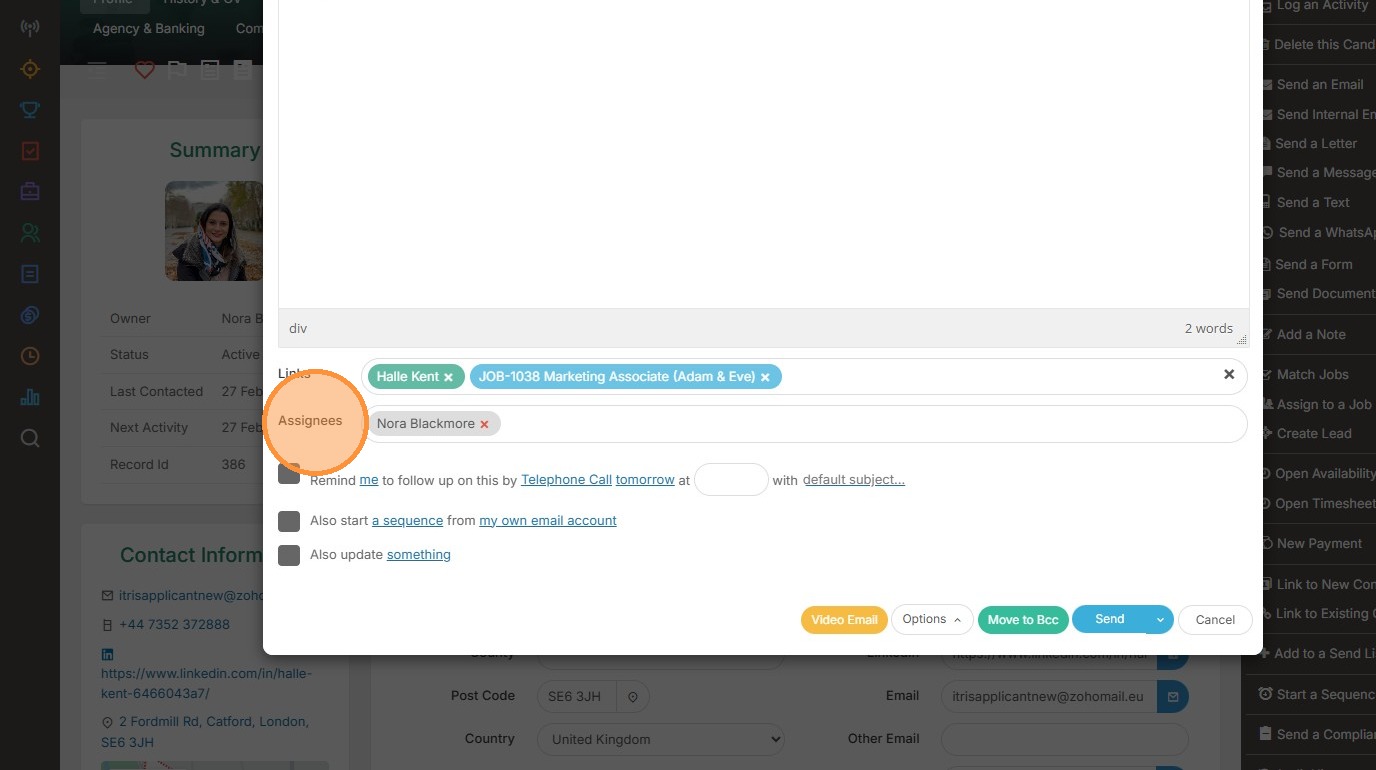
10. Under the Assignees area you will see the user assigned to this email, you can add in additional users if required.
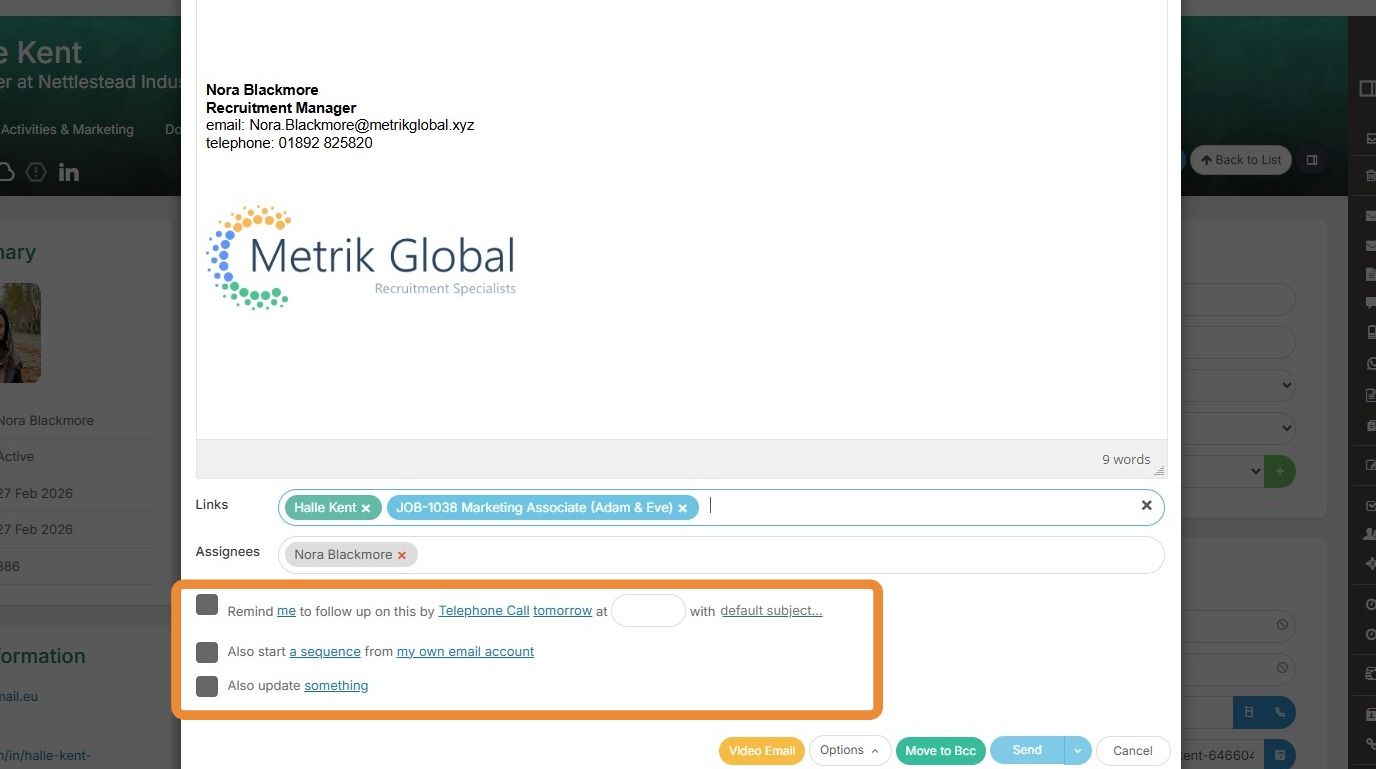
11. Next is the Workflow area. Here you can create follow up reminders for yourself or other users, specifying the type of Activity, which date and time and adding a subject to that activity.
You can start the recipient on an existing Tracker Sequence and via the "Also update something" update various fields within that record.
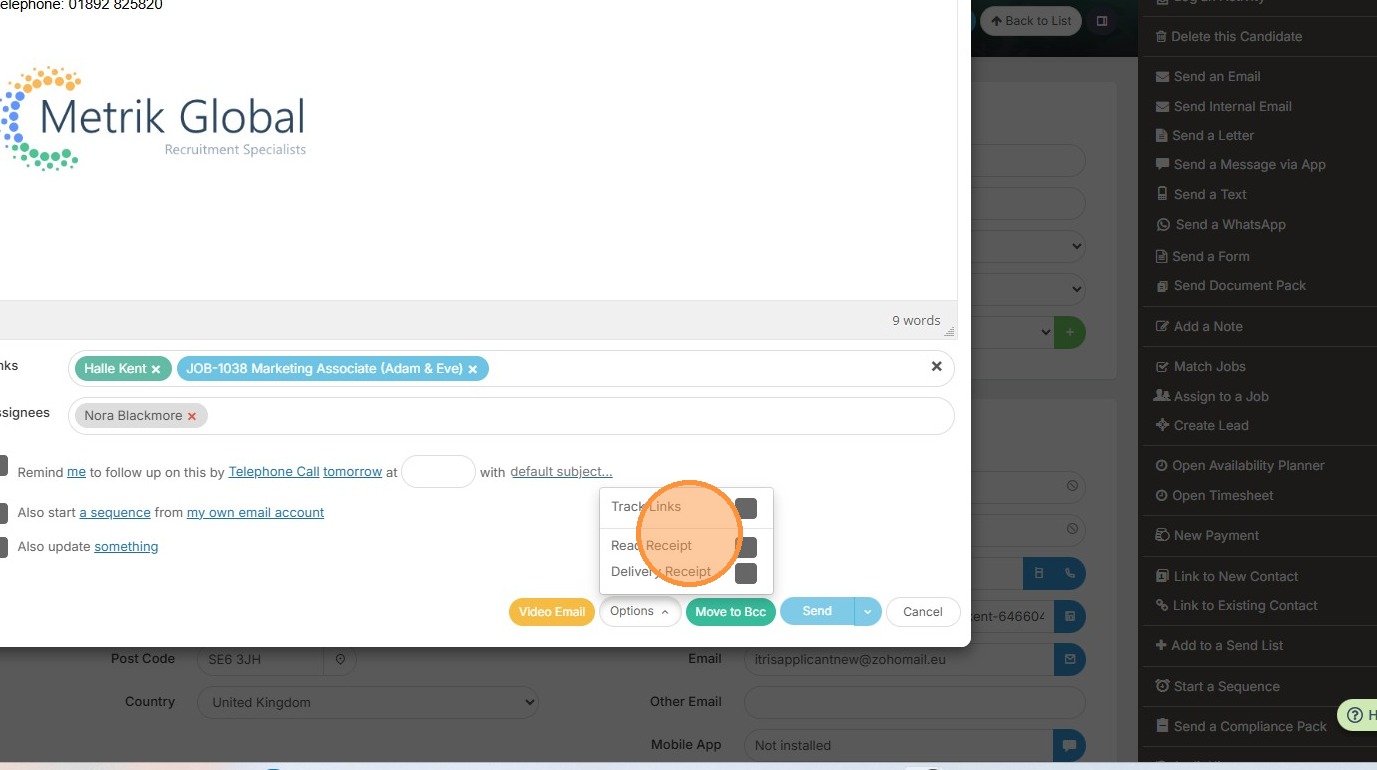
12. Under the Options button you can choose to track links within the email and include read and delivery receipts.
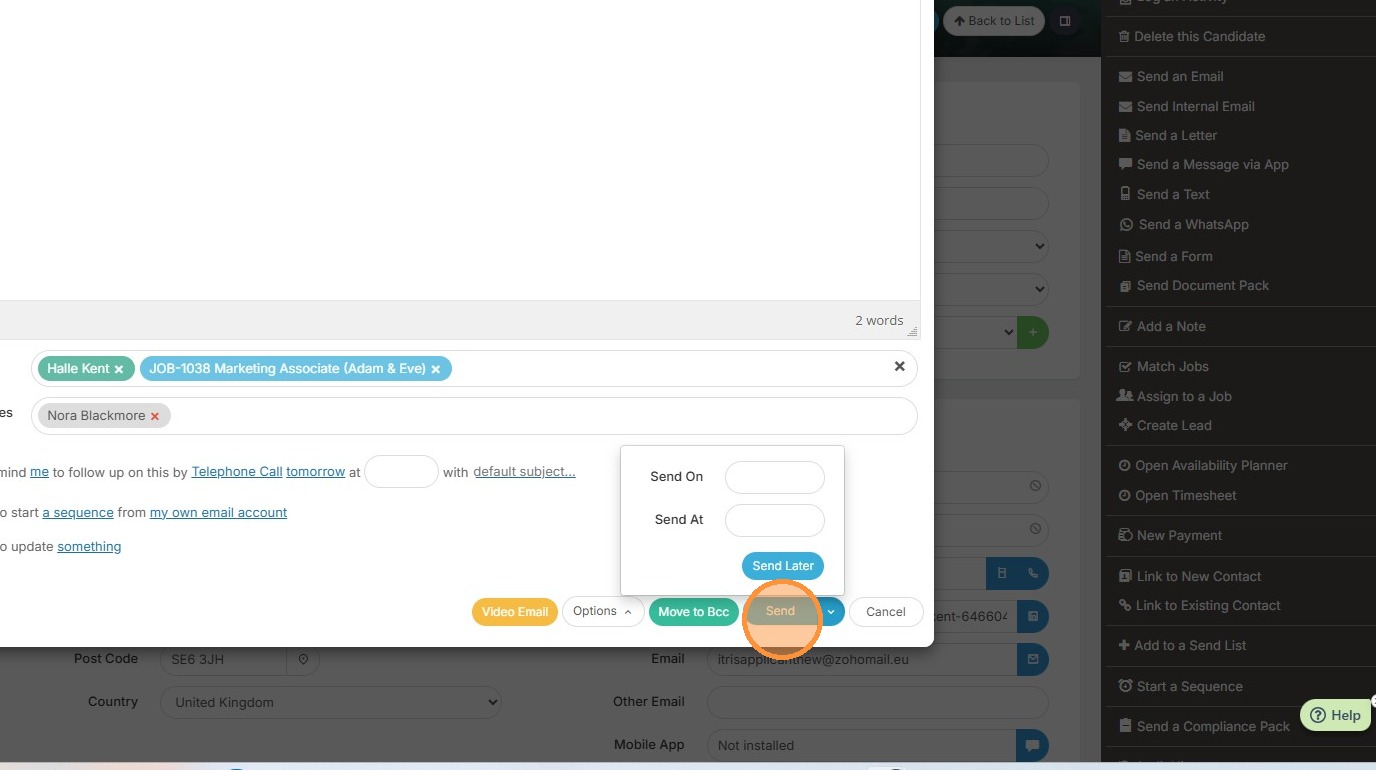
13. When you're done, you can either click send to send the email straight away, or by clicking the arrow icon on the send button you can choose a date and time to send the email later.