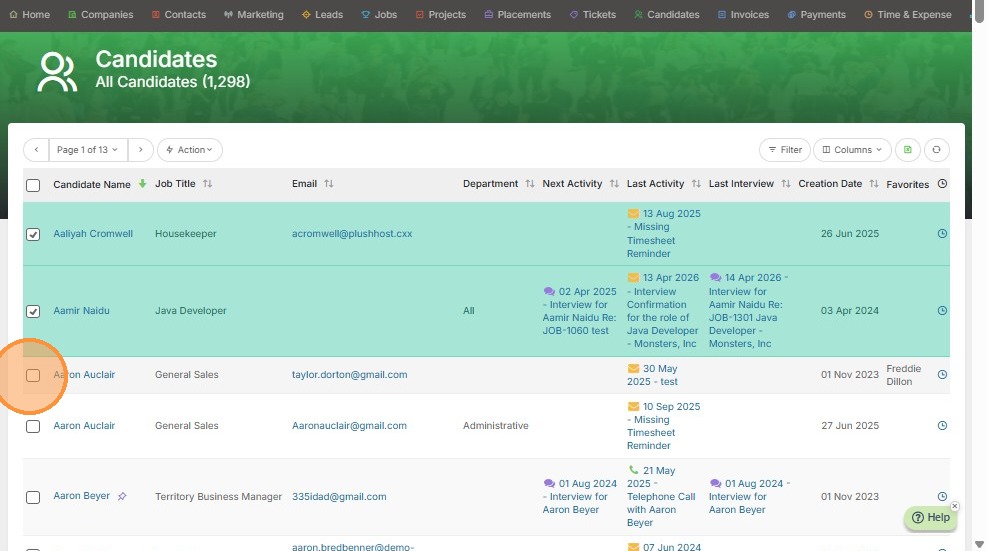
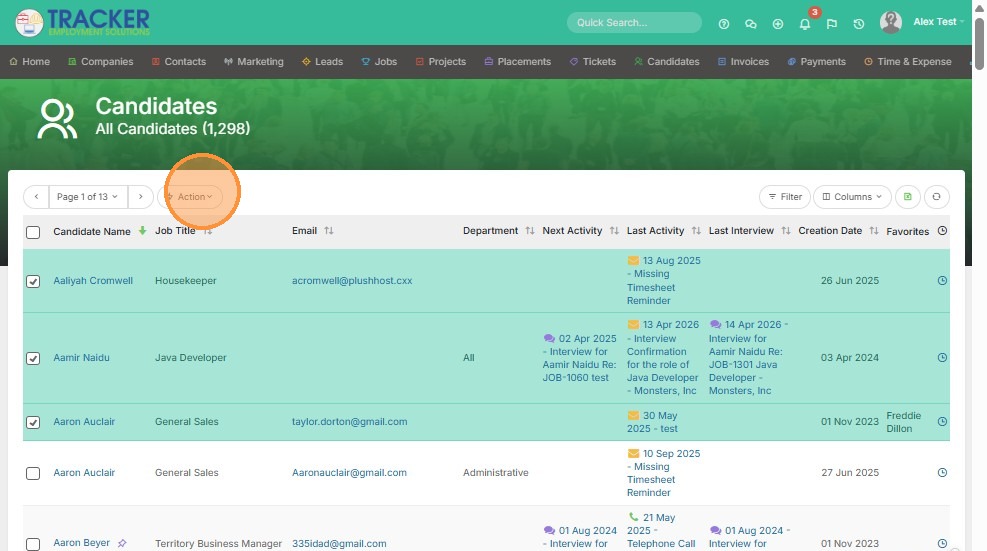
1. Select the recipients you would like to send a bulk email to.
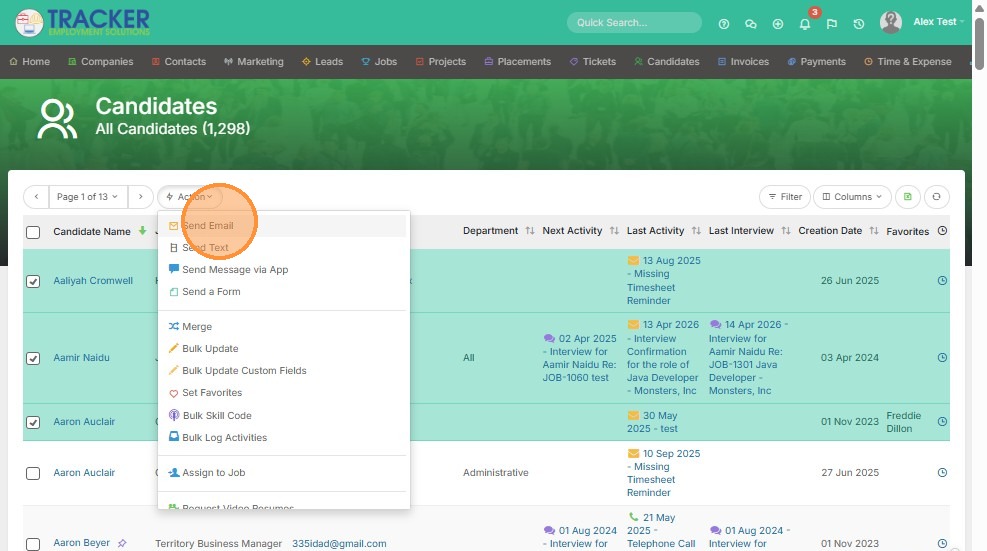
2. Click "Action"
3. Click "Send Email"
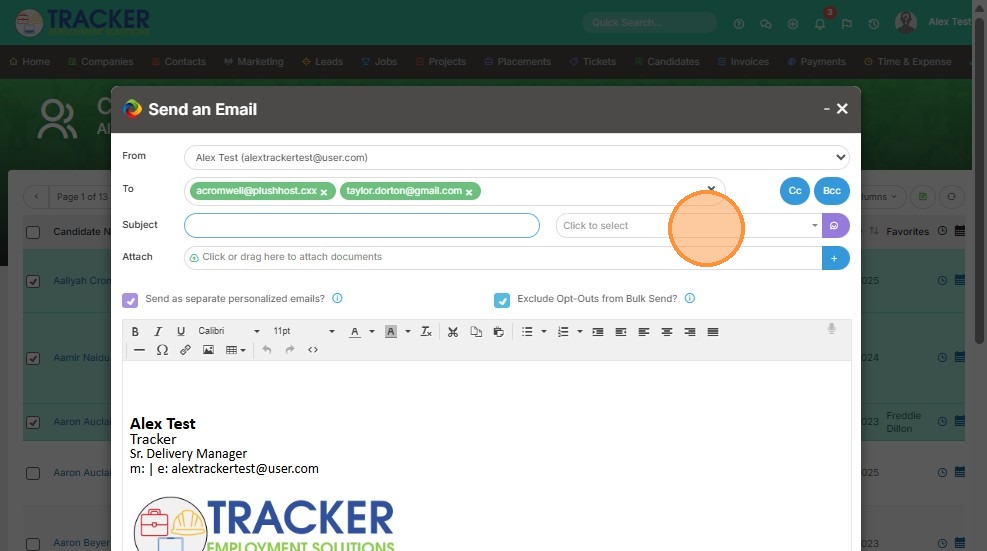
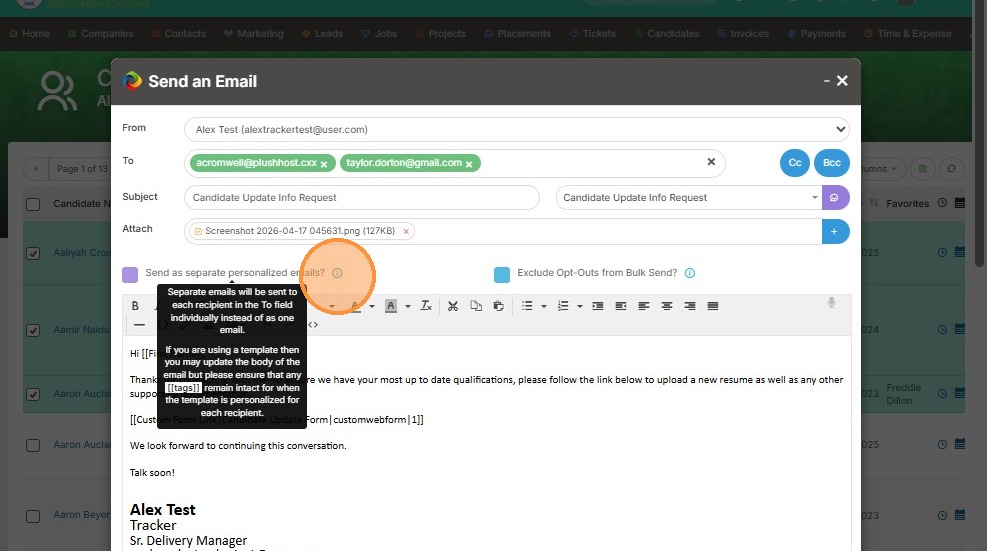
4. From here you can manually type an email subject and body, or select from one of the templates you have created.
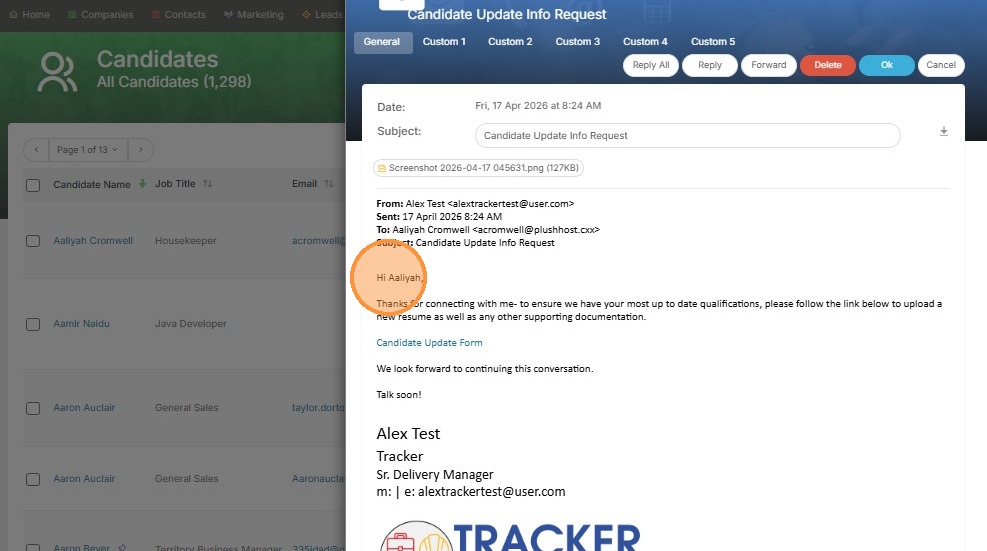
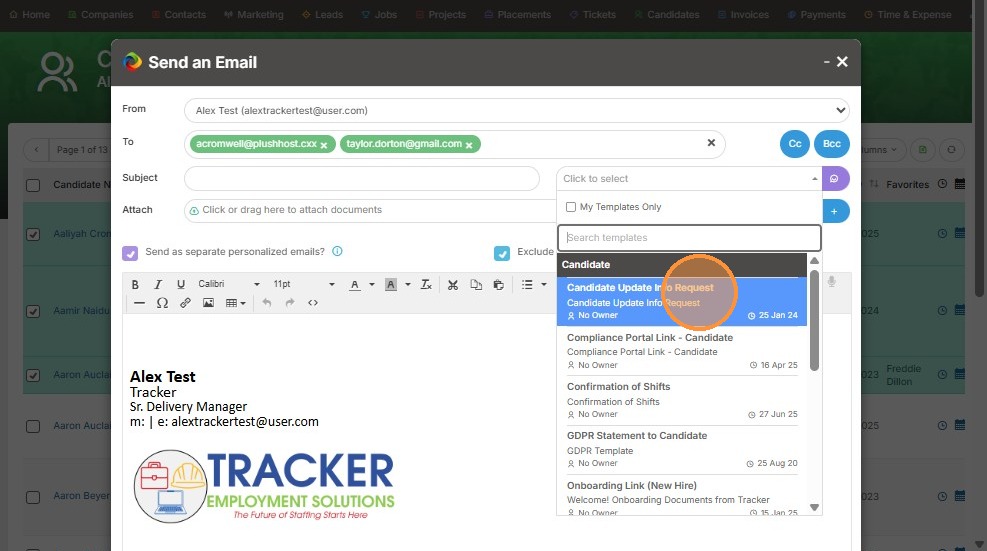
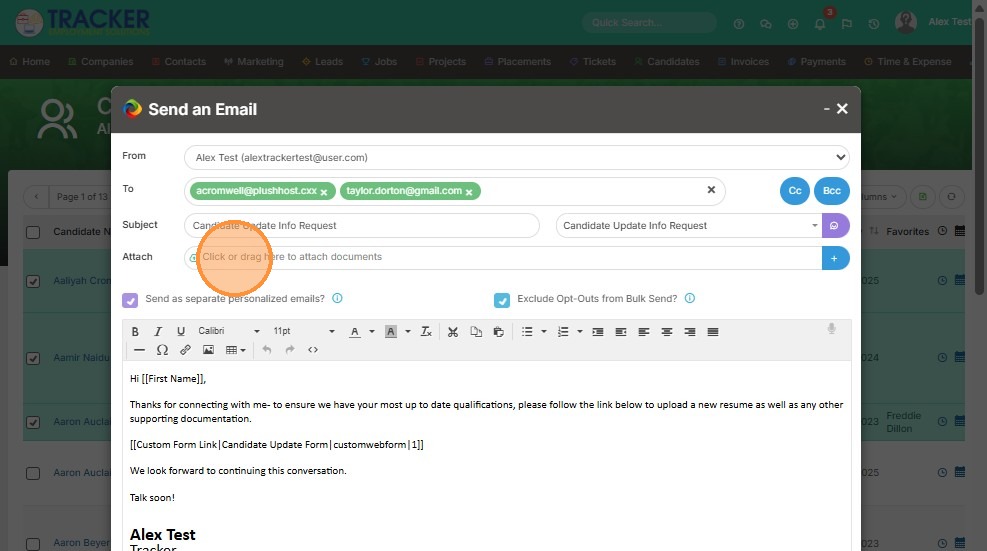
5. For example, I'll use our "Candidate Update Info Request" template.
6. You can also attach documents if you would like.
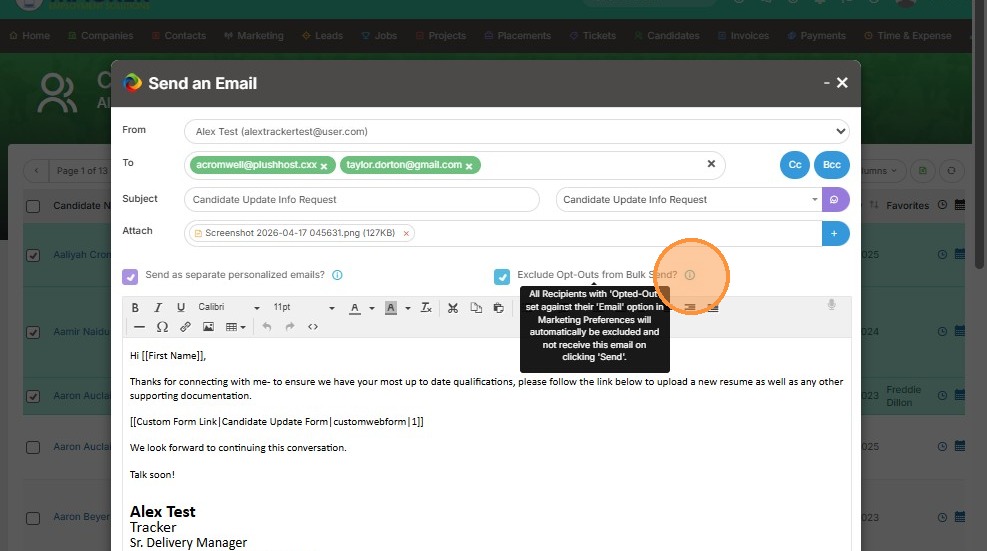
7. You can select the 'exclude opted out' candidates. This means any candidate who has "opted out" checked off in their candidate record will not be sent this email.
8. You will also notice that this "send as separate personalized emails" option is already checked off. To summarize, this is ensuring that each recipient will be receiving a tailored, personalized email with their name and info - even though it's being sent to multiple people!
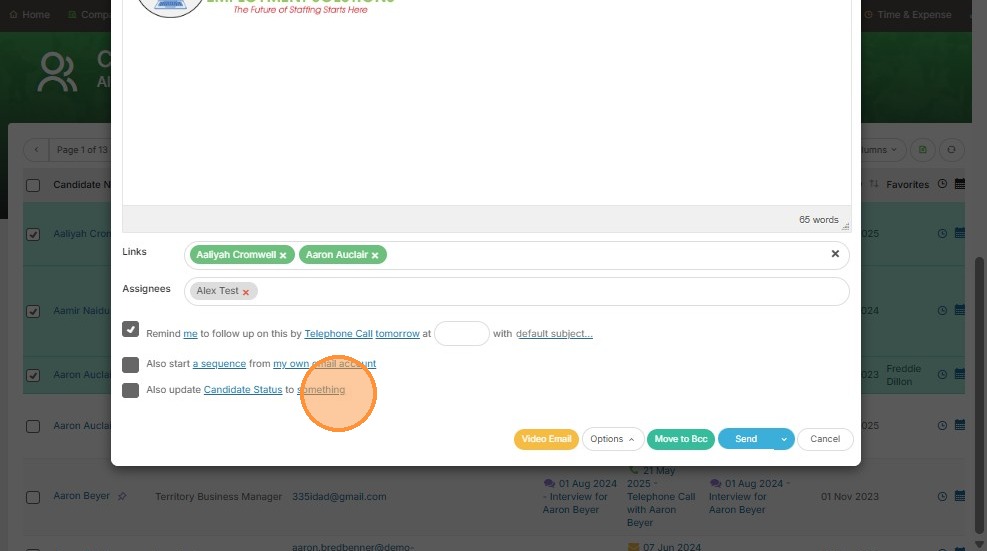
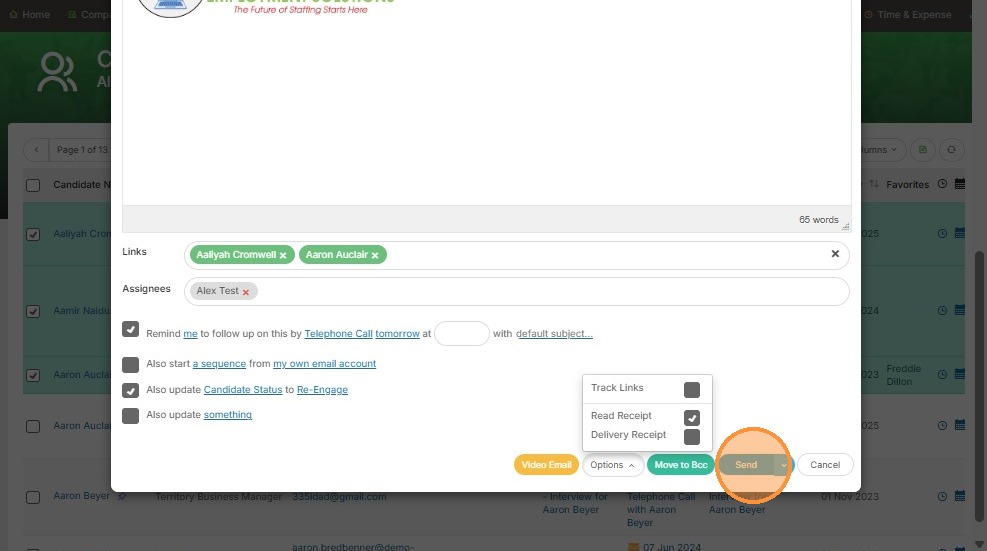
9. At the bottom of the email, you can set reminders, and update specific info.
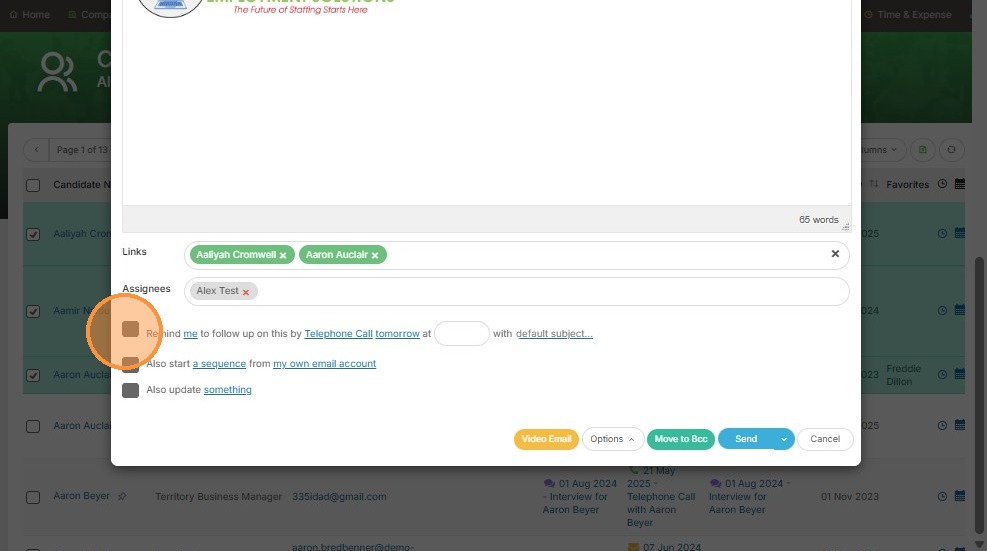
10. For example, click "something" to see your options.
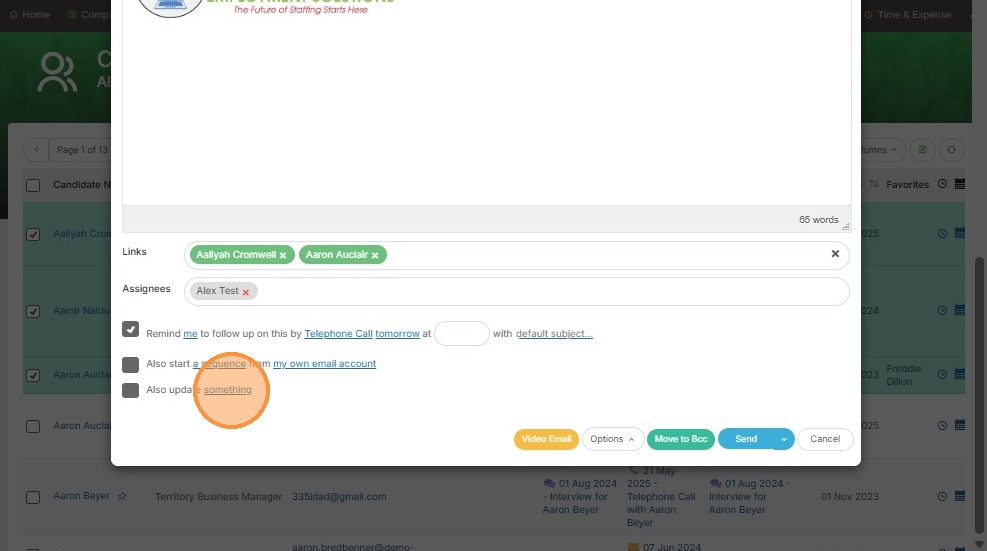
11. Perhaps I'd like to update each of these candidate's status once this email is sent.
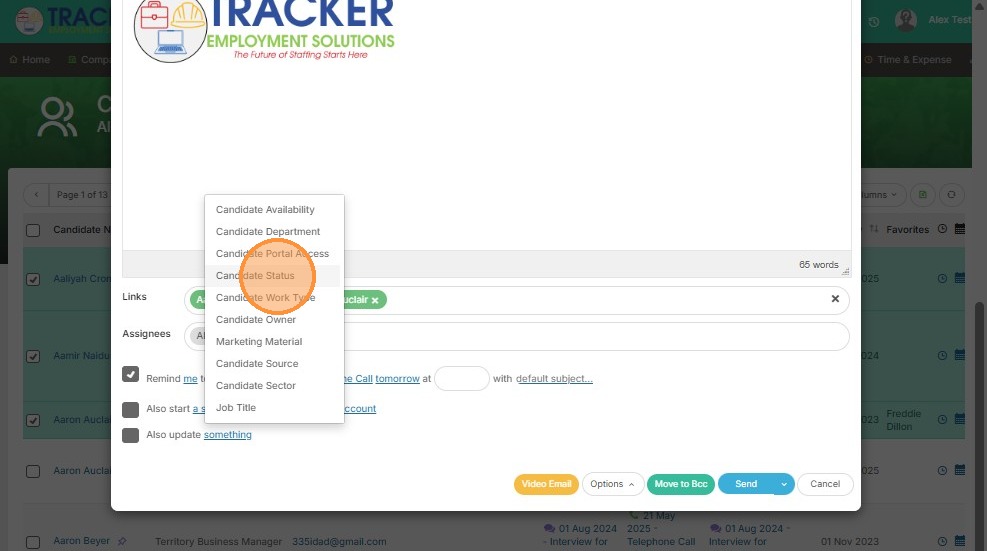
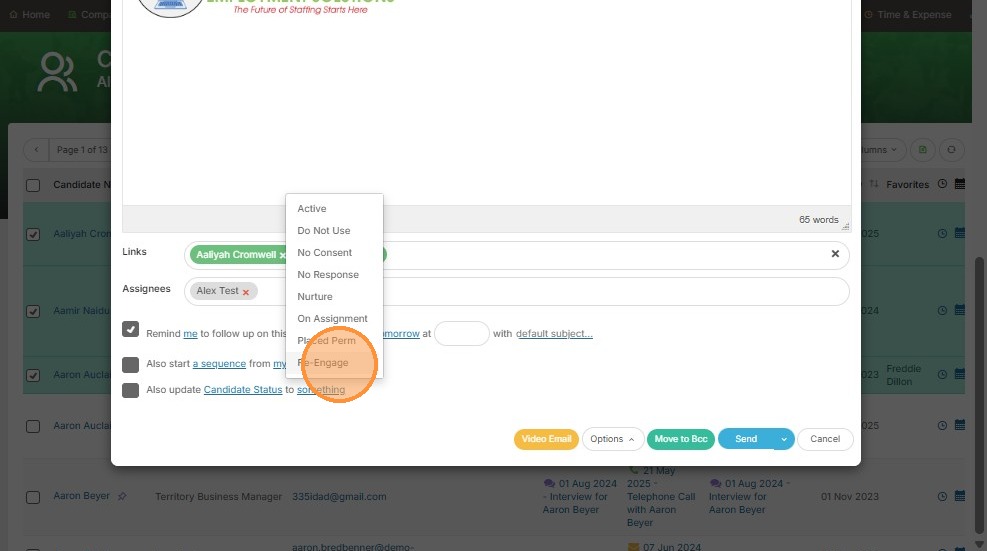
12. Click "something" to see the status options.
13. For example, I want to update the status of these candidates to "Re-Engage" because I'm sending out an email to have them update their info. This will put them in a specific list view I have saved called "Re-Engaged Candidates". It keeps me organized!
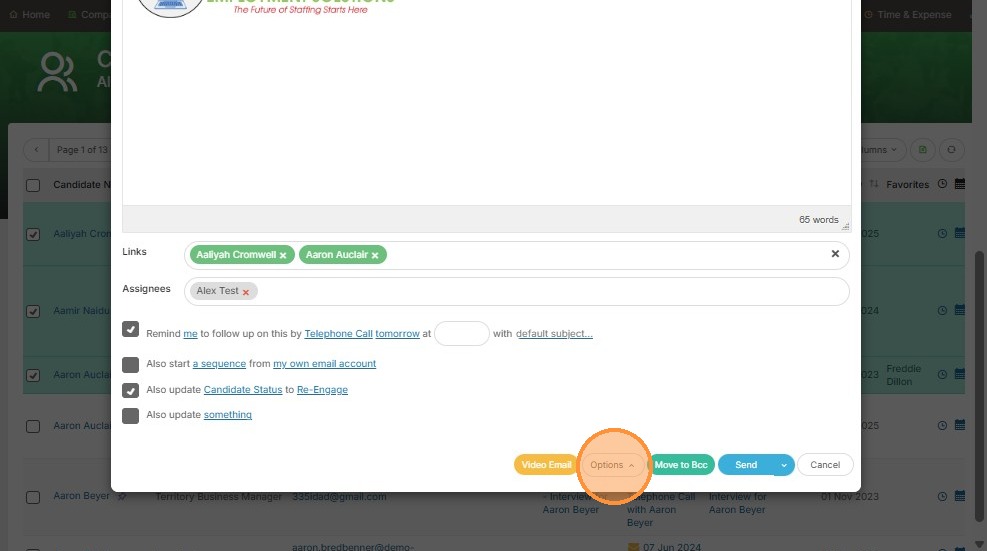
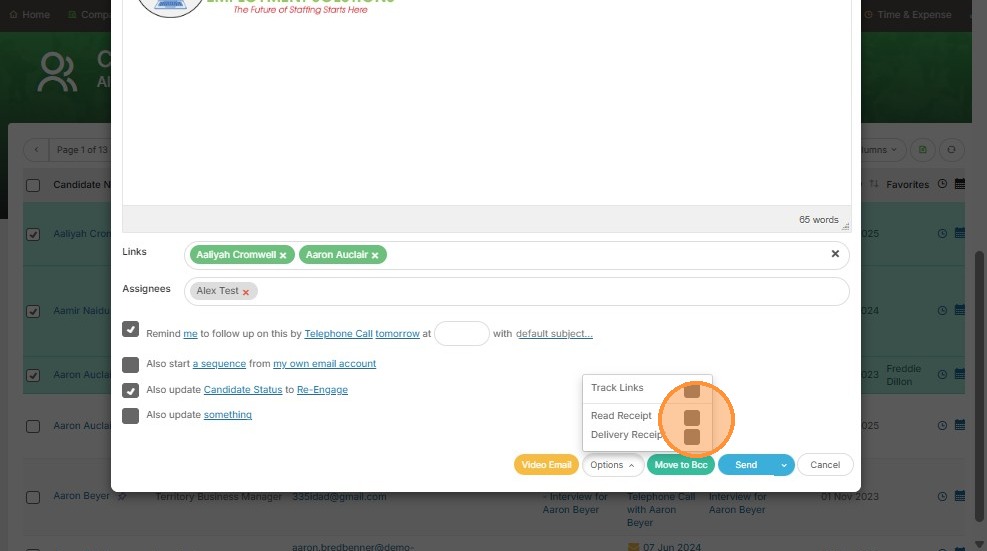
14. Click "Options" if you would like to turn on read or delivery receipts (or both!). Keep in mind, if a recipient decides not to send a read receipt you will not receive anything (Microsoft gives all email recipients the option to say Yes or No to read receipts).
15. Click here.
16. Click "Send" once you're happy with the email content and options.
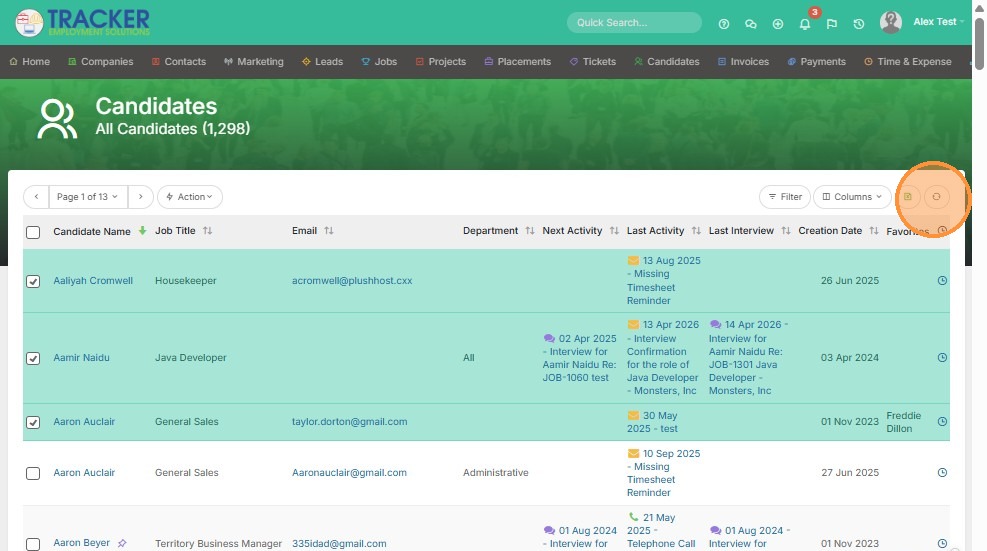
17. You can then refresh the candidates screen to view your Last Activity email.
18. You can now click on this email to review the content sent.
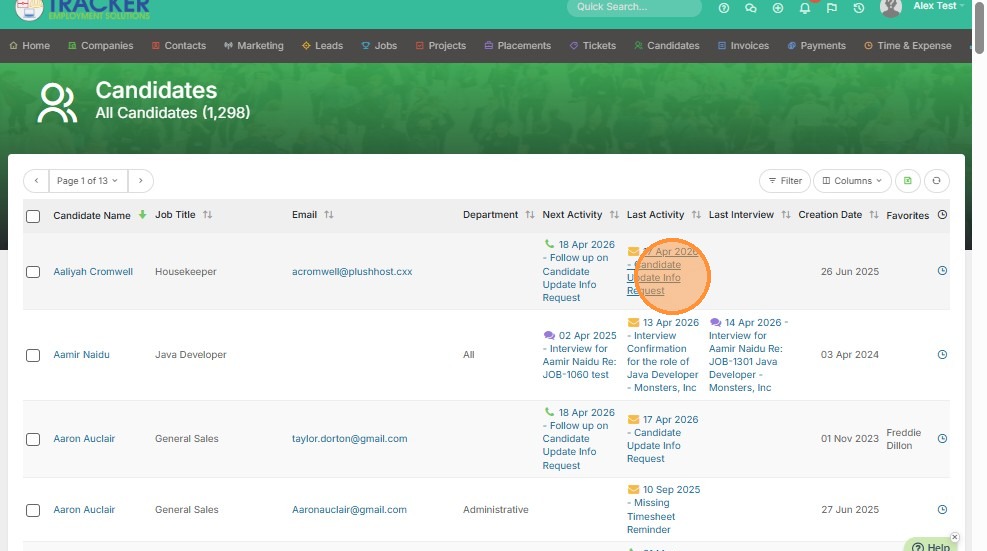
19. You can see how the email was personalized to Aailyah.