This lesson shows you how to create an Email Template
Creating an Email Template
Tracker makes it easy to create professional, personalized templates for all your recruitment communications. The template system helps you stay consistent while saving time.
Accessing Email Templates
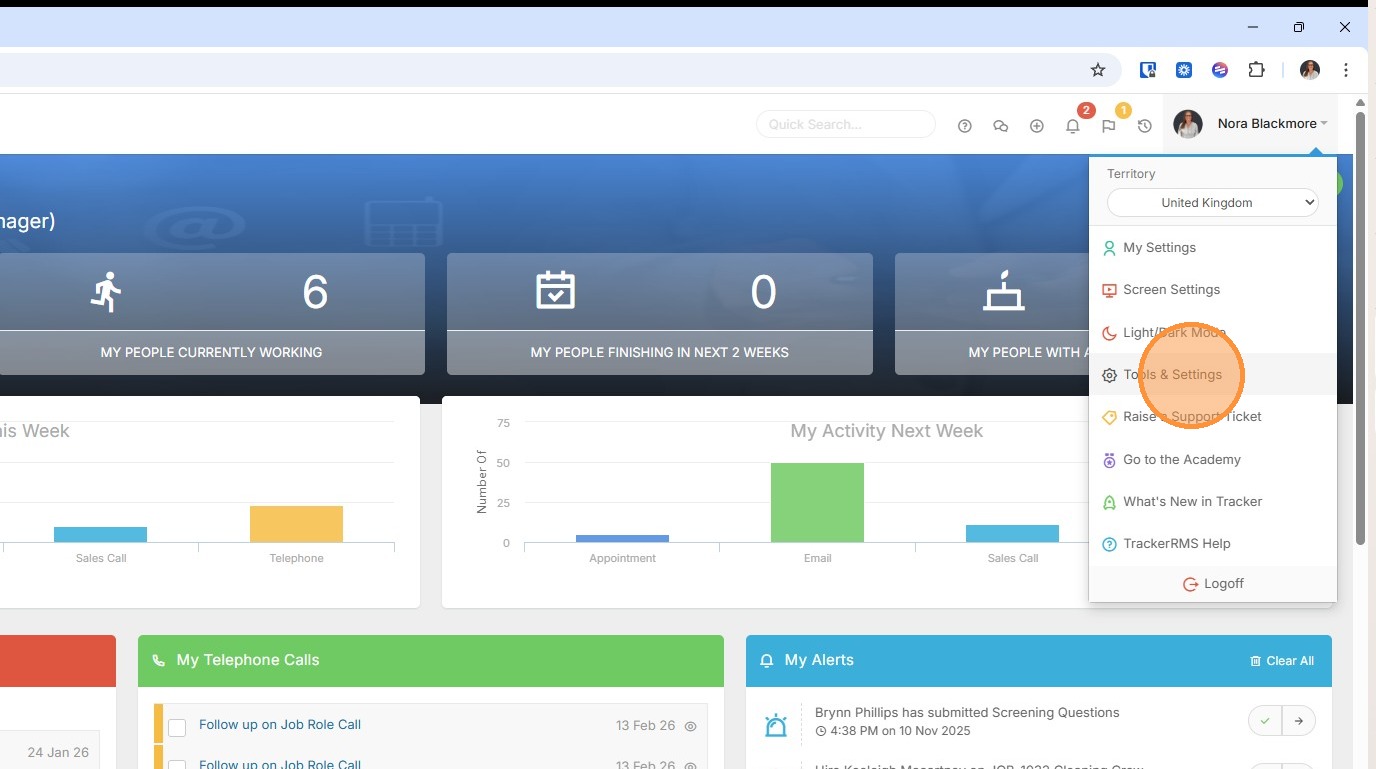
1. Email Templates are managed within Tools & Settings, which is accessed via the profile menu.
2. Within your settings, you should see an option for Manage Templates. If you're unable to access this, please contact your internal Tracker administrator.
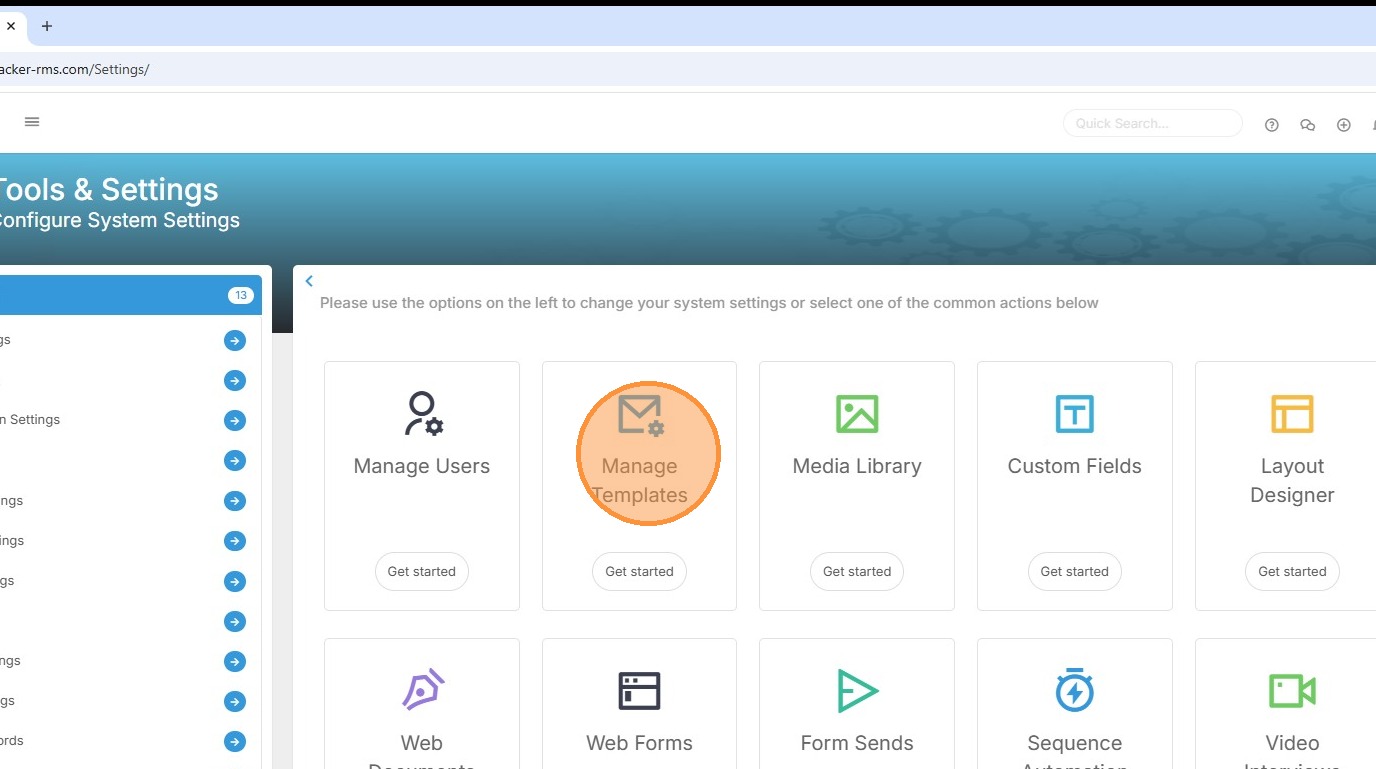
3. Click "Get started" to create new or edit existing templates.

Creating a New Email Template
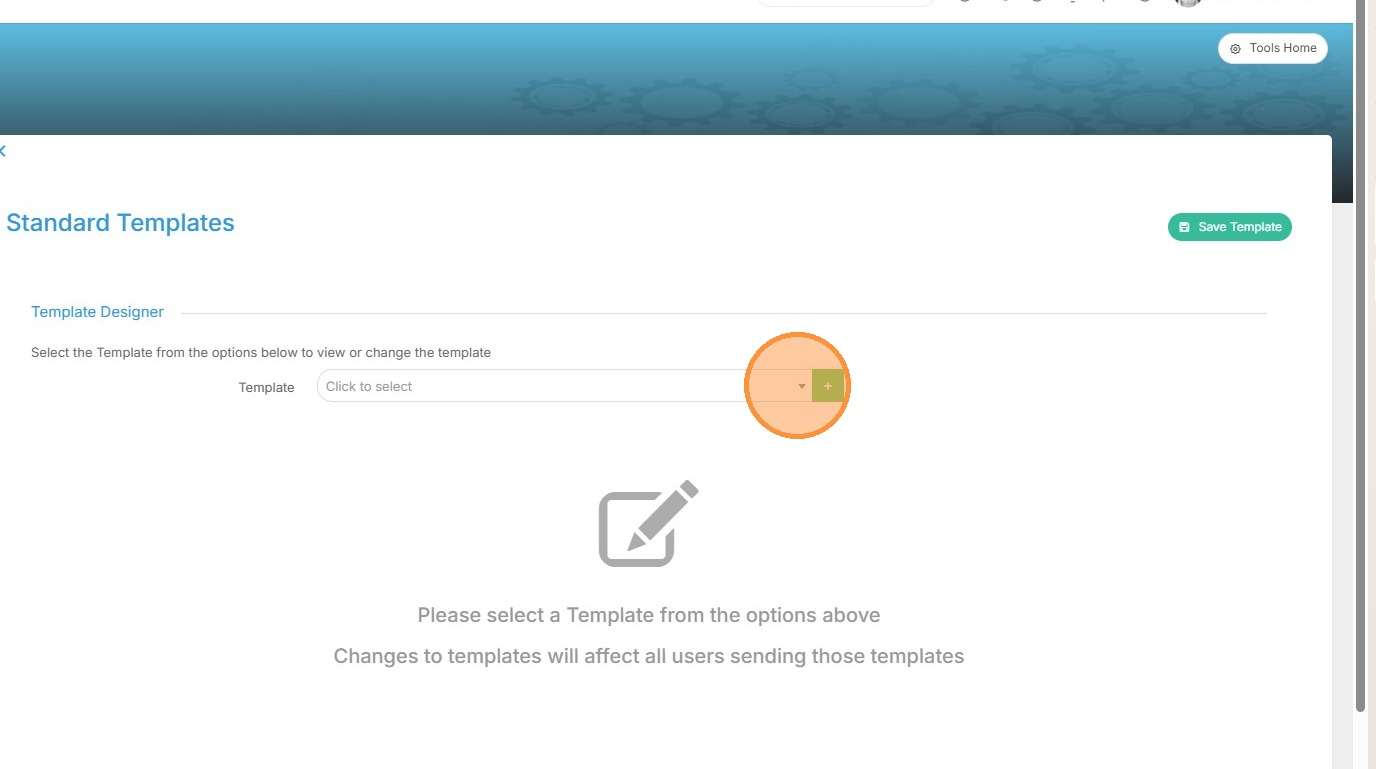
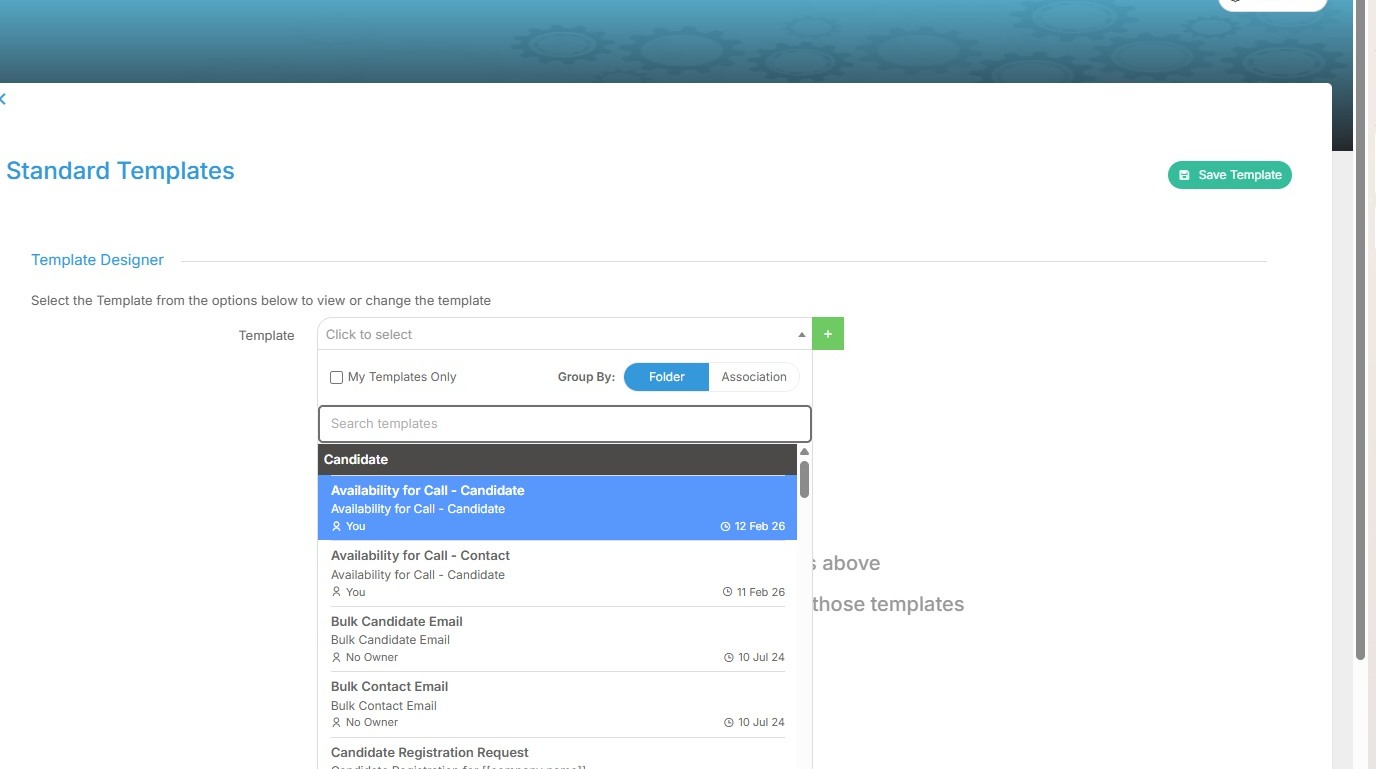
4. To access existing templates click the drop down arrow.
5. Here you’ll see a filterable list of your current templates, each organised within folders. Email templates are by far the most commonly used, though you might find letter templates handy for things like invoices or formal documentation.
You can filter this list to view just your templates, view by folder or association. There is also a search option.
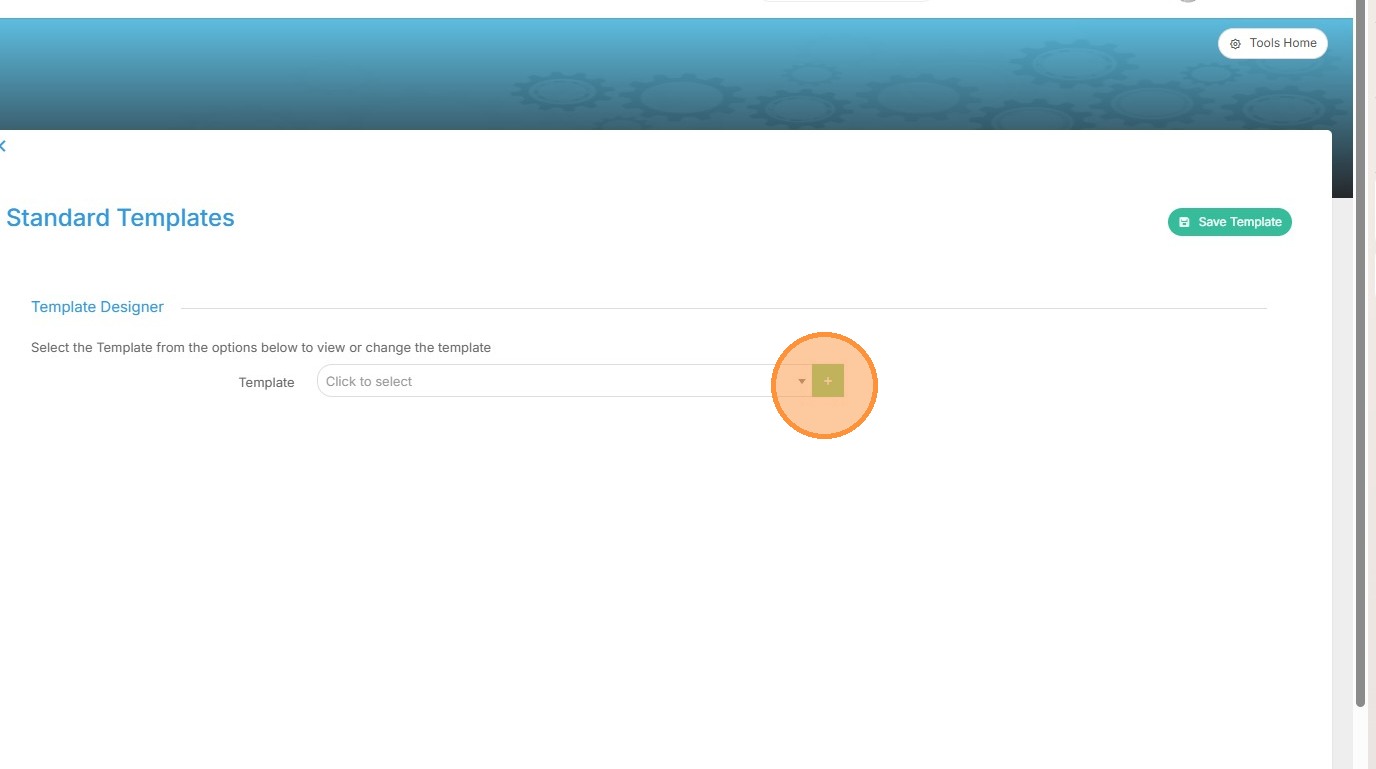
6. To create a new template, click the green plus button.
7. Give your template a name.
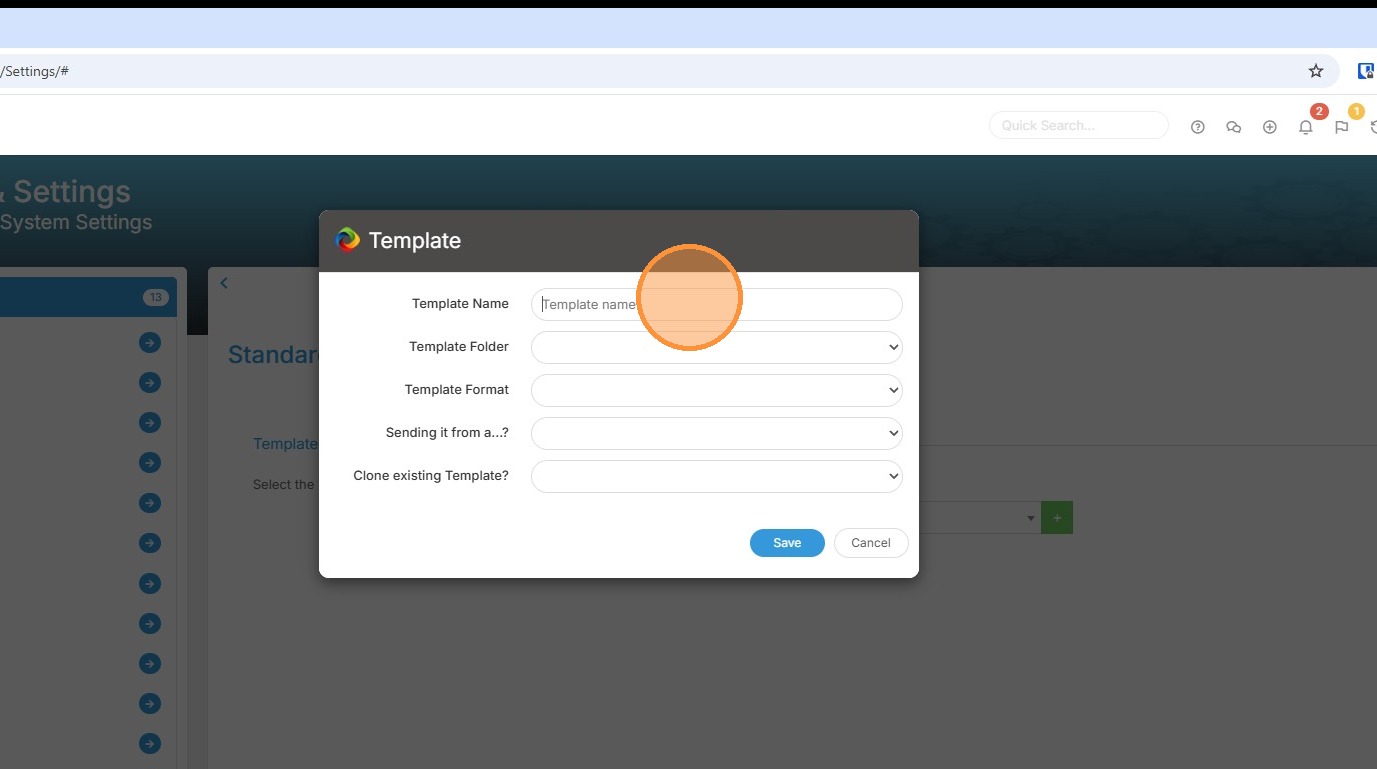
8. In this case we'll use, "Job Description for Candidate."
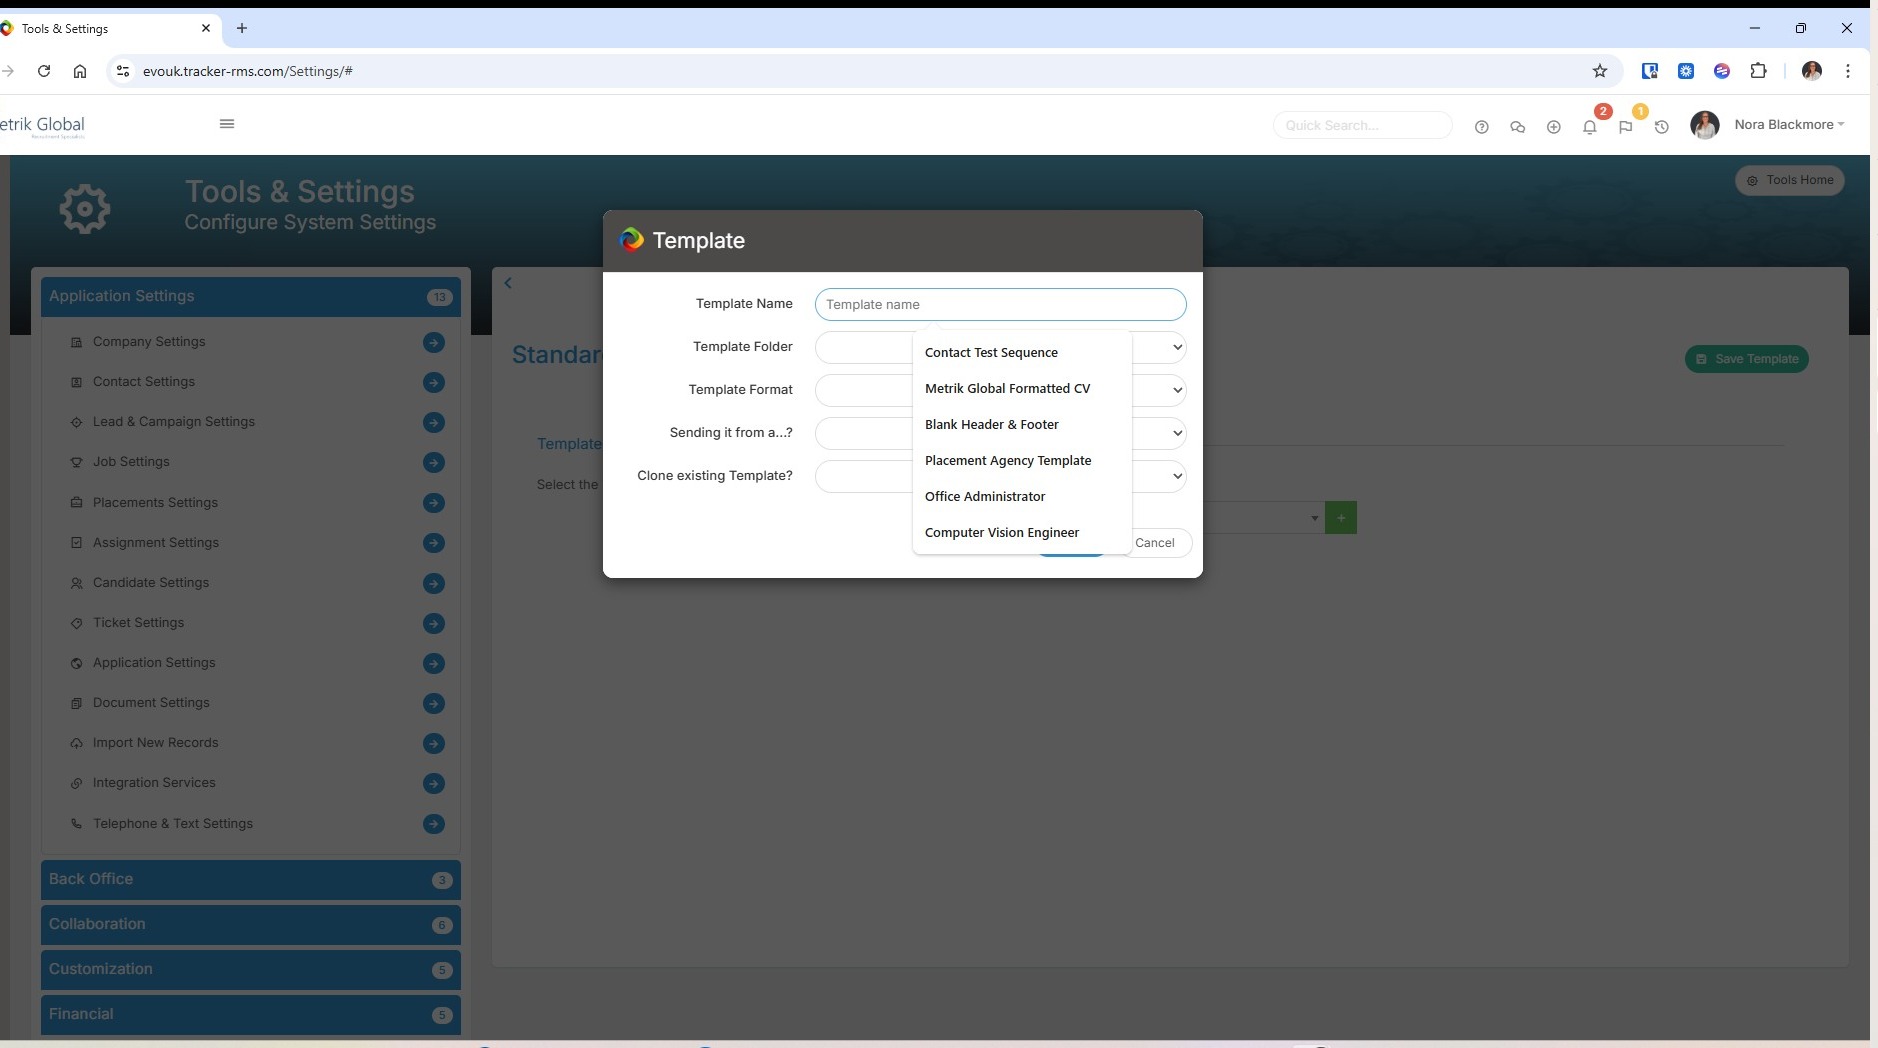
9. Next we'll choose a folder for the template to be held in.
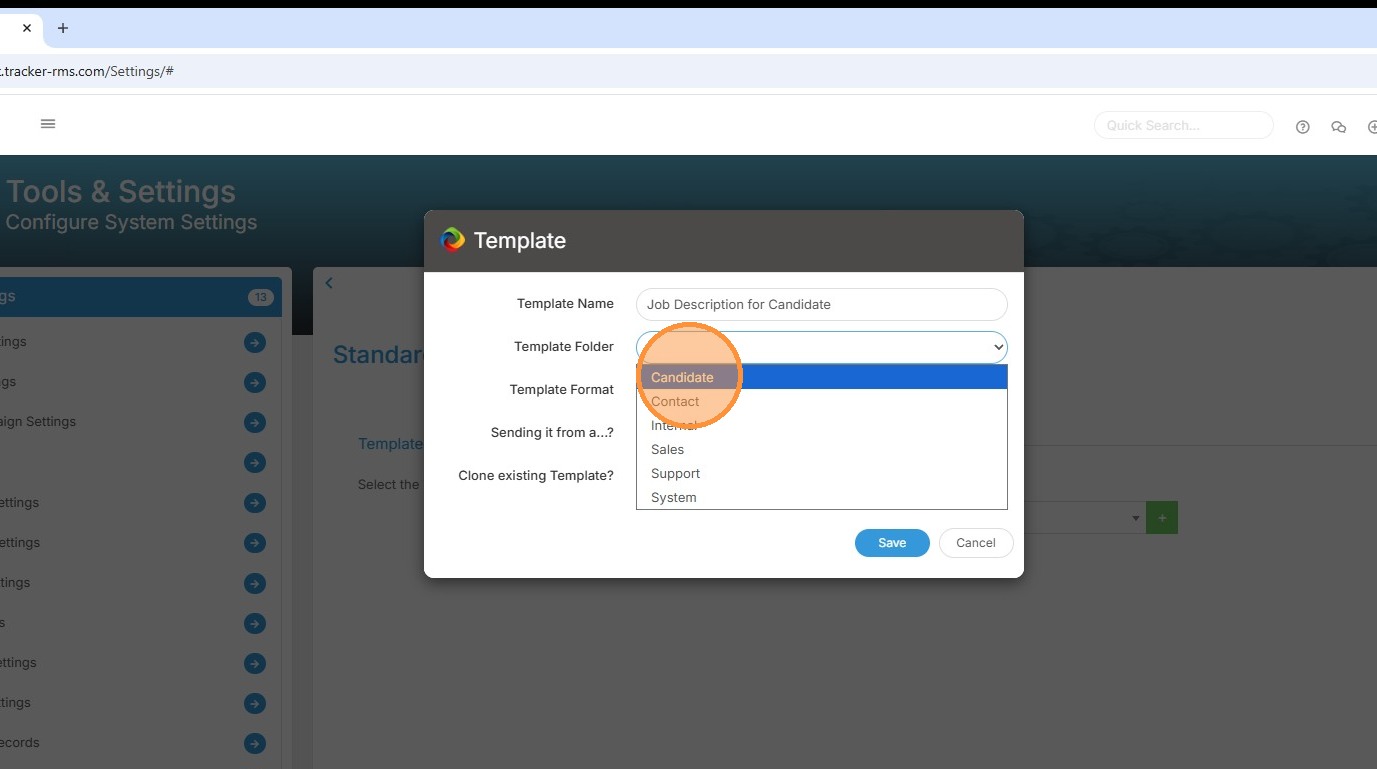
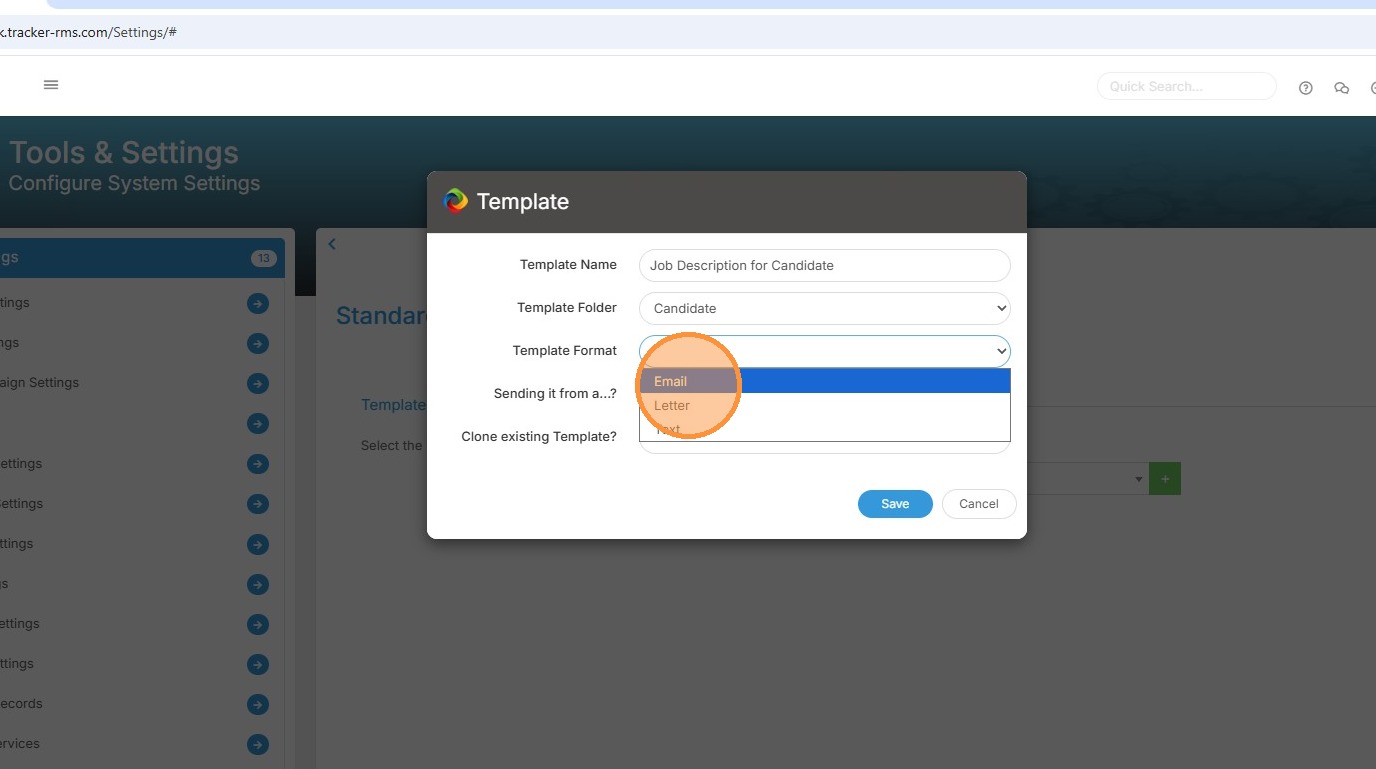
10. We also need to choose a Template Format. Here we are creating an Email Template.
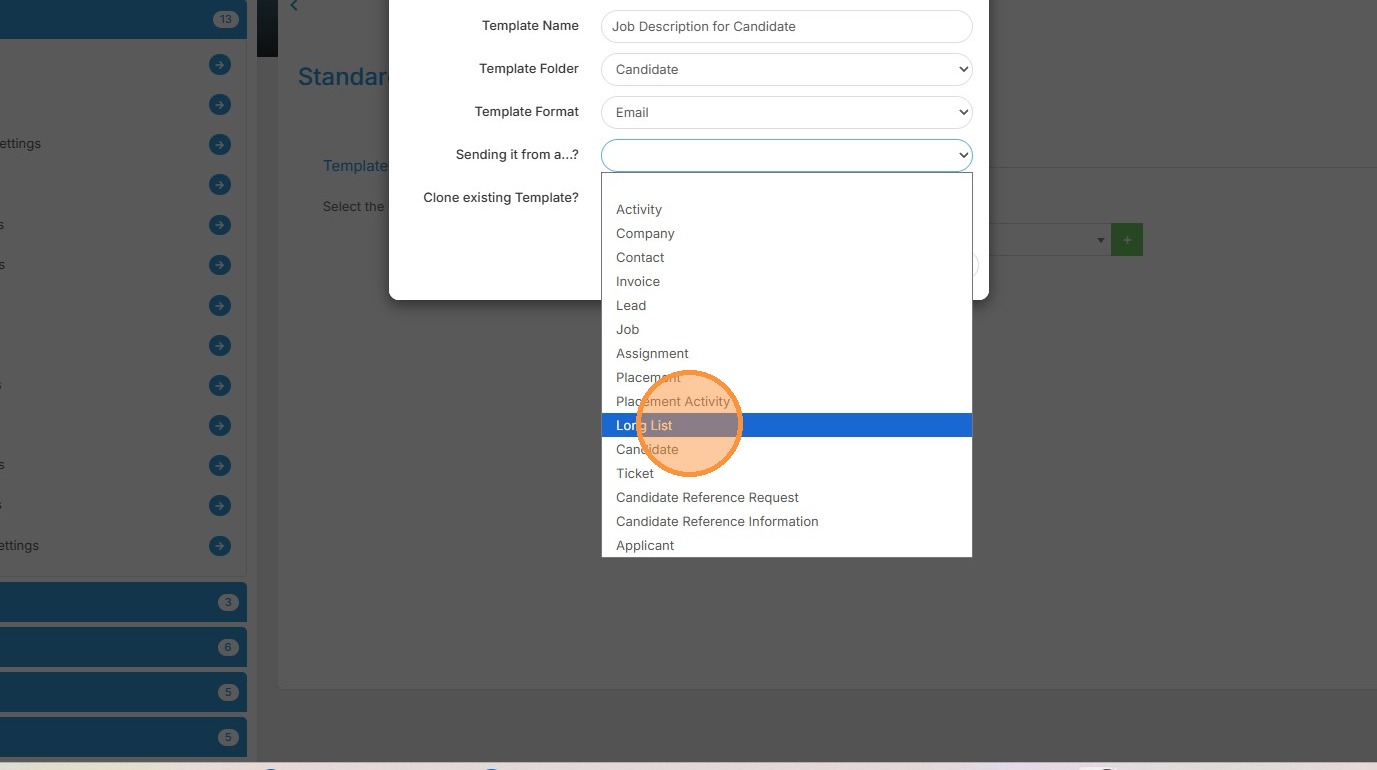
11. The "Sending it from a...?" option is about the templates Association.
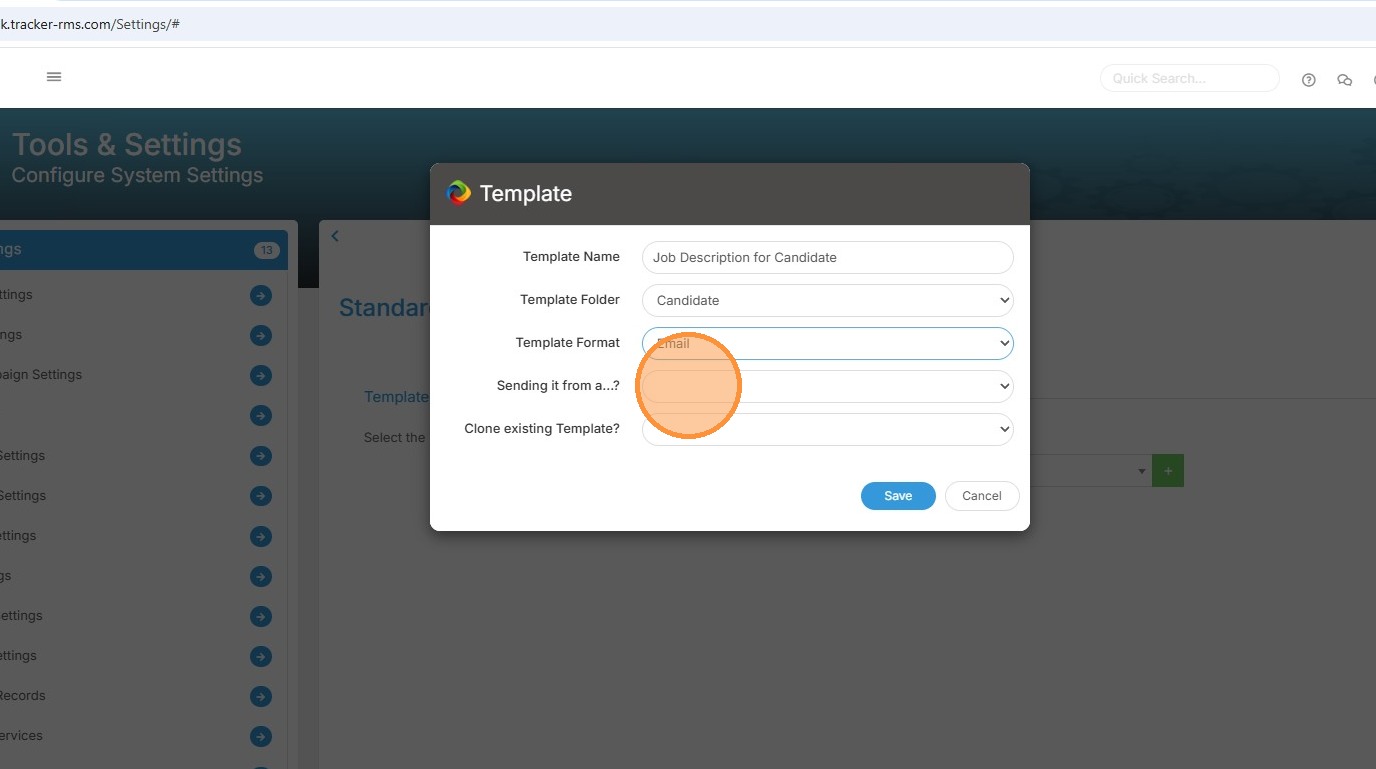
12. The Association is extremely important because it drives the tags that are available for that template. For example, to contact a candidate from their candidate record directly, you would choose Candidate
You will see these options include more than just the record types, on this, there are a couple of important things to note:
If you'd like to create a template that can be used on the shortlist, choose Placement .
If you'd like to contact candidates from a longlist, choose Longlist.
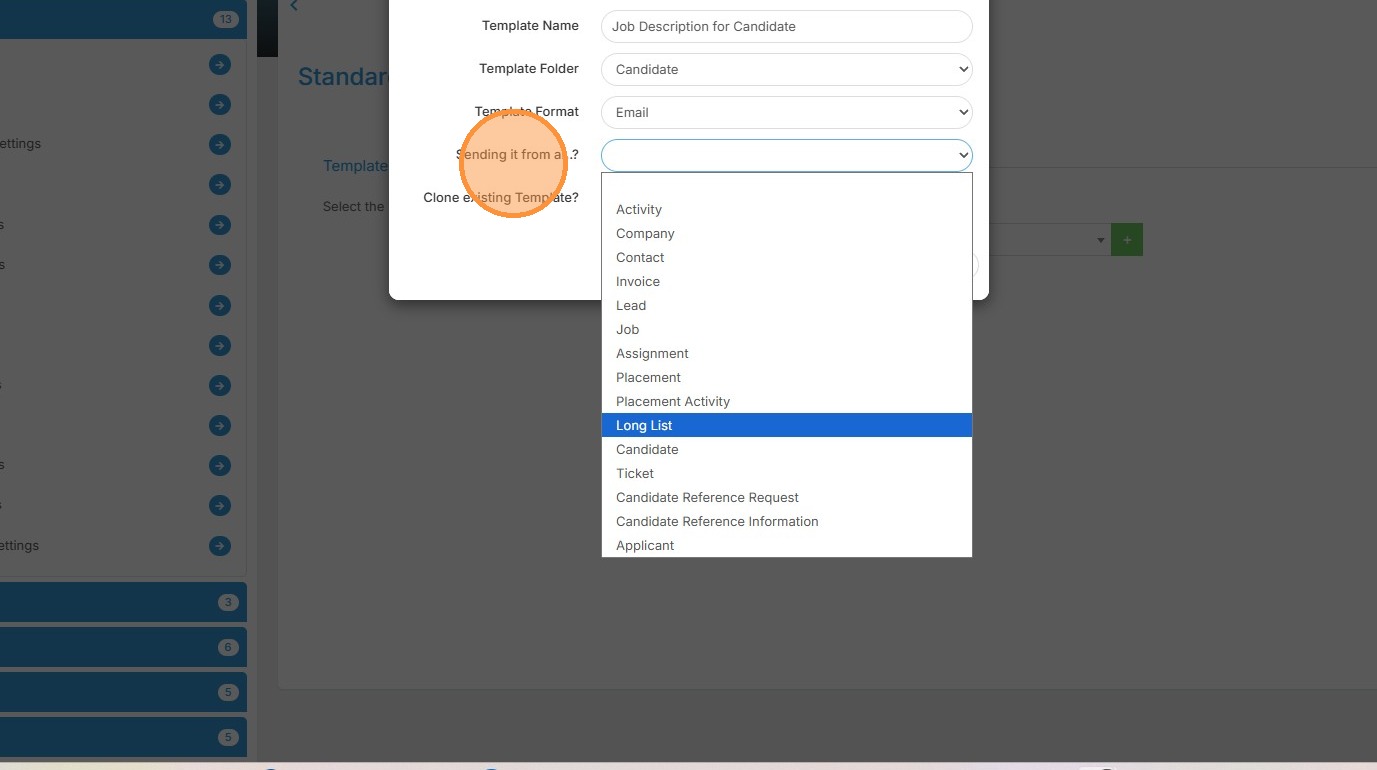
13. For this example, let's create a template we can send to candidates on our longlist.
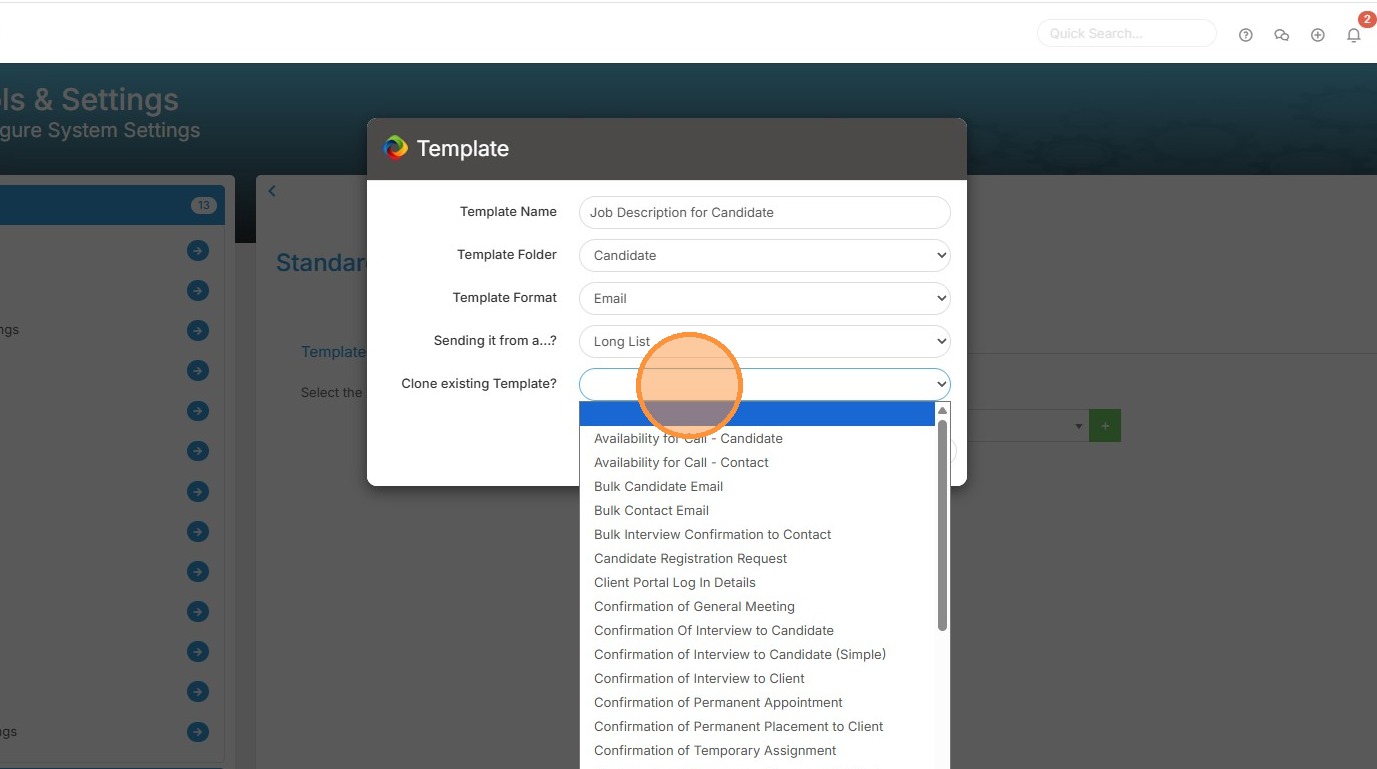
14. If you have an existing template you'd like to clone, you can select it from the dropdown and it will populate the fields for you.
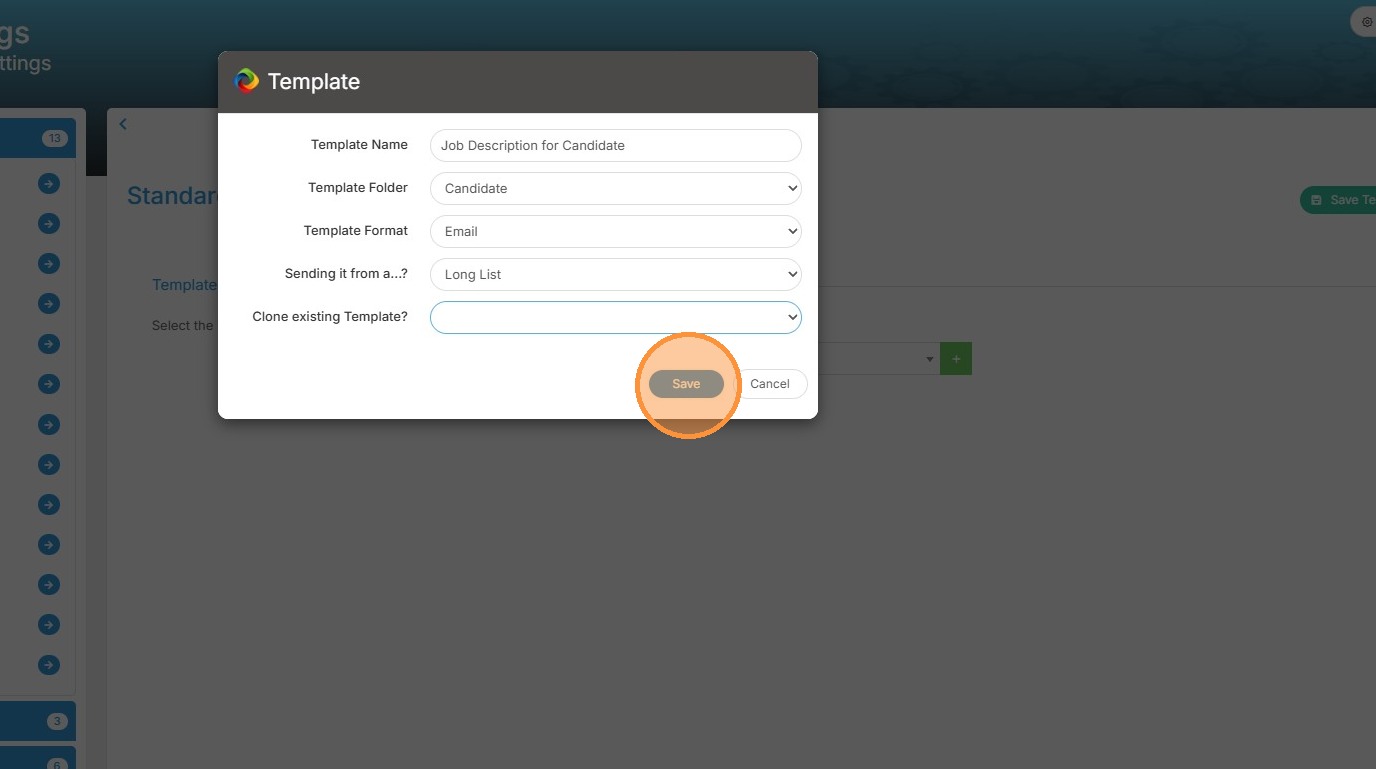
15. Click "Save" to start creating the content.
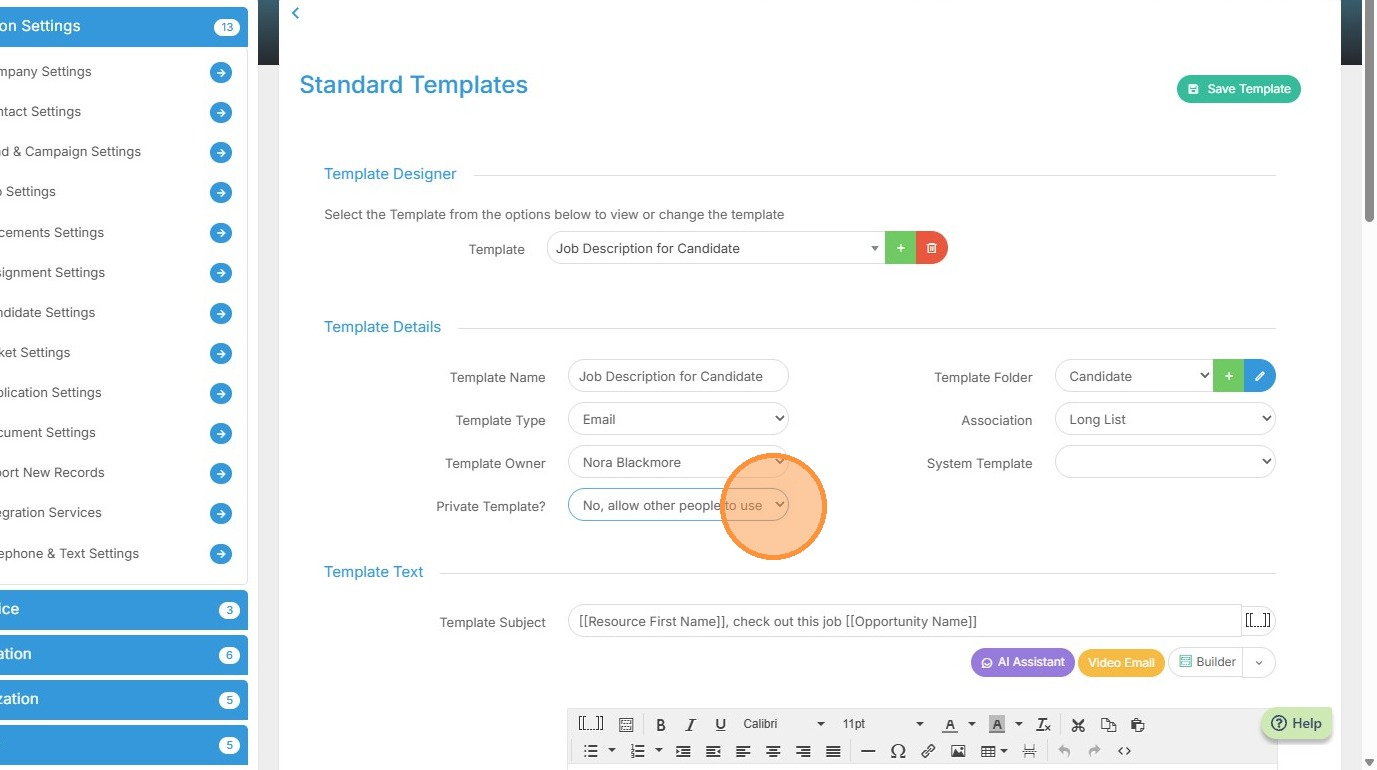
16. Here we see the Template Details section showing the Template Name (what you'll see in the drop down list) and Type (in this case we're creating an Email template).
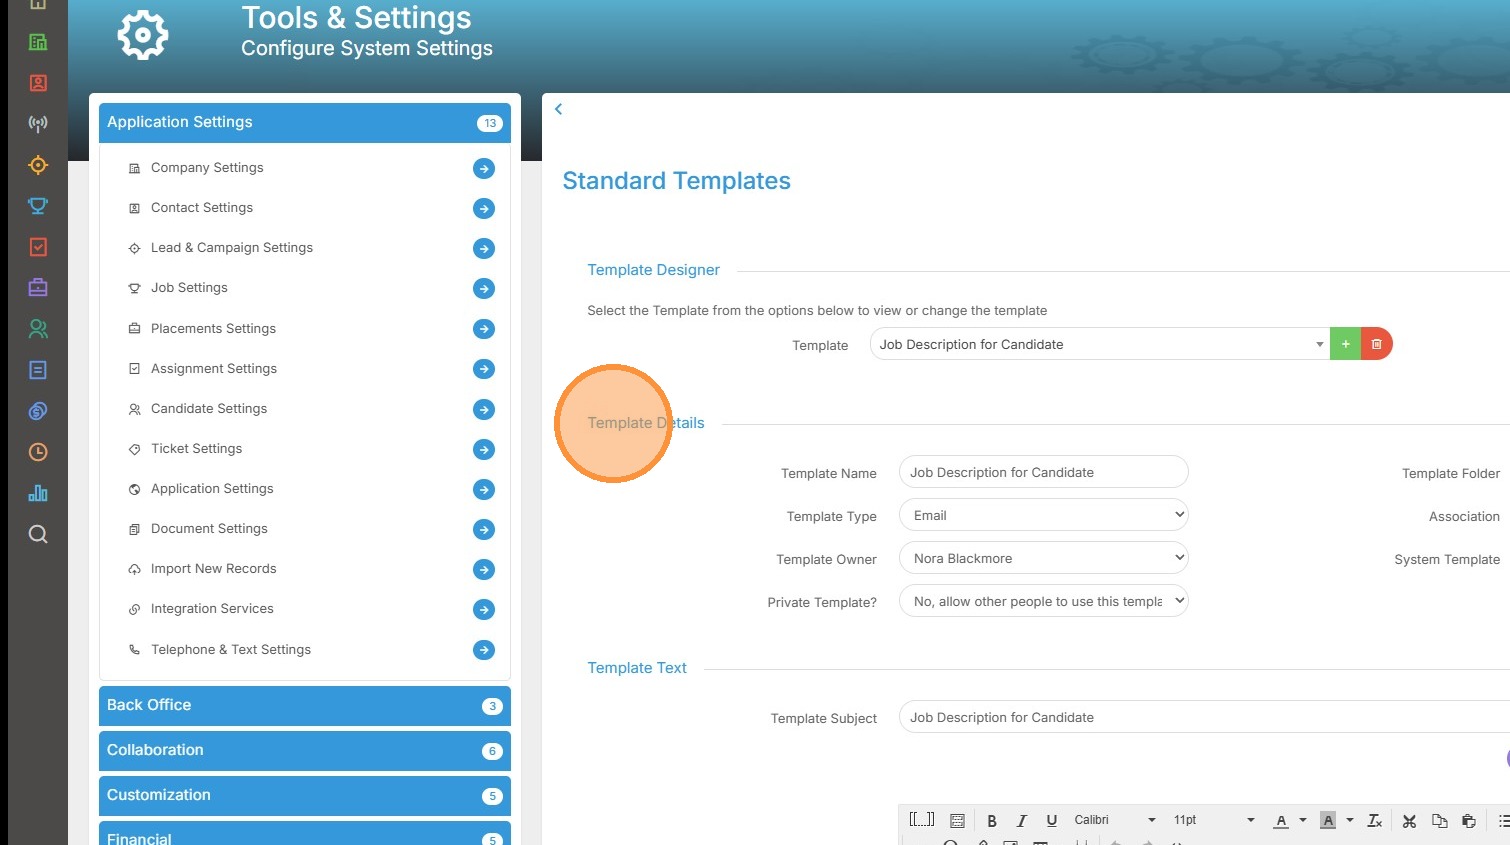
17. We can also choose who can use this template, for example is this template just for you or can other users see and use it.
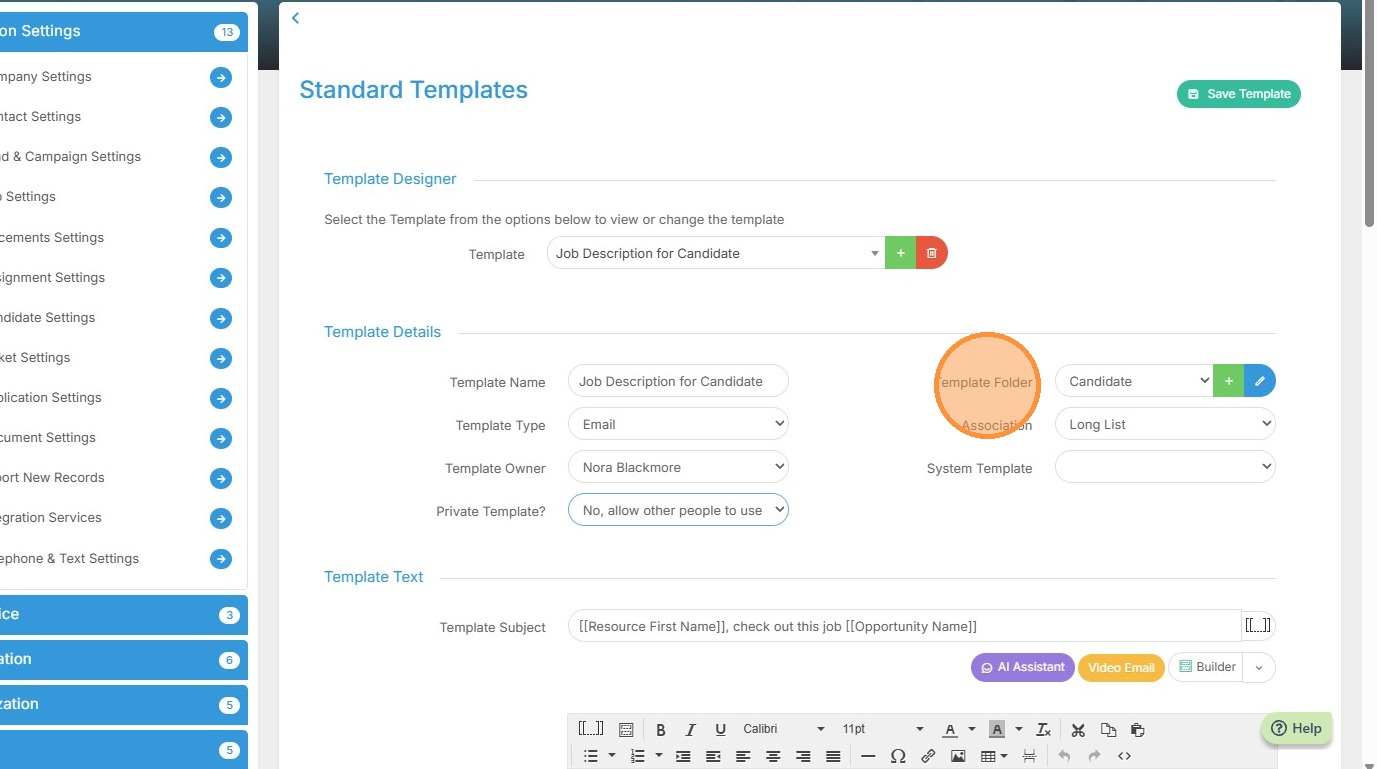
18. Here we see which Folder the template lives in. This is also where you can create additional folders or edit and delete existing ones to keep your templates well-organised.
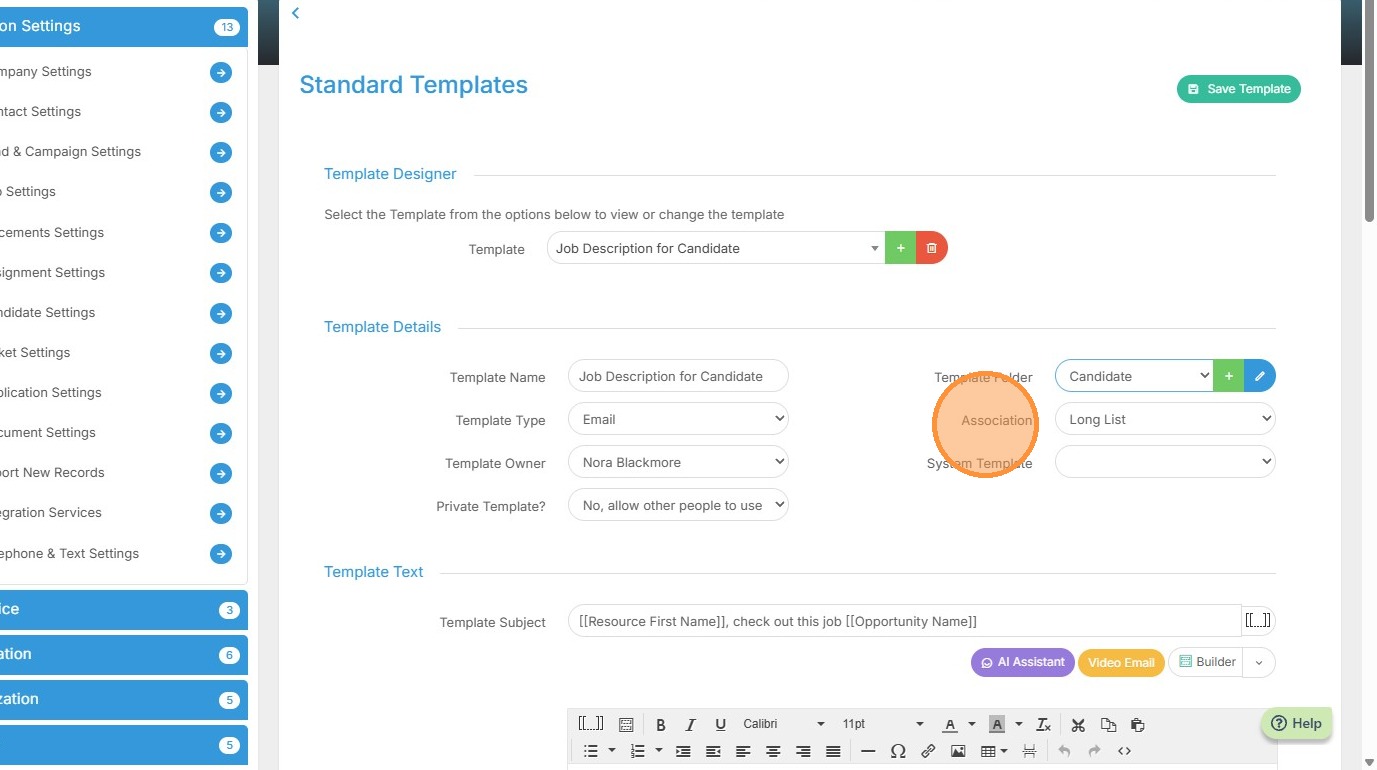
19. We mentioned Association when we were creating the template. As a reminder this is an important field as it drives which tags become available in your template. Getting this right from the start saves headaches later.
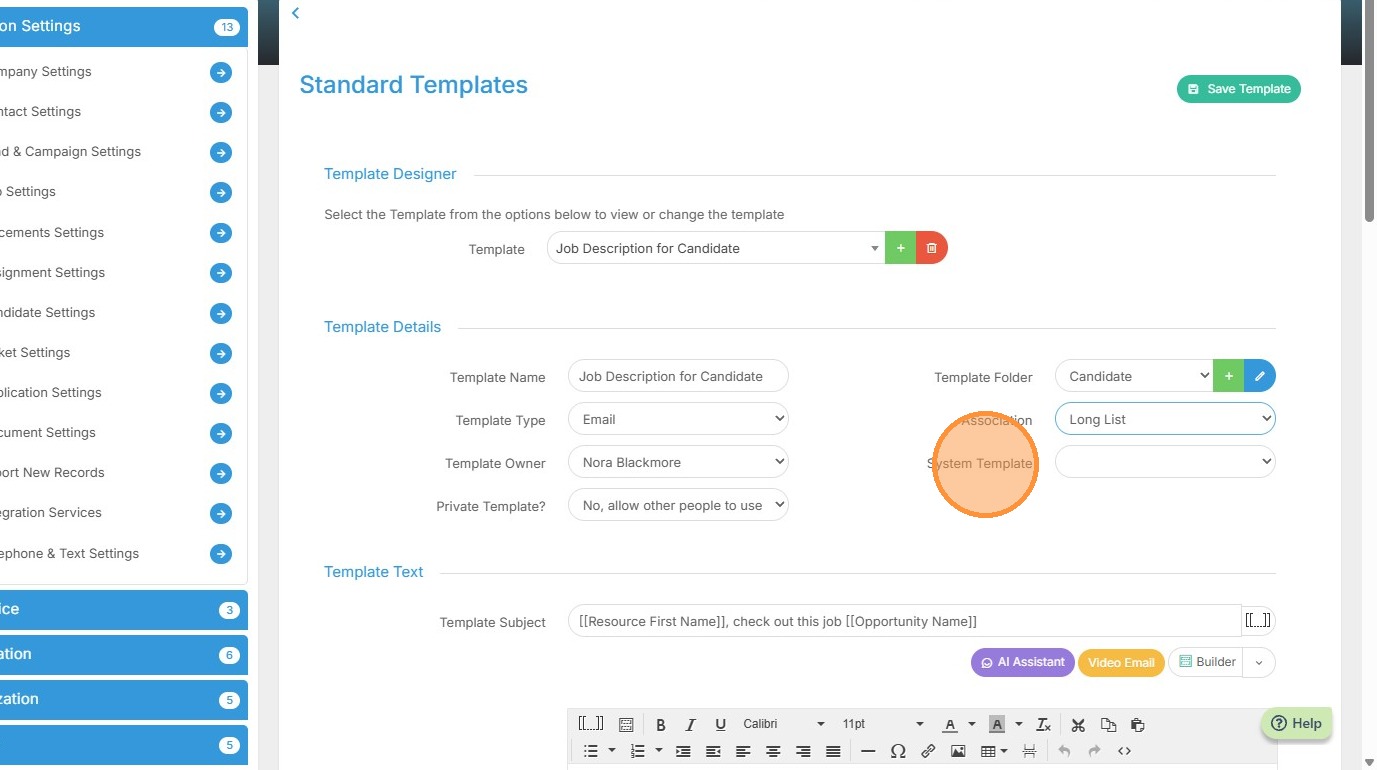
20. Some templates will require a System Template value as these templates require certain system functions to happen automatically on the template, for example creating an Invoice PDF or applying the Market Candidate CV Summary tag (as configured in Placement Settings).
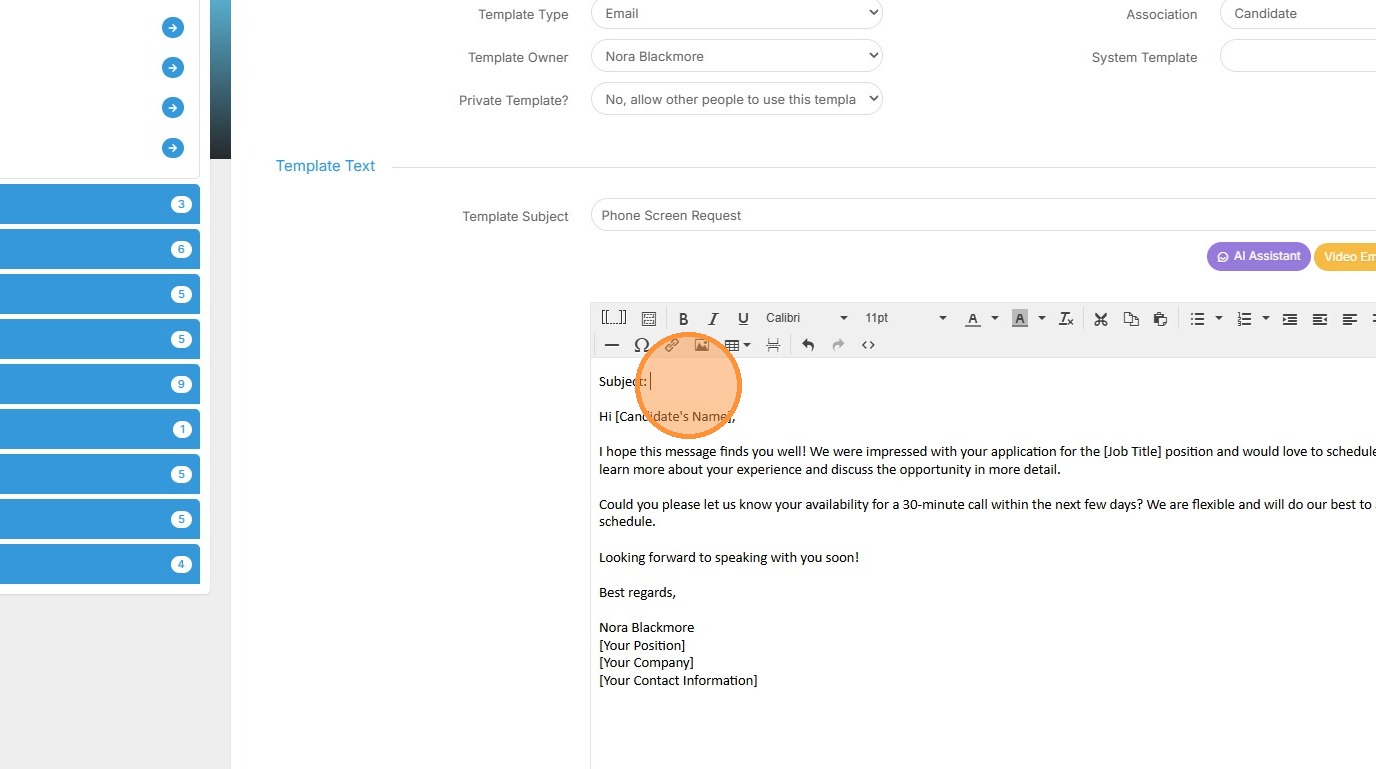
21. Here we have our template subject line. This is what the recipient will see when they receive the email.
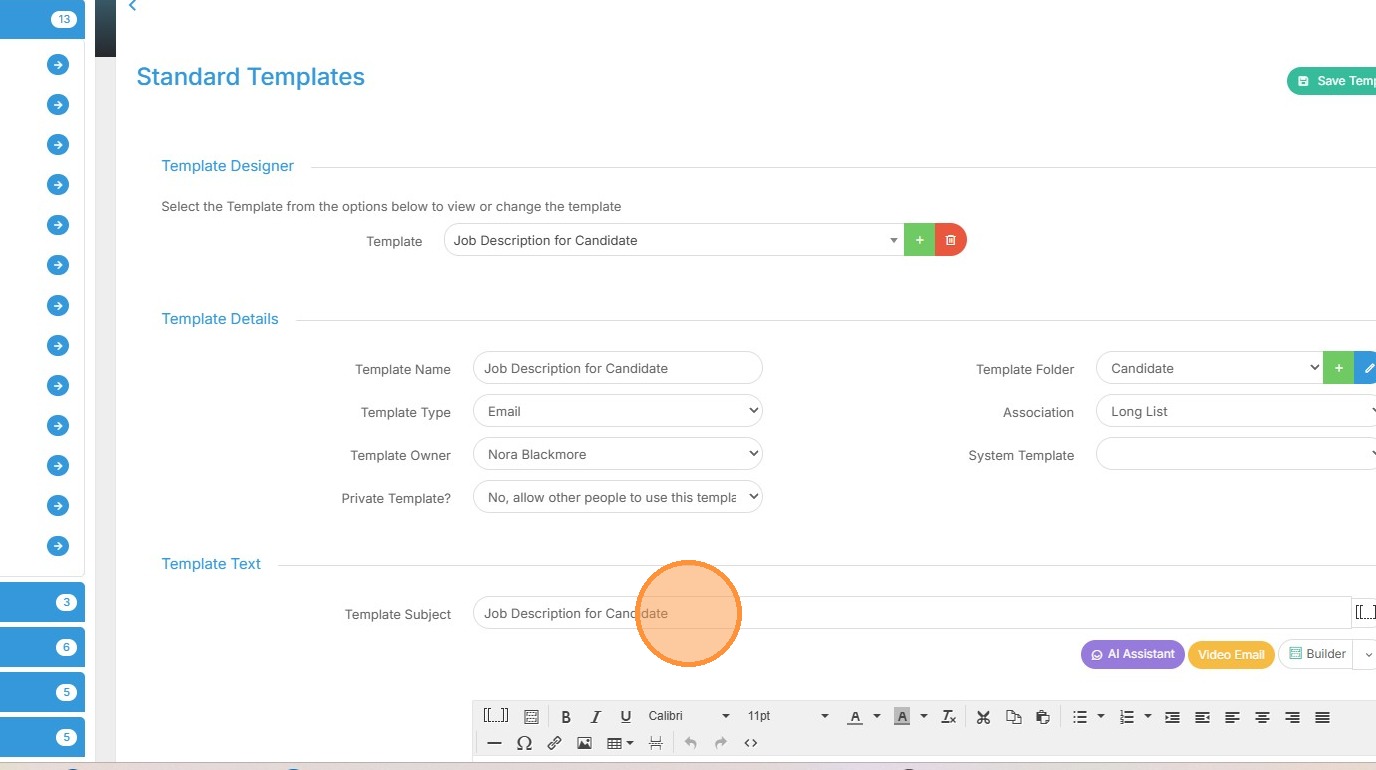
22. The great thing about the subject line is you can use tags here as well.
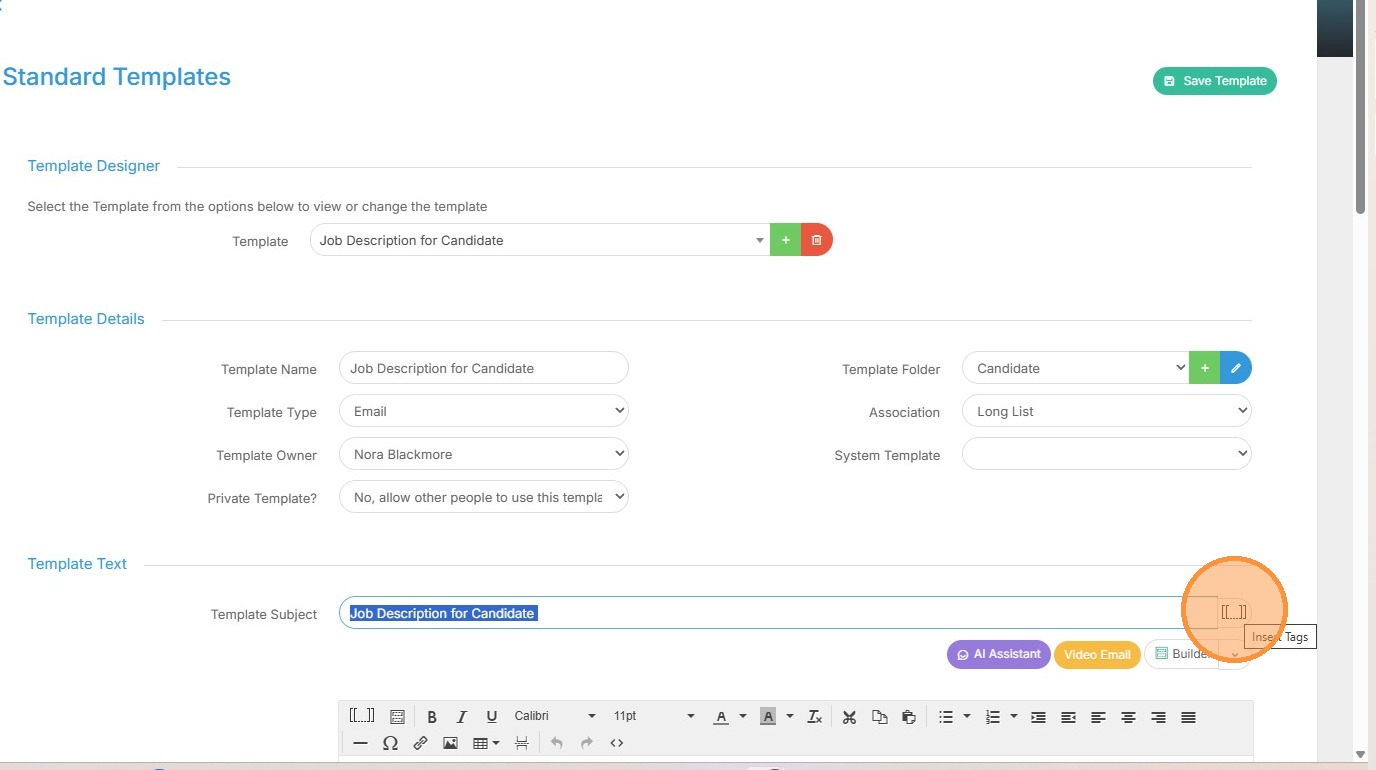
23. For example, if we'd like to use the resource's first name, we can add that tag.
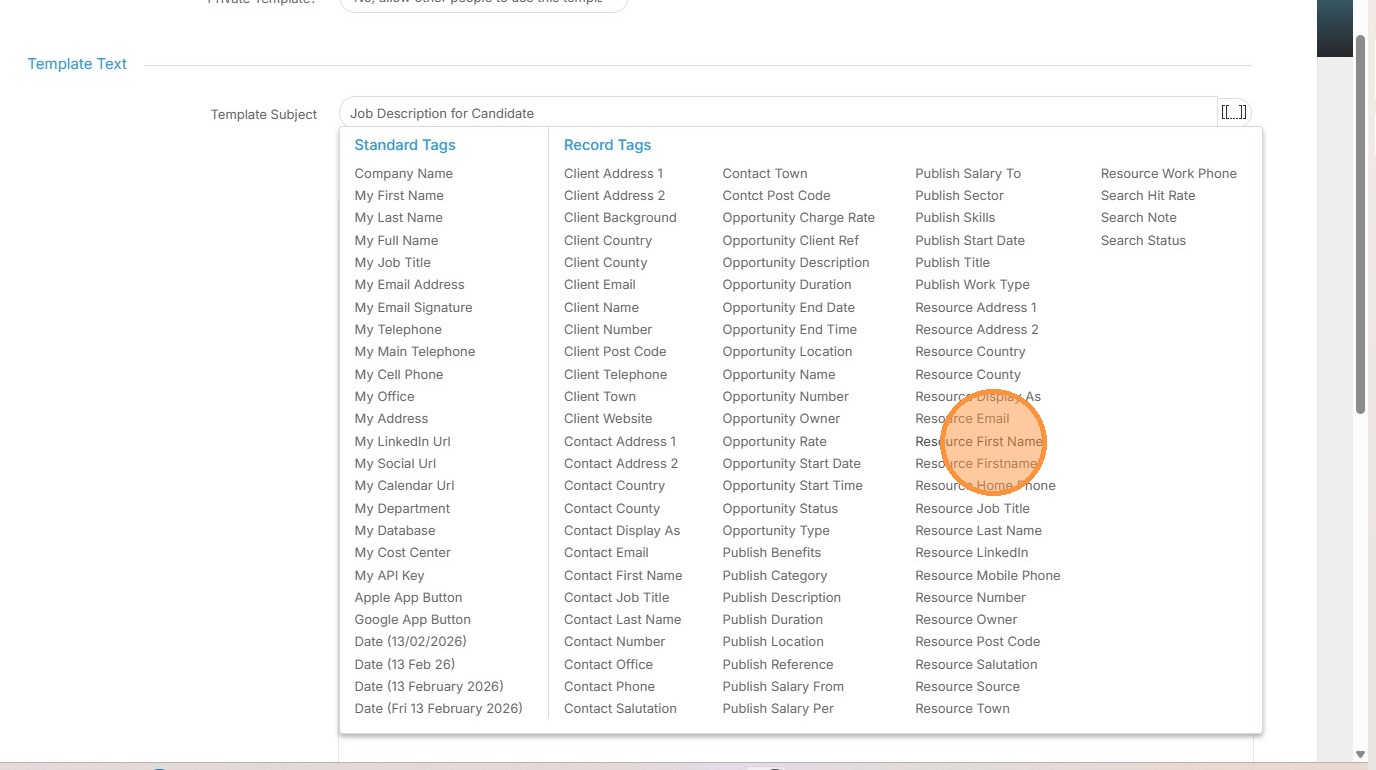
24. We see this tag now added to the Subject line. You can add more than one tag if you wish.
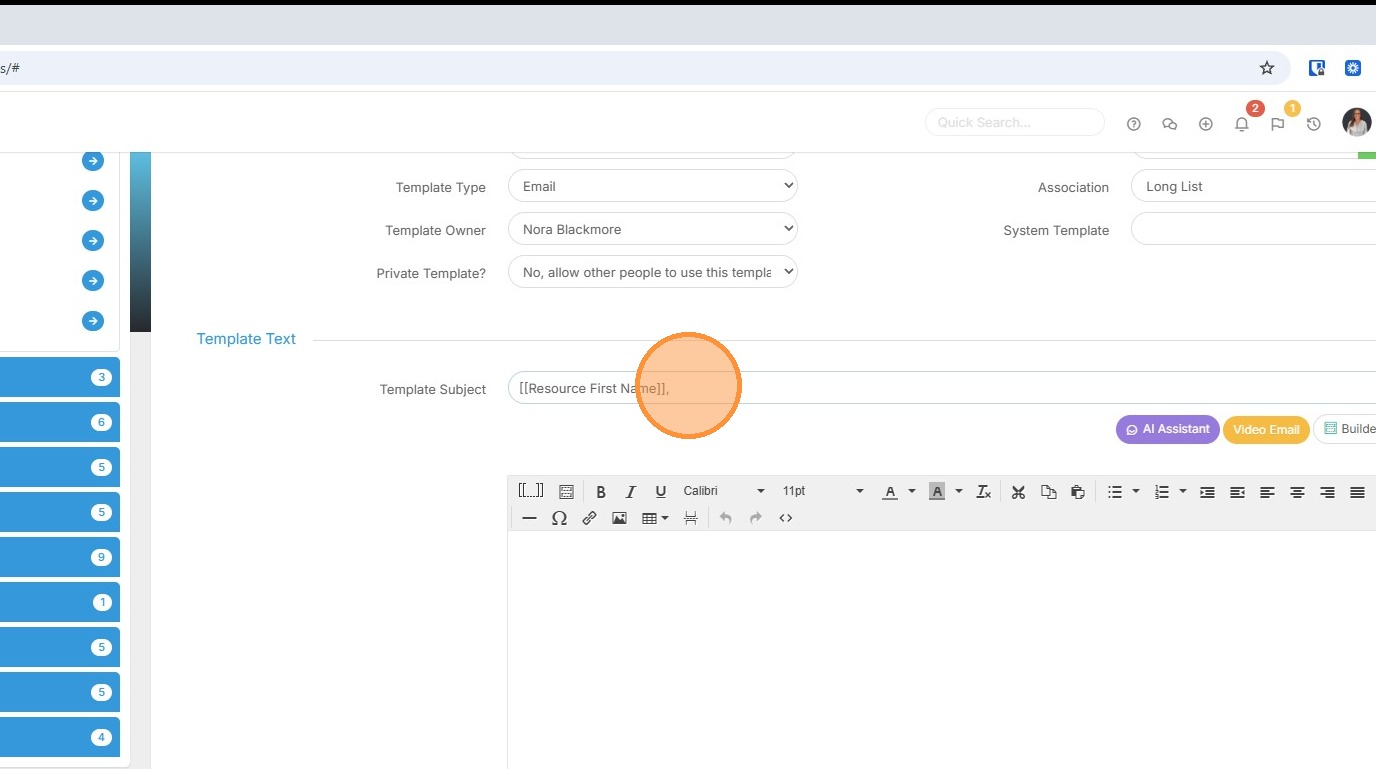
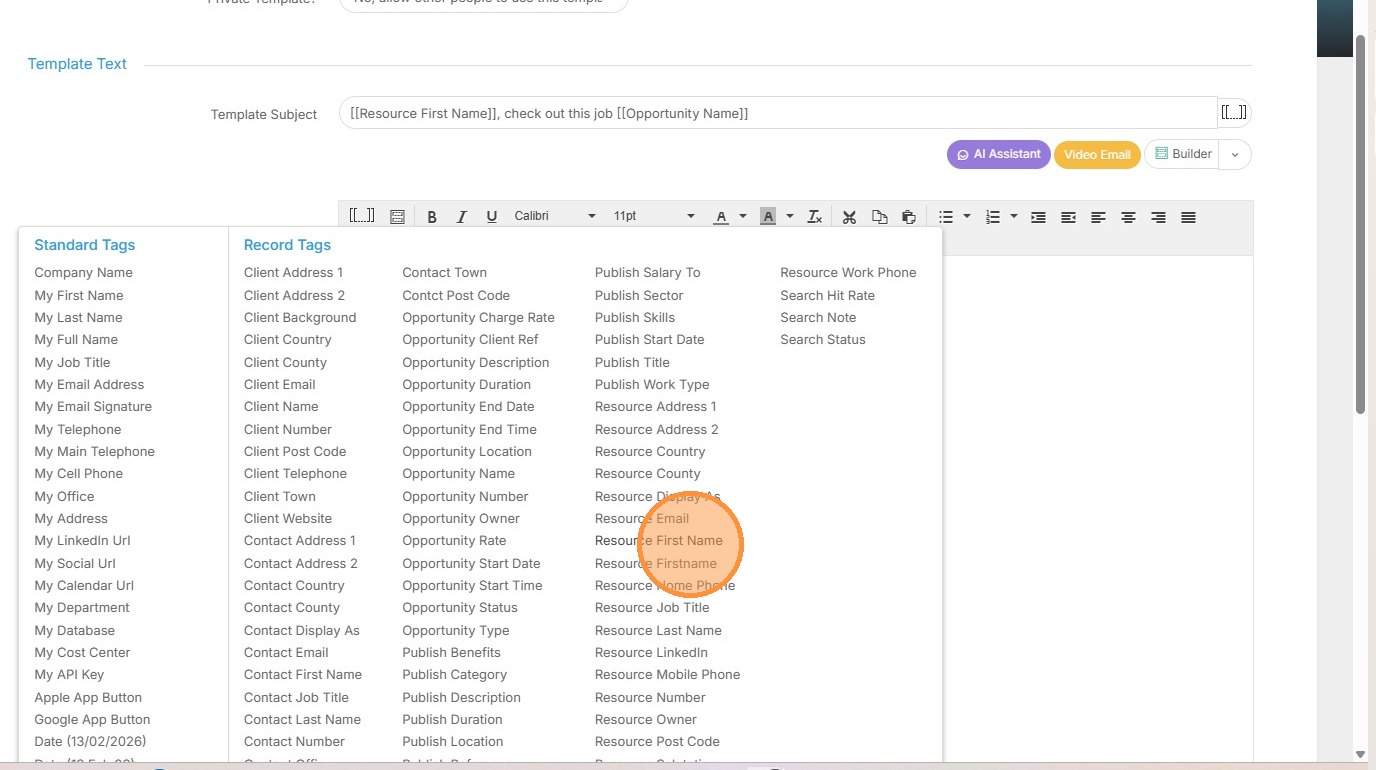
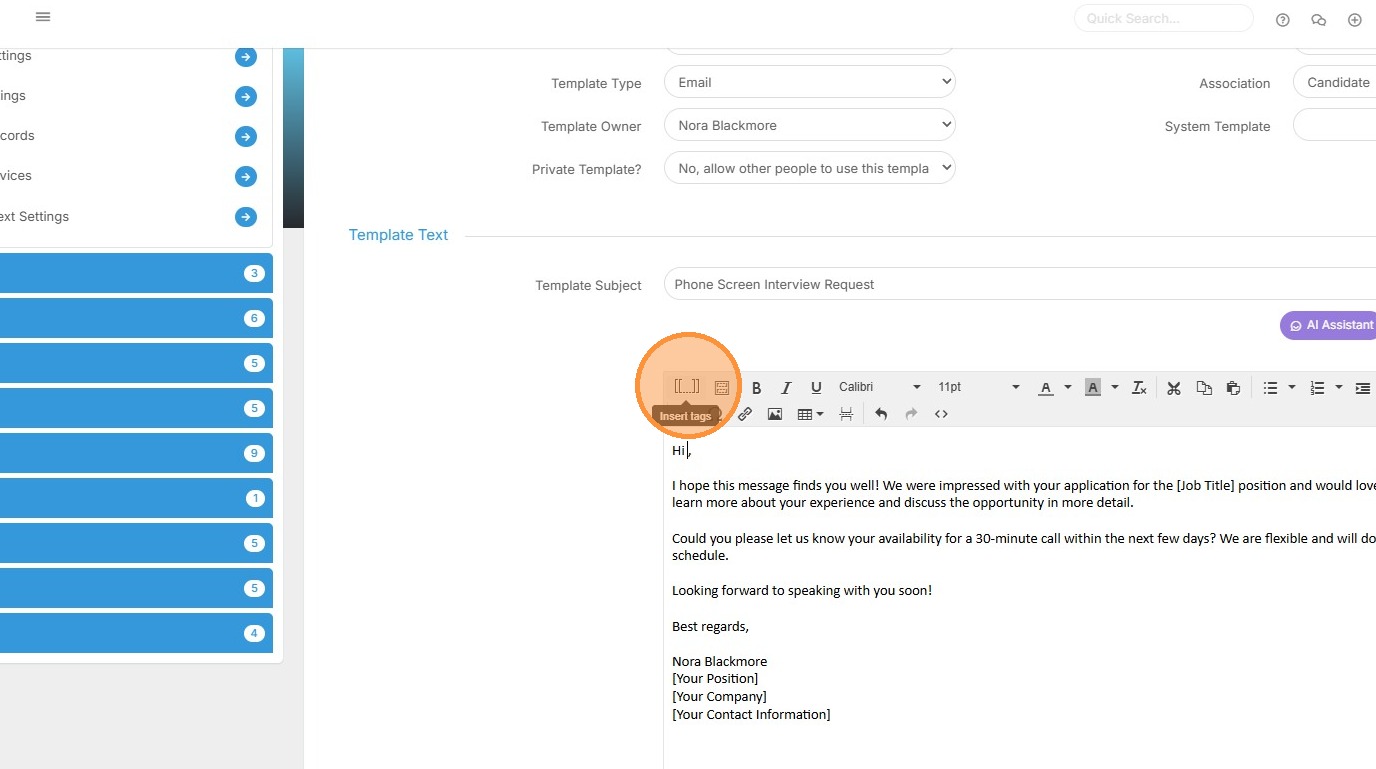
25. You can add tags into the body of the email too.
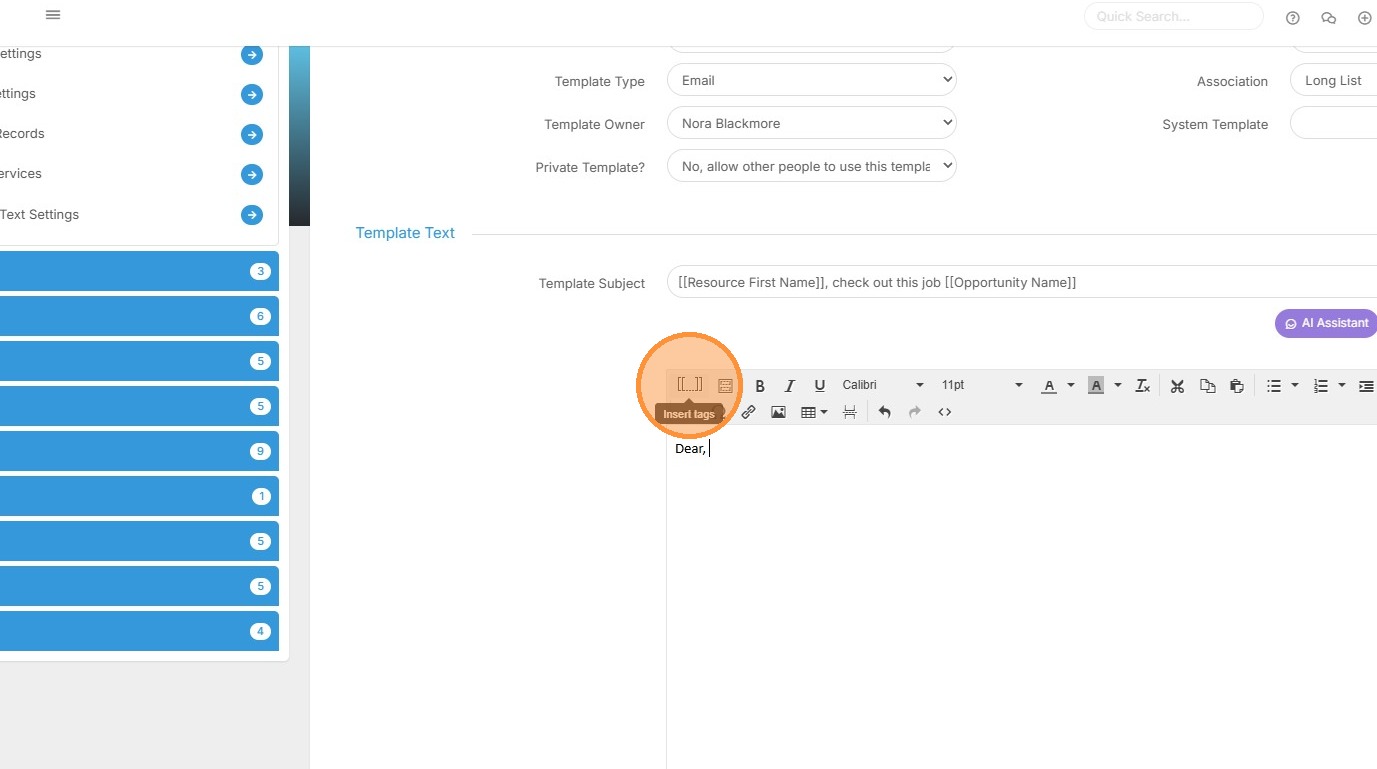
26. Let's start by adding the "Resource First Name".
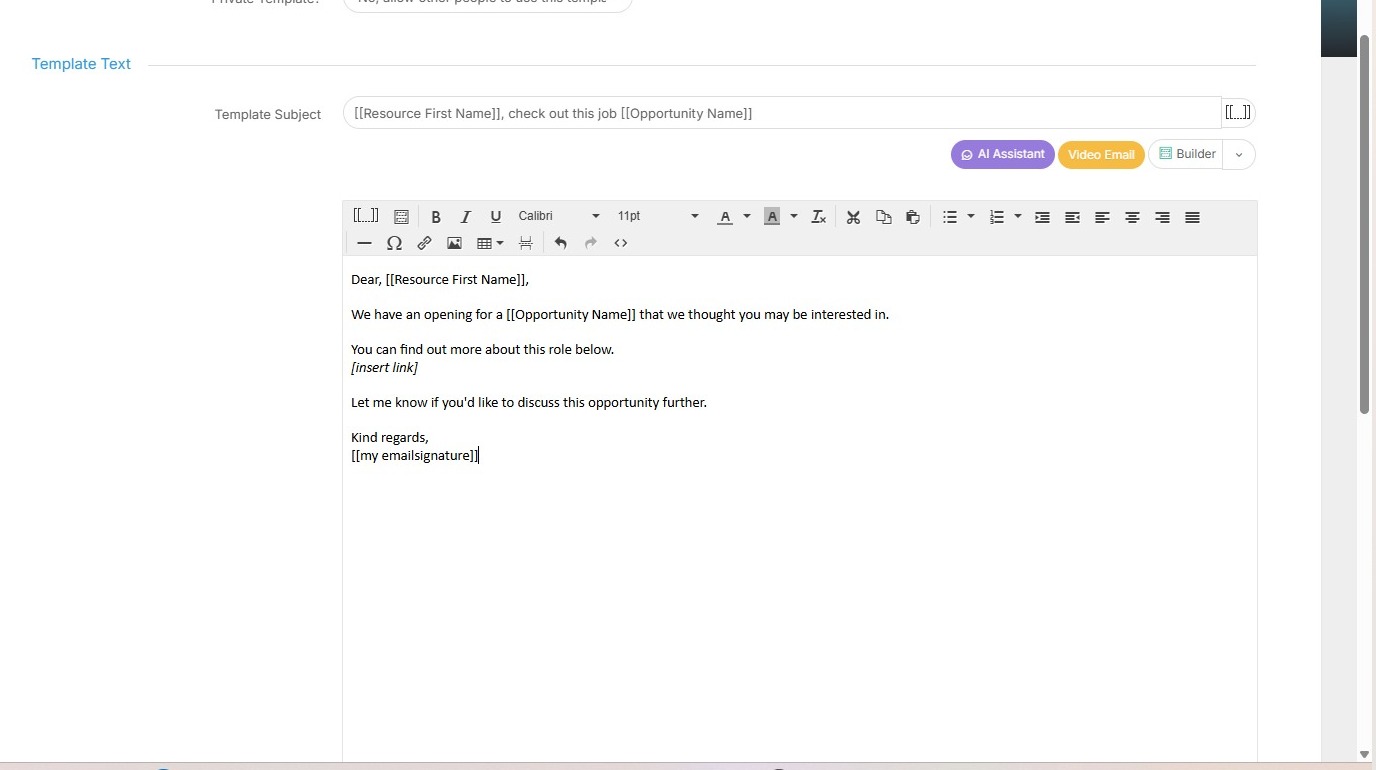
27. Here's the finish template with a few tags, including the Job name (this is the tag called Opportunity name), and my email signature. I've also included a placeholder where later I'll add in a link for the Candidate to apply directly to the Job.
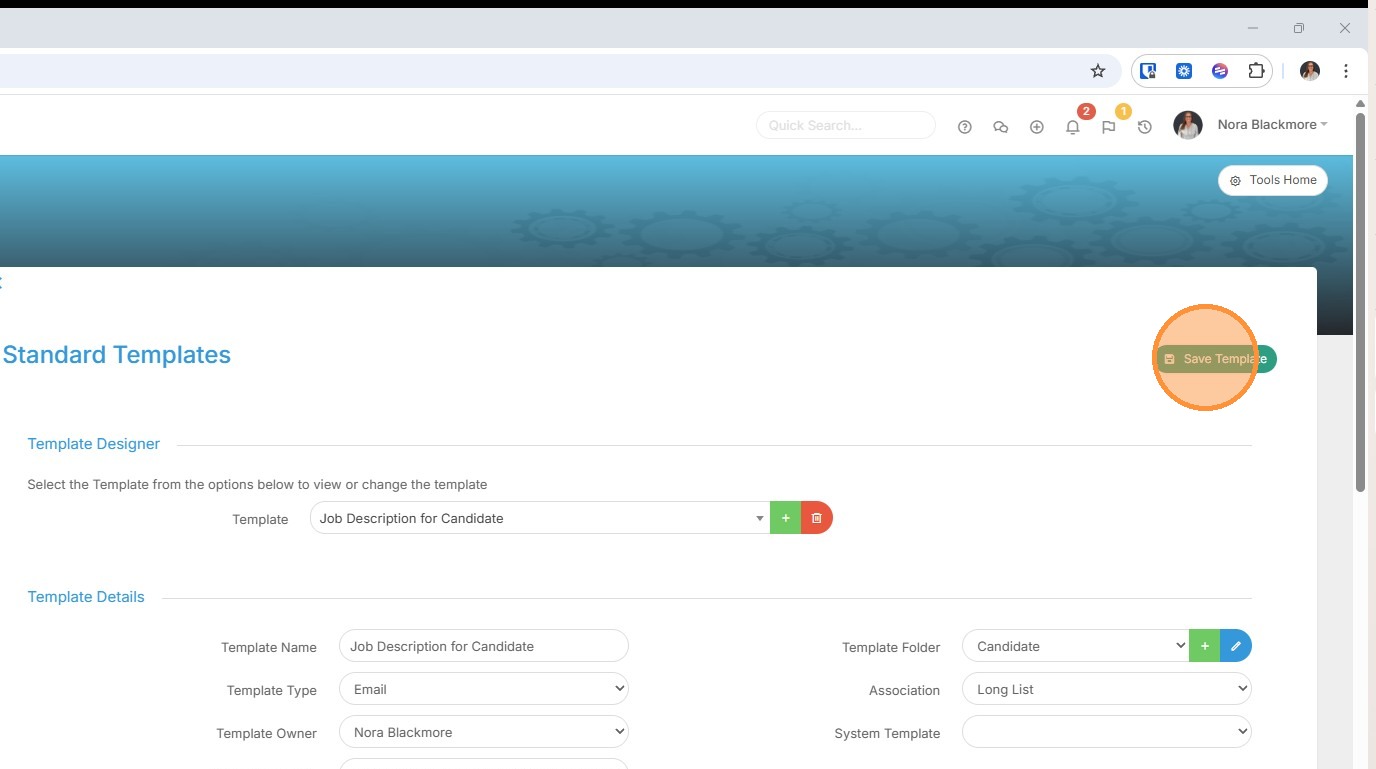
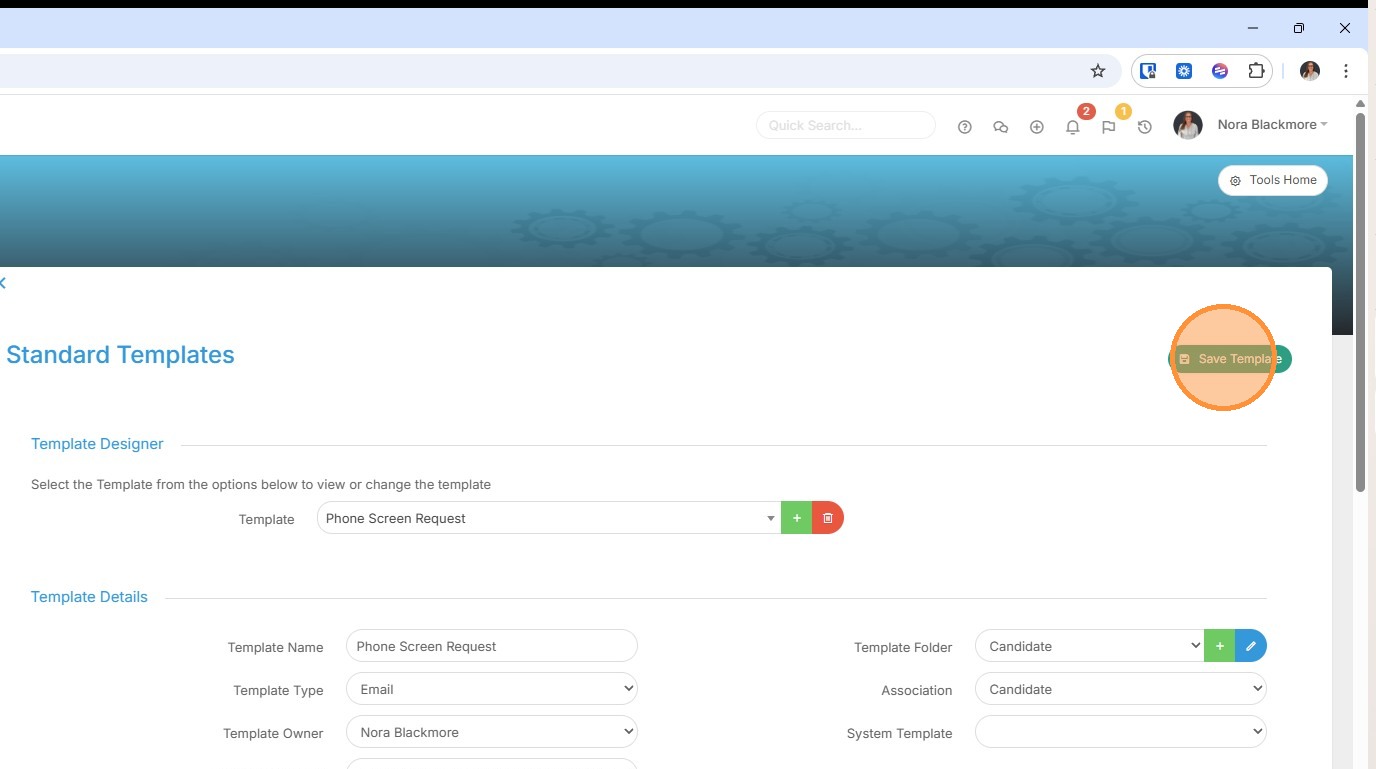
28. Remember to Save your Template.
Before we see how to use this template, lets take a look at how we can use AI to create an email template for us.
29. We'll start by creating a new email template.

30. We've input the details to create the new template, we can now click on the AI Assistant to help create the content.
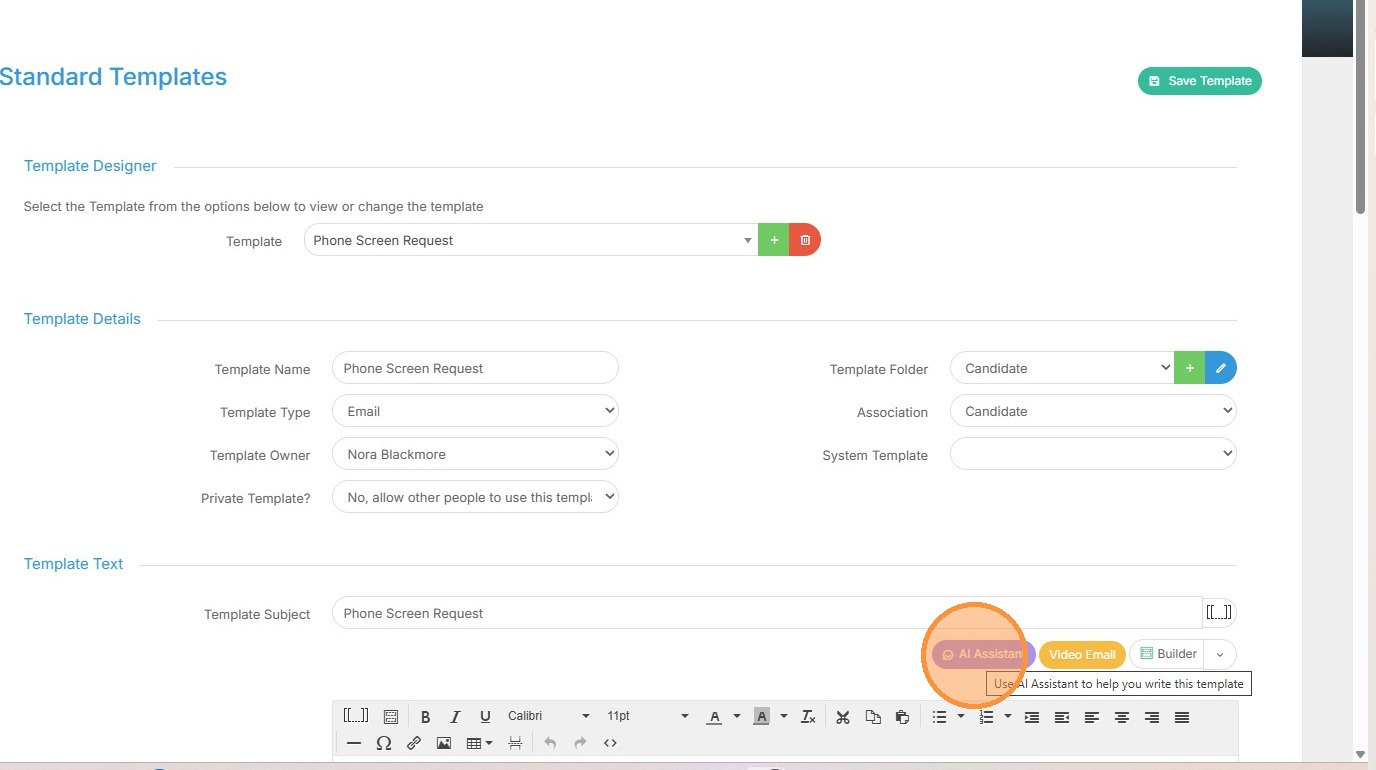
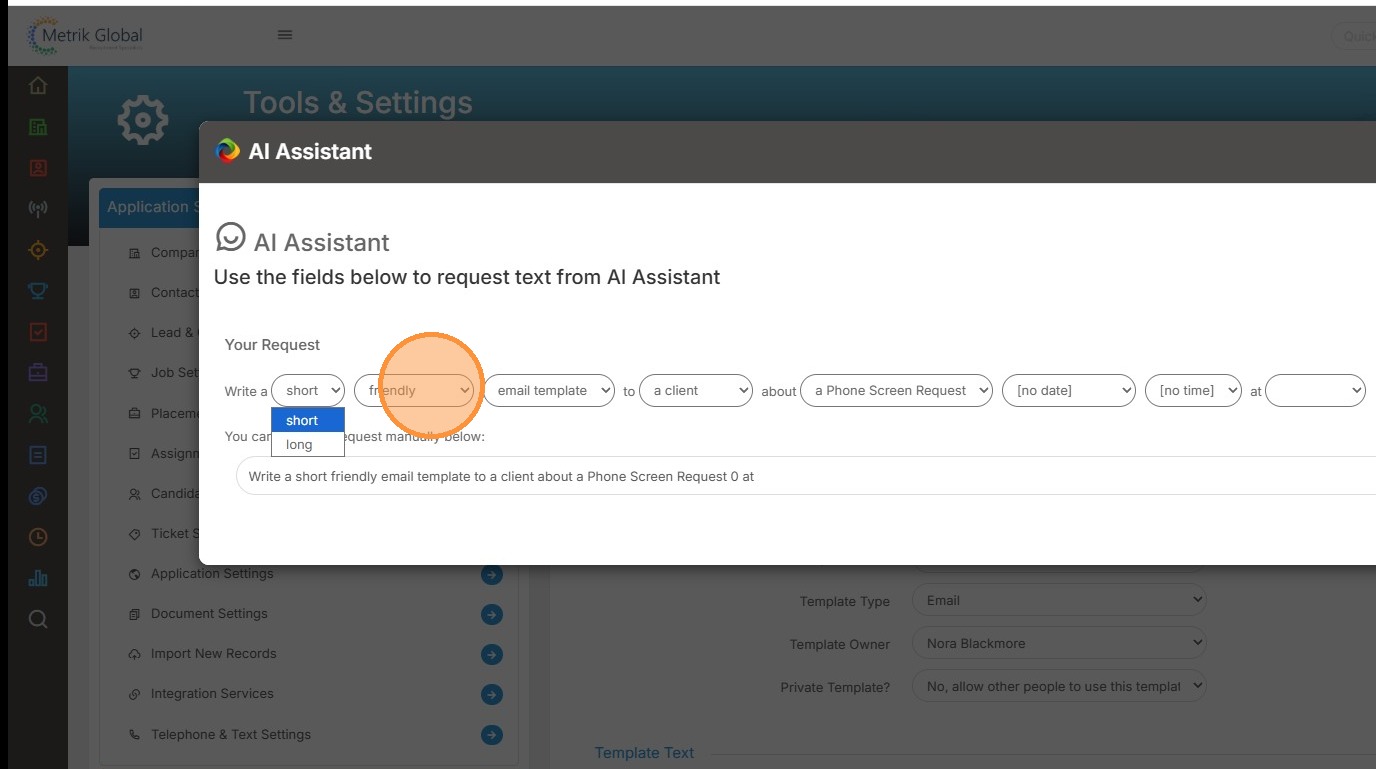
31. Here I follow and complete the prompts to create the length, tone, audience etc for my email. I can add additional text here too if required.
32. Next I'll click "Generate Text" to set the AI to work.
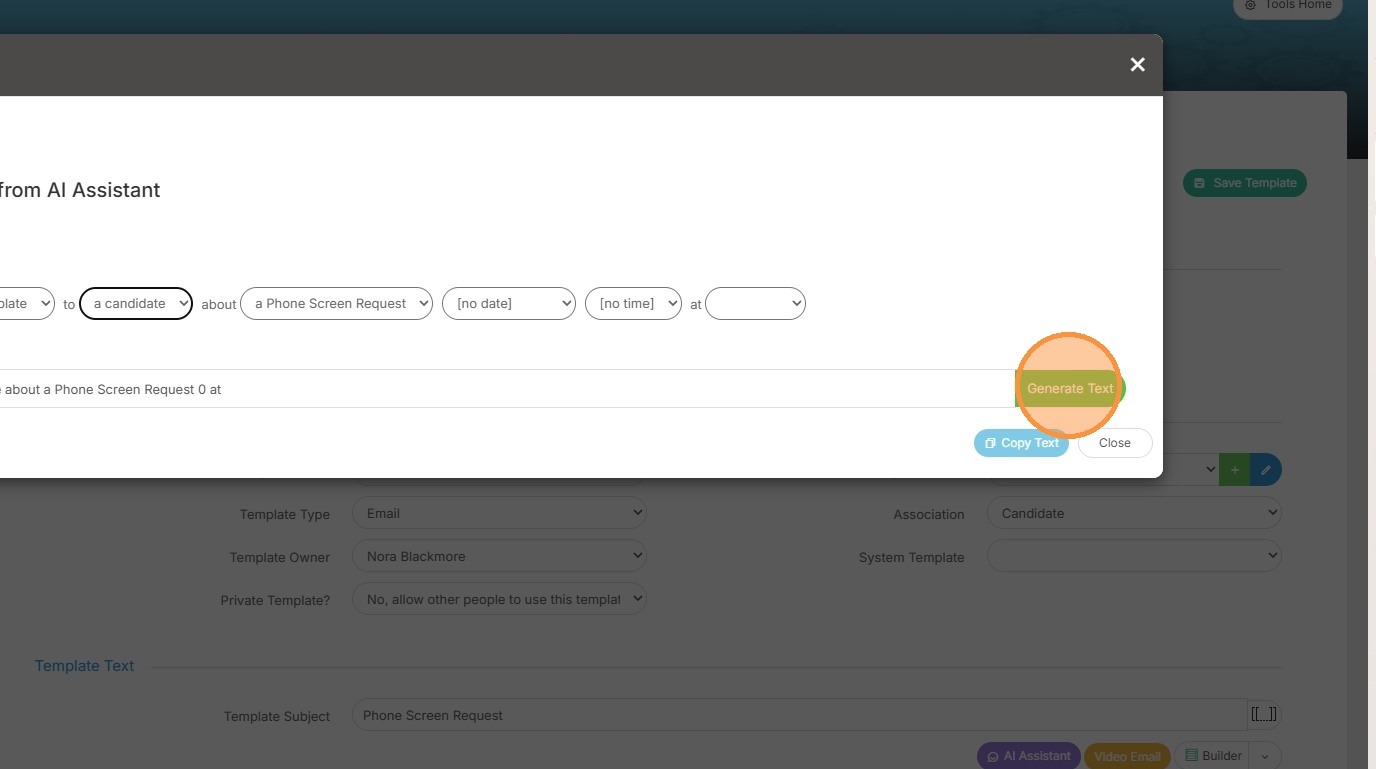
33. I can then copy the text produced by the AI and close the window.

34. I'll paste the text into the body of the email.
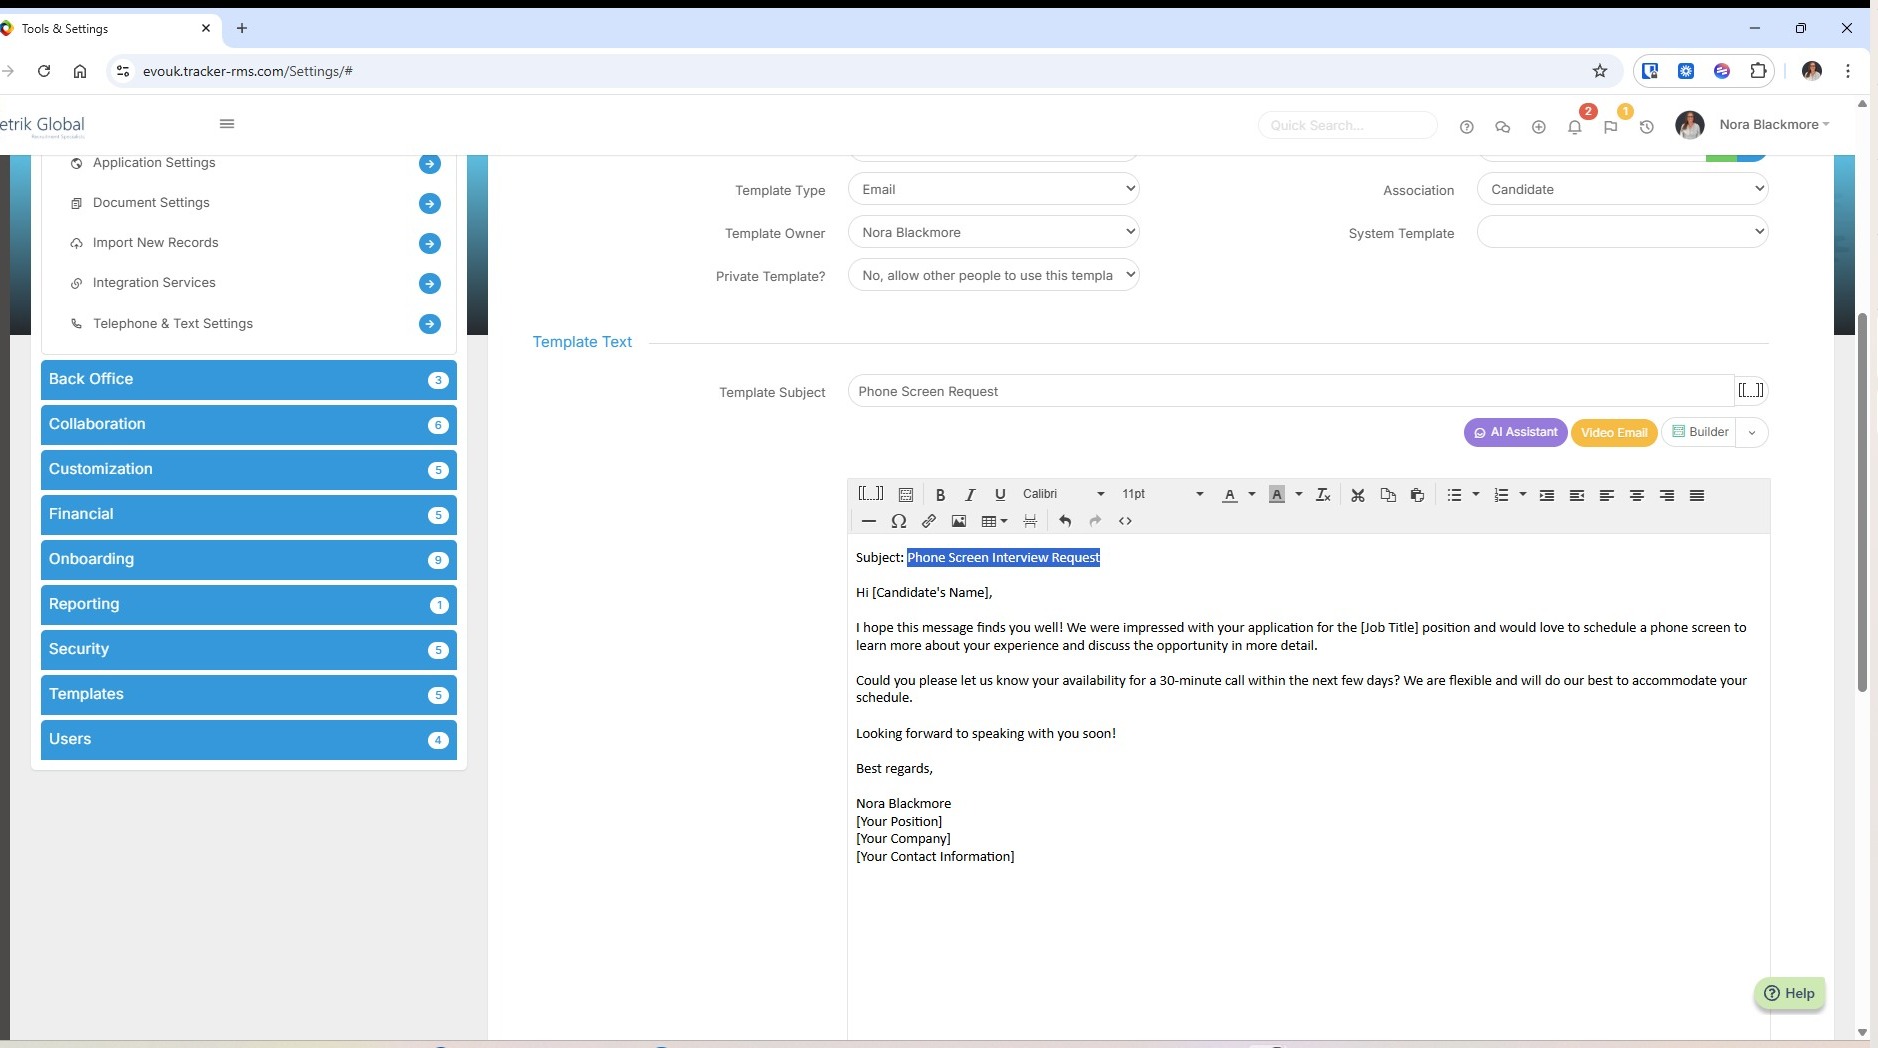
35. I can also take the subject line to paste in above.
36. Add in any tag as we saw earlier, e.g. for the recipient name, your email signature etc.
37. Don't forget to save your template.
Using Templates
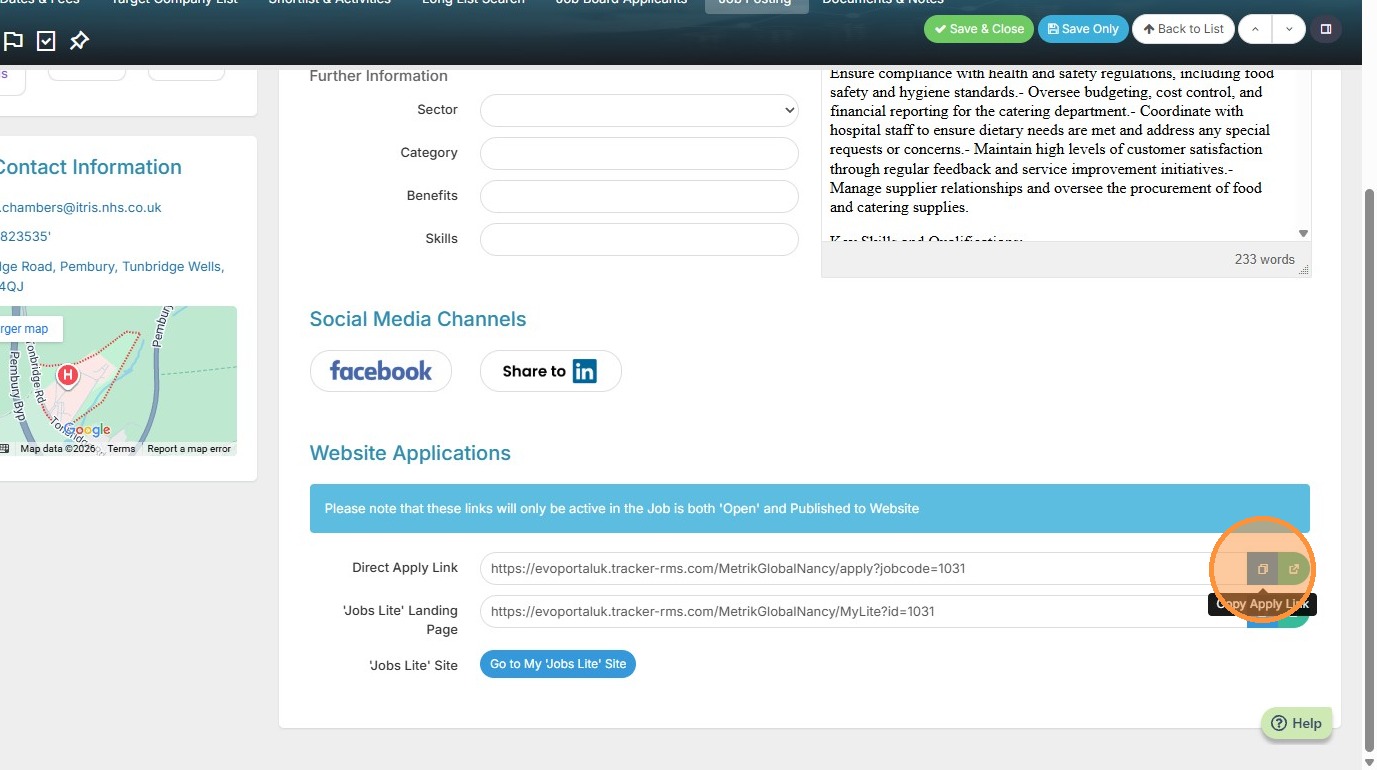
38. We're going to see how to use the email template we created earlier for sending a job link to Longlisted Candidates. On the job we wish to email from I've come to the Job Posting tab.
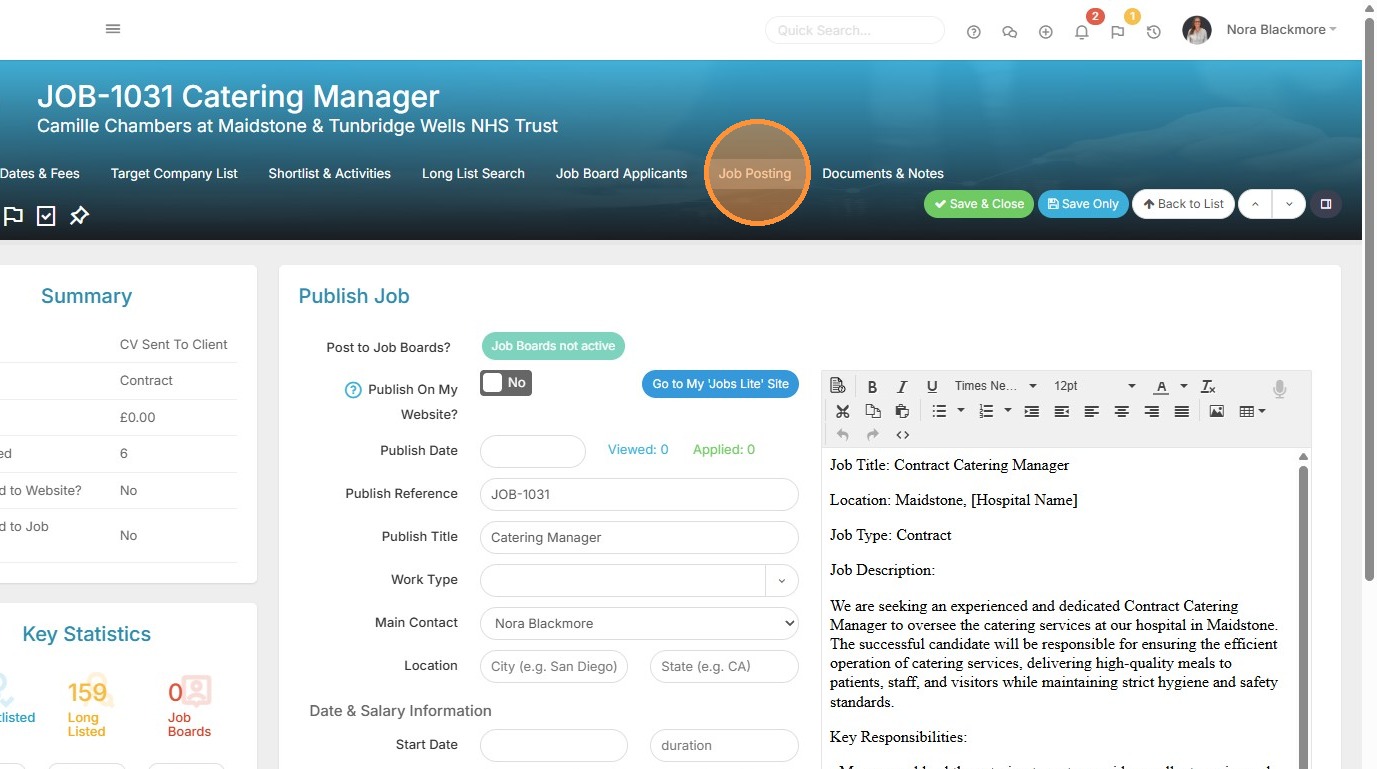
39. Here I can copy a direct link to this job from which applicants can apply.
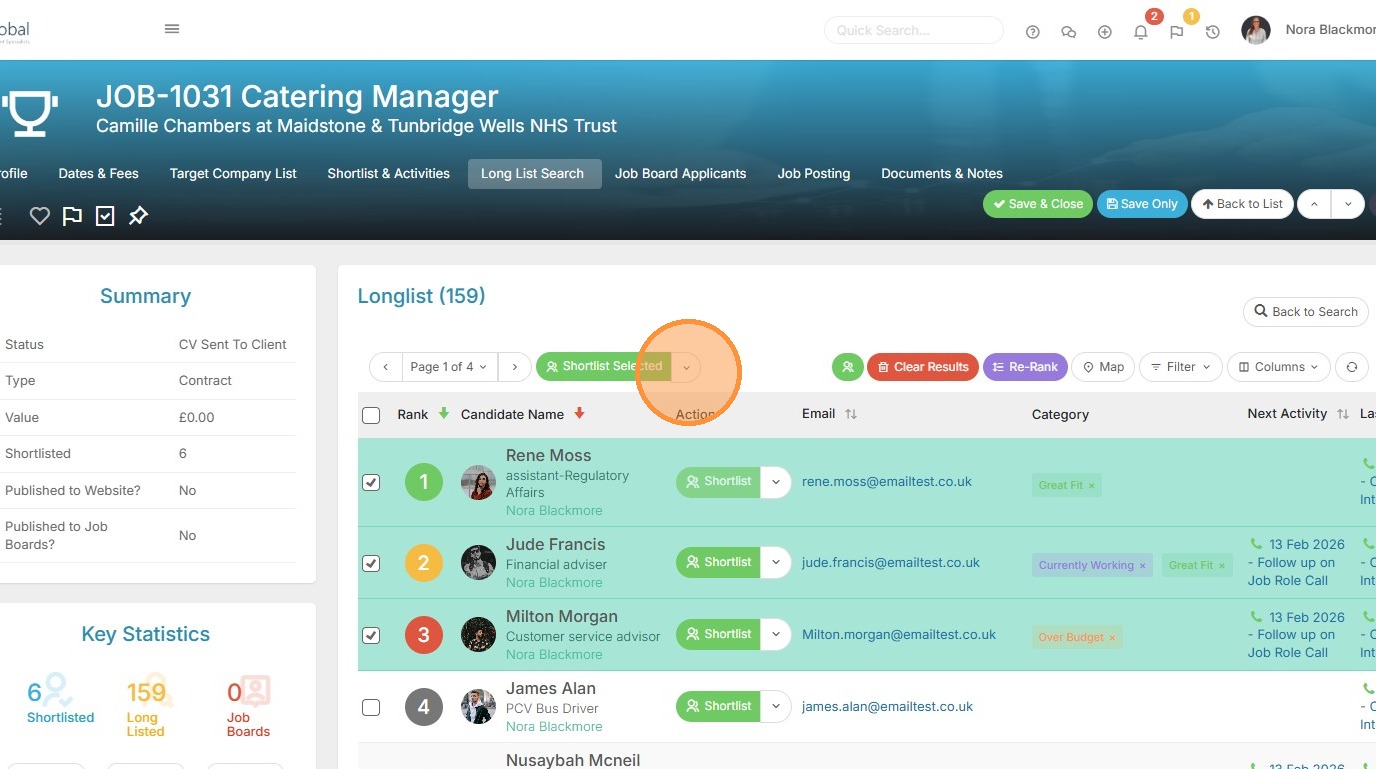
40. On the Long List tab I'll selected the candidates I want to email and click on the "Shortlist Selected "button at the top.
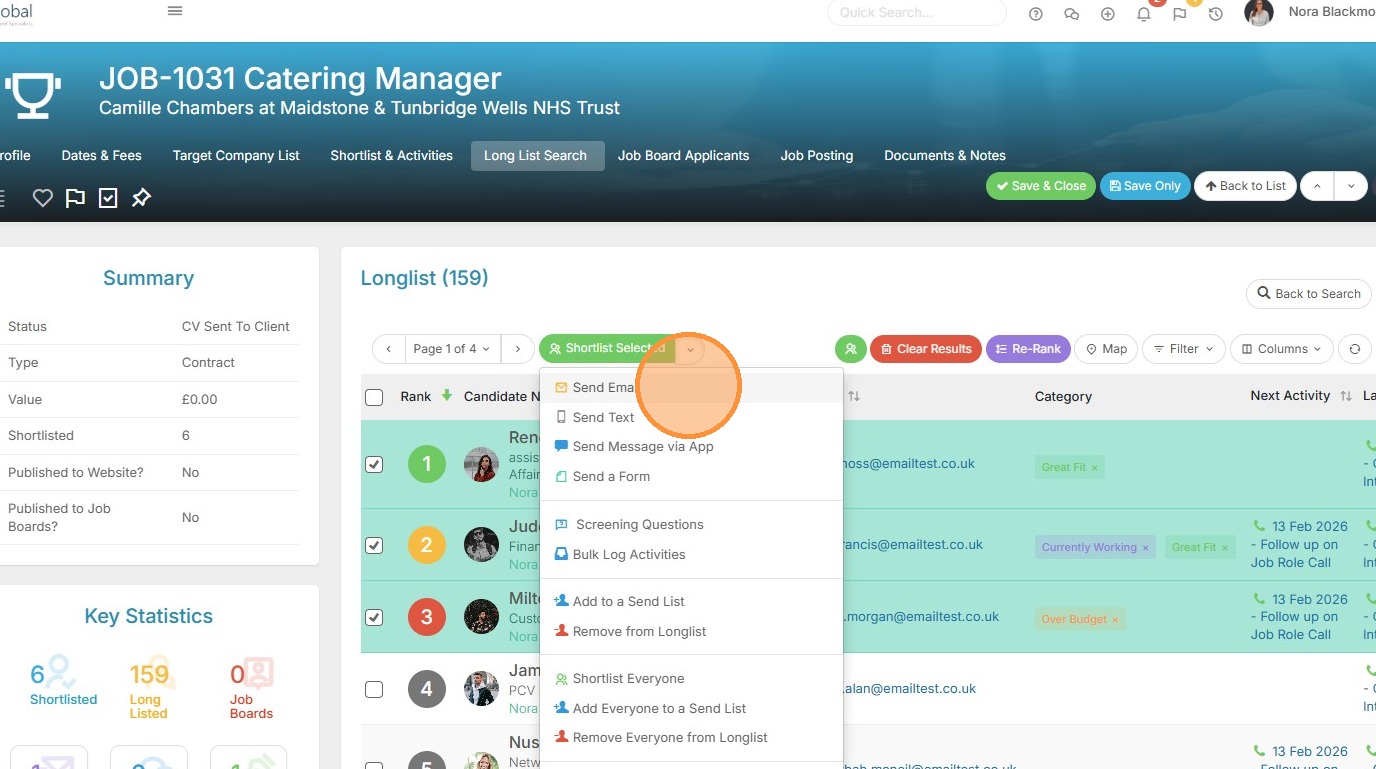
41. Here I'll choose "Send Email", which will open an email addressed to all selected candidates.
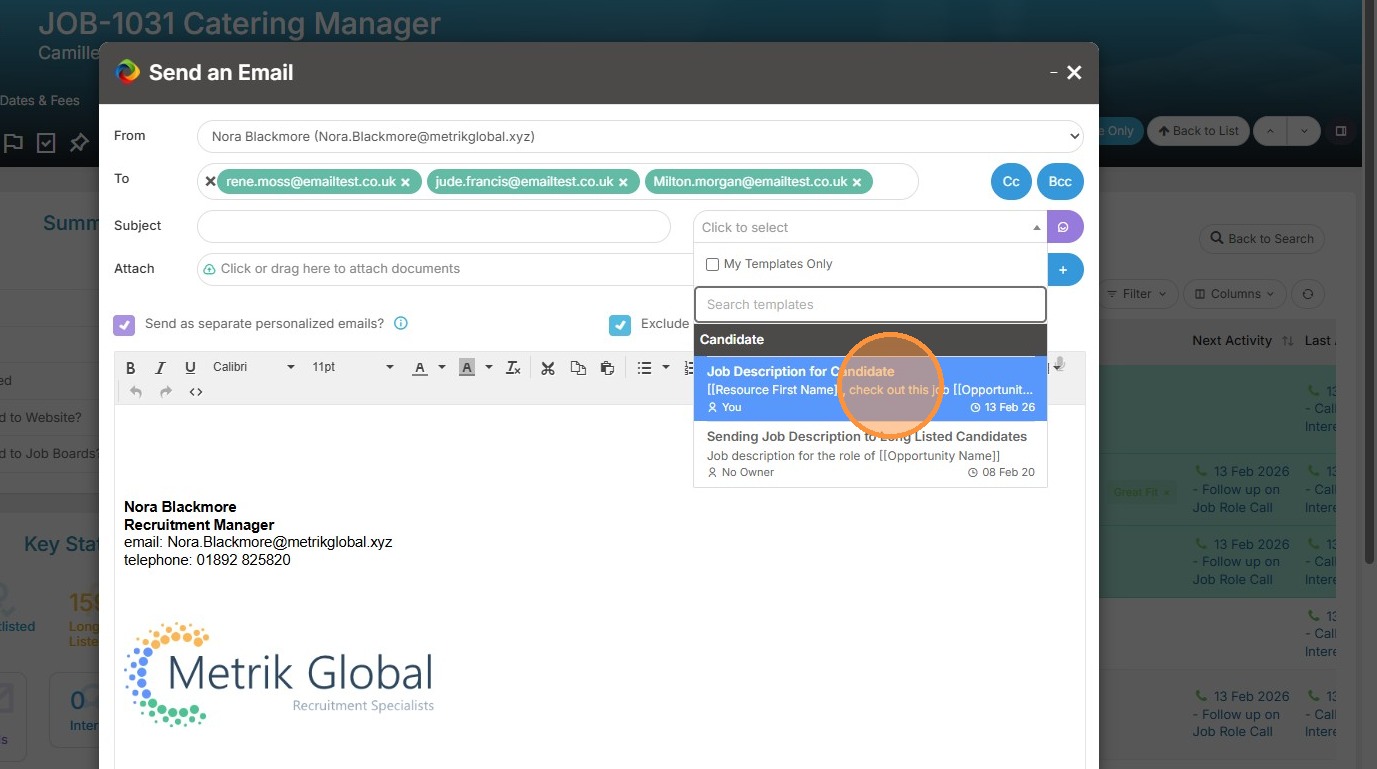
42. In the email we see those candidates listed in the To field, but we also see there is a tick in the option to "Send as separate personalized emails". Next I need to add the template we created.
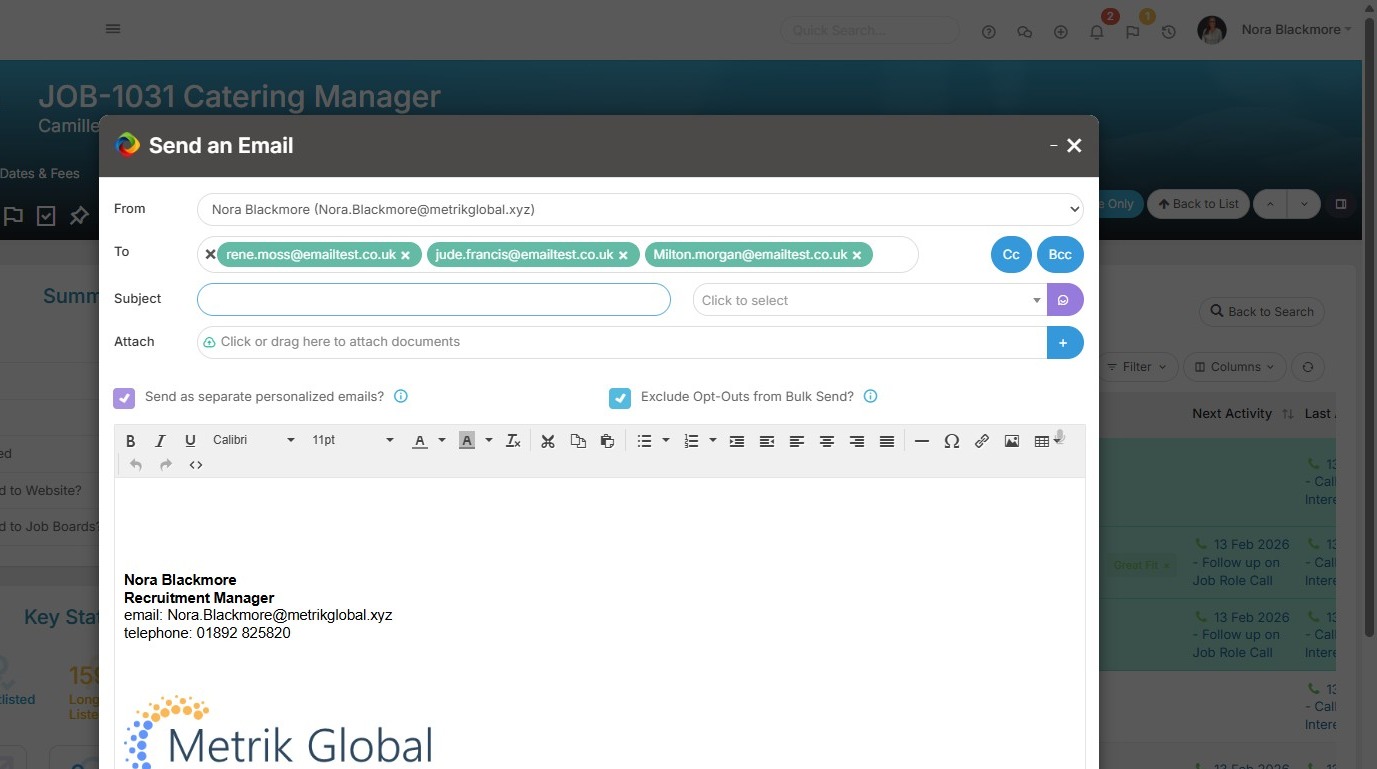
43. Once we've clicked on the template dropdown we see the email templates with the relevant association, where we can select the template we created earlier.
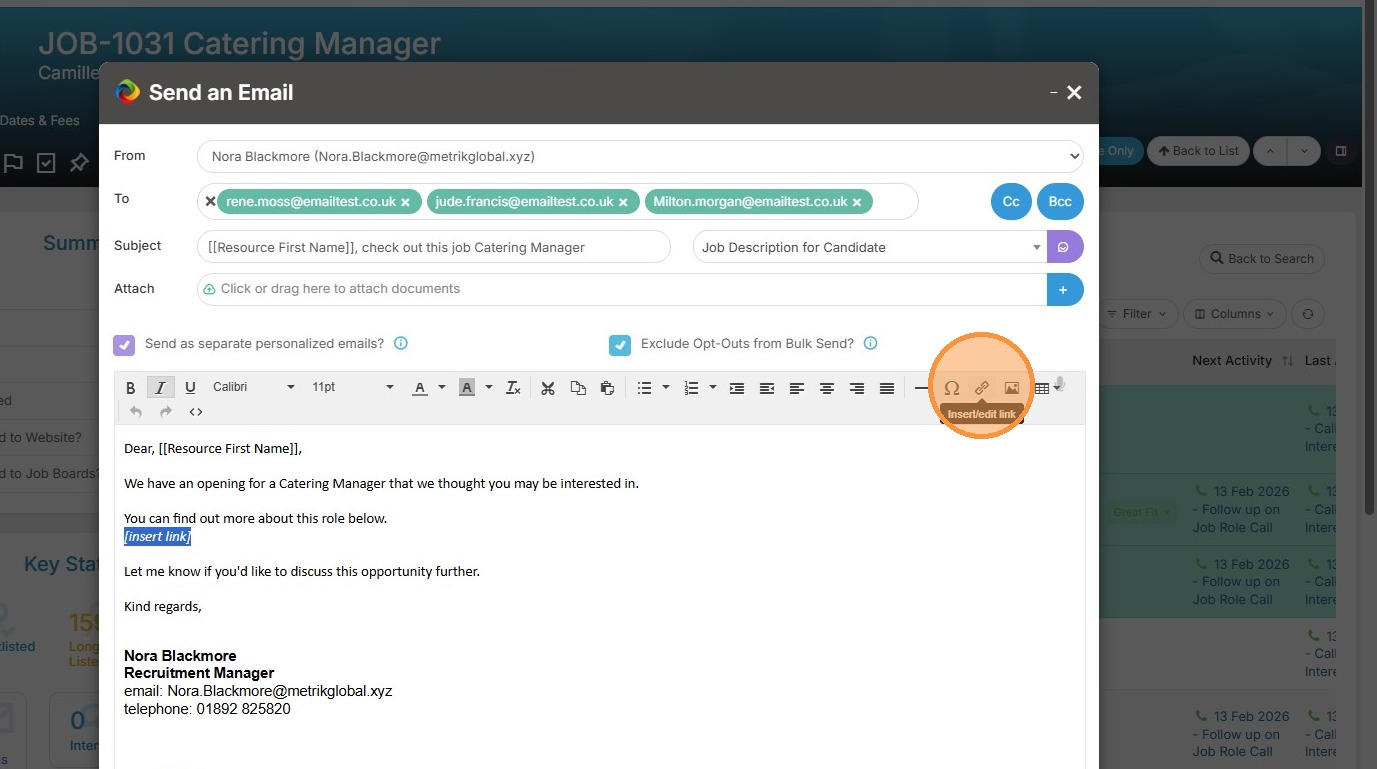
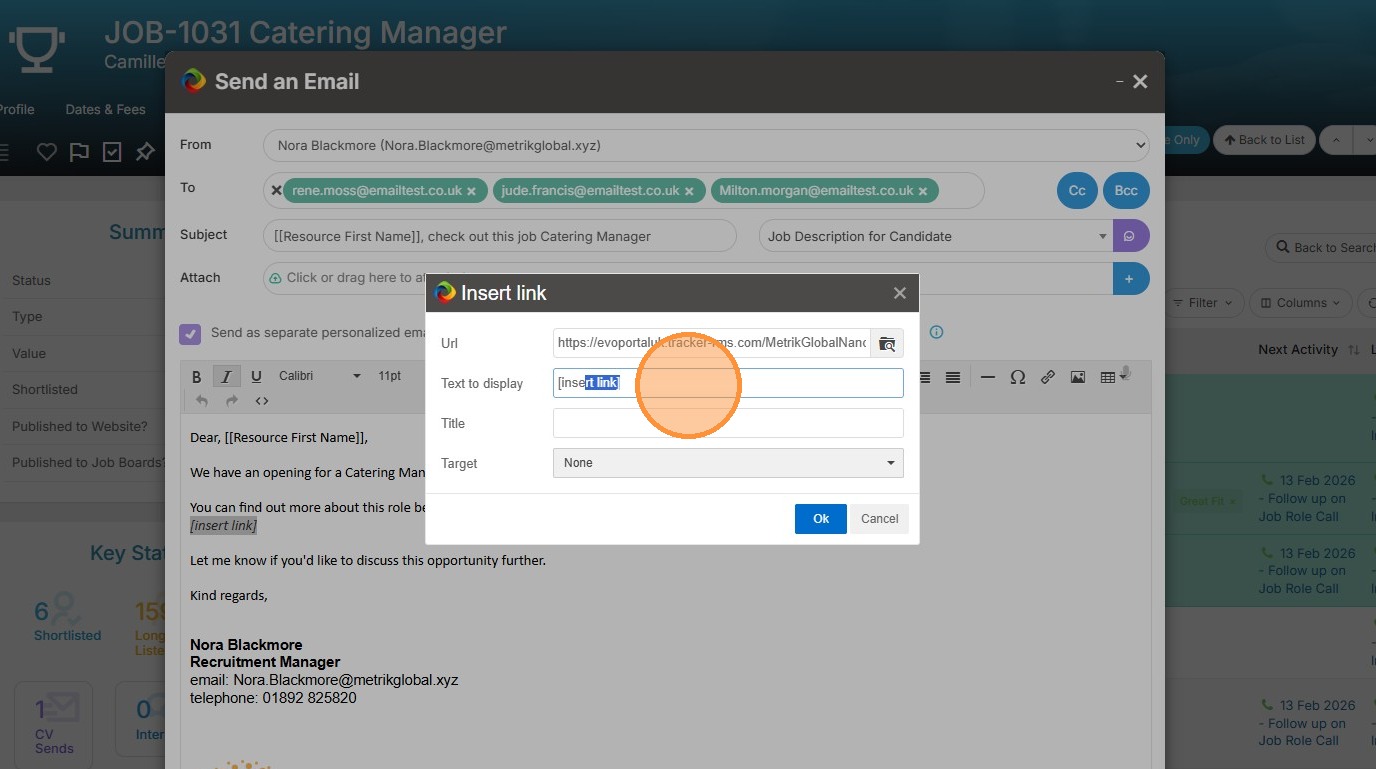
44. We now want to add in the link we copied that will allow the candidate to view the job and apply.
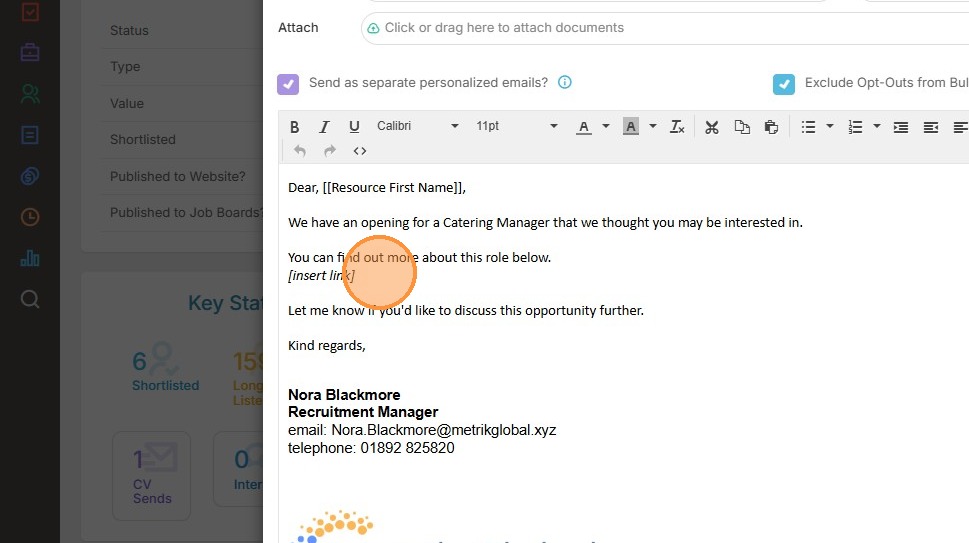
45. Select the text where you want to add the link and click on the insert link icon.
46. Paste in the URL.
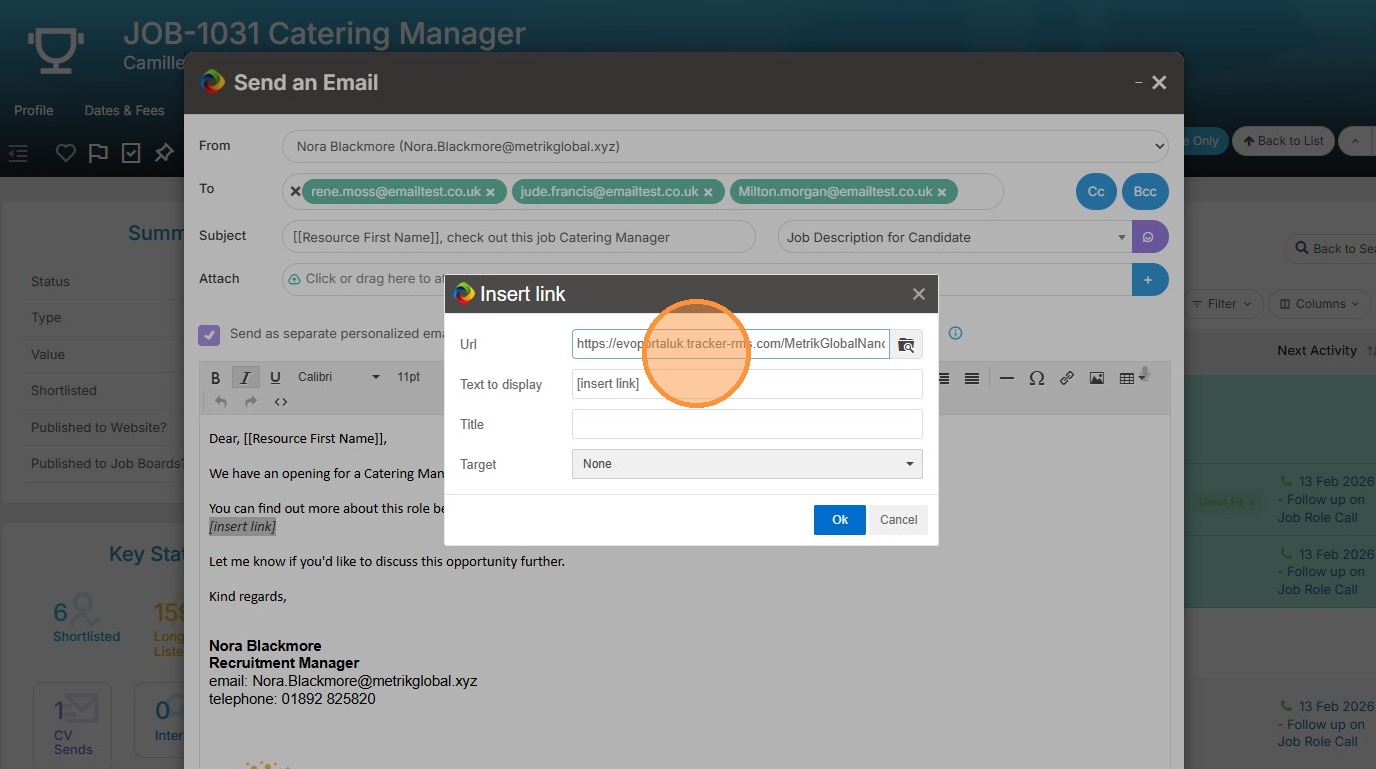
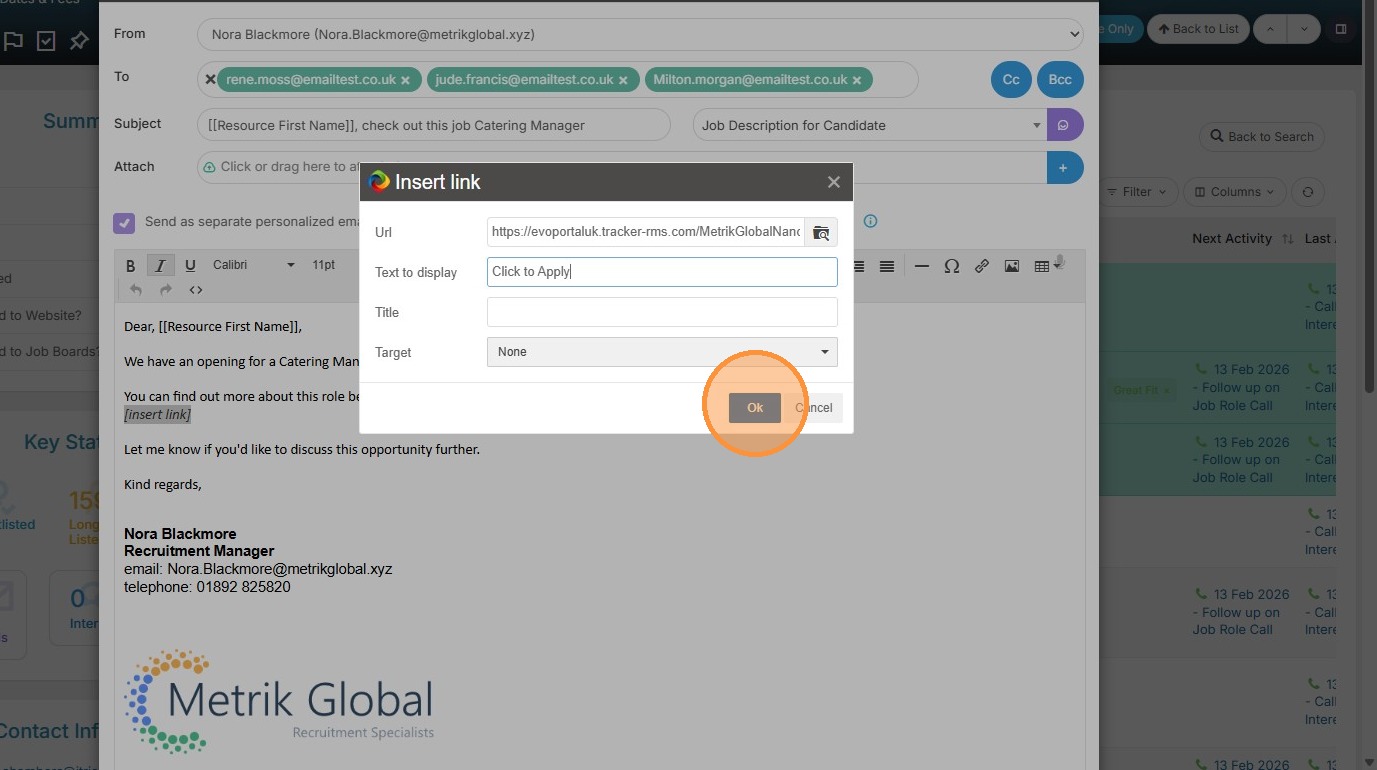
47. Add add in the text you want it to display as.
48. Click "Ok"
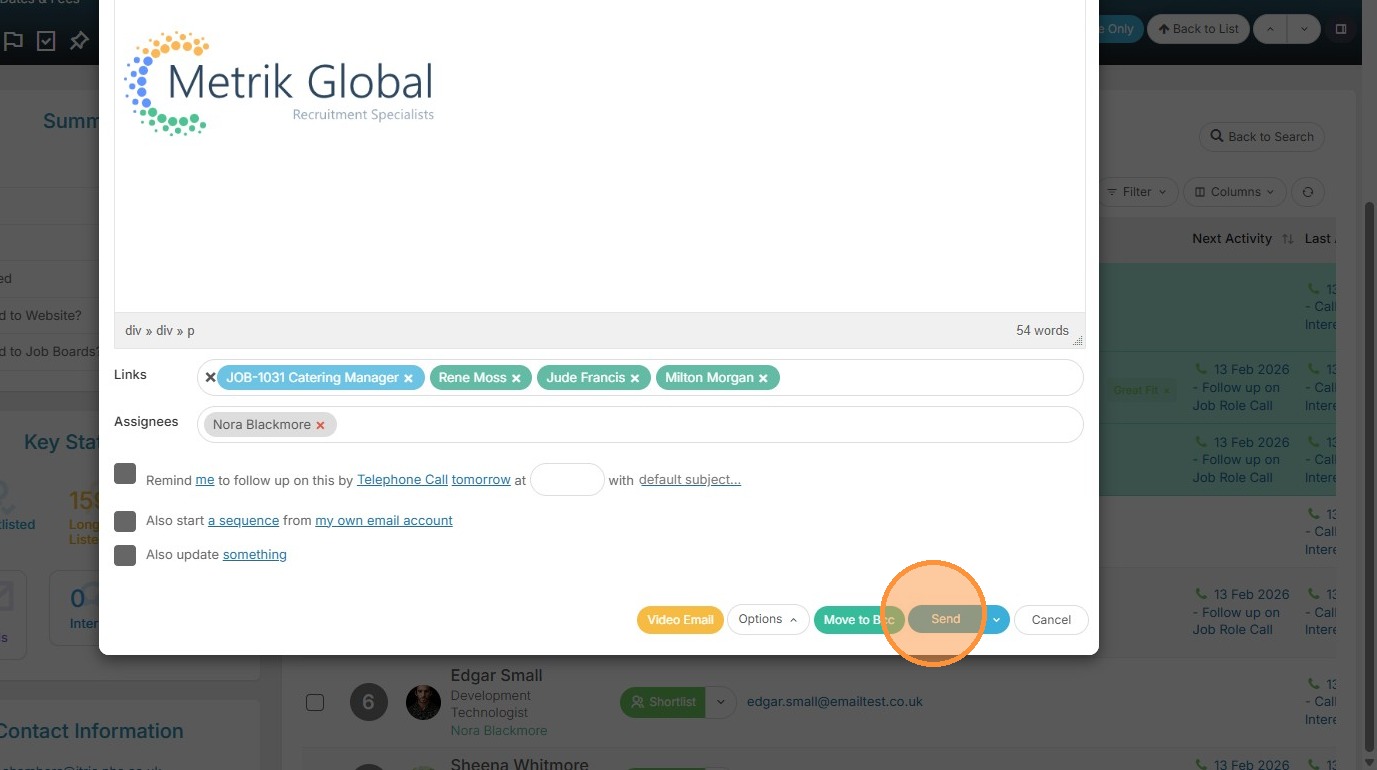
49. You are ready to "Send" your email.
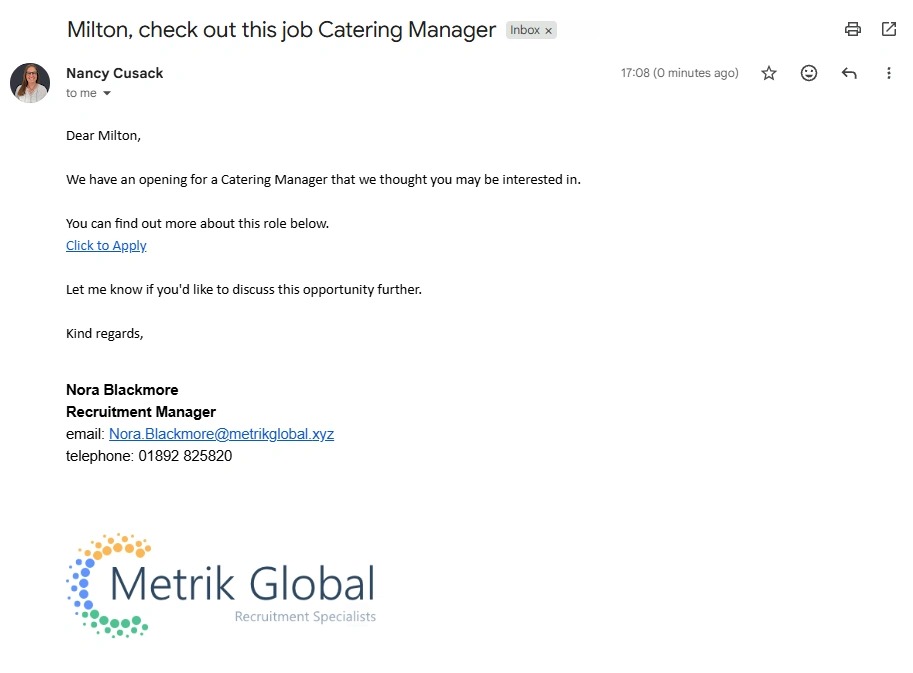
50. The candidate will receive the email and be able to click on the link.
51. They will have to complete a "I am not a Robot" Captcha.

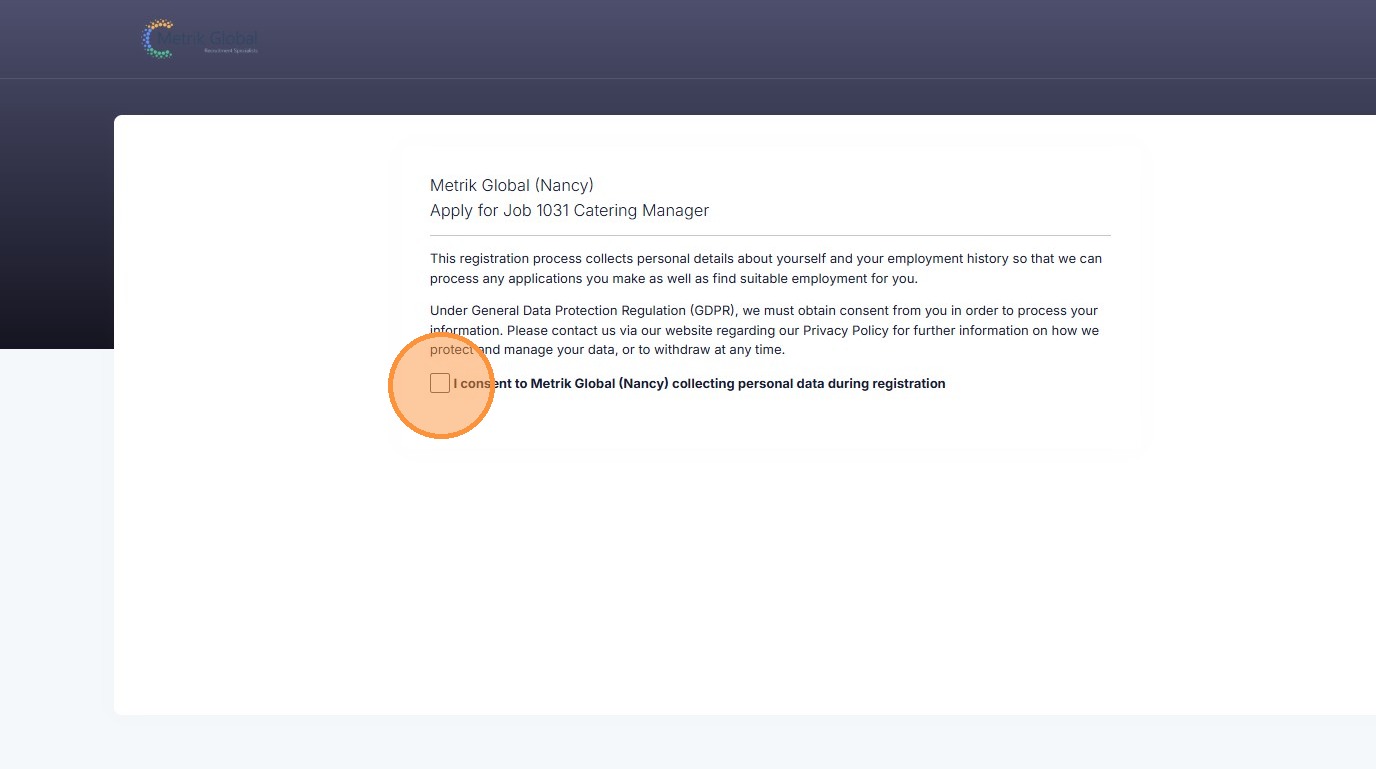
52. And give their consent, before proceeding.
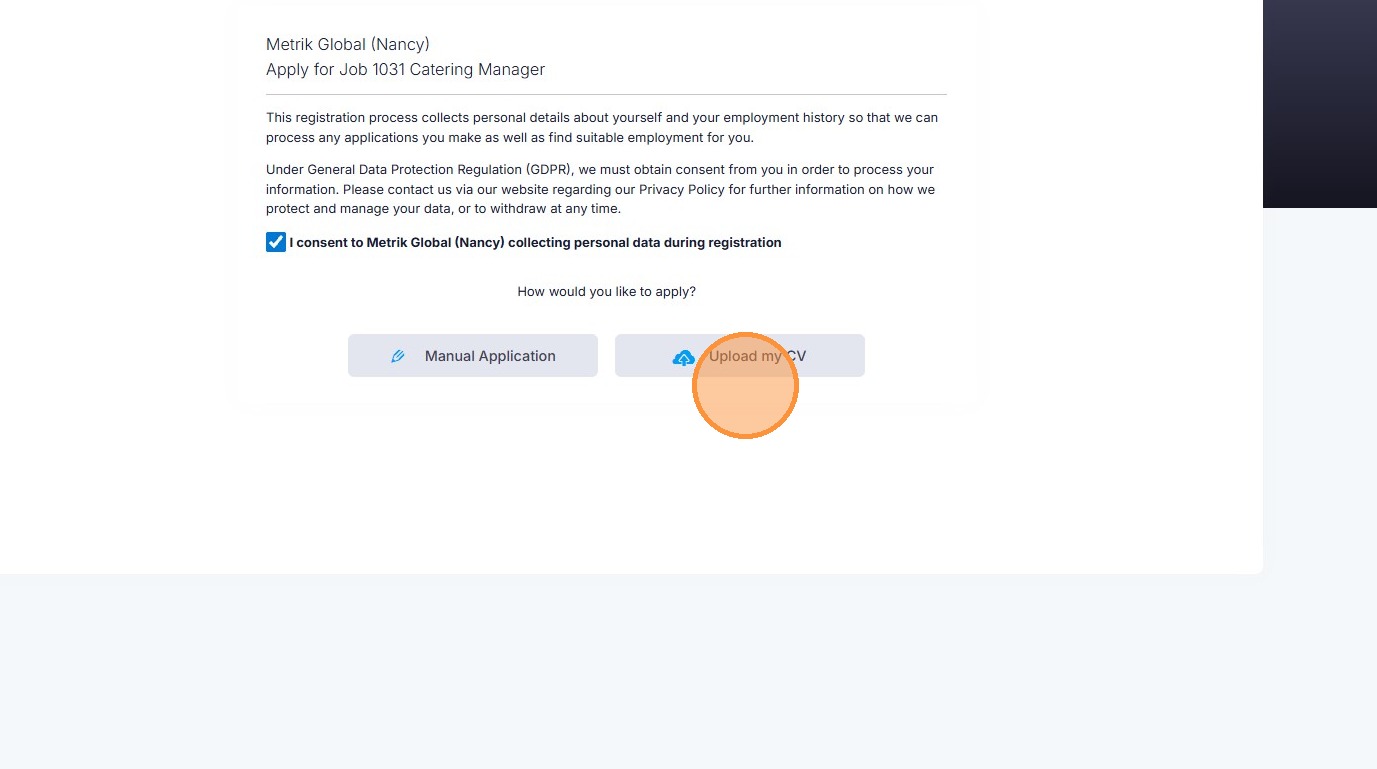
53. The candidate can either upload their CV,
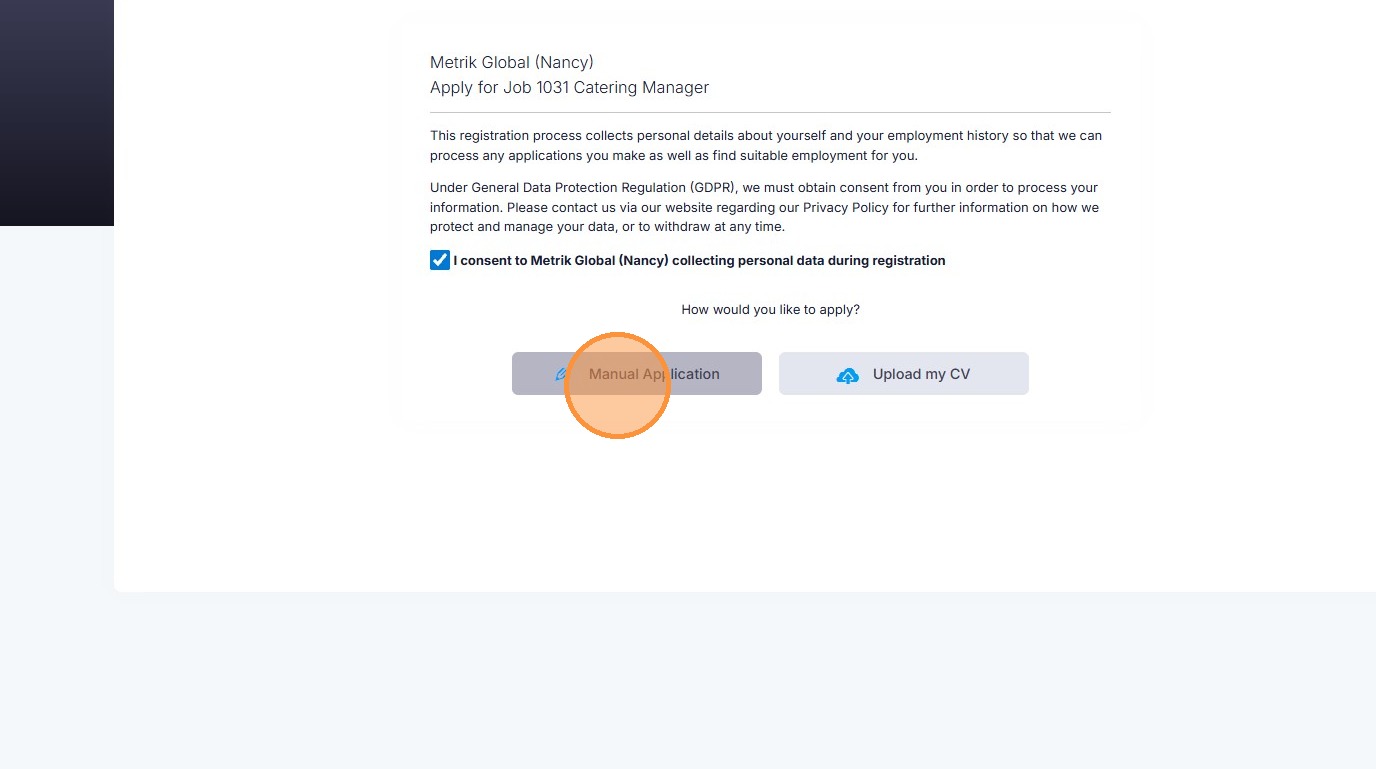
54. Or fill out a manual application form.
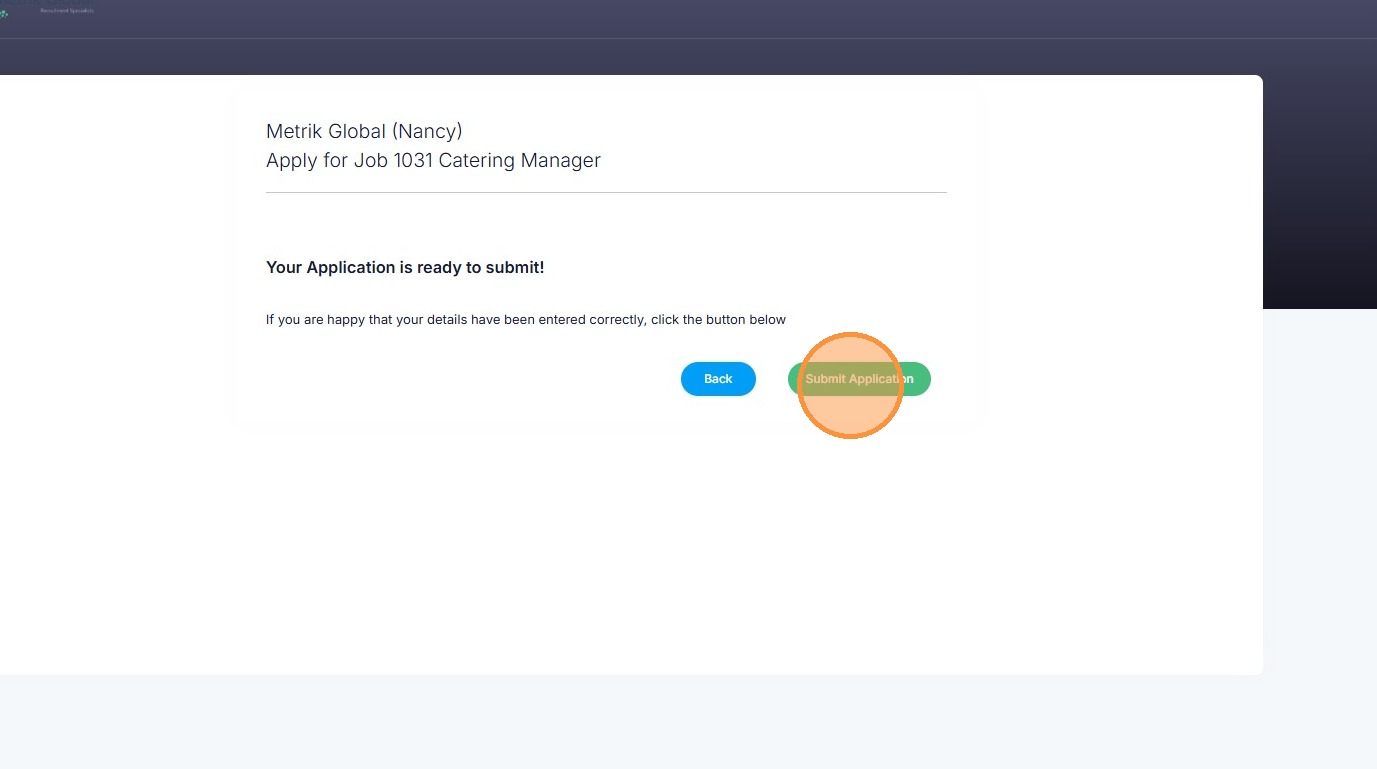
55. After they've complete either of those steps they will be able to Submit their application.