Template Workflow
Template Workflow saves you time by automatically triggering actions the moment an email is sent — no manual follow-up needed. From updating candidate statuses and moving shortlist groups, to scheduling reminders and starting Sequences, it quietly handles the admin so you can focus on what matters most.
In Tracker, we offer a Template Workflow functionality on email templates. With Template Workflow you can automatically cause actions to happen once the email is sent, e.g. without manual input.
It’s a great timesaver, taking administrative tasks off your hands.
There are various actions that you can create with Template Workflow, depending on the association of the email; some use cases include:
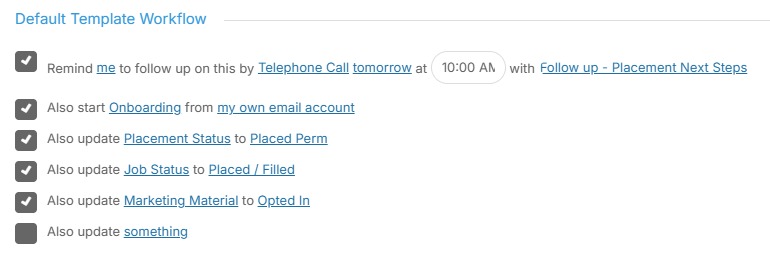
Confirmation of Placement or Assignment can move the candidate to the Working group on a job shortlist, update the Job Status and add them to an Onboarding Sequence.
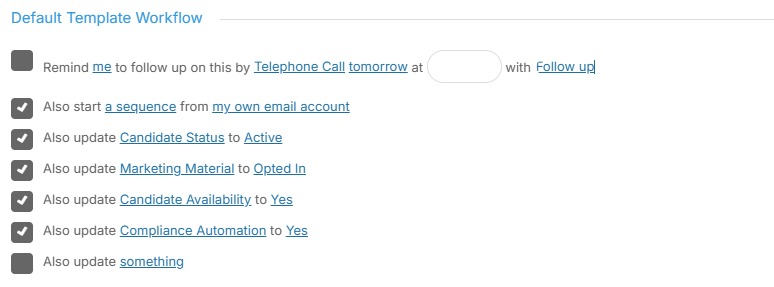
Tip: Sending a candidate an email to confirm Registration can update their Candidate status, start them on a Sequence, Opt them In to Marketing.
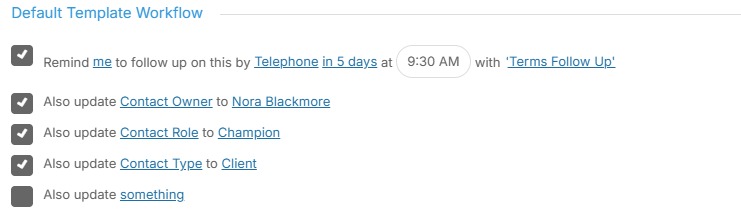
Tip: Emailing Terms to a contact can update a contact owner, status, role and more, and setting a follow up reminder.
These are just a few example of the Template Workflows you can create to save you time.
Accessing Email Templates
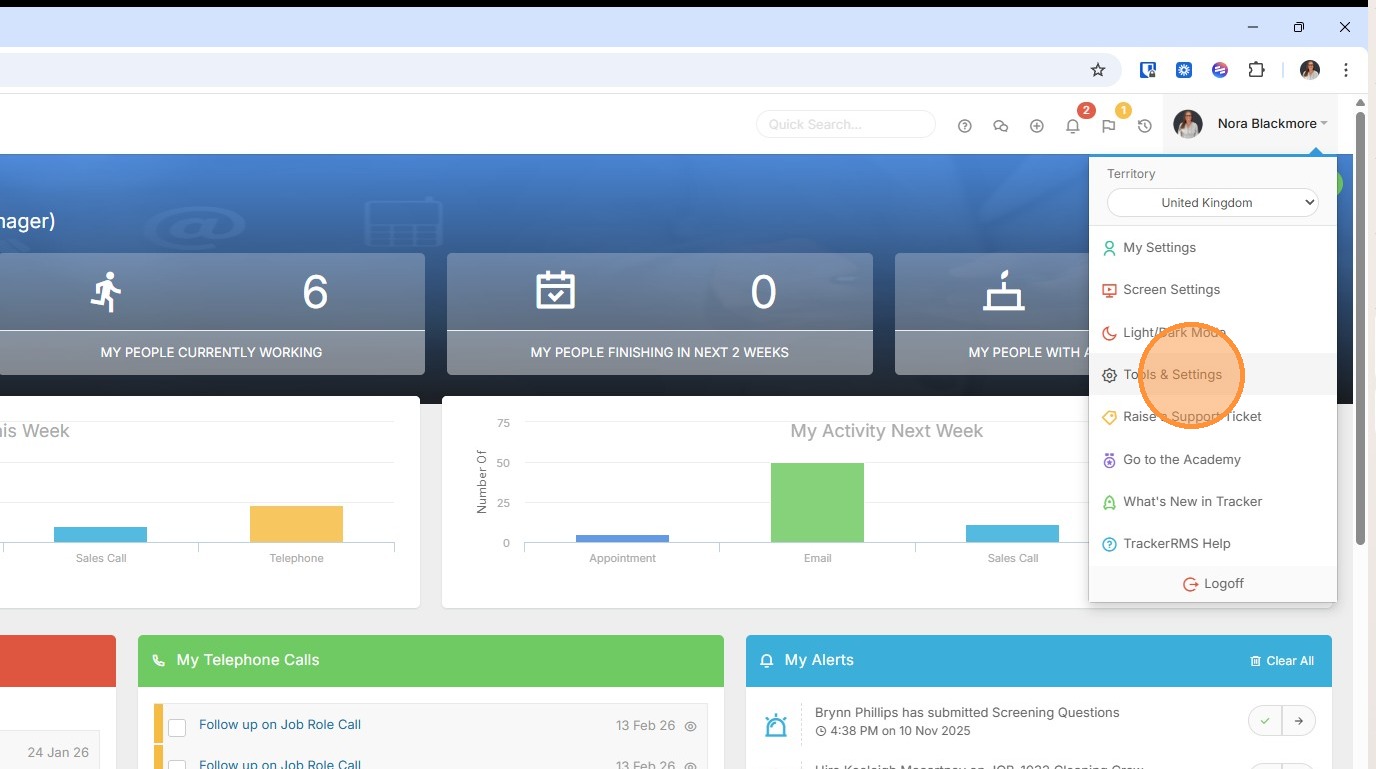
1. Email Templates are managed within Tools & Settings, which is accessed via the profile menu.
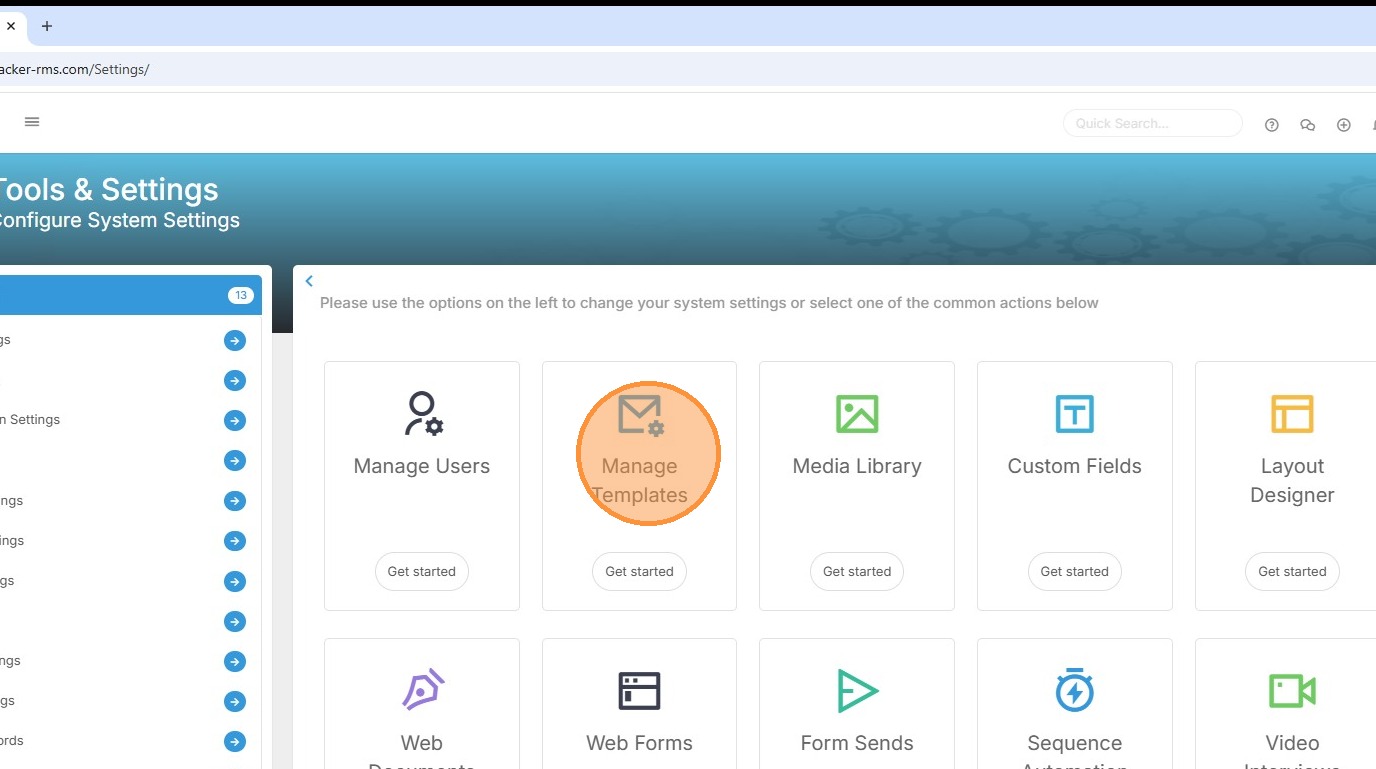
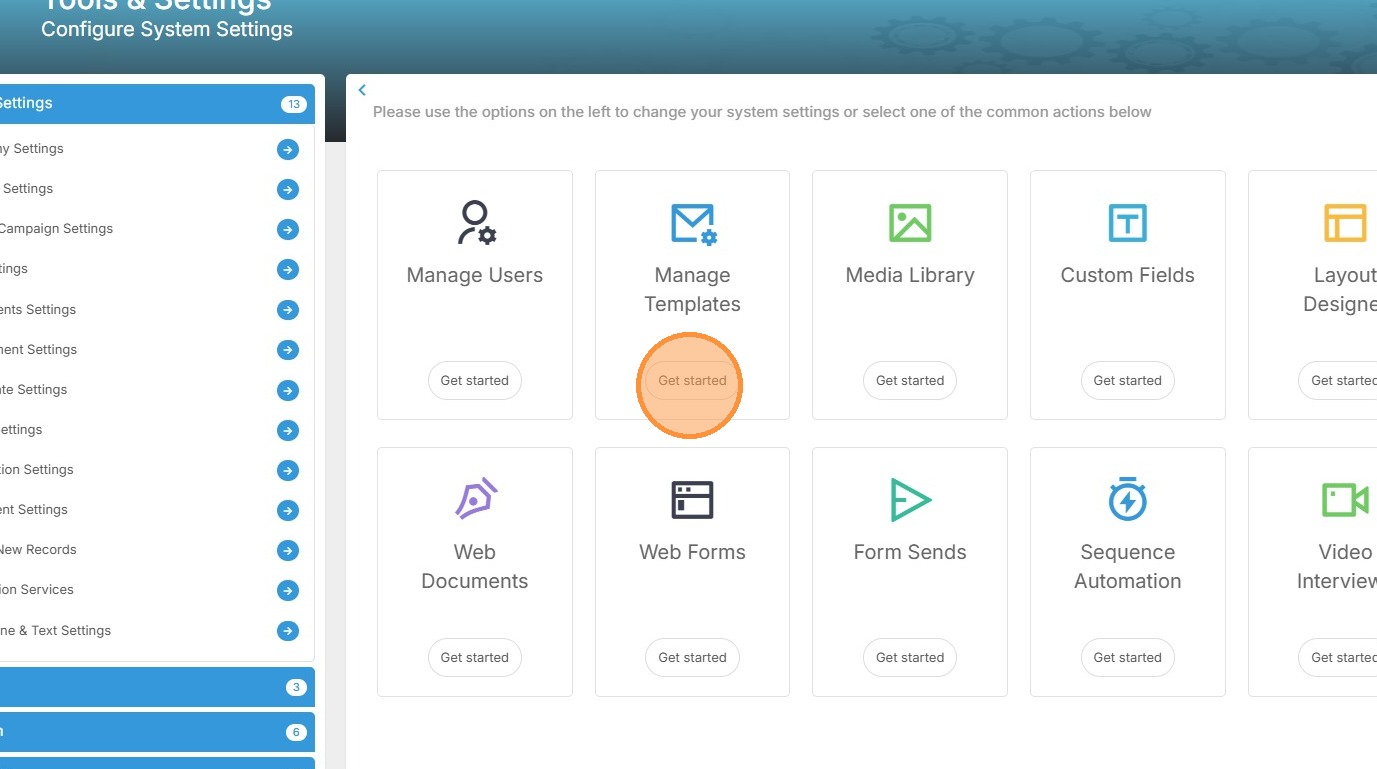
2. Within your settings, you should see an option for Manage Templates. If you're unable to access this, please contact your internal Tracker administrator.
3. Click "Get started" to create new or edit existing templates, where we can add in the Template Workflow.
Adding Template Workflow
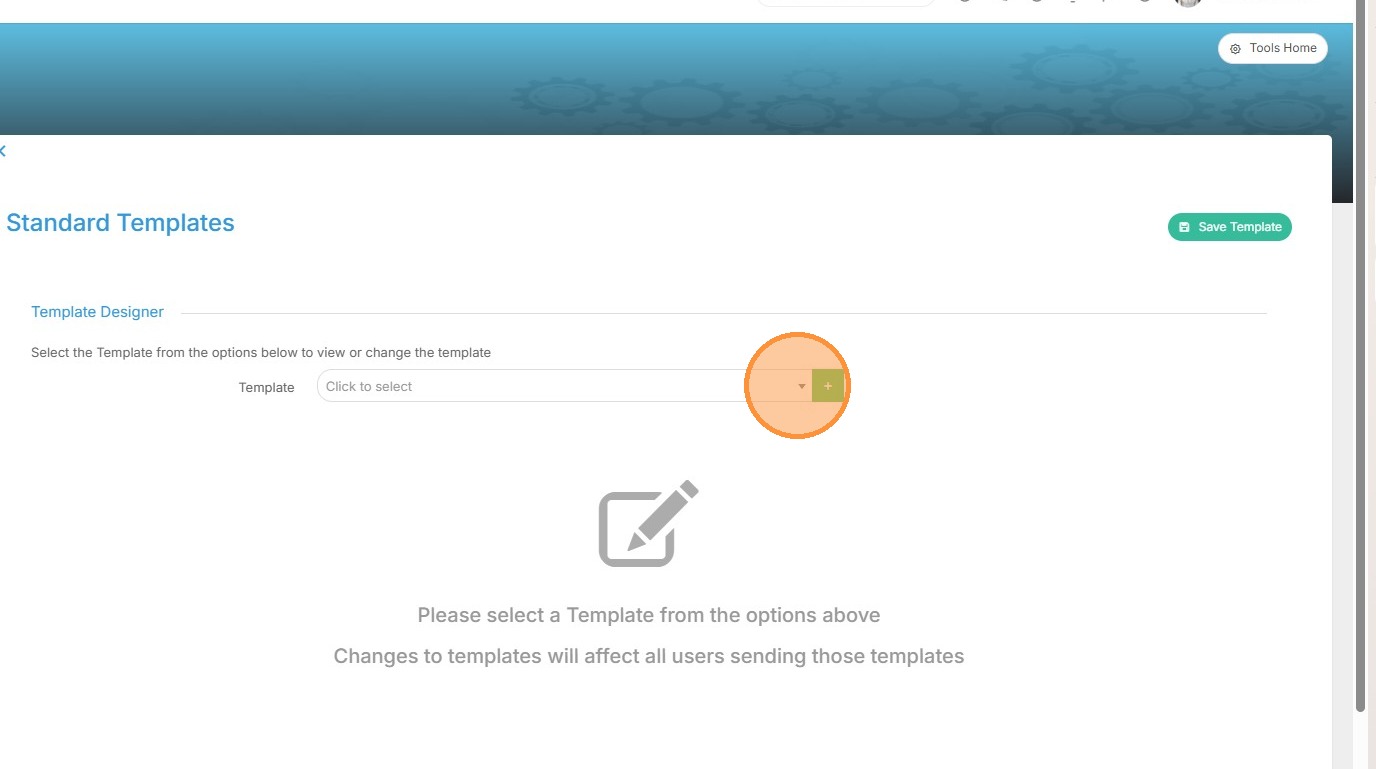
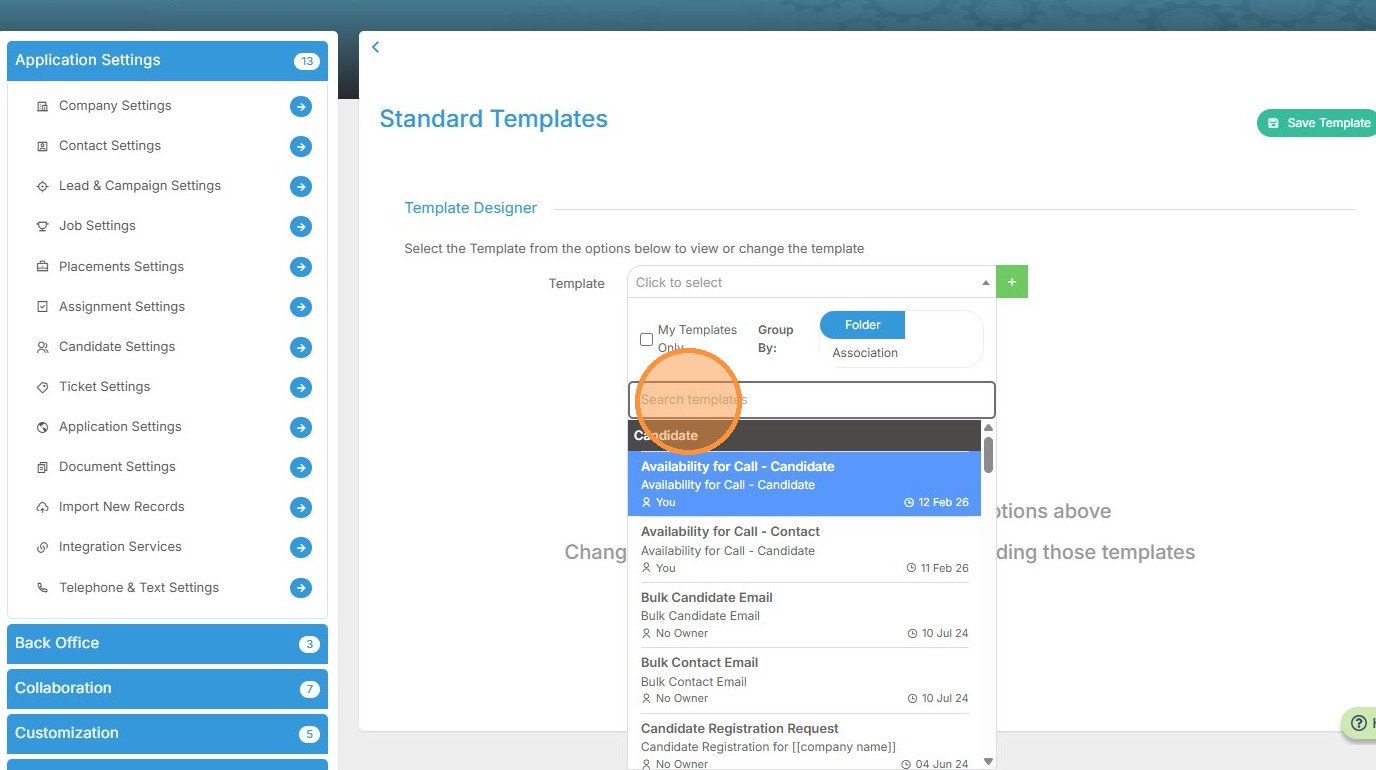
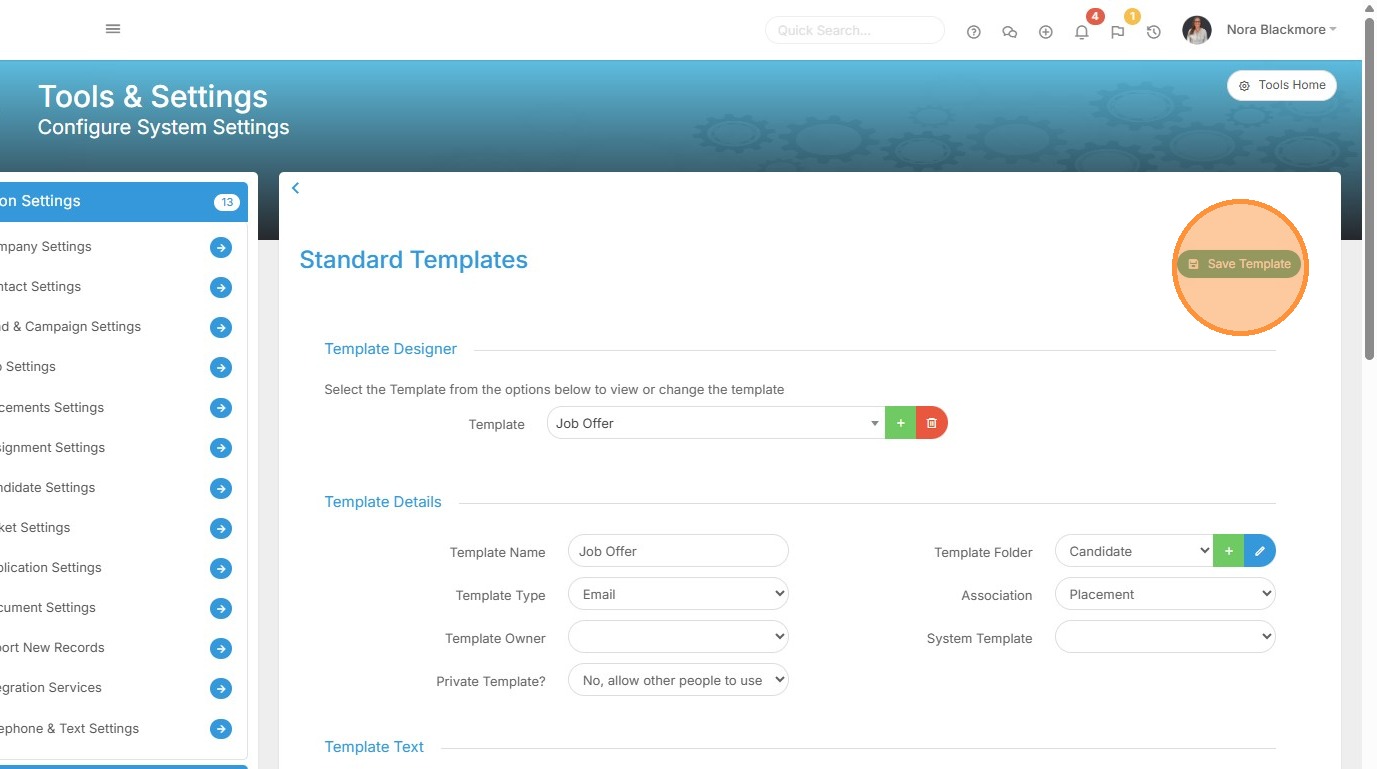
4. To access existing templates click the drop down arrow.
5. Here you’ll see a filterable list of your current templates, each organised within folders.
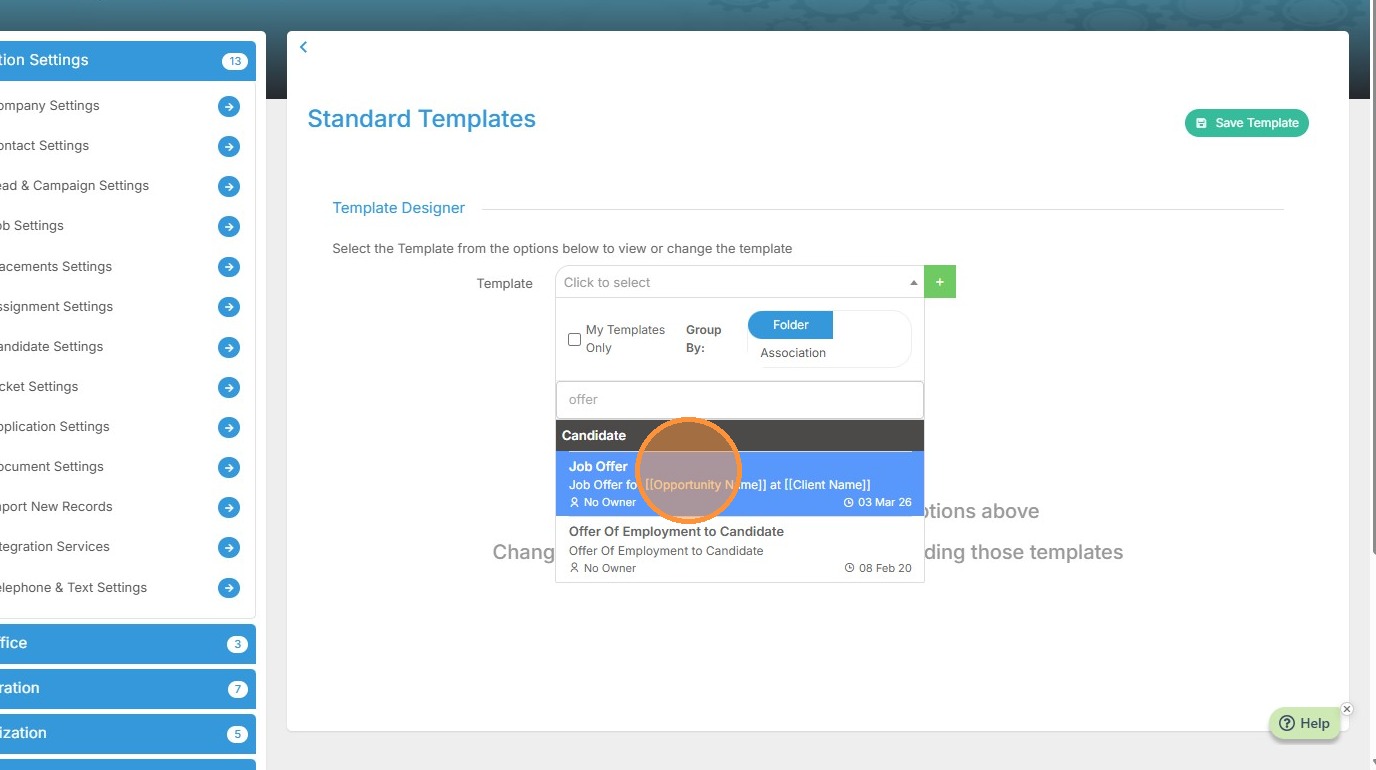
6. The scenario for this example will be sending an email to a Candidate about an Offer for a job so we’ll pick that email, so I've used the filter to find my Offer emails.
You’ll see later that all we’ll need to do is send this email to a candidate, and the actions we're about to add will happen automatically.
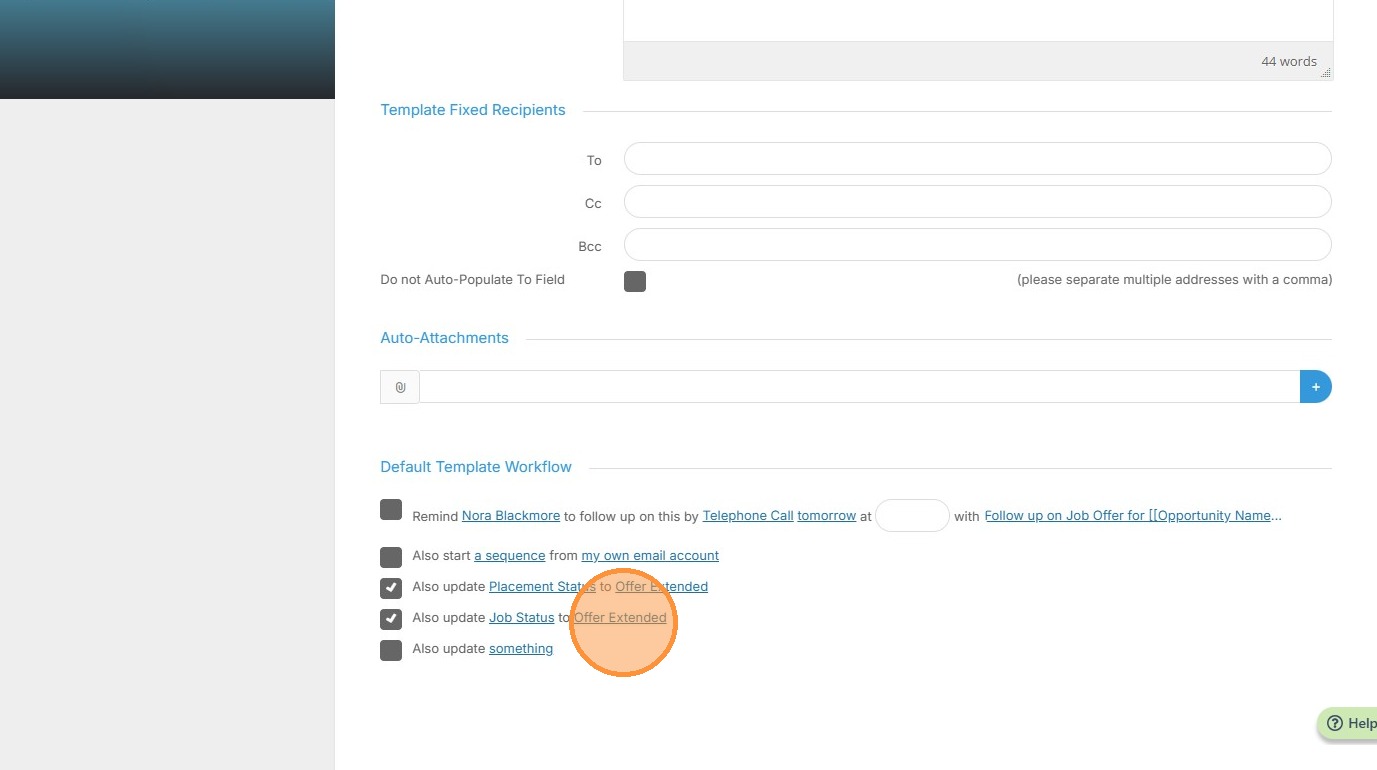
7. At the foot of the page are the Default Template Workflow options.
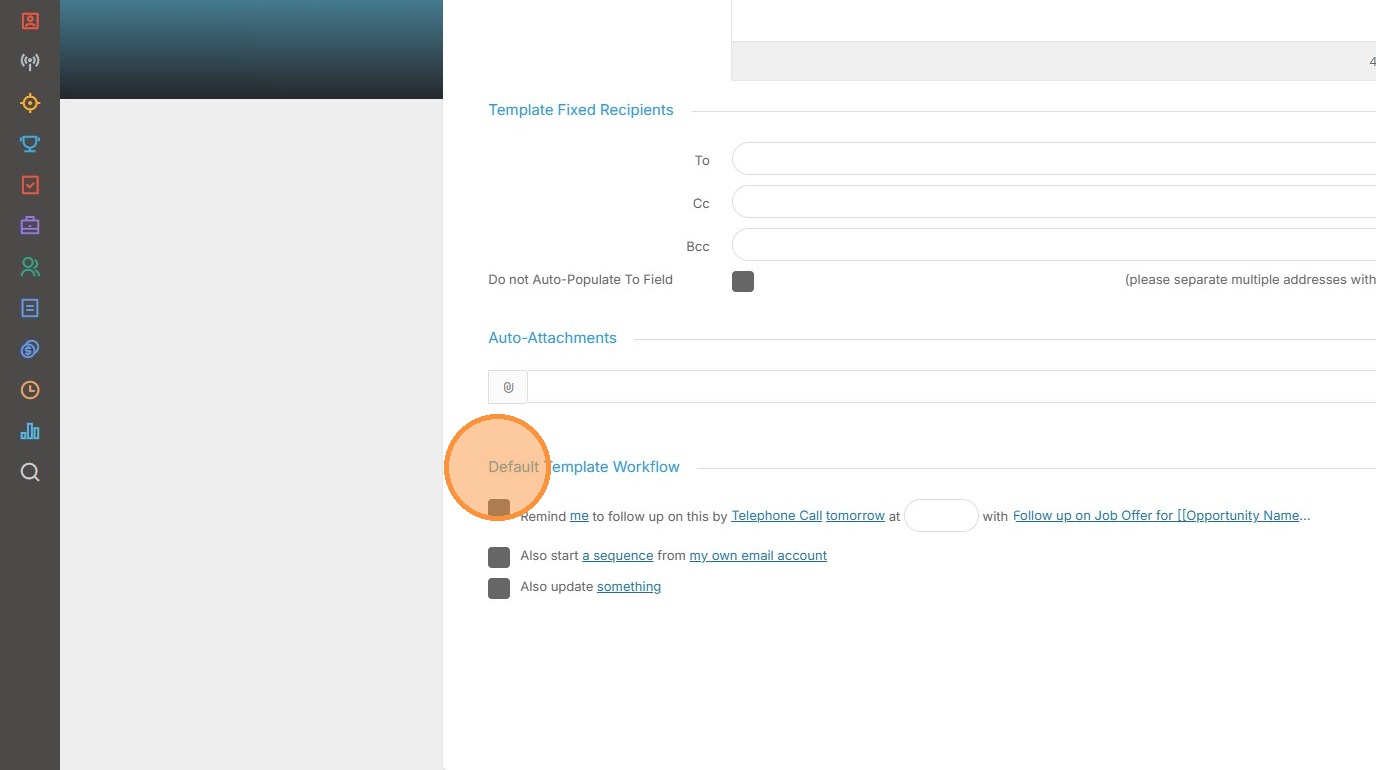
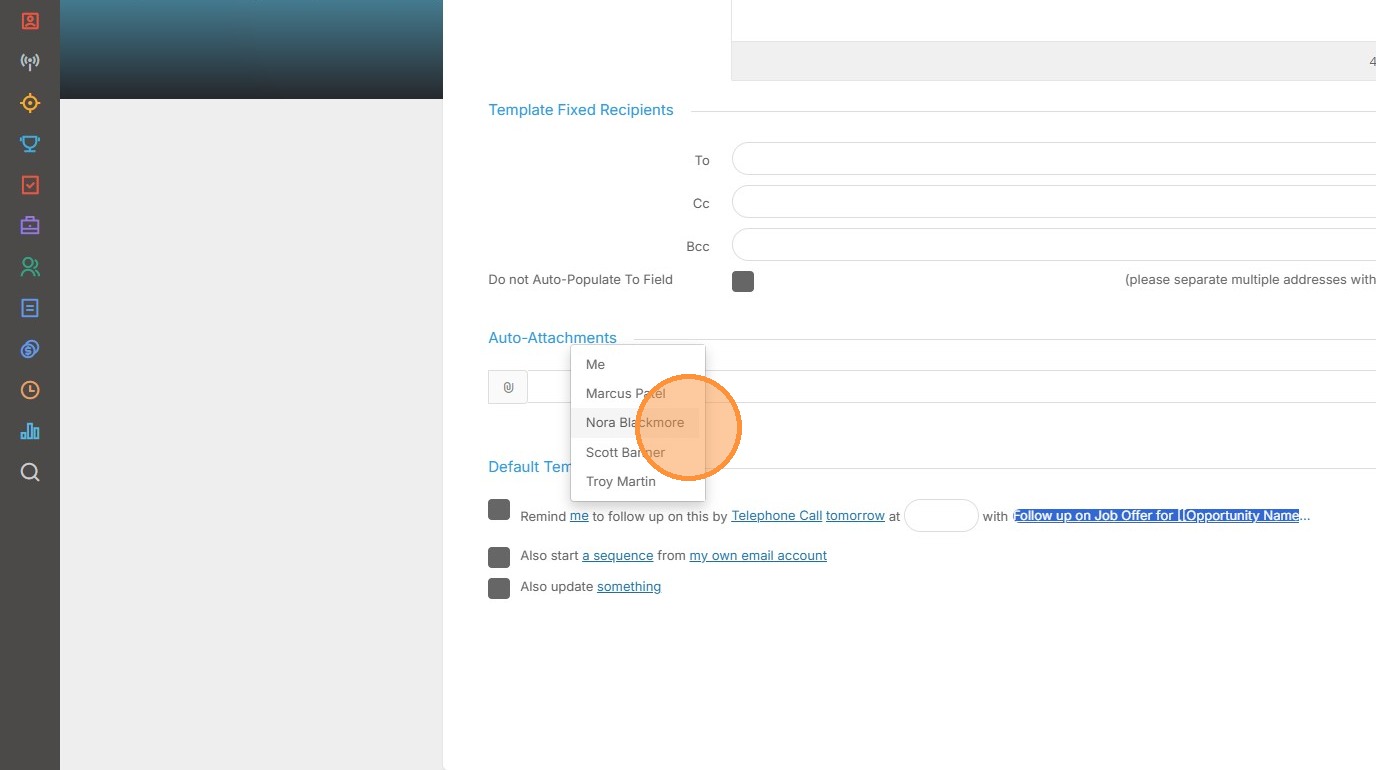
8. The first option we have is to create a follow up Activity. In this case it might be to call the candidate for a decision about the Offer.
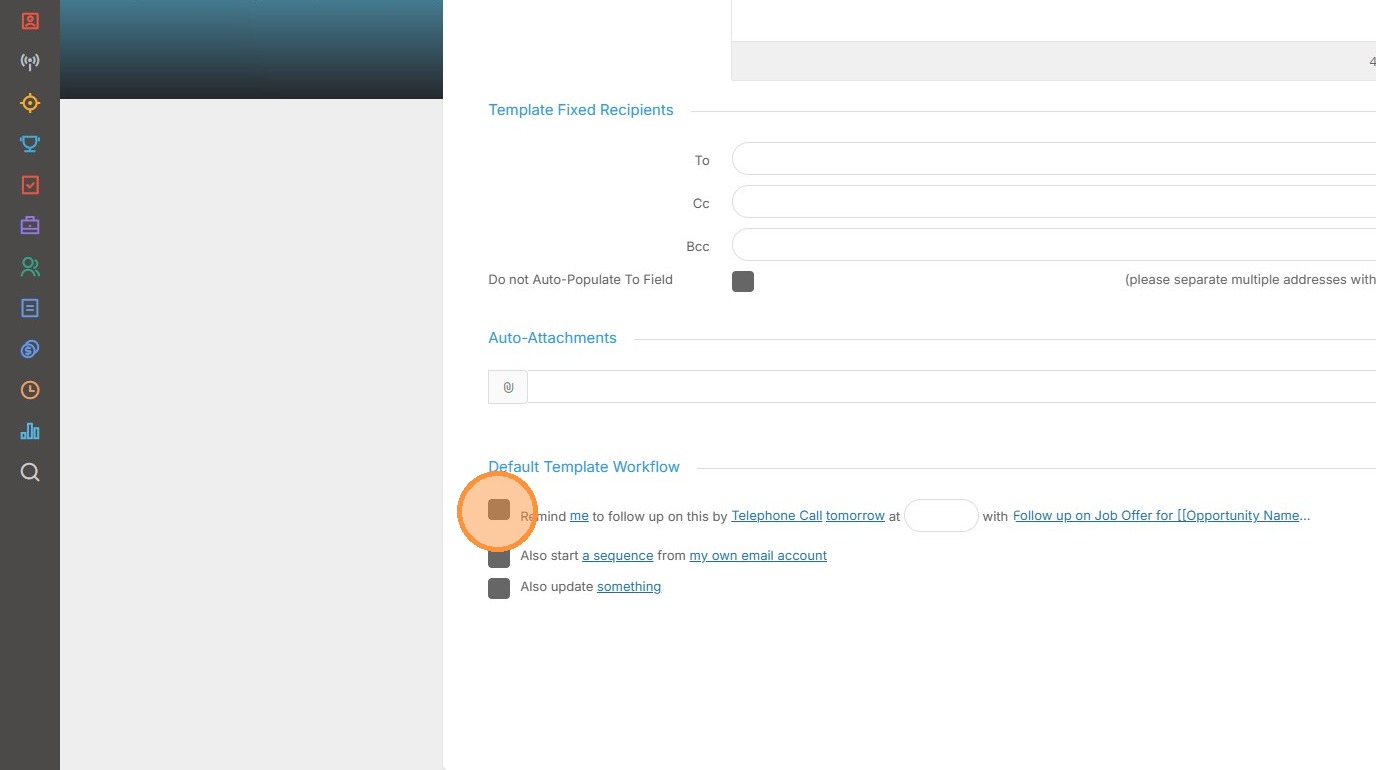
9. It doesn’t have to be me calling, I can assign this Activity to another system user.
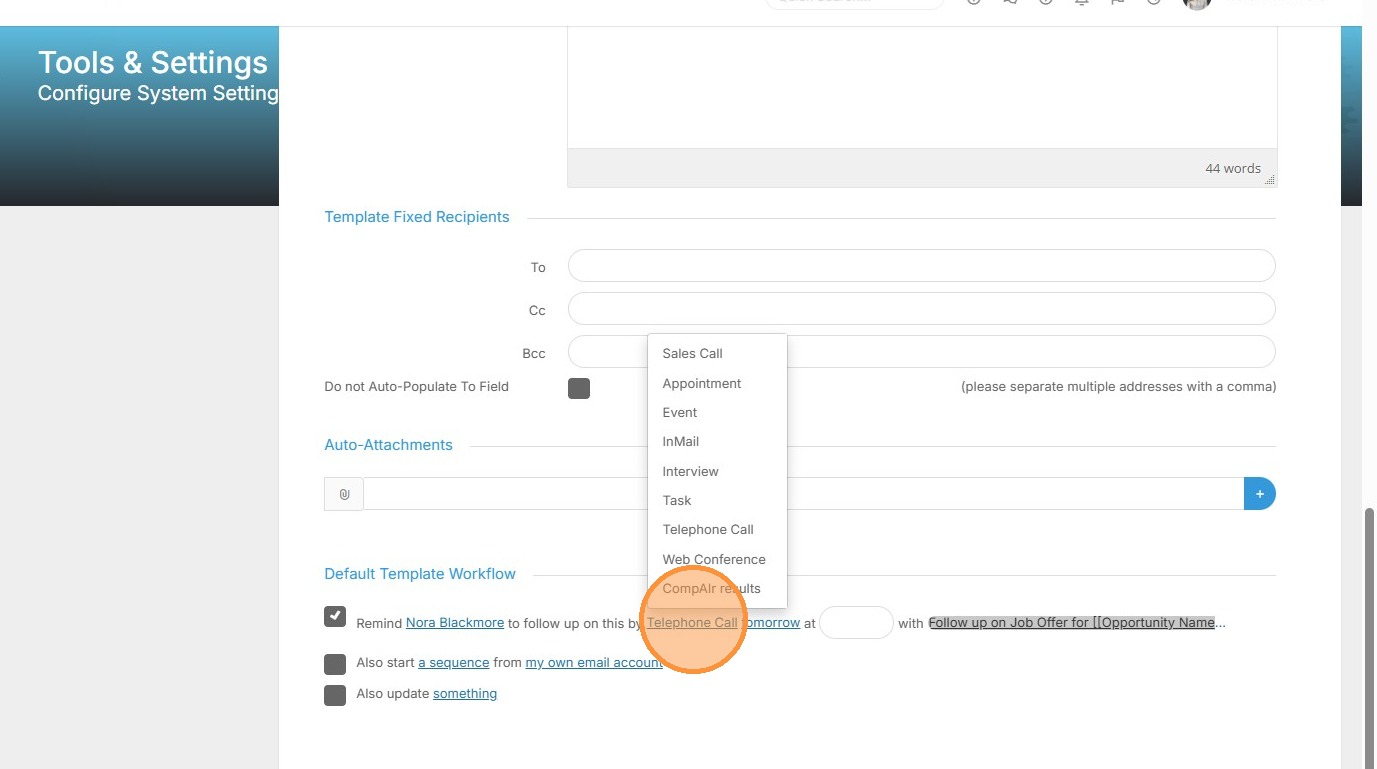
10. I can change the Activity Type by clicking on Telephone Call and selecting another Activity Type.
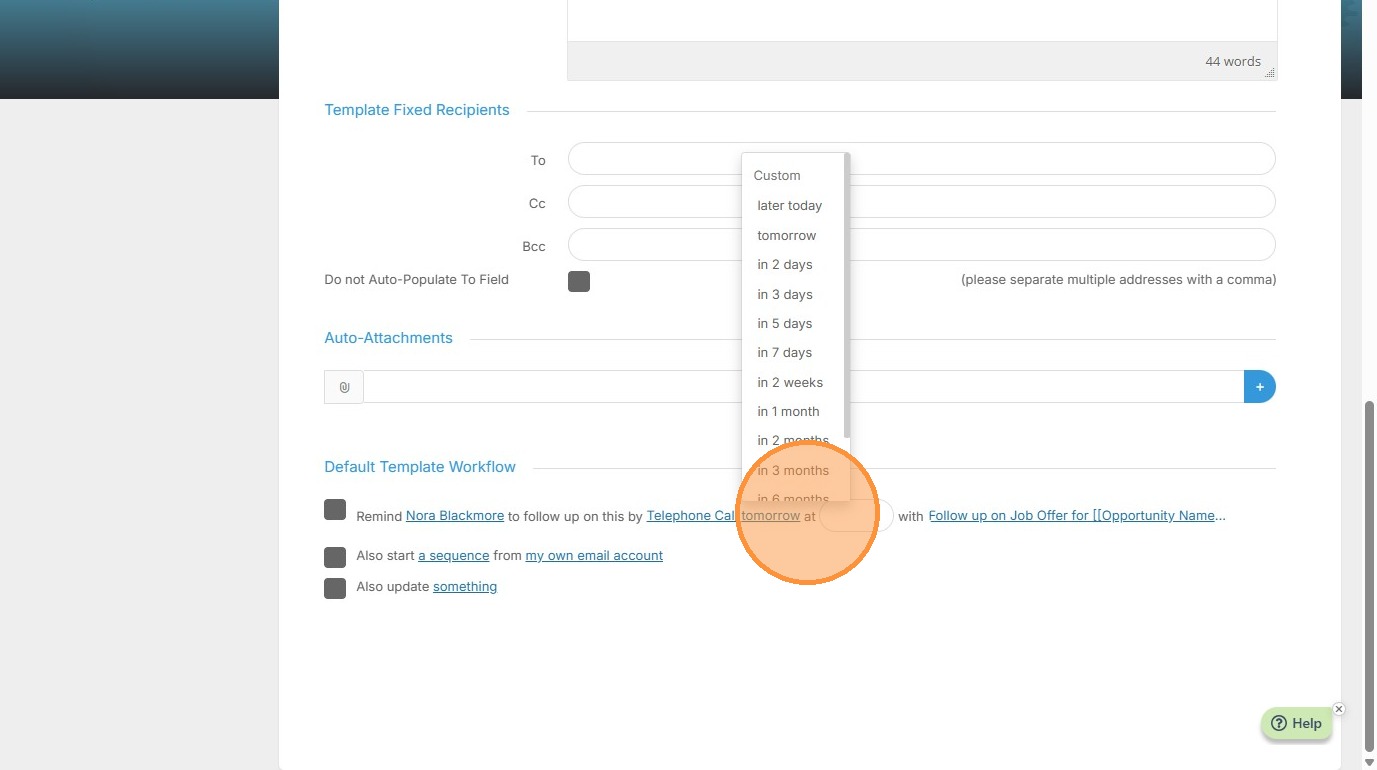
11. I can change the date of the follow up, note there is a Custom option here where you can select a specific date.
I can add a time in for the follow up too.
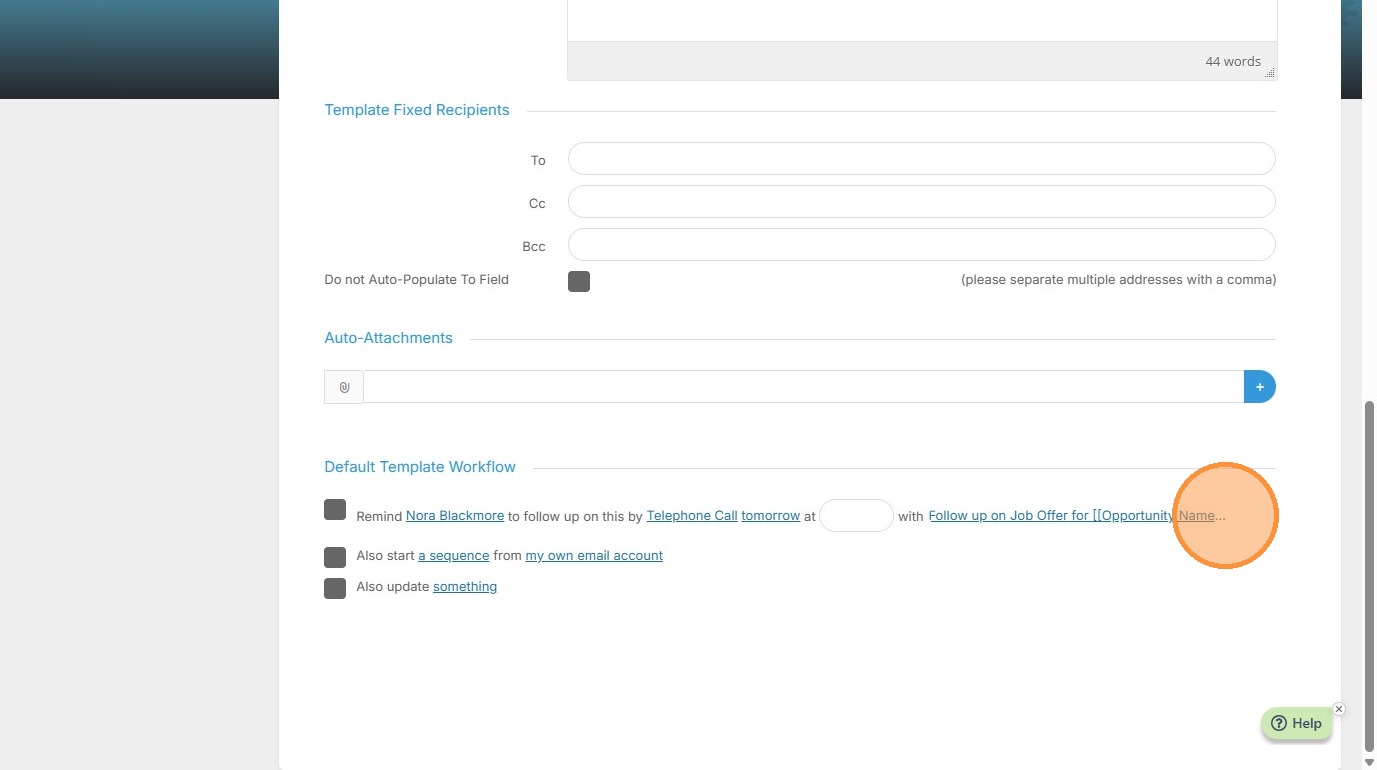
12. Highlighting the subject will allow that to be overwritten. This means you can be specific, using terms that you’re familiar with.
13. You can also use Template Workflows to start the recipient on a Sequence you have created.

14. There are two Workflows I’d like to occur when this email is sent, and I use the “Something” option for these.

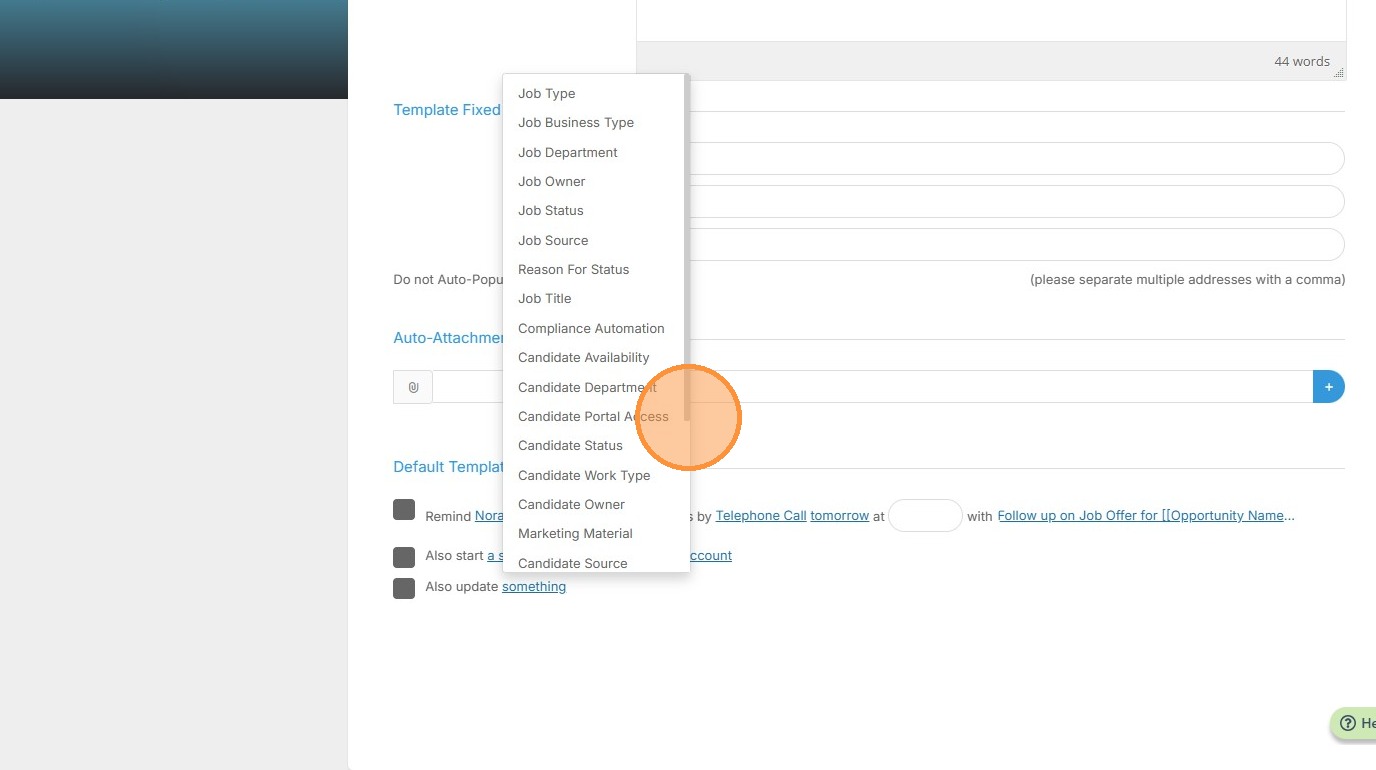
15. Clicking on “Something” will display a list of areas and fields that can be updated as part of this workflow.
What you see here will depend on the Association of the email. The options we see here are related to the Placement Association.
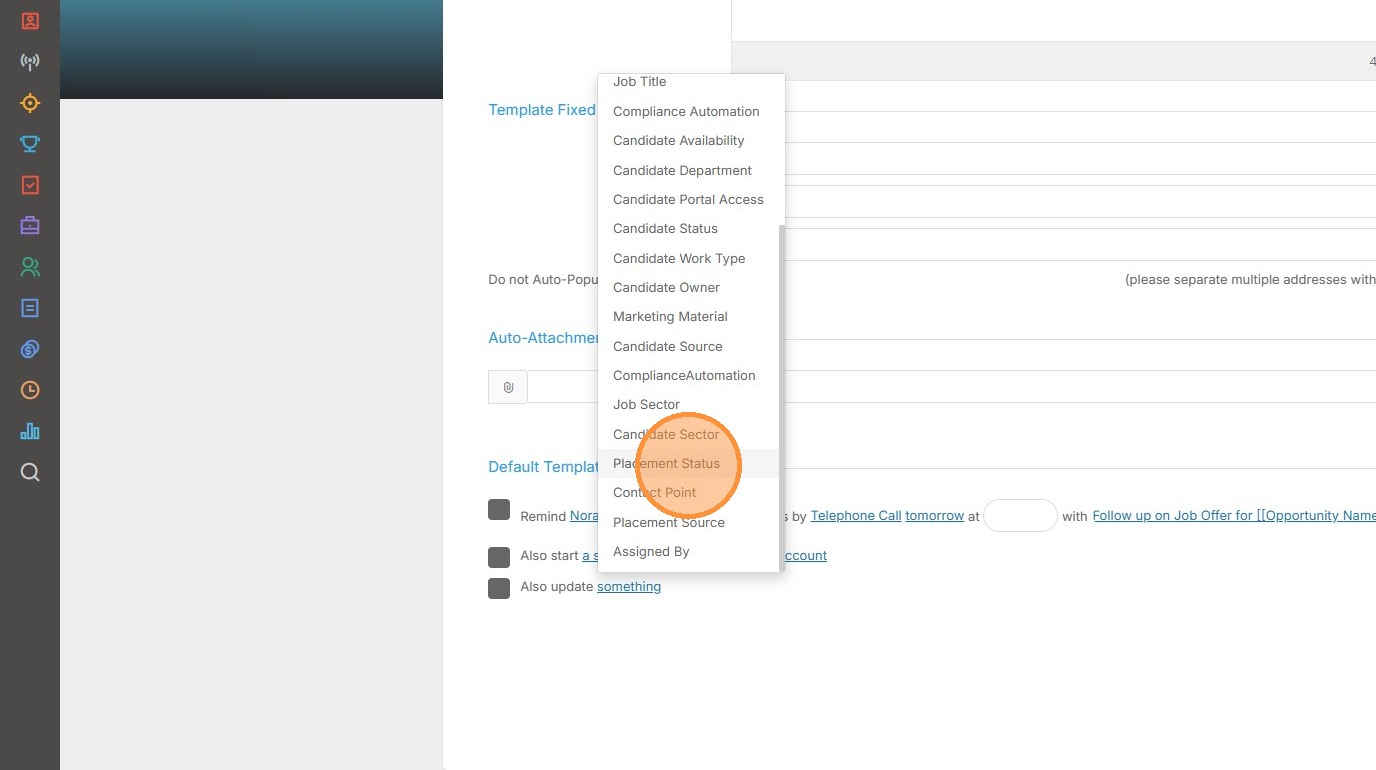
16. When I send this email to the Candidate, the first thing I want to update is the Placement Status.
Once I’ve clicked that Tracker then displays a second “Something” this is where I’ll choose what to update the Placement Status too.
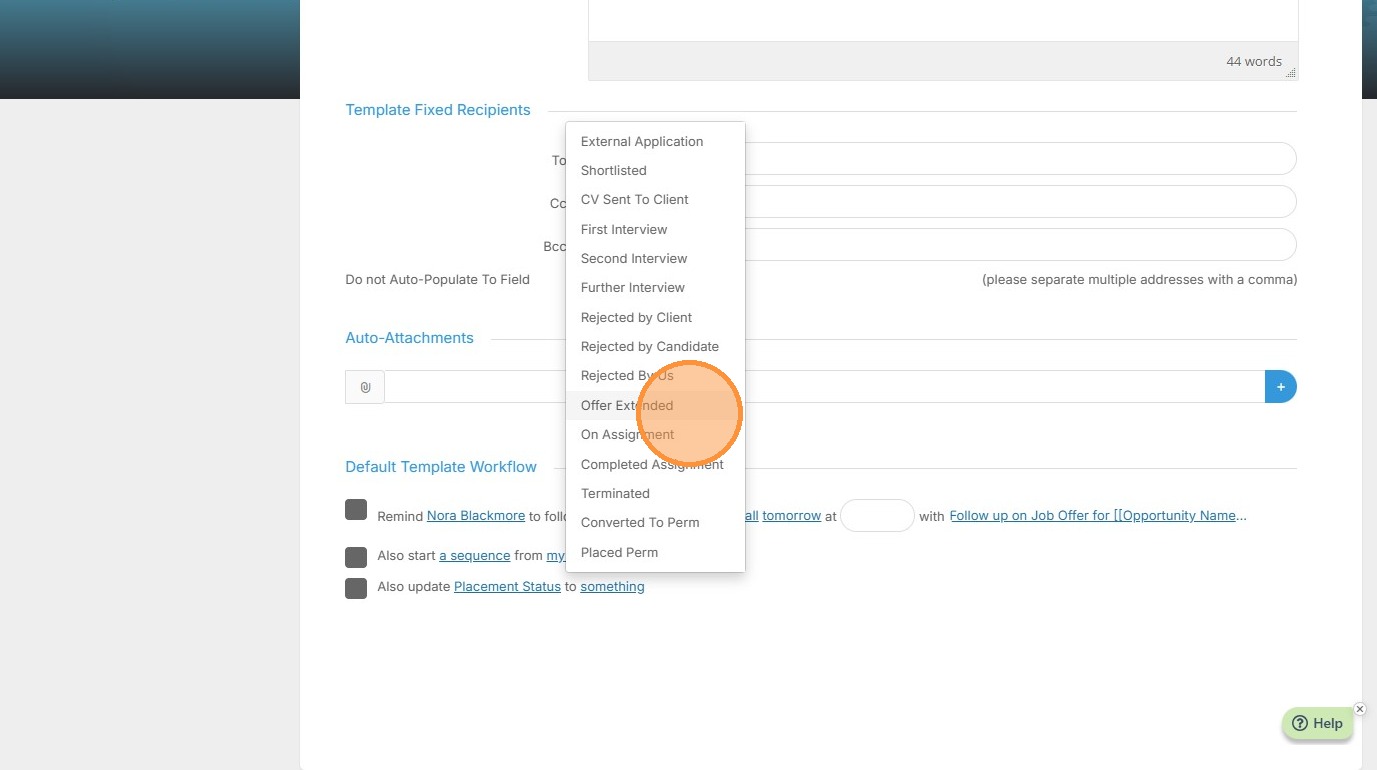
17. Clicking on the second “Something” will reveal a list of my Placement Statuses.

18. For this scenario I will update the Placement Status to Offer Extended.
On the job record this will result in the Candidate record moving from their current shortlist group to the Offer Group.
19. I’ve got an option now to add an additional workflow.
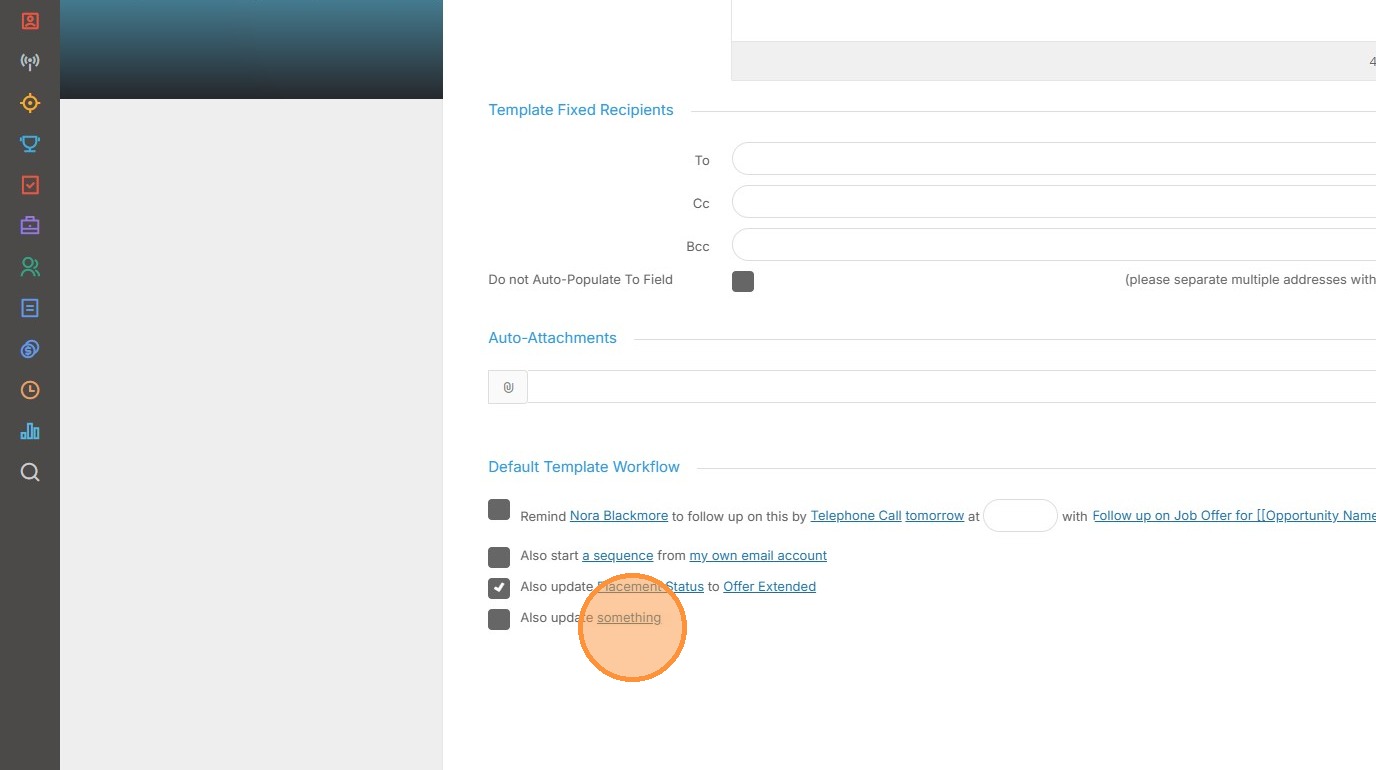
20. Here you can see I’ve added in the next workflow option, this time I’ve set for the Job Status to be updated to Offer Extended.
I can keep adding more workflow actions as required. Make sure you have ticks in any workflows you wish to apply when the email is sent.
21. Don’t forget to scroll back to the top and Save Template once you’re done.
Next we’ll go to a Job and see this in action.
Template Workflow in Action
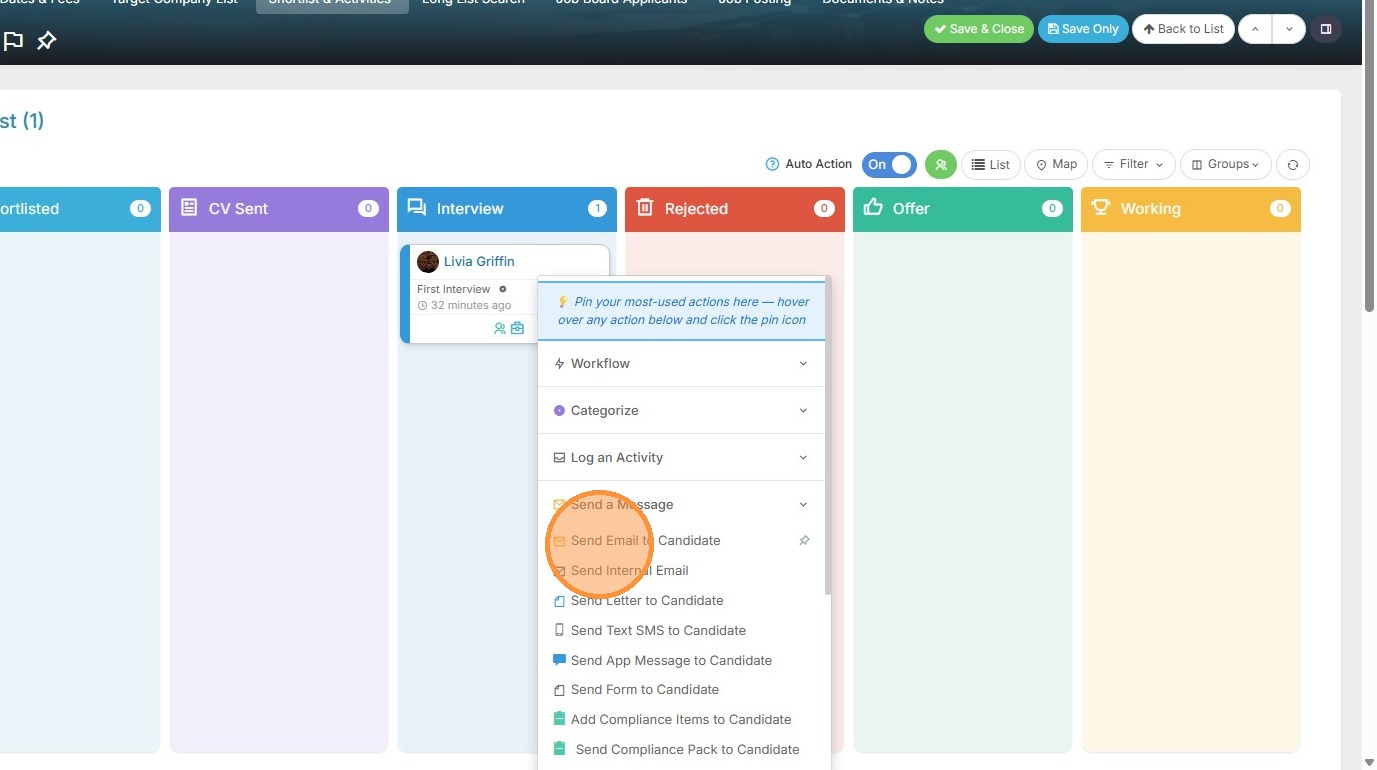
22. On the Job Record I’m going to use the drop down on the shortlist card and choose to send the candidate an email.
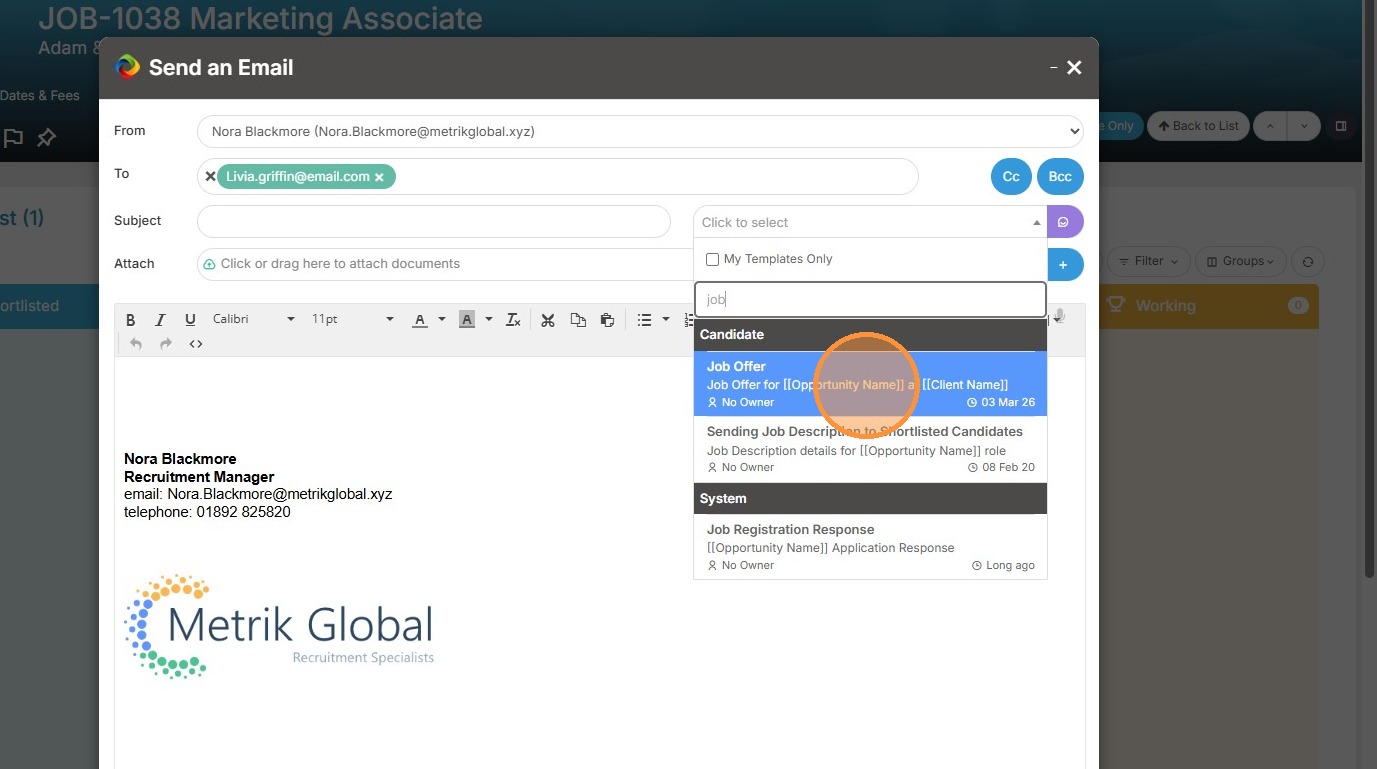
23. On the email form I will choose the email template we added the Default Workflows to.
24. If I now scroll to the foot of the email you see those Workflows. I’m going to send the email, and we’ll take a look at what has happened on the job.
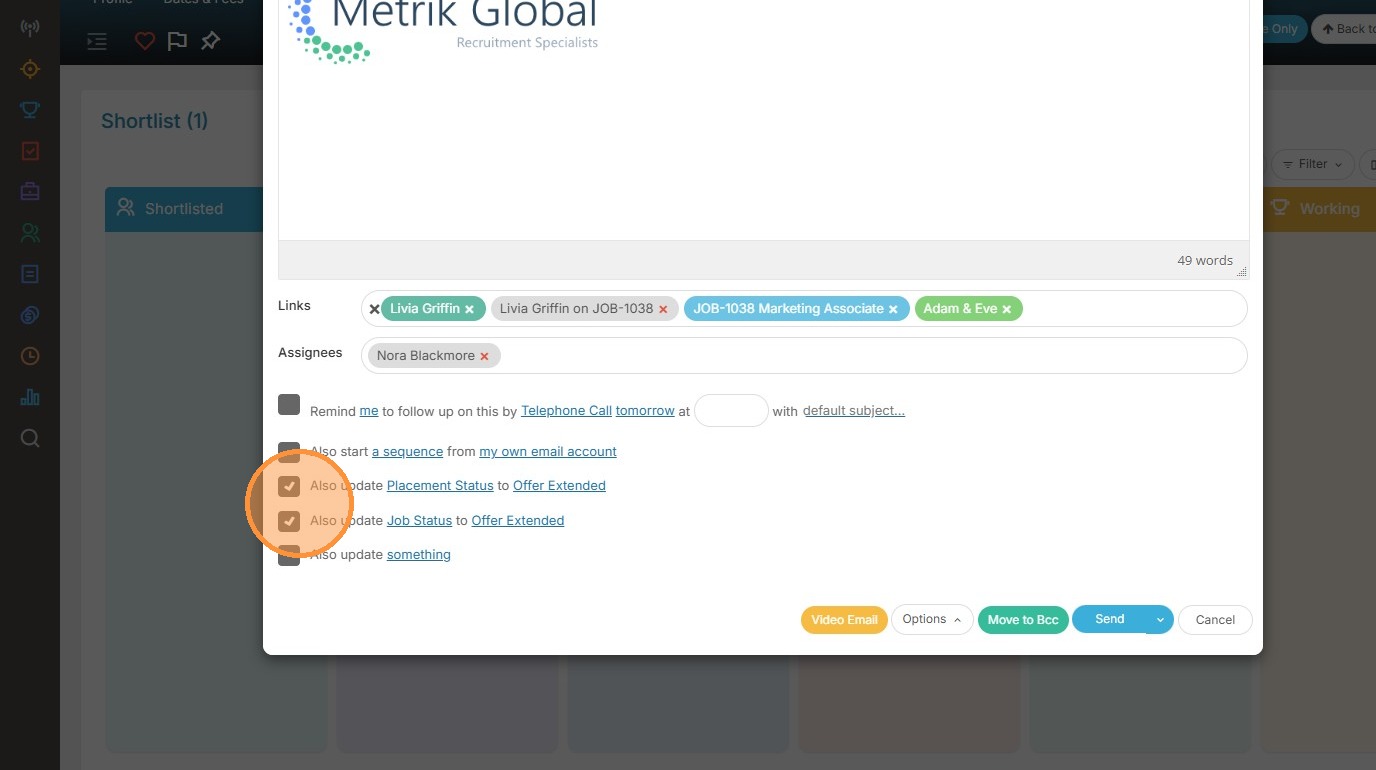
25. The email has been sent and back in the Shortlist area we can see the Candidate has now moved to the Offer Group.
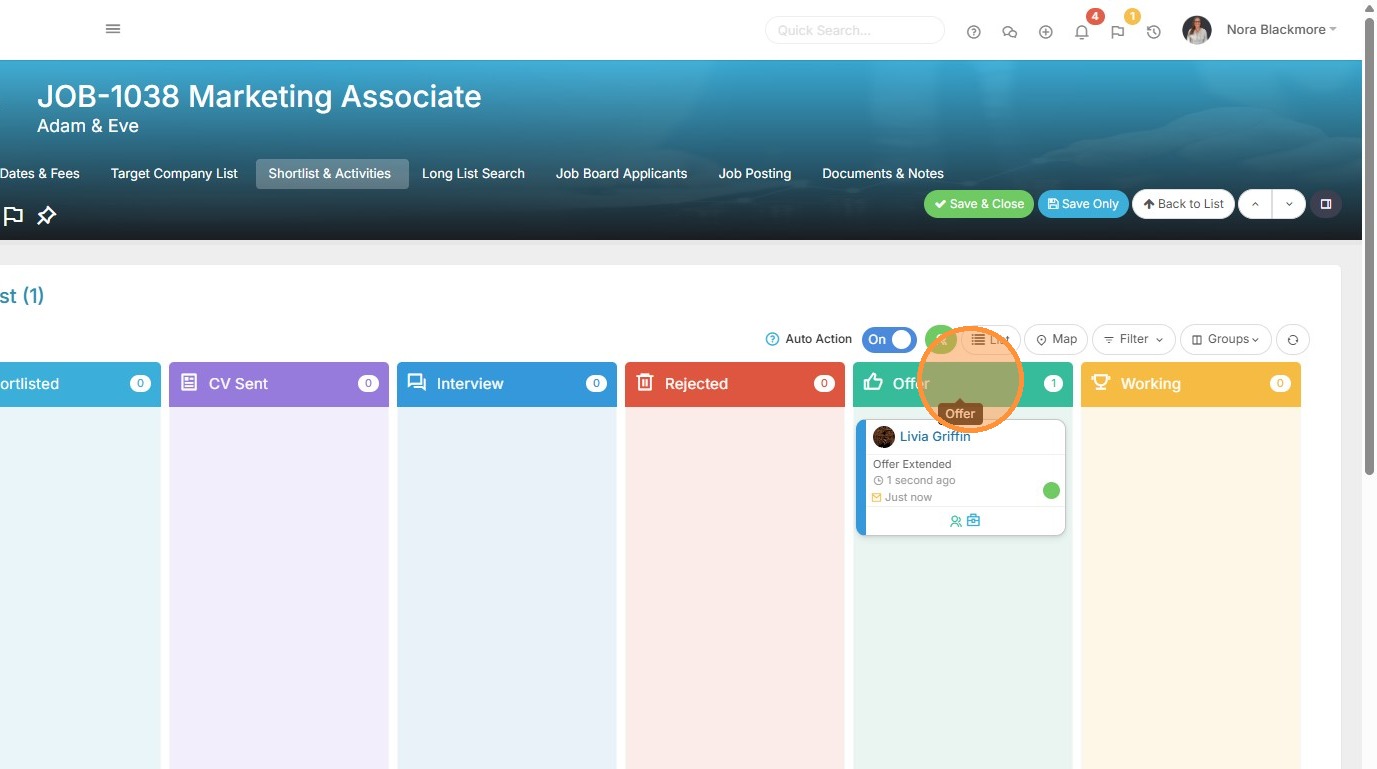
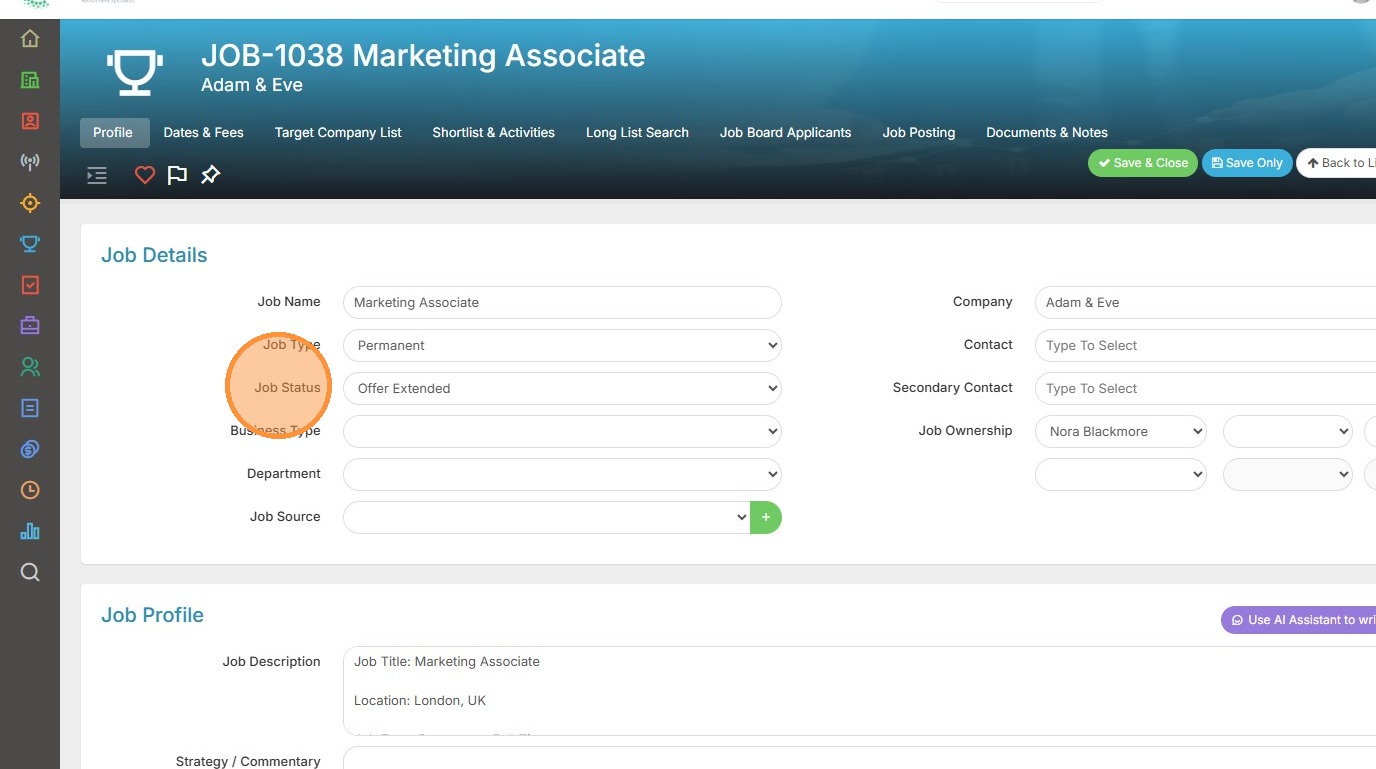
26. We can also see here in the Job Details block that the Job Status as also updated to Offer Extended.