Save time on every send by attaching documents to your email templates automatically. This guide shows you how to set up auto attachments within Manage Templates, so the right documents are always included without you having to think about it.
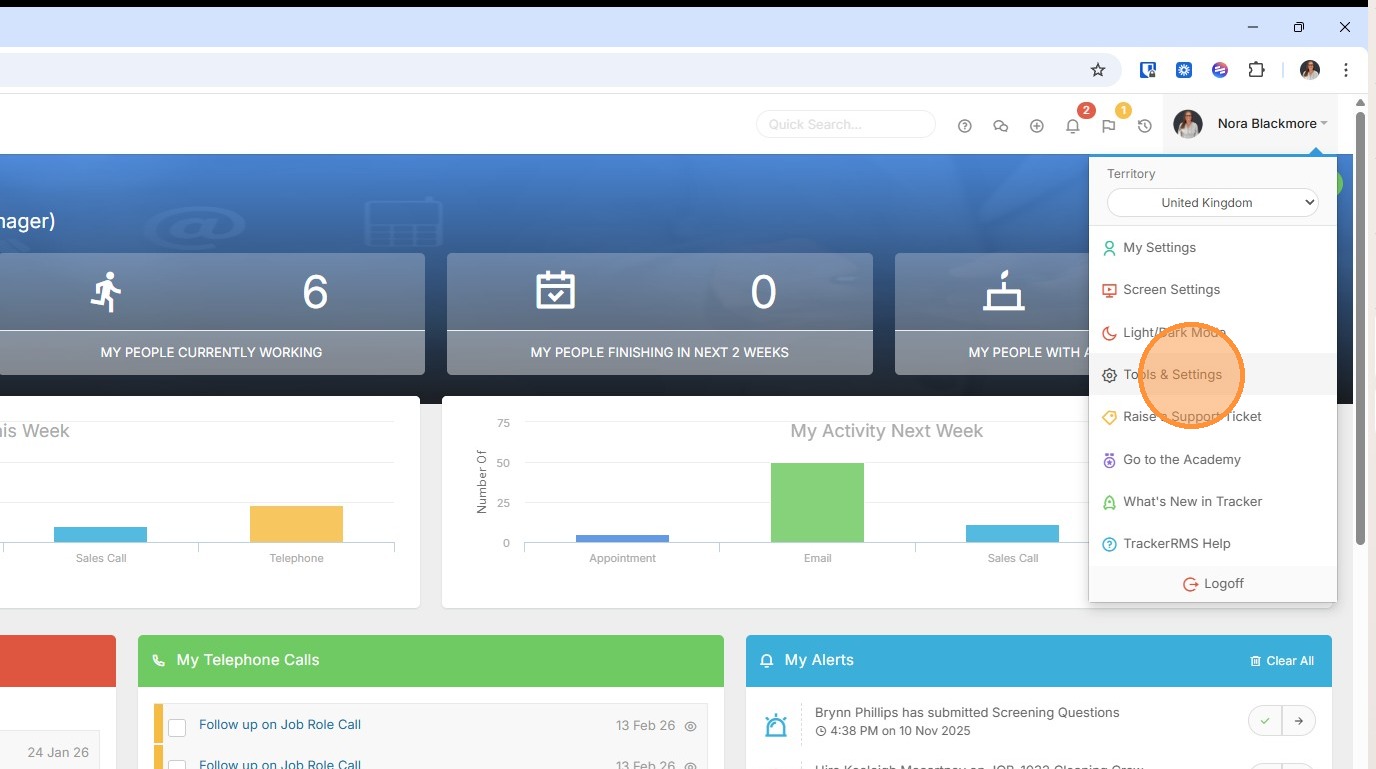
1. Email Templates are managed within Tools & Settings, which is accessed via the profile menu.
2. Within your settings, you should see an option for Manage Templates. If you're unable to access this, please contact your internal Tracker administrator.
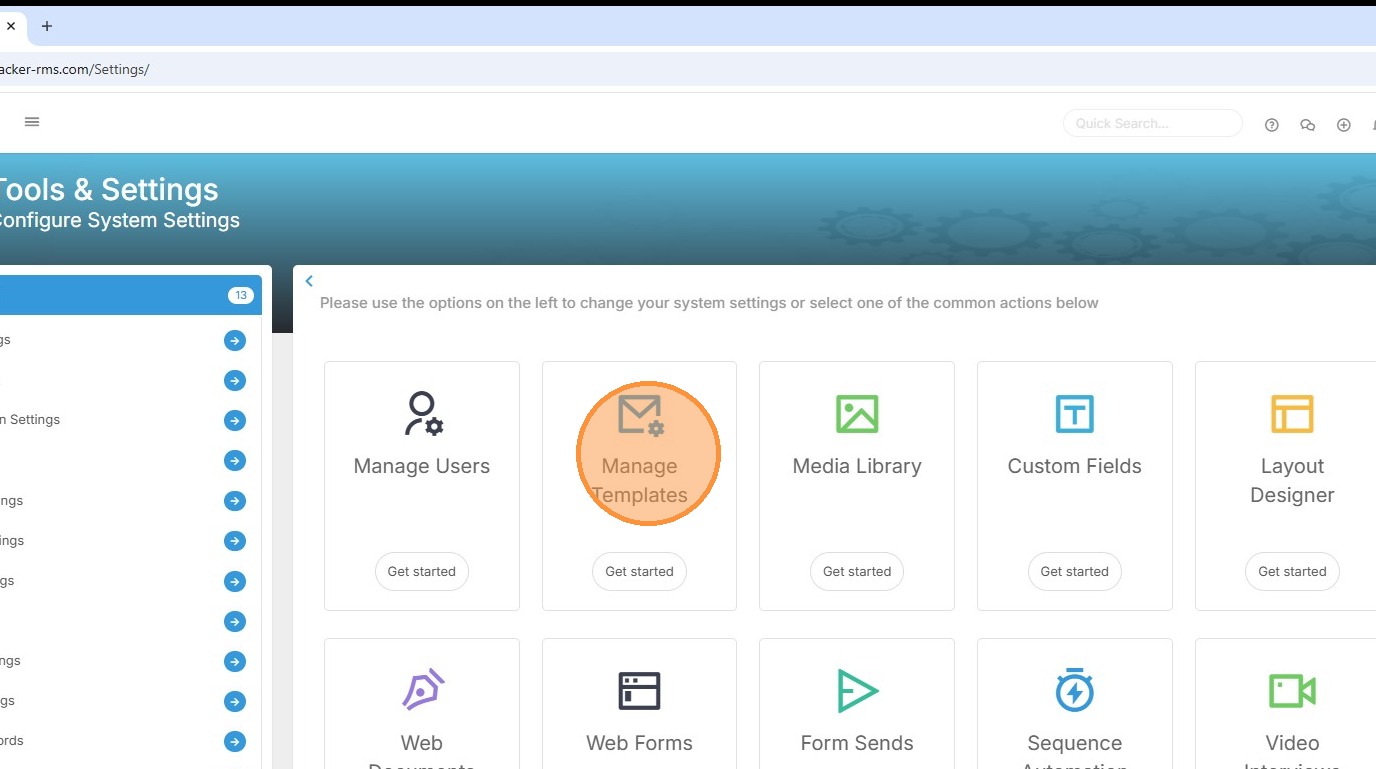
3. Click "Get started" to create new or edit existing templates, where we can add in the Attachments to be automatically included when using that email template.
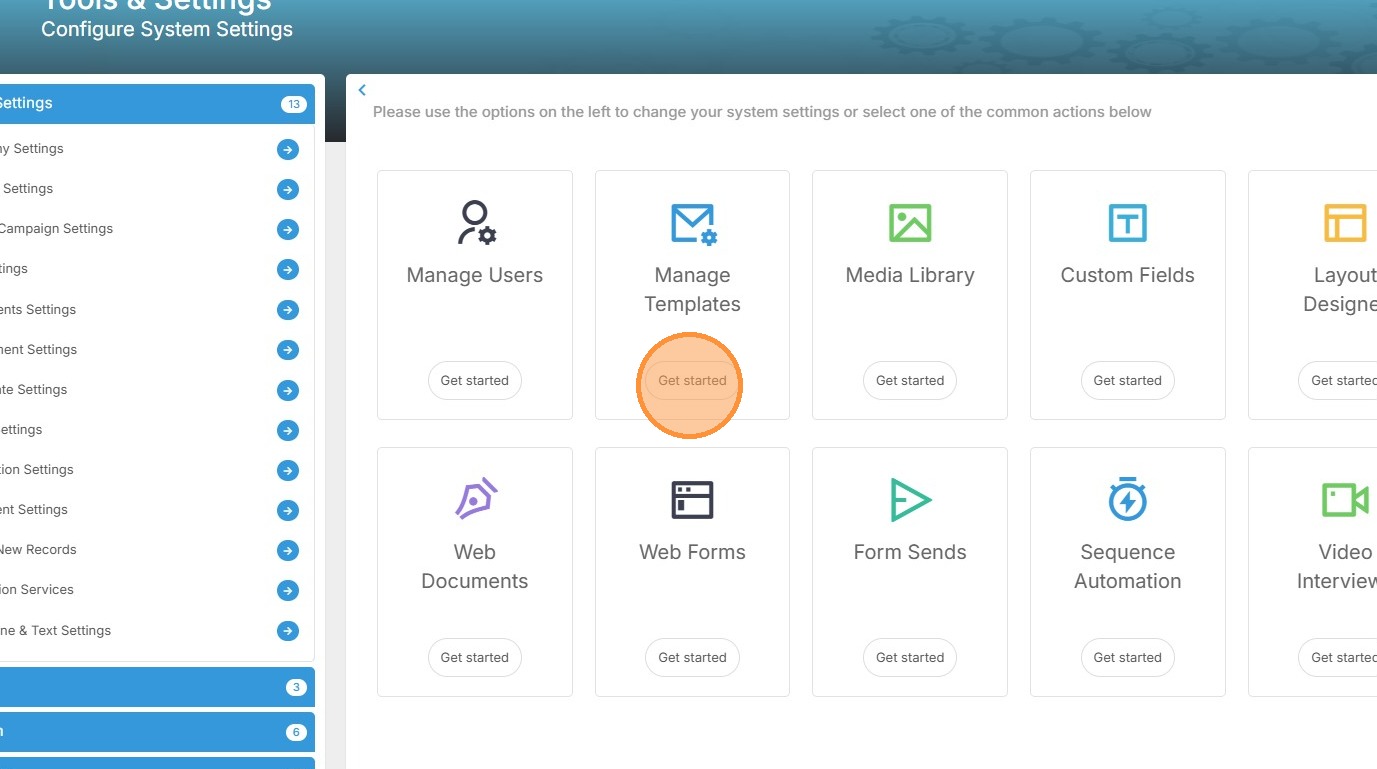
4. To access existing templates click the drop down arrow.

5. Here you’ll see a filterable list of your current templates, each organised within folders. For the example today I will use an Interview Confirmation email.
6. Once in the email, I'll scroll down to the Auto Attachments area. Here I'll click on the plus icon.

7. This takes me to the window where I can choose the relevant folder from my Tracker Document Library. In this example I've chosen the folder Recruiting Documents. This shows me all the documents saved under that folder.
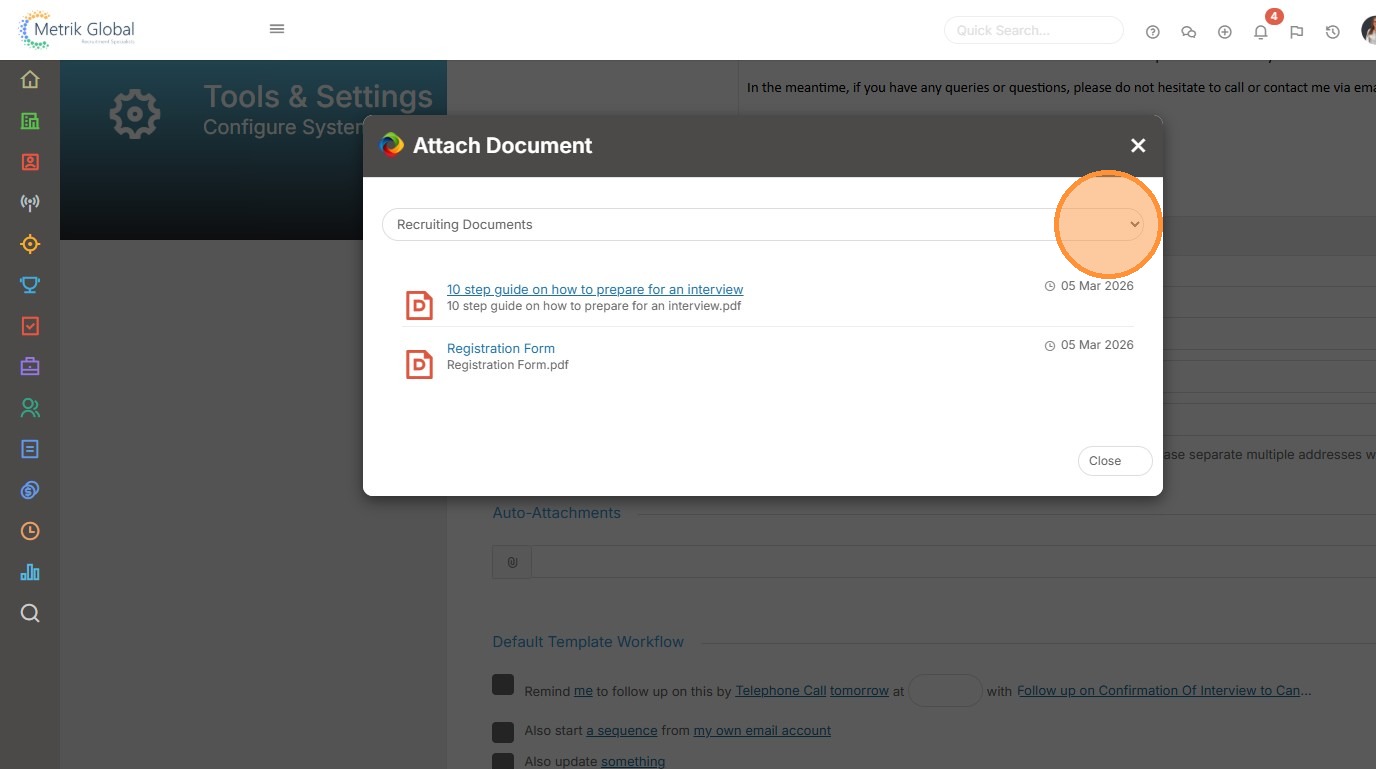
8. I can select one or more documents by clicking on the document name. Once selected I'll see a tick next to that document. I'll then need to click "Close".

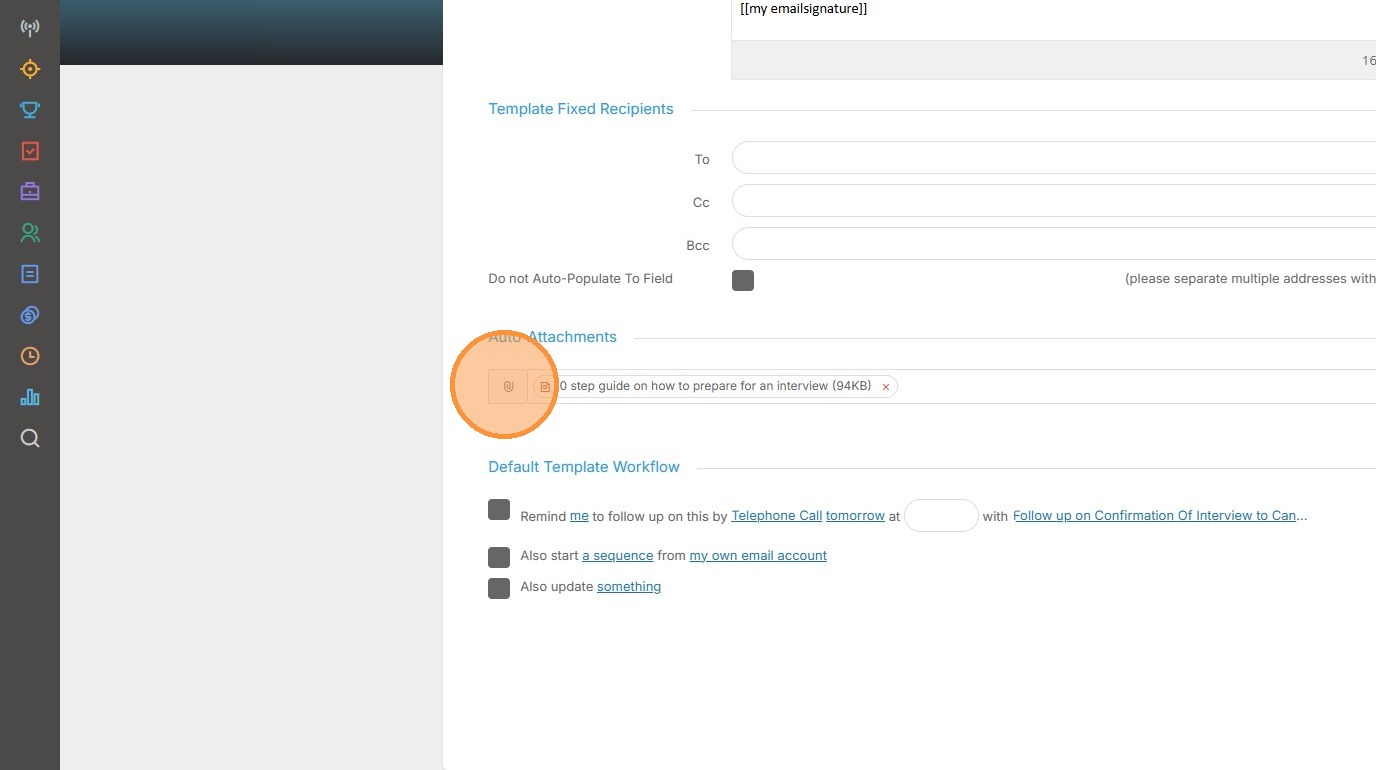
9. Here we can see the attachment that will now automatically be added to the email each time this particular email template is used. A very nice timesaver.
10. Don't forget to scroll back to the top of the screen to click "Save Template".
