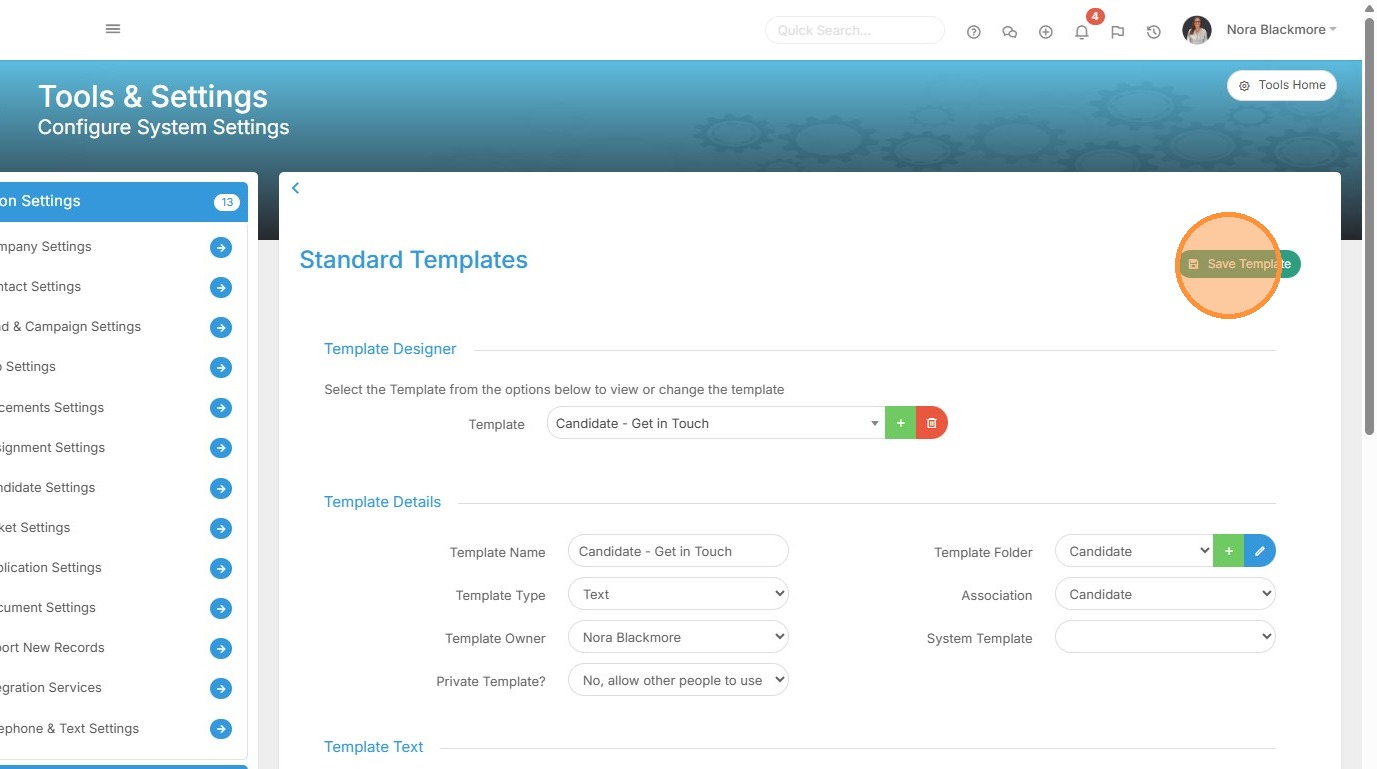
1. Text Message Templates are managed within Tools & Settings, which is accessed via the profile menu.

2. Within your settings, you should see an option for Manage Templates. If you're unable to access this, please contact your internal Tracker administrator.
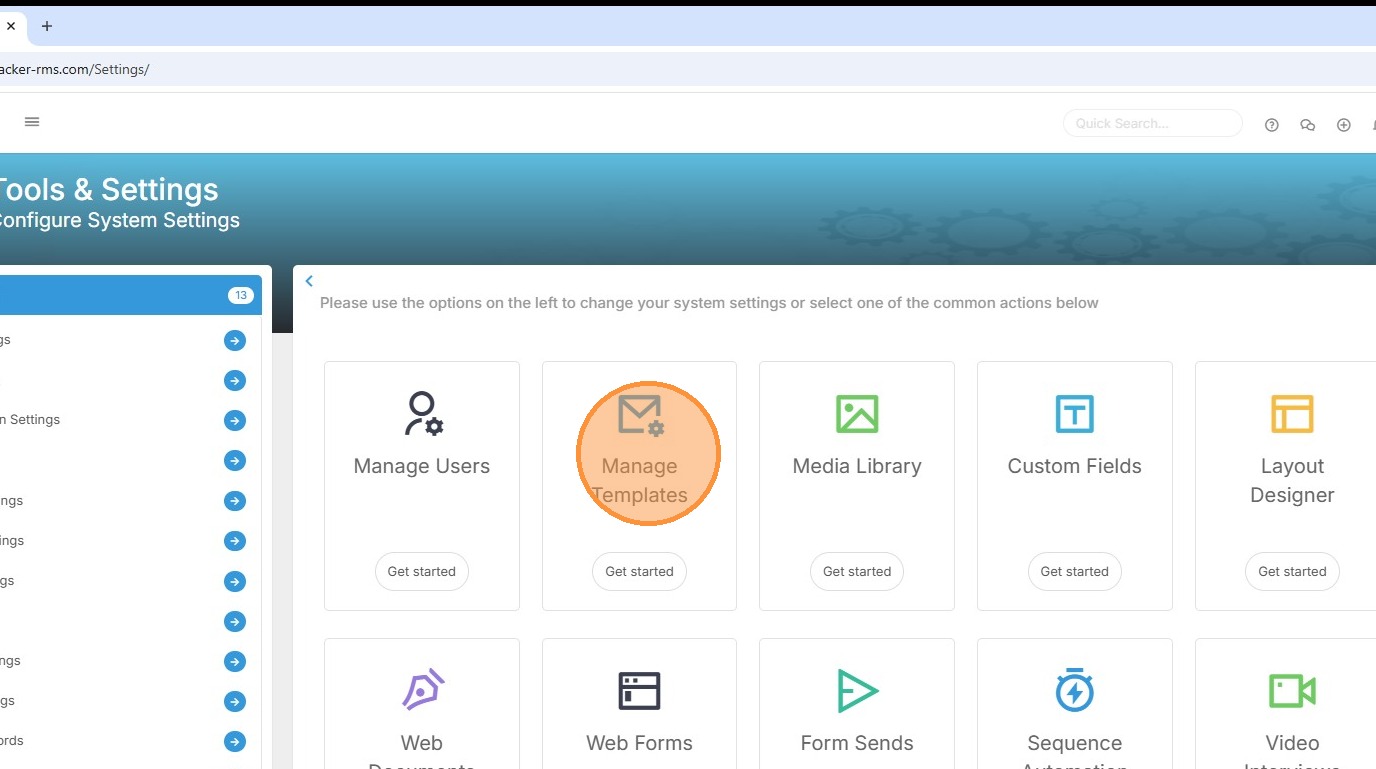
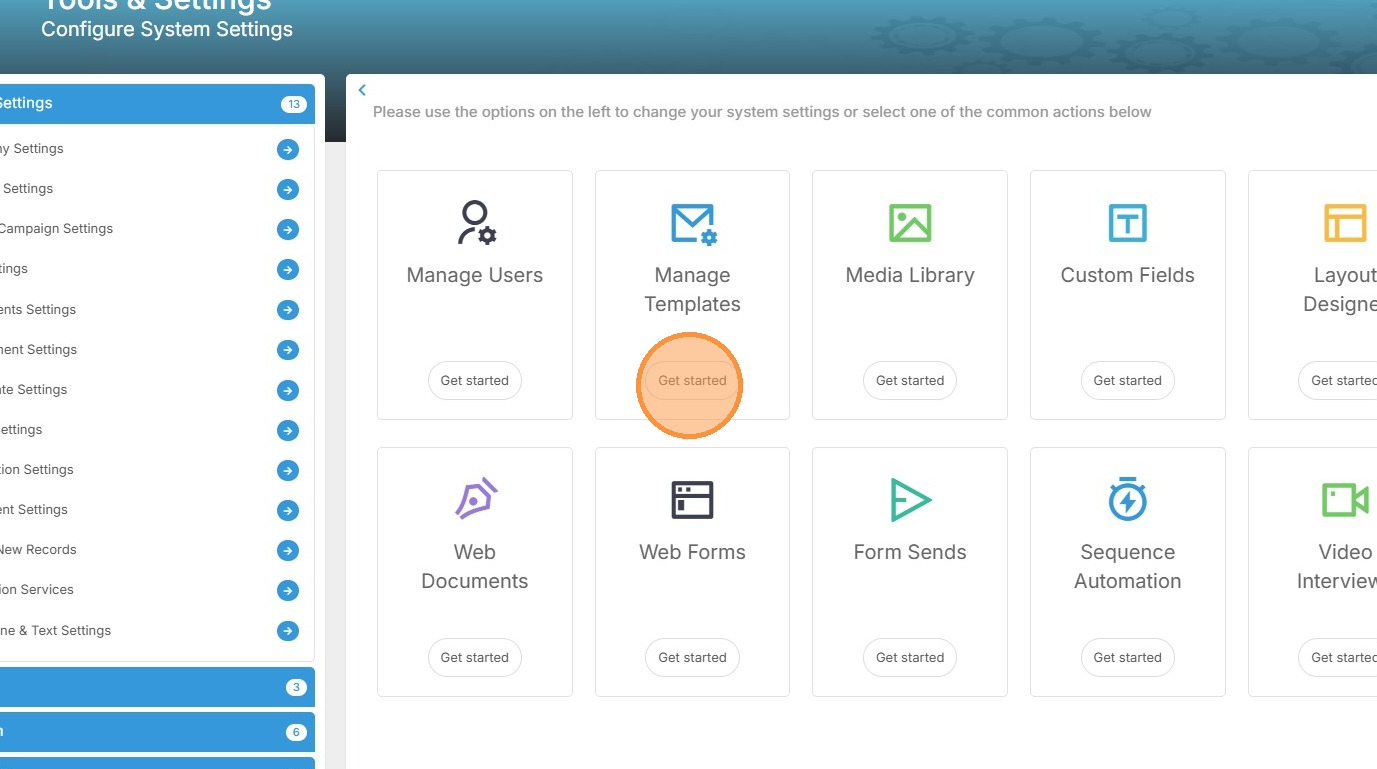
3. Click "Get started" to create new or edit existing templates.
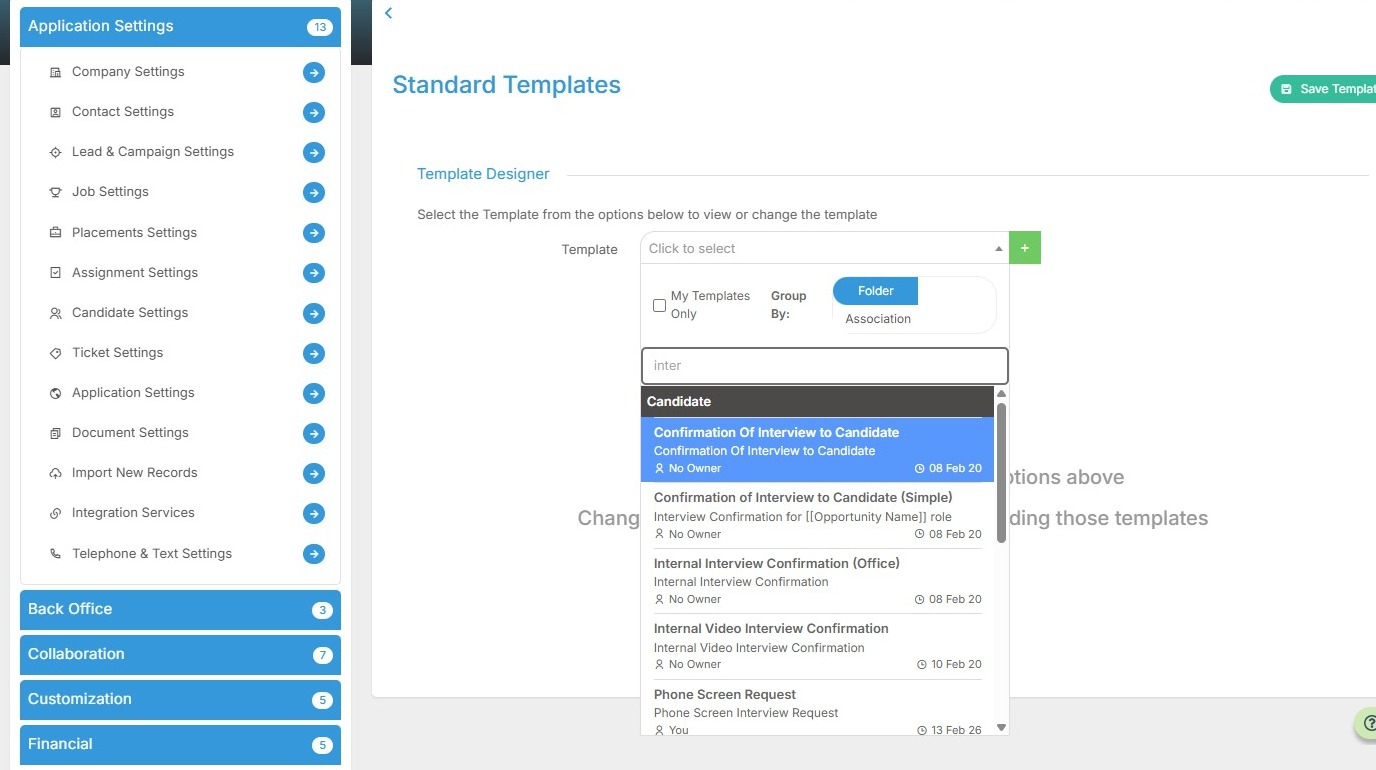
4. To access existing templates so that you can edit those, click the drop down arrow.
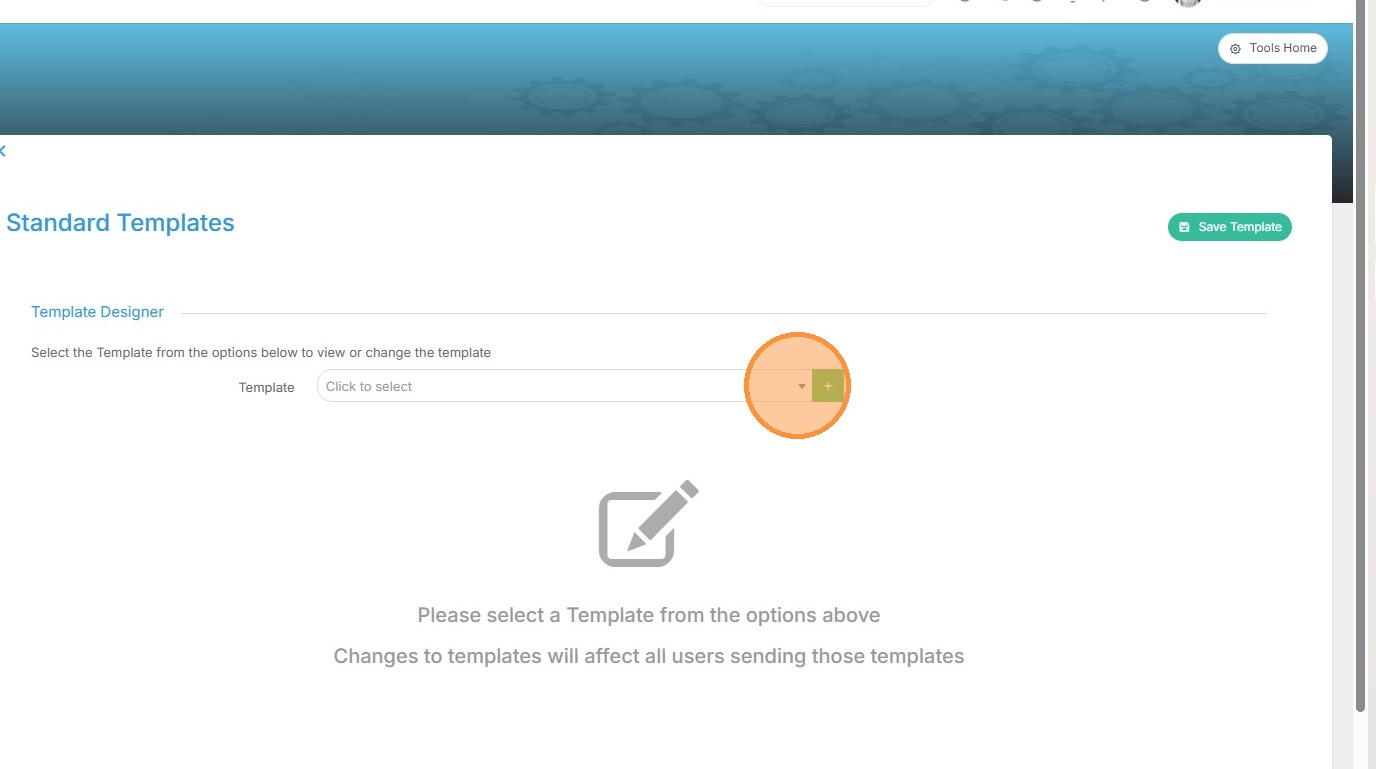
5. Here you’ll see a filterable list of your current templates, each organised within folders. Today however, I am going to create a new text message template.
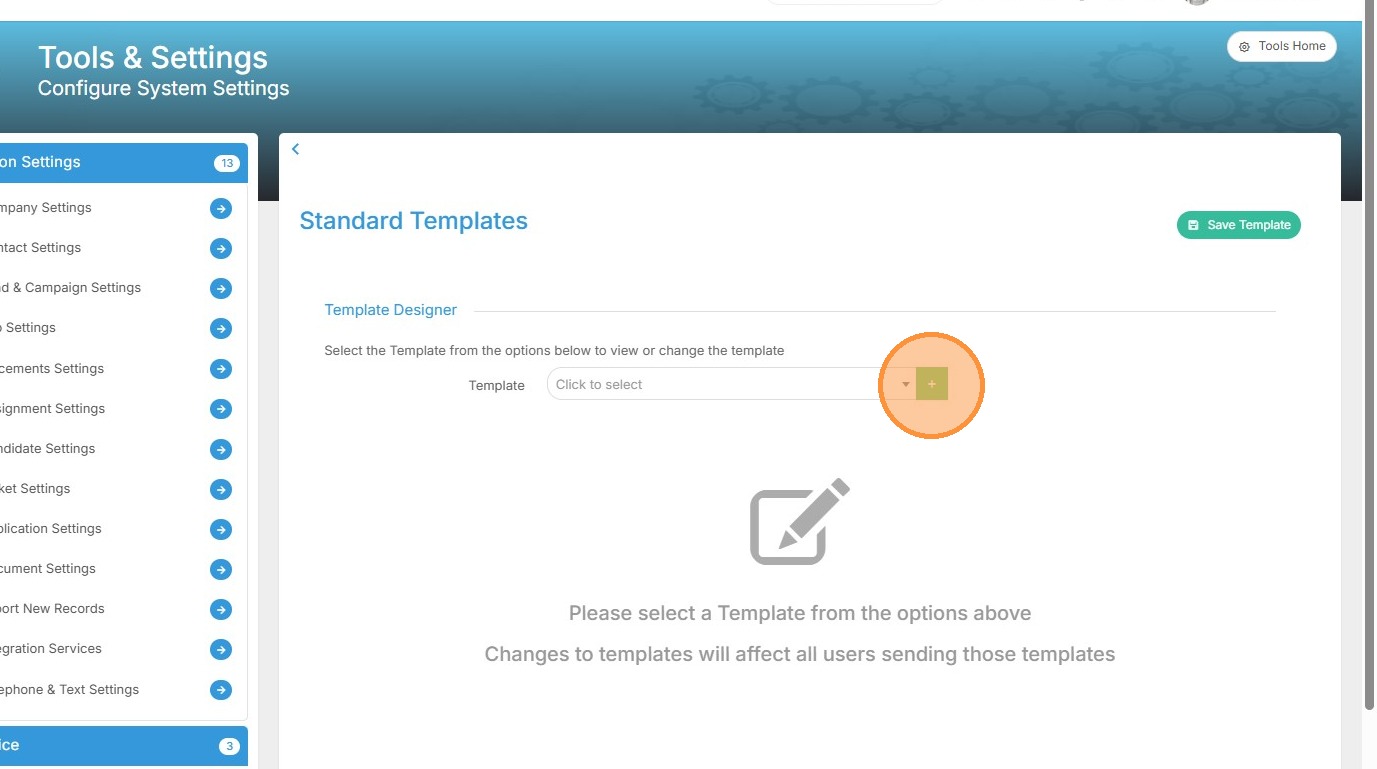
6. To create a new Text Template, click the plus icon.
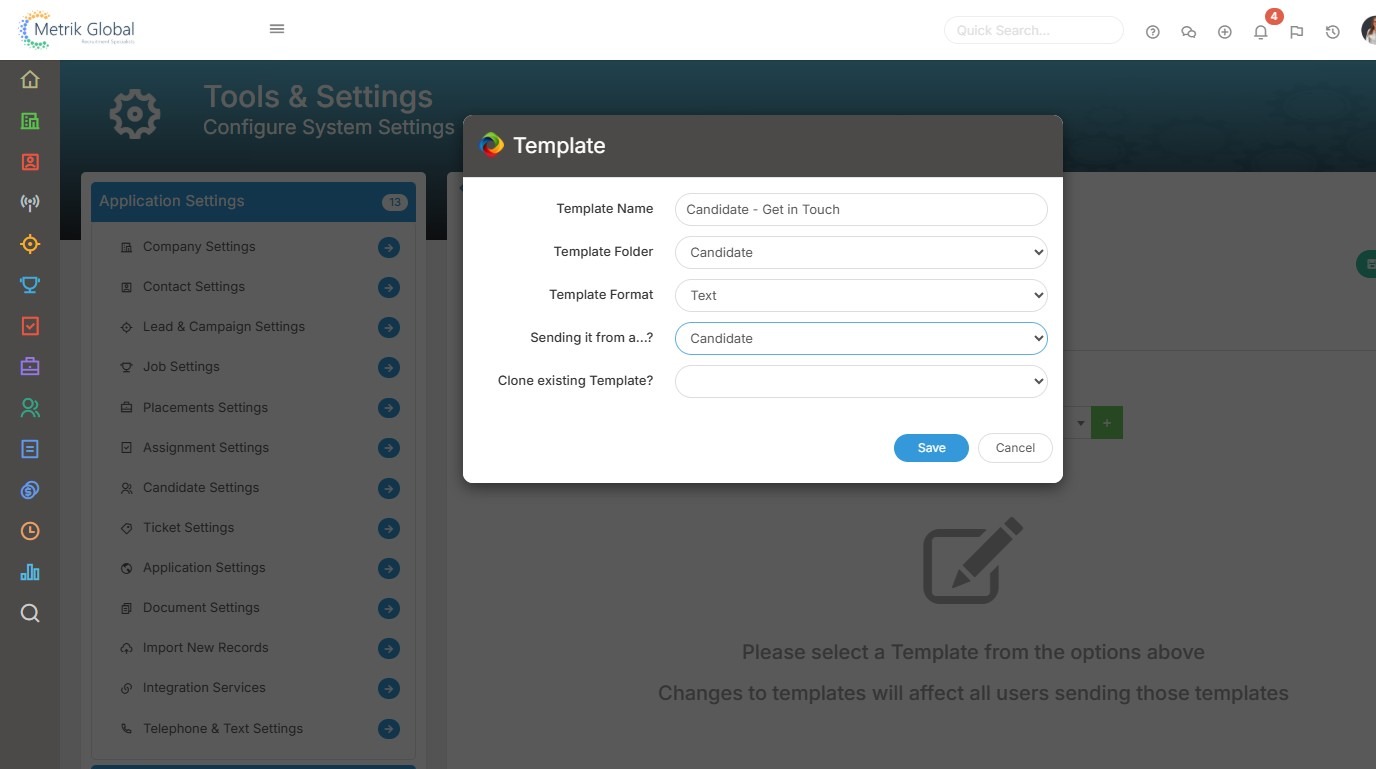
7. In the form that opens you have a number of fields to complete. You will need to give your Template a Name and assign it to a Folder. Next is Template format, in this case, you will want to choose Text message. Then we have the "Sending it from a" field. This is the record association field and is important as it will dictate which Tags are available to merge in data from the record, and which records the template is available to send from. If you have existing text templates you can choose to clone and then edit one of those.
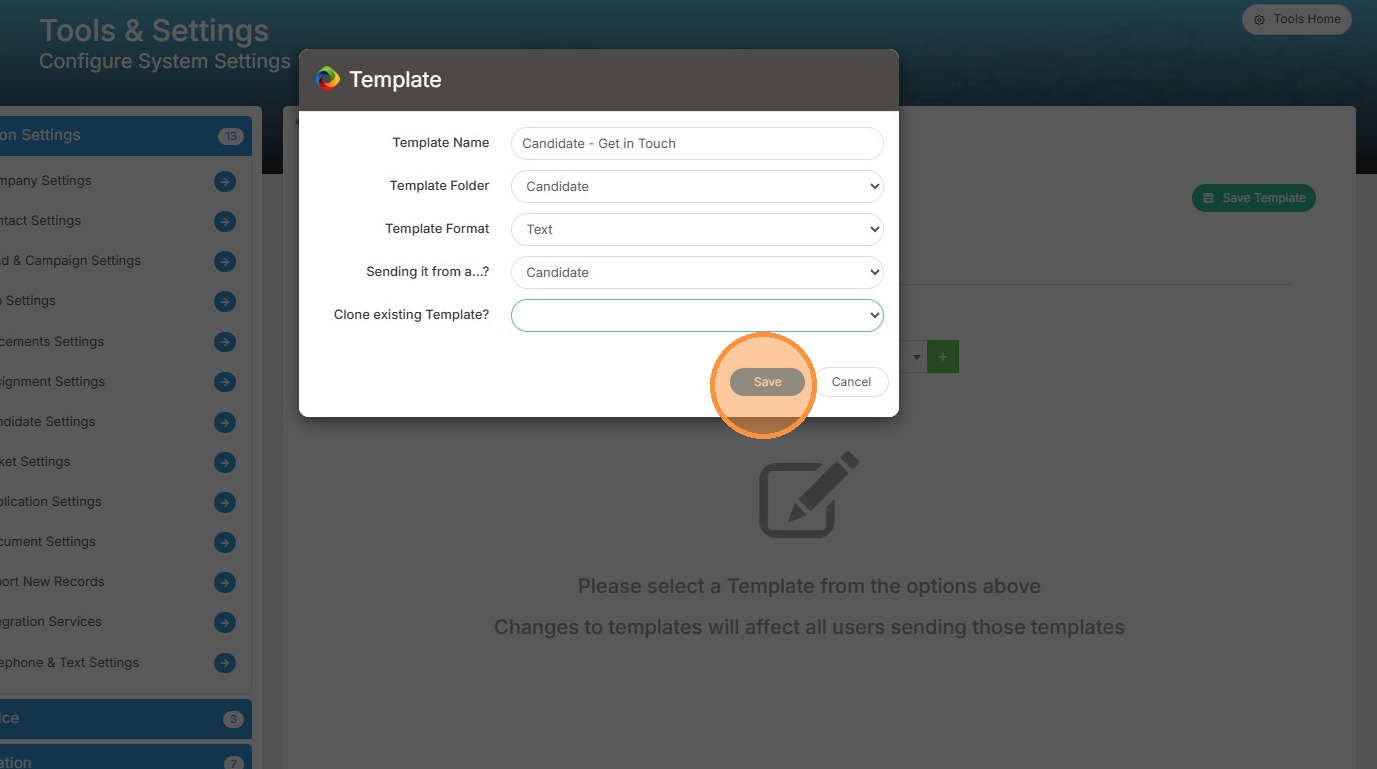
8. You will next need to save your Text Template so that you can start adding the content.
9. Once created, the Template Details area will display those settings chosen previously, which you can edit if required.
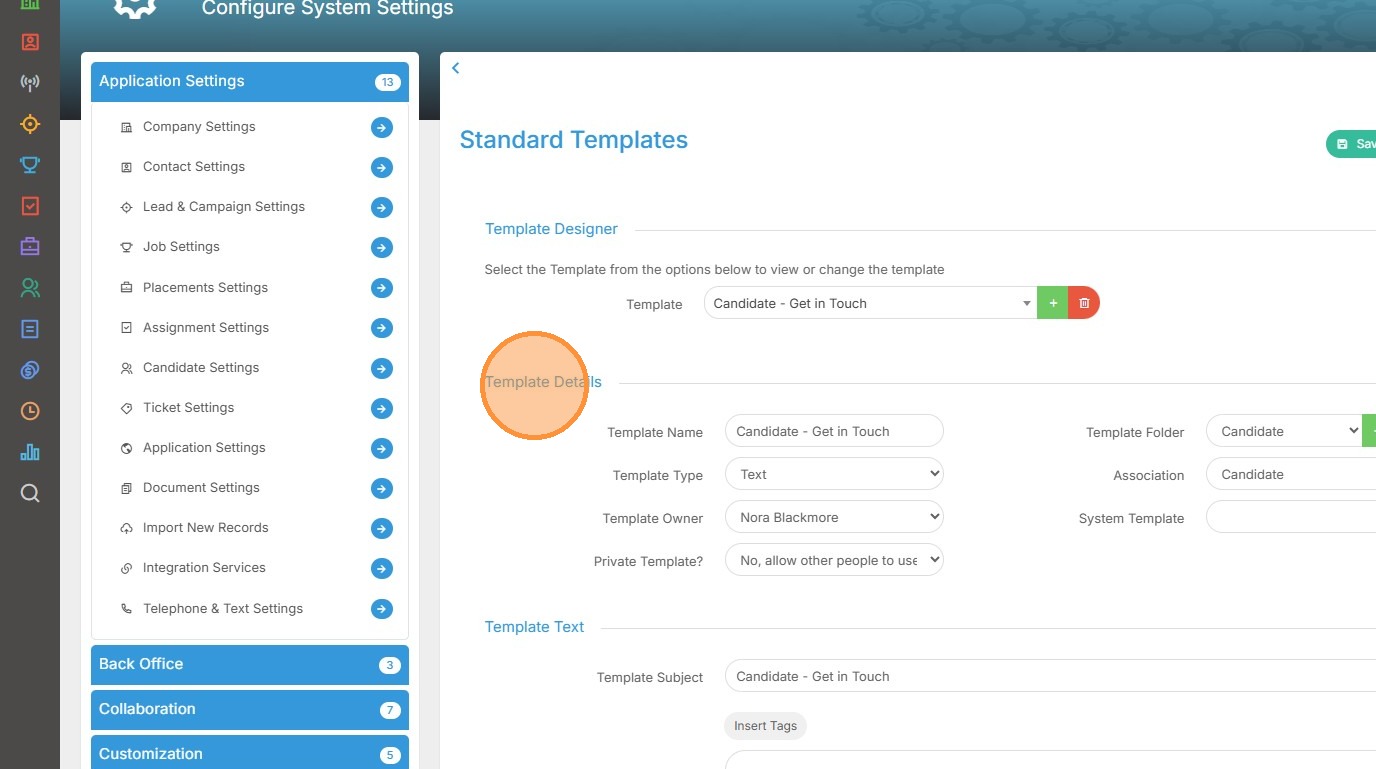
10. Additionally, you can also choose who can see and use the template, for example everybody or just you.

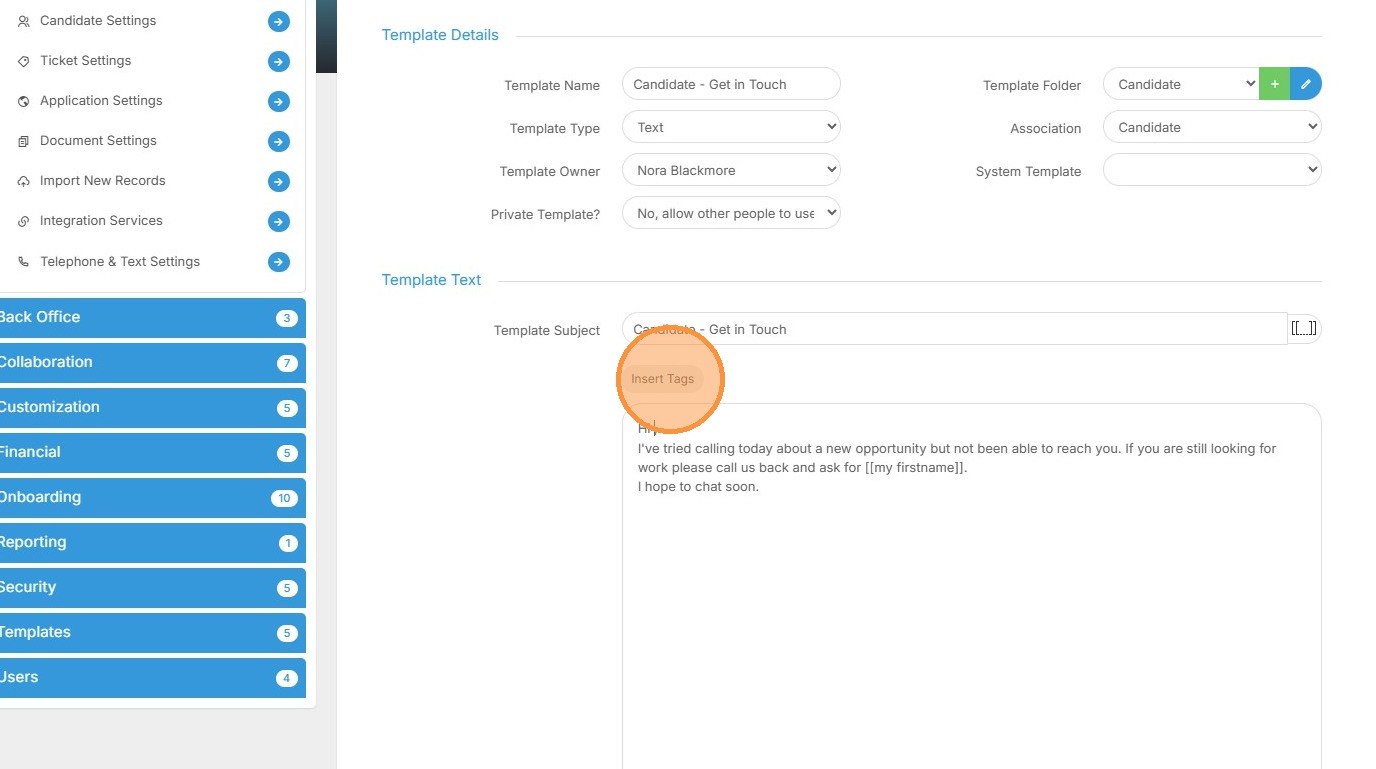
11. The next area is where you'll create the content of the Text Template, starting with the subject. You can add Tag's here if you wish. Tags are data you merge into the template at the point of sending.
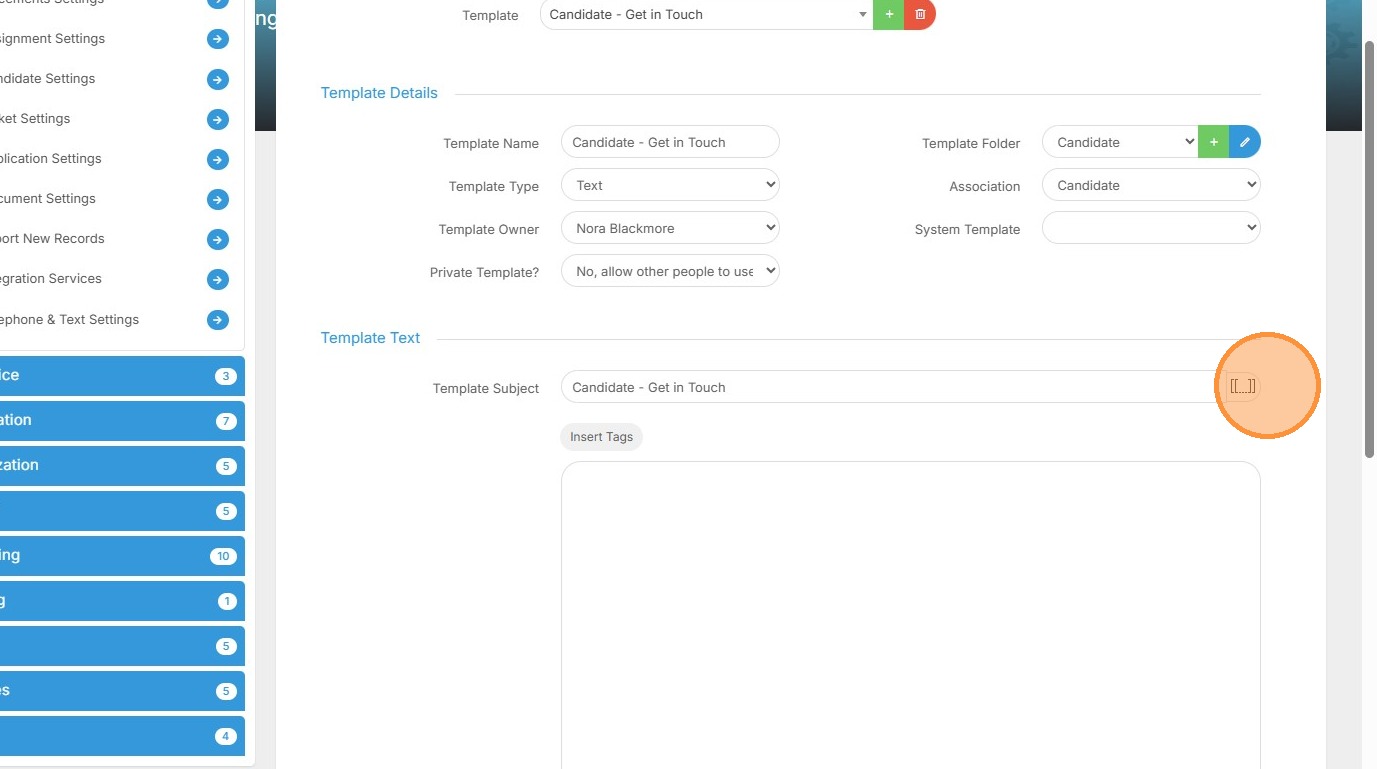
12. Tags can also be added into the body of the Text Message via the Insert Tags button.
13. First you will have "Standard Tags", these will relate to you and your company.
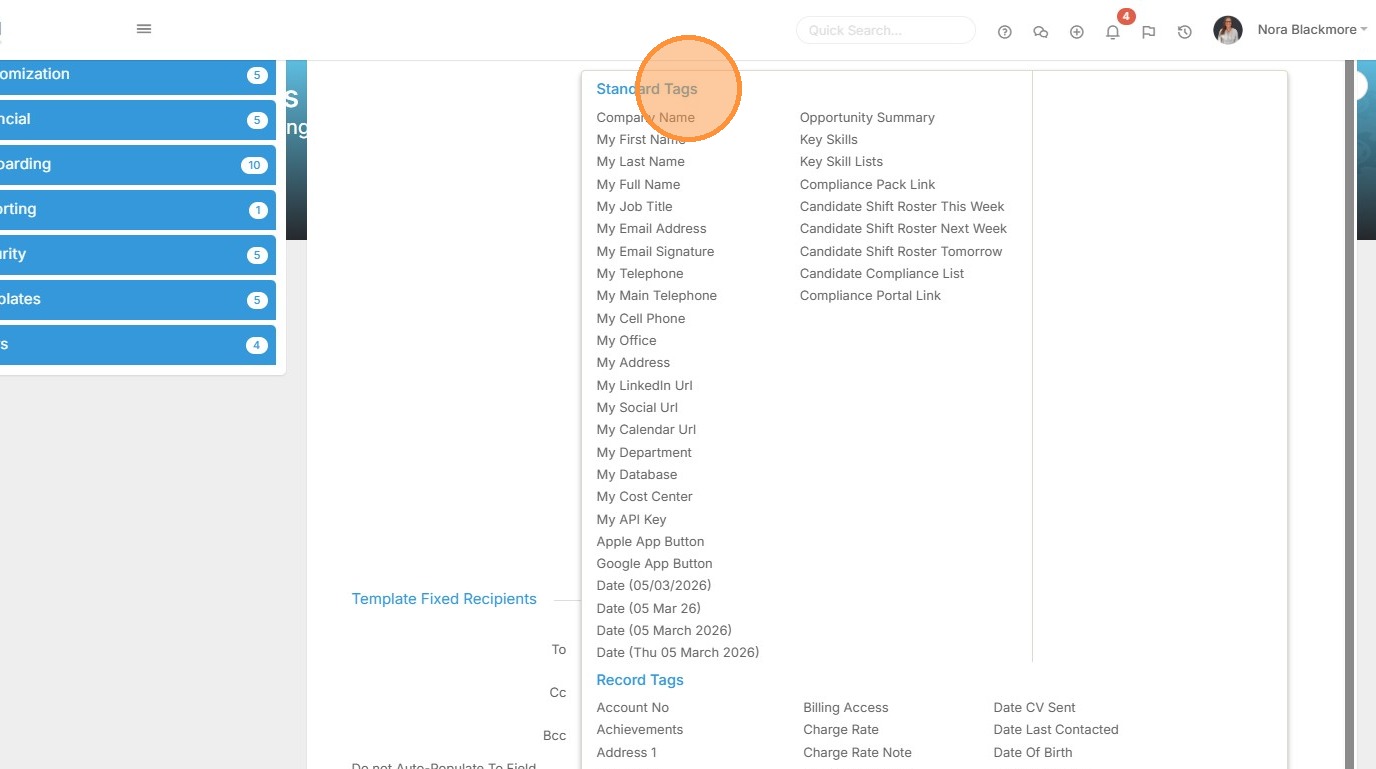
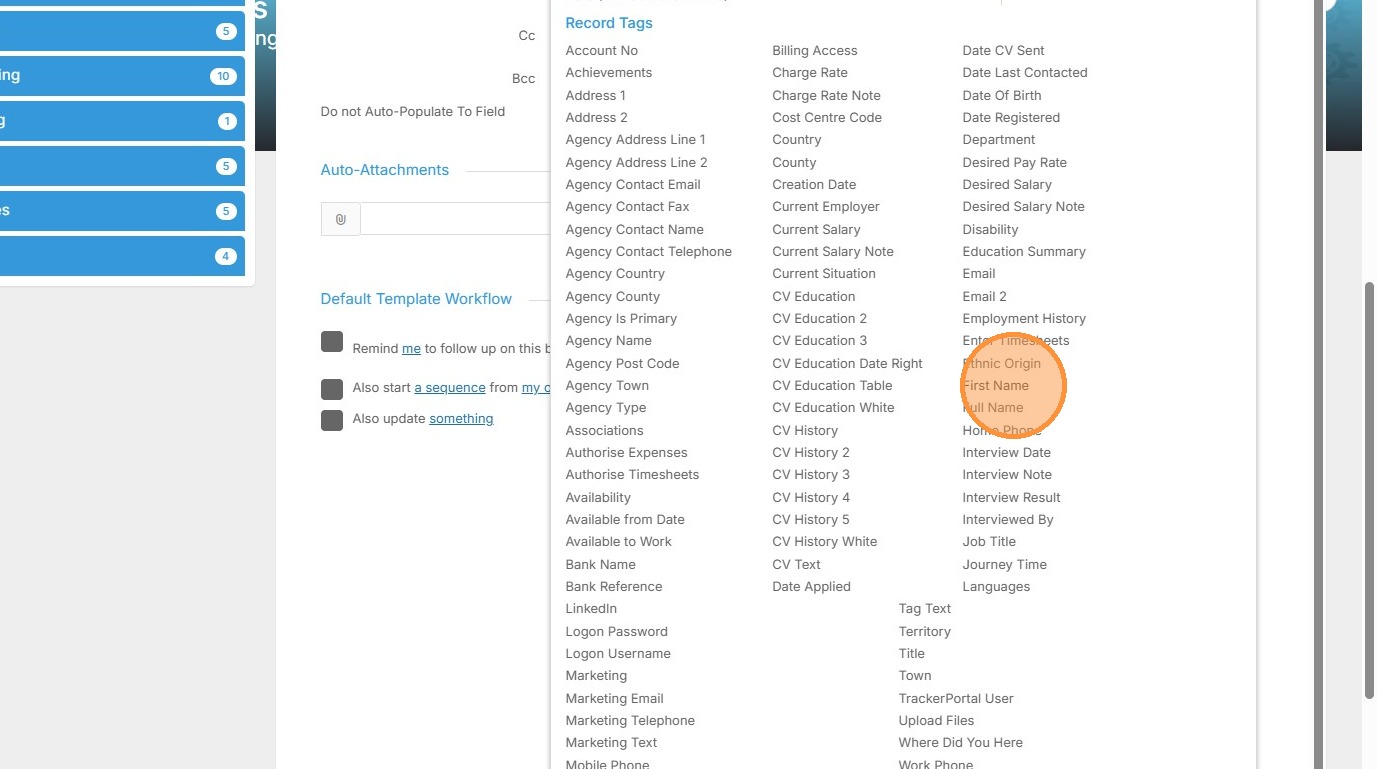
14. Below are the "Record Tags" which will merge data from the associated record.
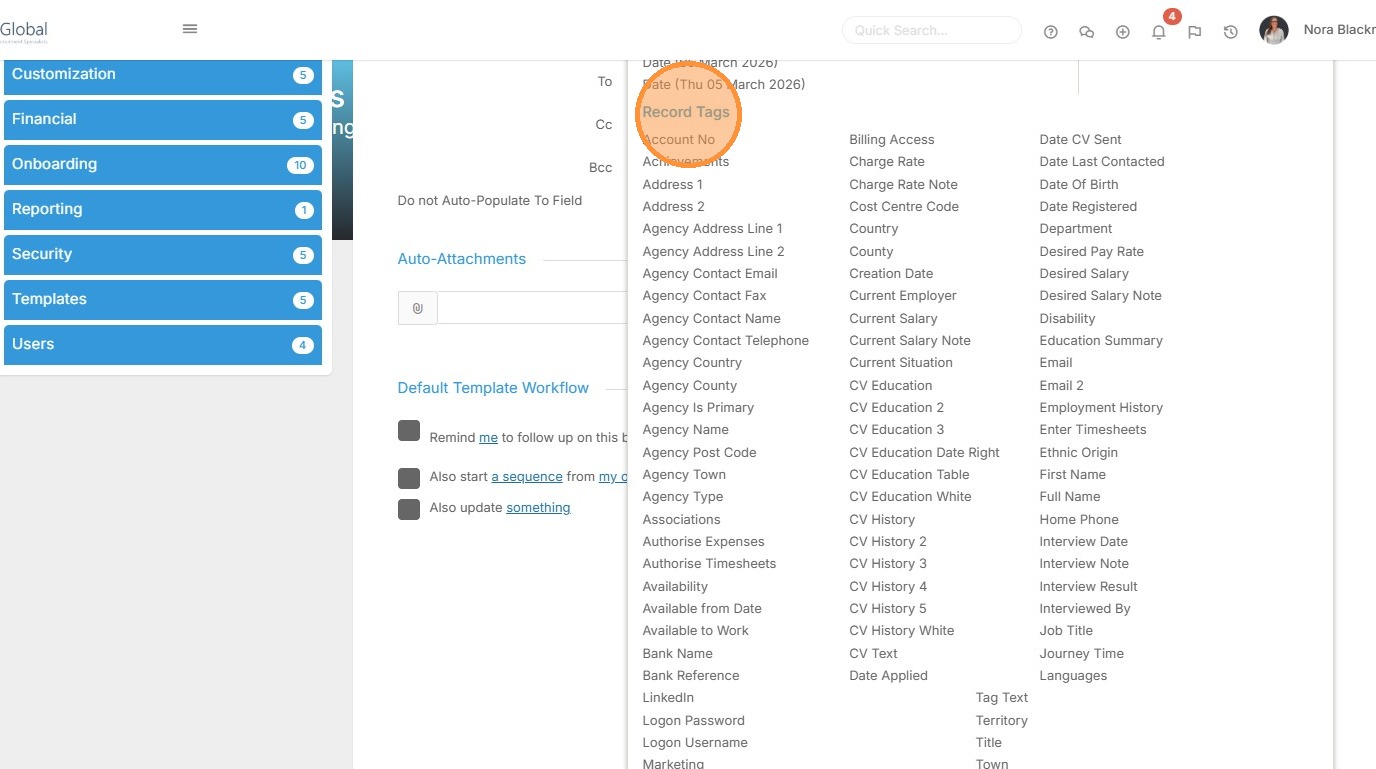
15. Once your cursor is placed within your message you can come into Insert Tags and click the one you want to insert.
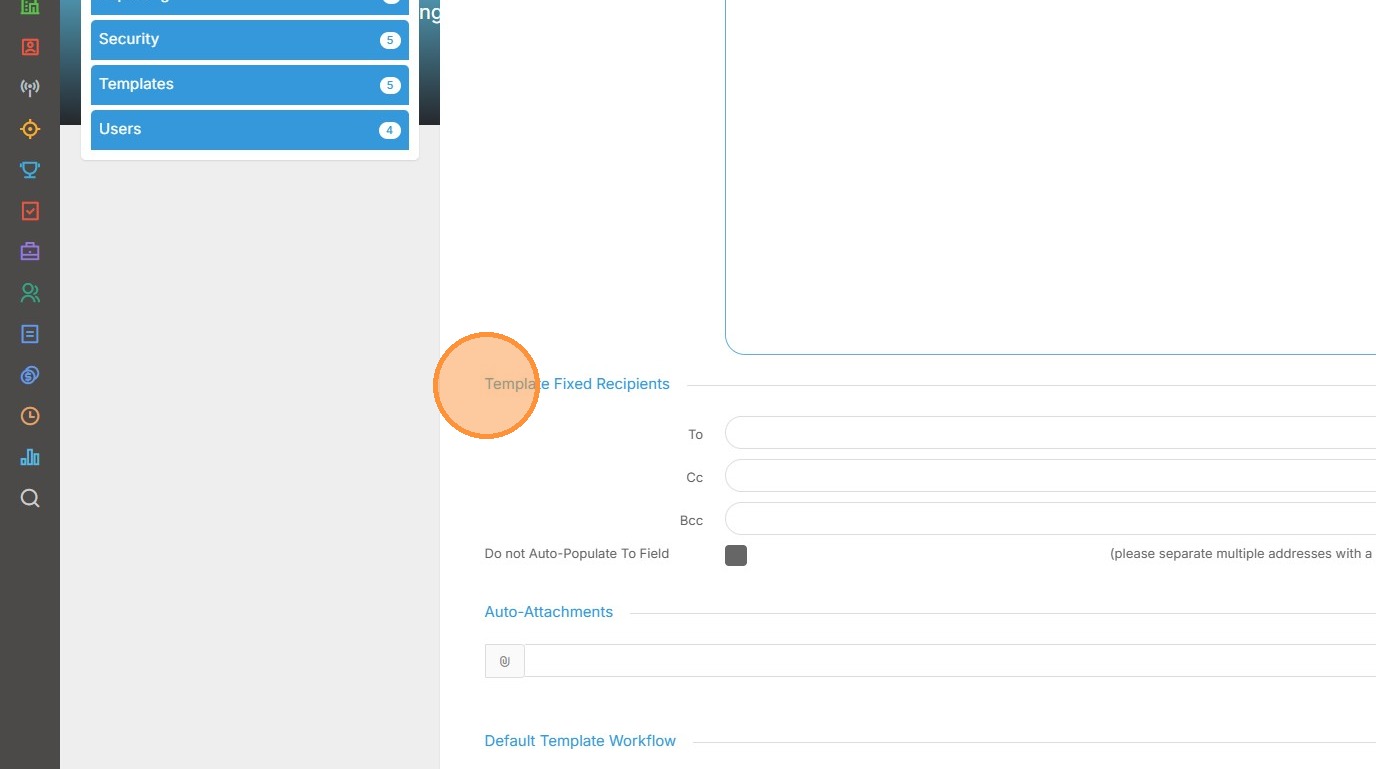
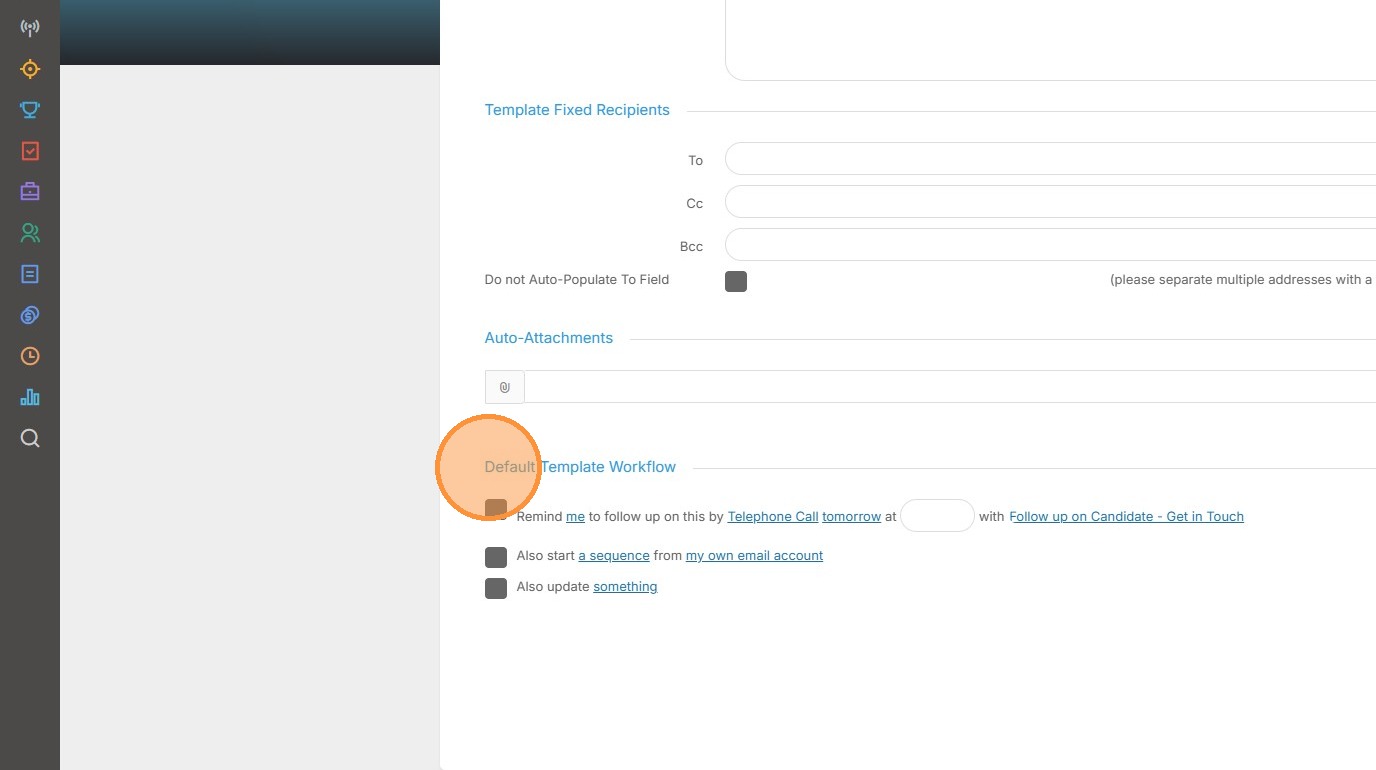
16. Below the body of the text message is the "Template Fixed Recipients" area where you can set recipients to be included in the message every time the template is used.
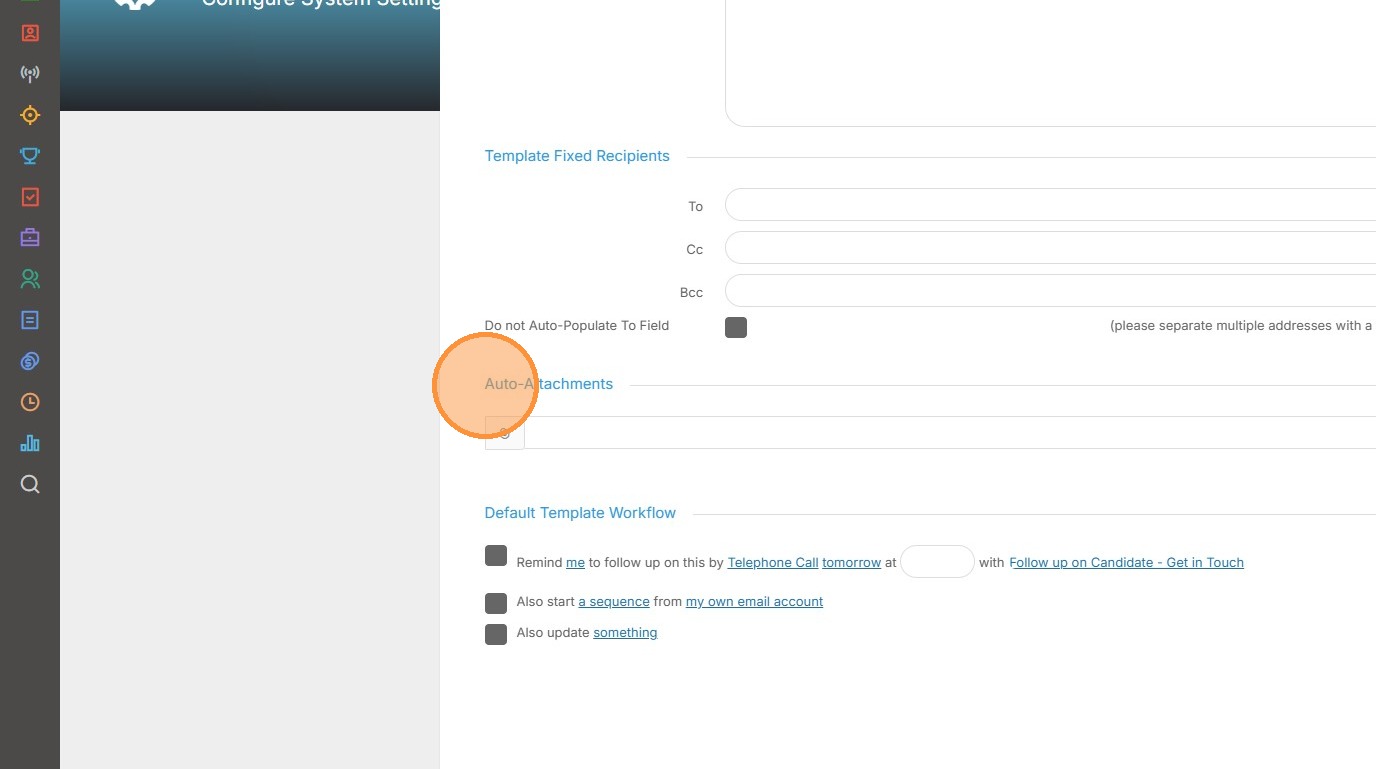
17. There is also a place to set "Auto-Attachments". Again these go out every time the template is used.
18. Finally you are able to apply "Default Template Workflow" to the template.
19. Remember to scroll to the top and click save once your finished.