Report Initialization
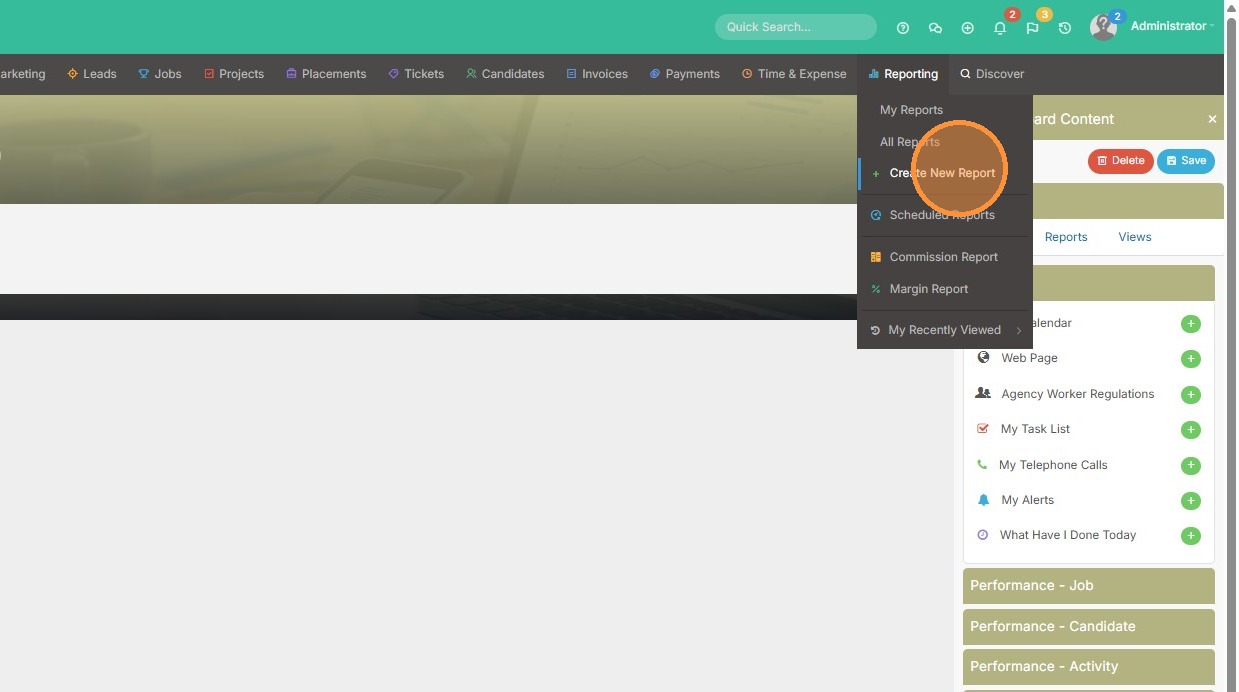
1. Click "Create New Report"
2. This purple arrow will act as a guide. Firstly, it's telling us to select a report view. For this example, I want to show how to create a report of open jobs by company.
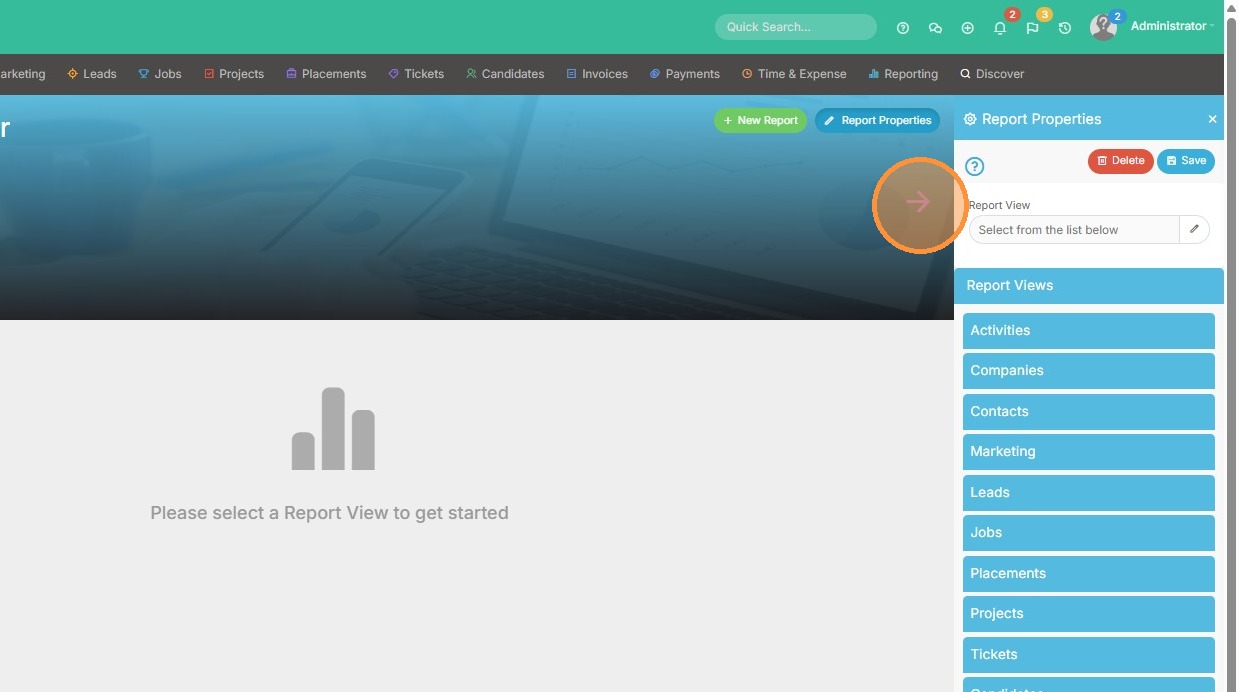
3. Click "Jobs" to open up a list of job report view options. These "report views" will display different types of detailed information from job records in Tracker. Picking the right one is key (it may take a few tries!)
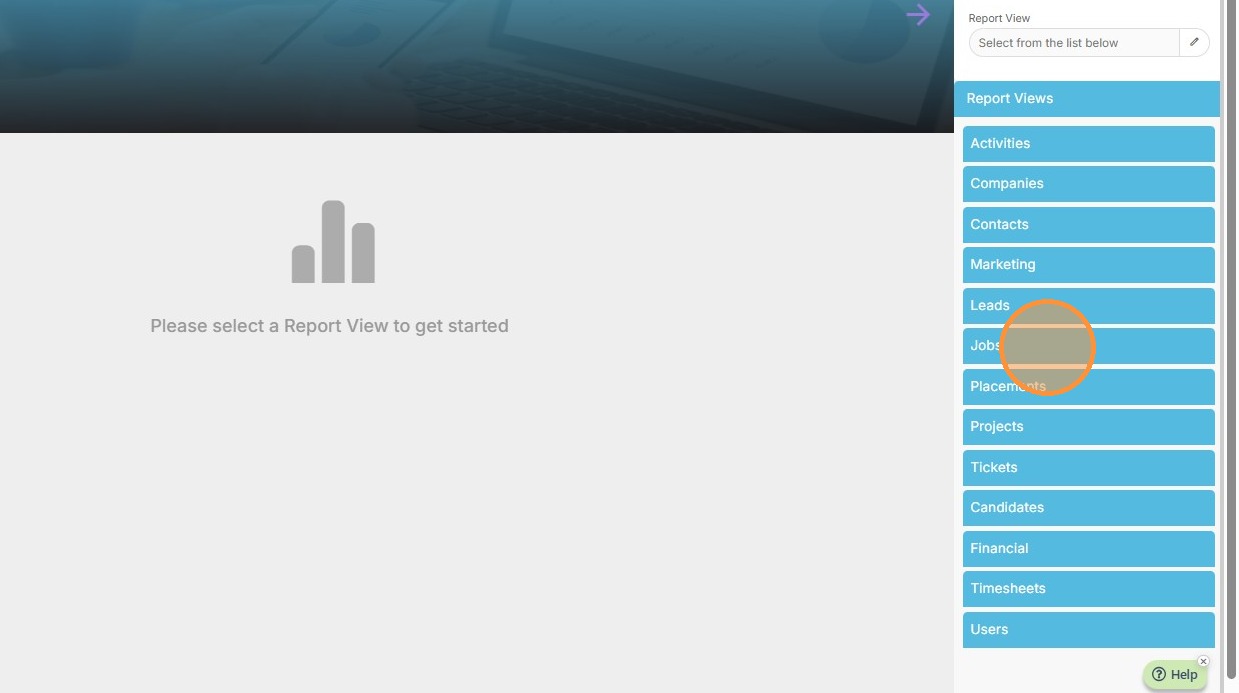
4. For this basic report, I'll click the Jobs view. Keep in mind we should only be selecting report views with the circular bubble at the beginning.
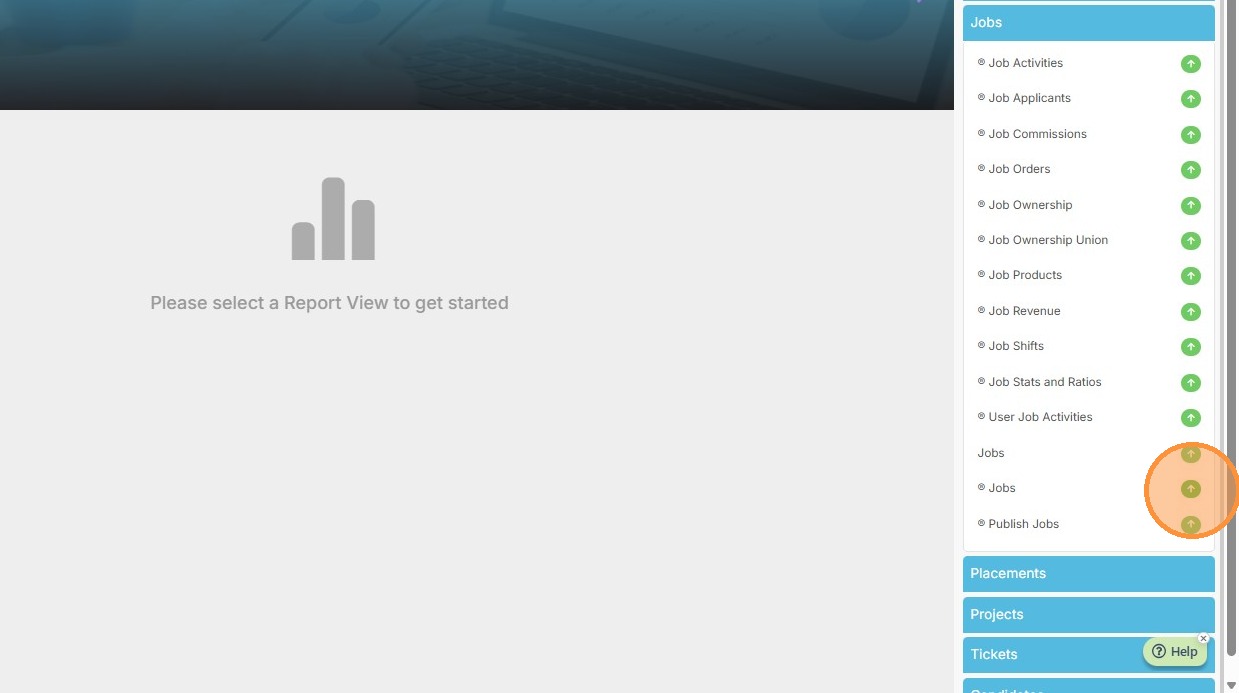
5. The purple arrow is now guiding us to select a report type. We have Tables, Pie Charts, Graphs and Line Bars. I would suggest starting in the Table view to gather the information you would like to see, then changing it at the end to a pie / graph etc.
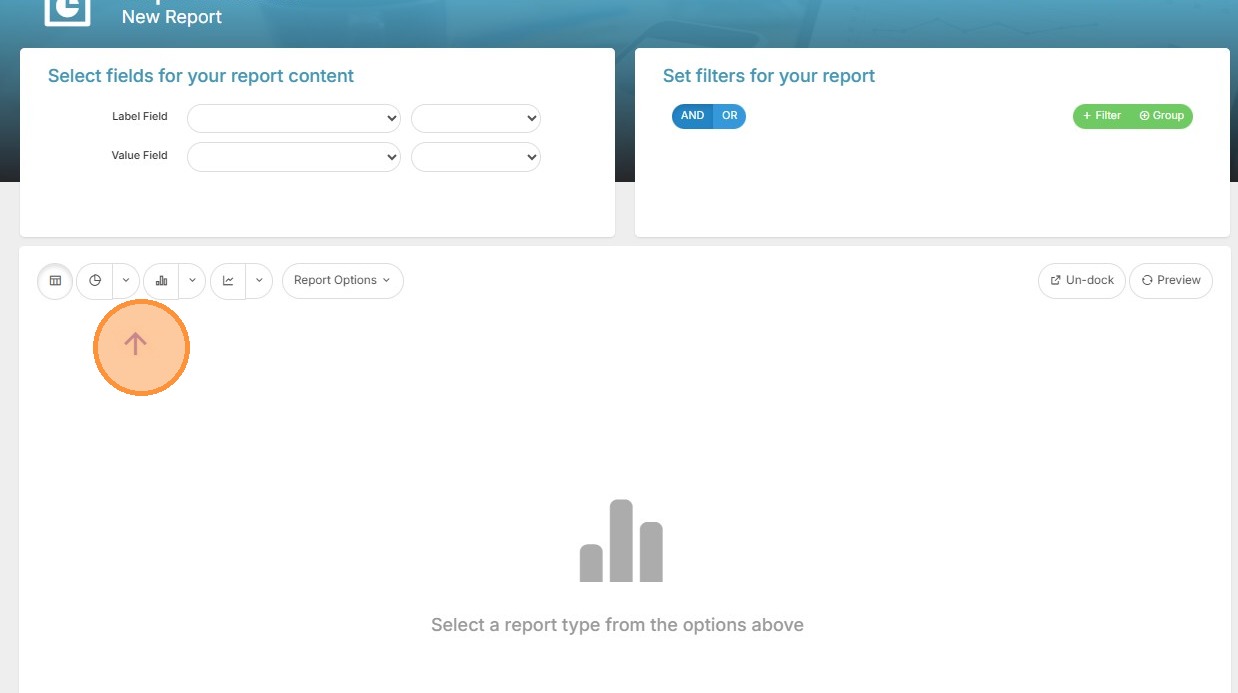
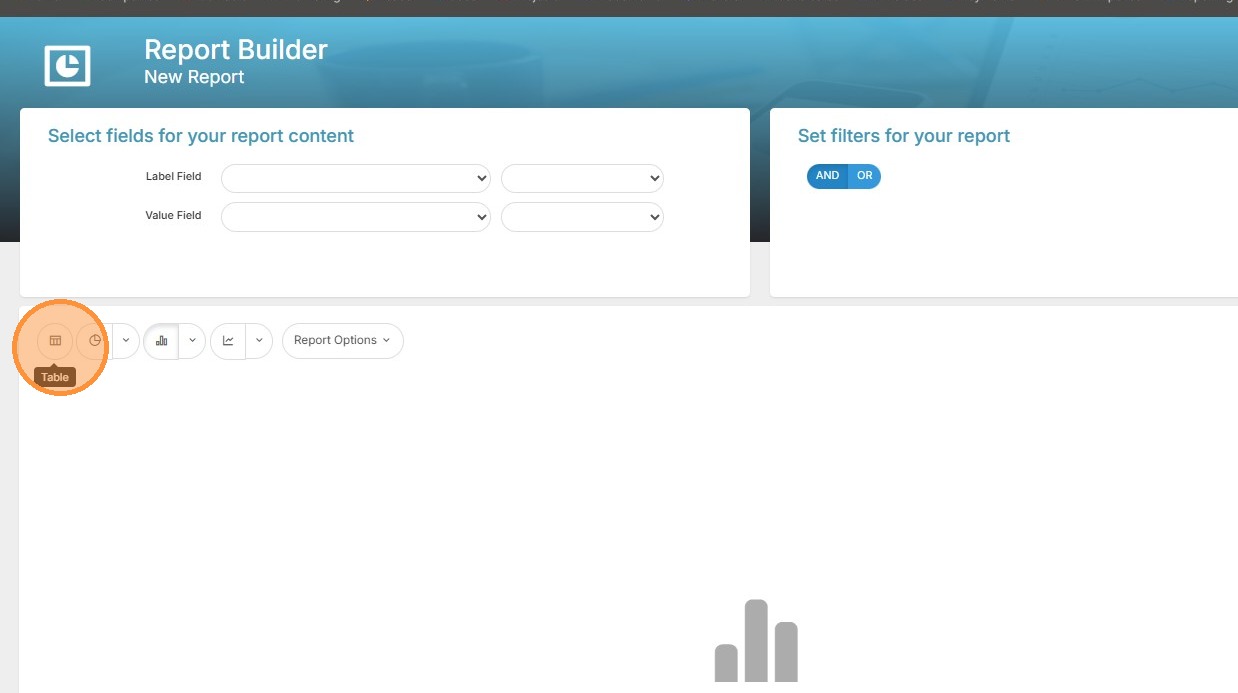
6. Select 'Table' as the report type.
Column Configuration
7. The purple arrow is now guiding us to select what information we need to see in the report.
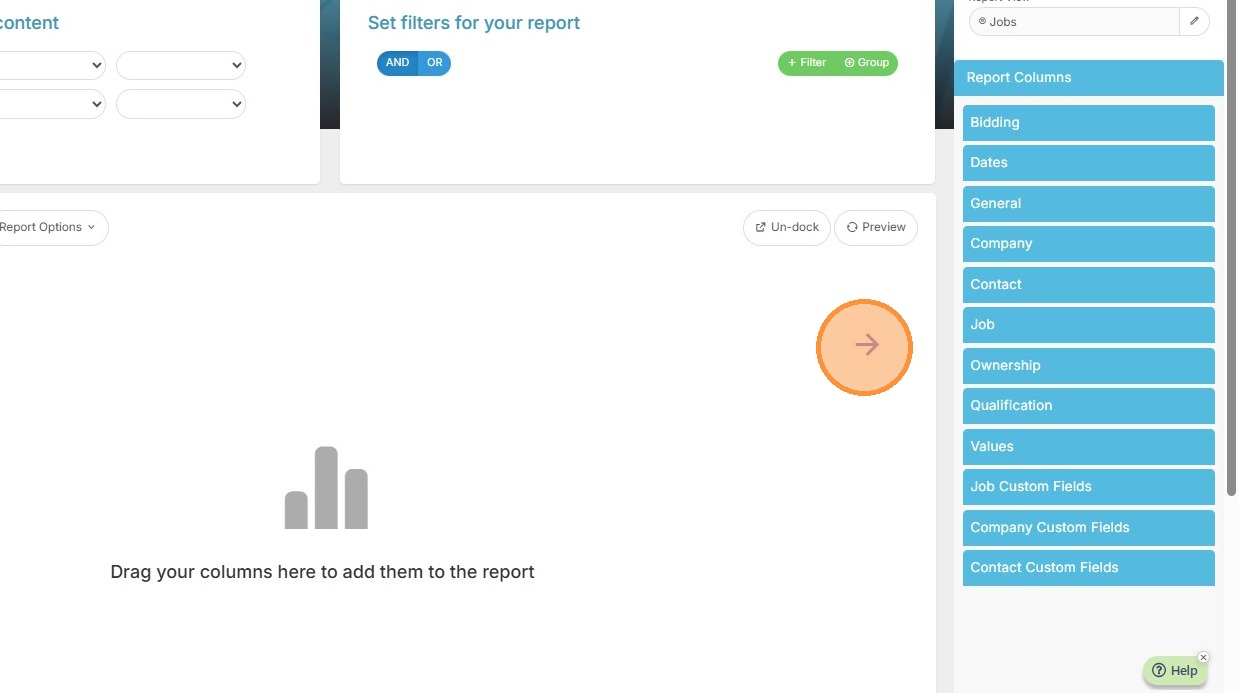
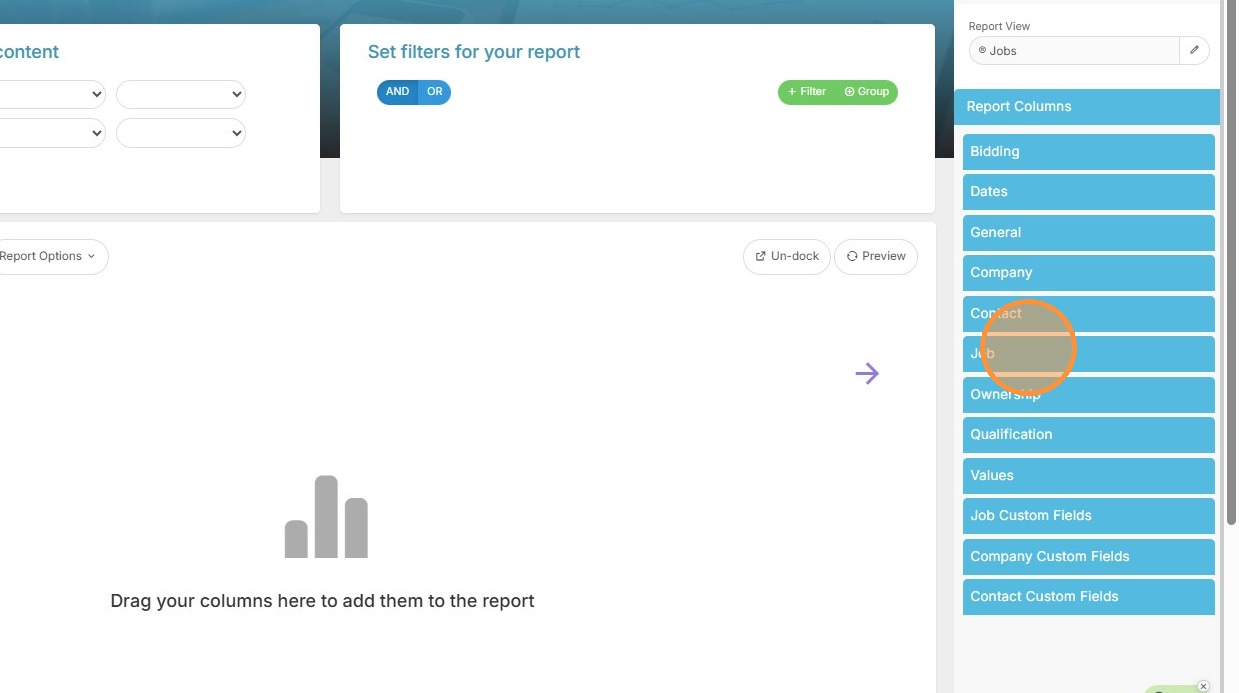
8. First off, I want to see the job name, and status in the report. To add these, click open the job tab and find those columns. Simply click them to add to the report.
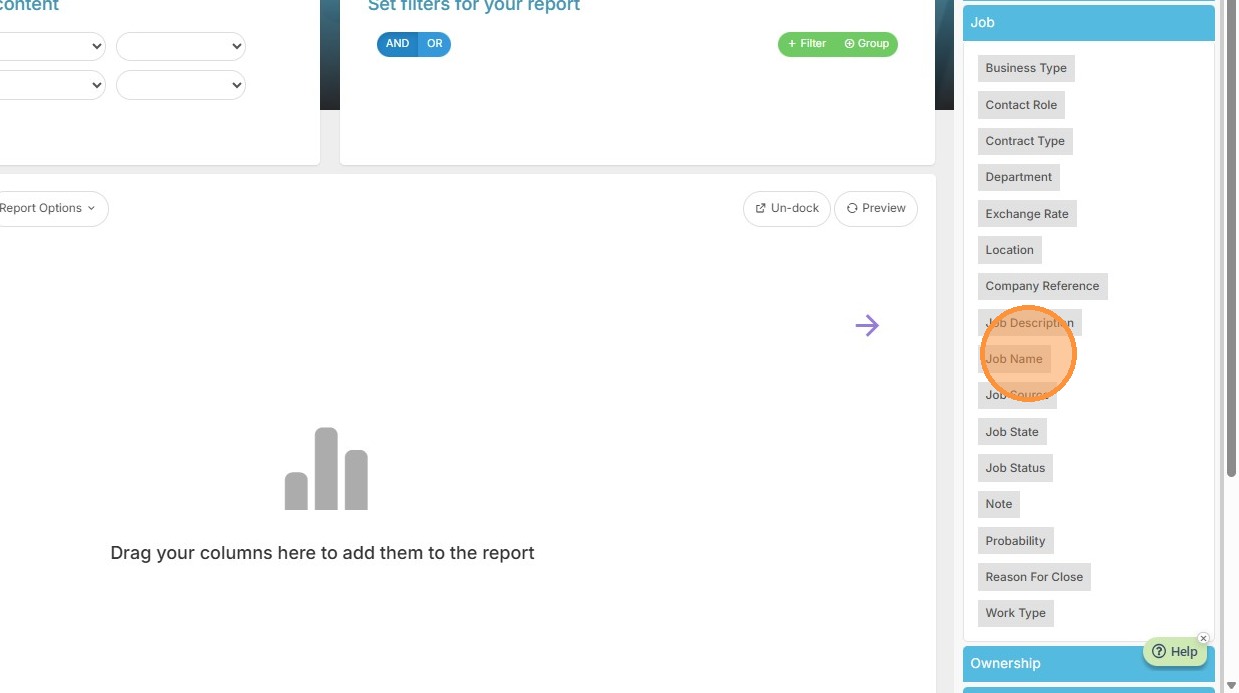
9. Select 'Job Status'.
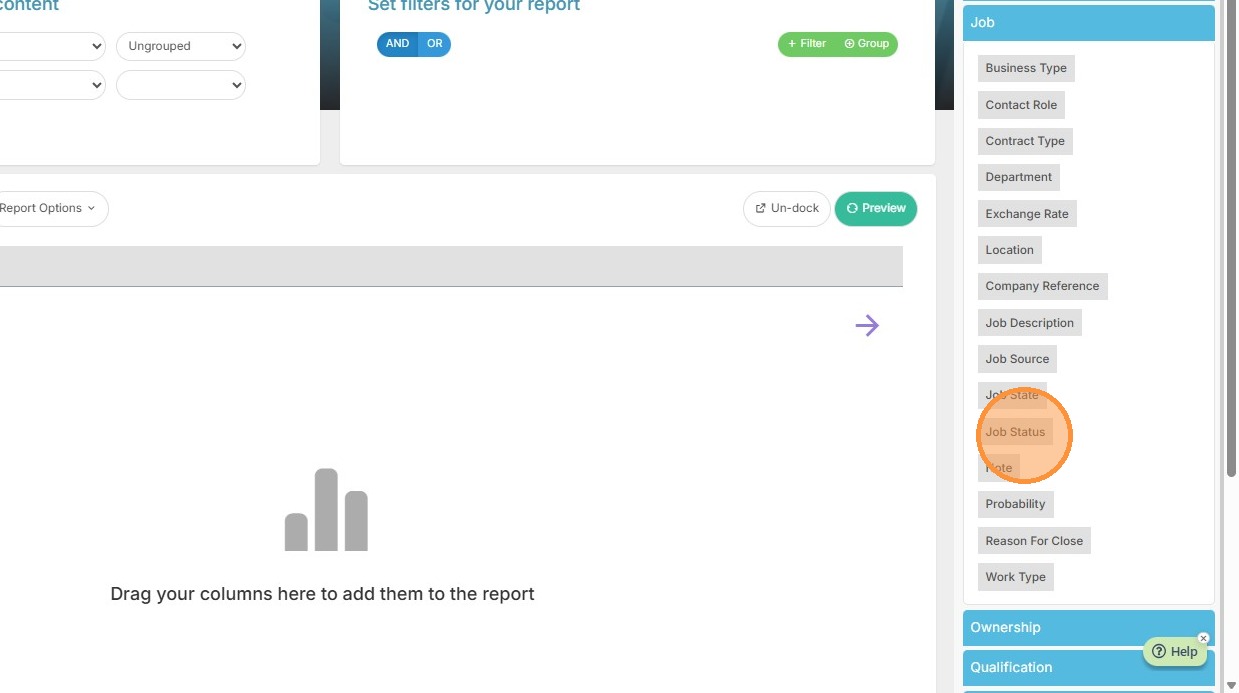
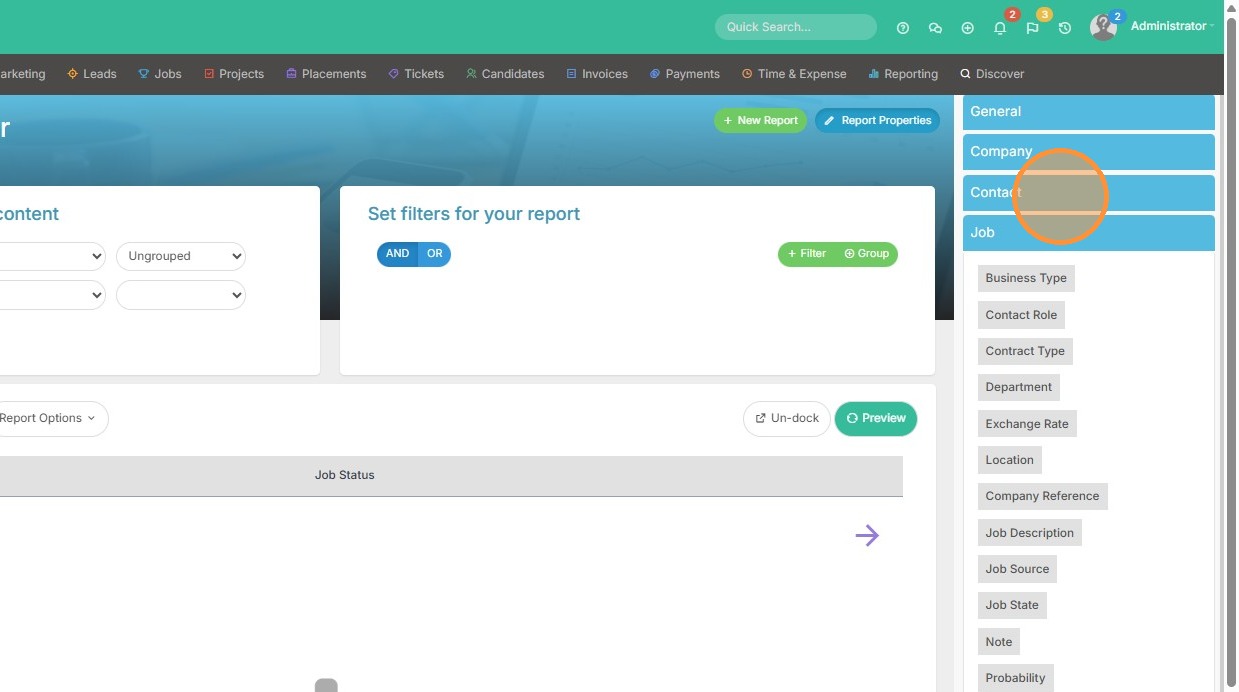
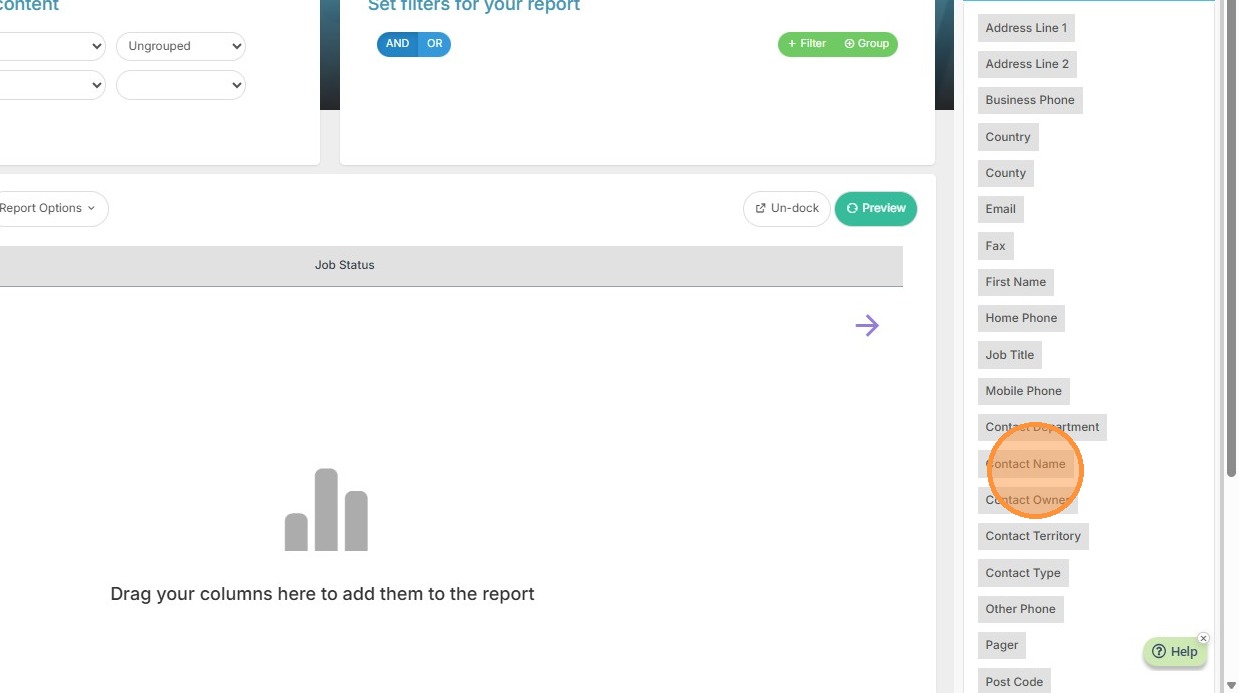
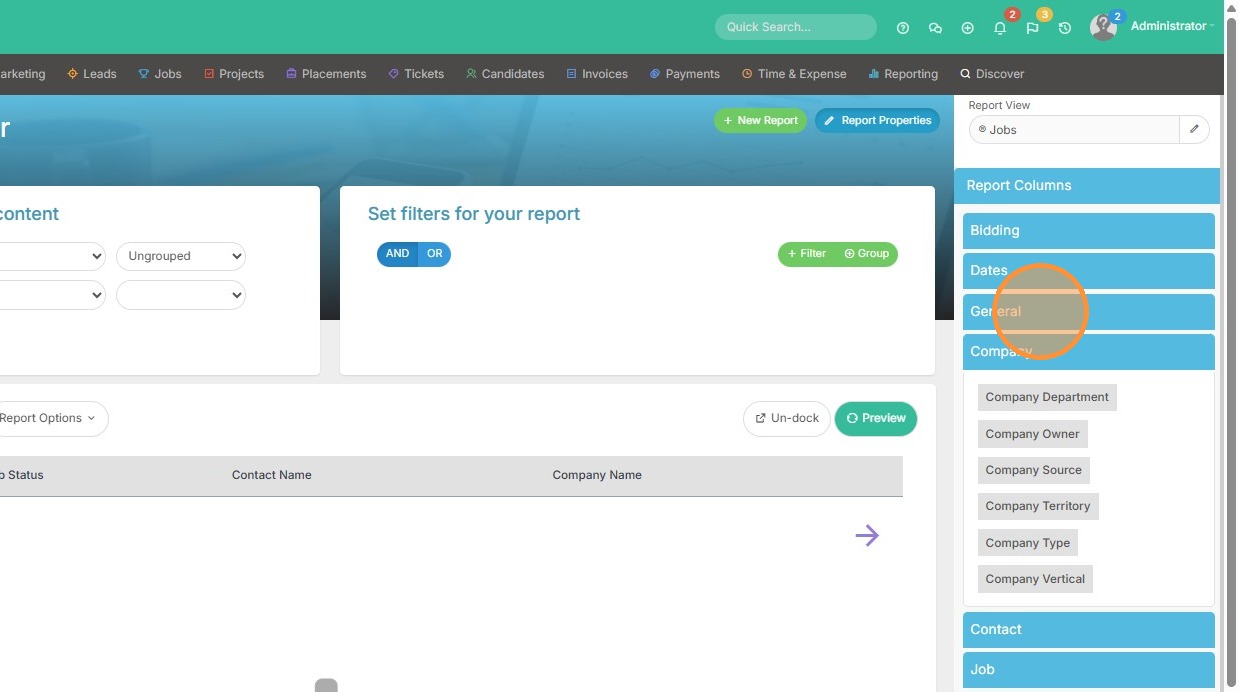
10. Expand 'Contact' section and select 'Contact Name' to add the name of the hiring manager at this company.
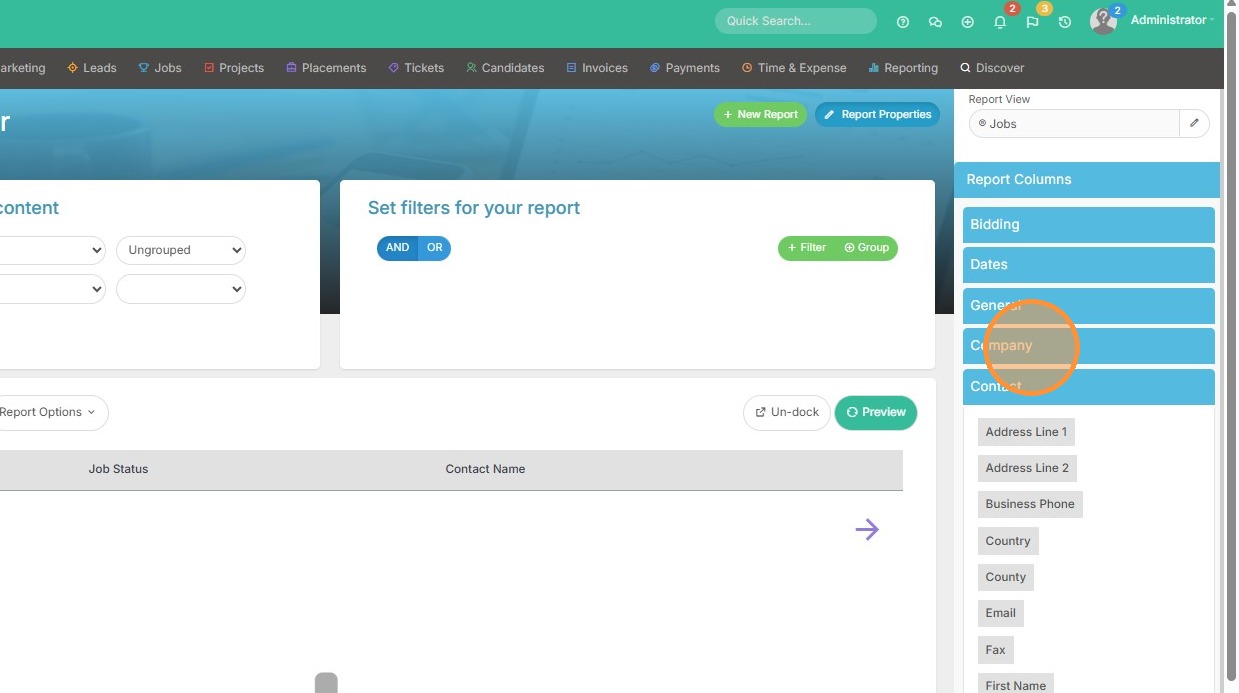
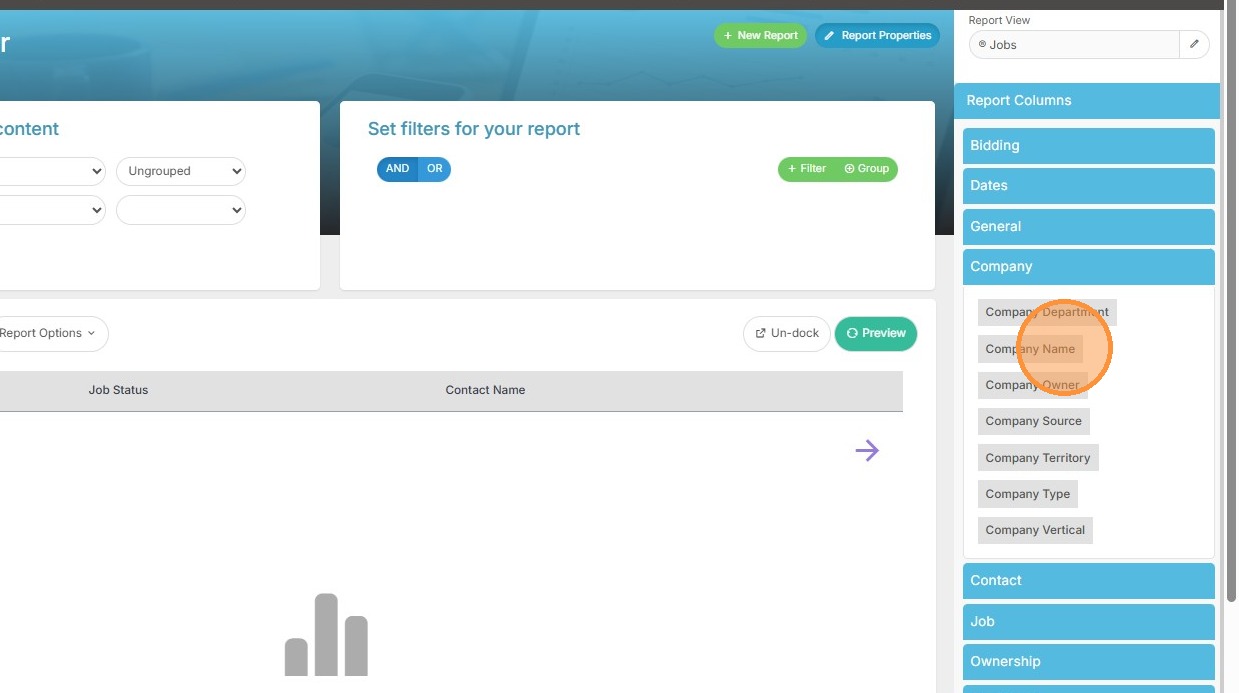
11. Expand 'Company' section and select 'Company Name'.
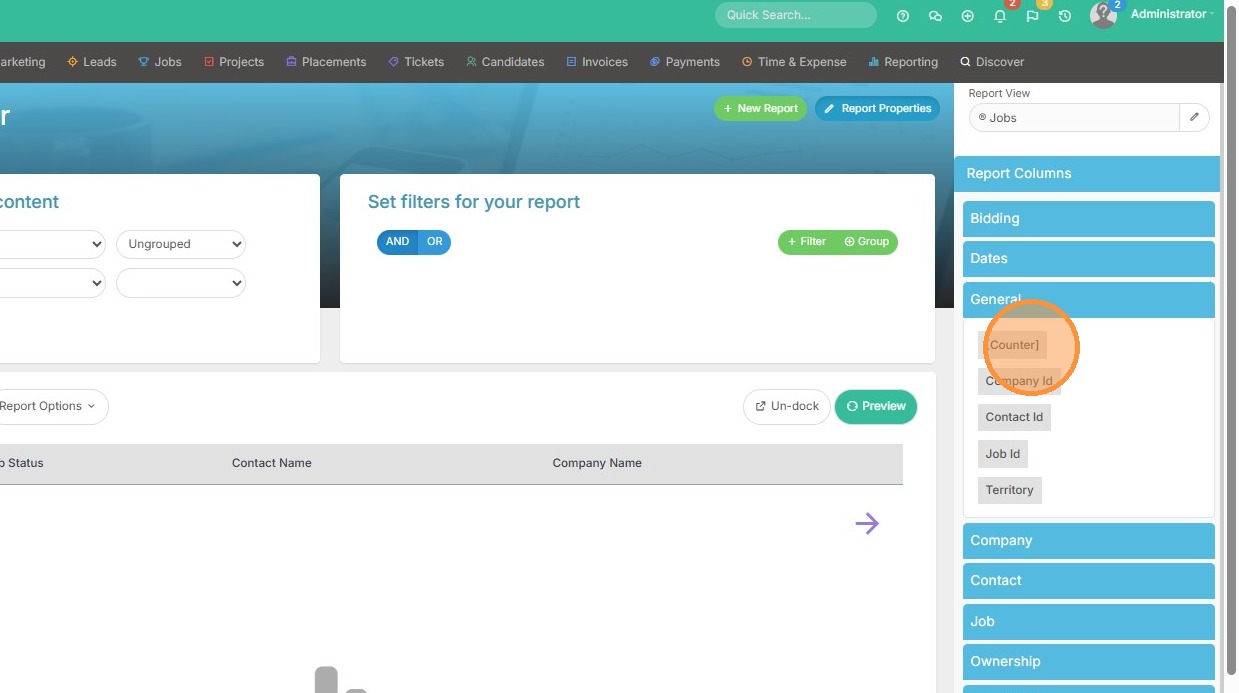
12. Expand 'General' section and select '[Counter]'. The general section in any report view will always contain the [Counter]. Adding this will ensure there are totals on our report.
Filtering and Previewing
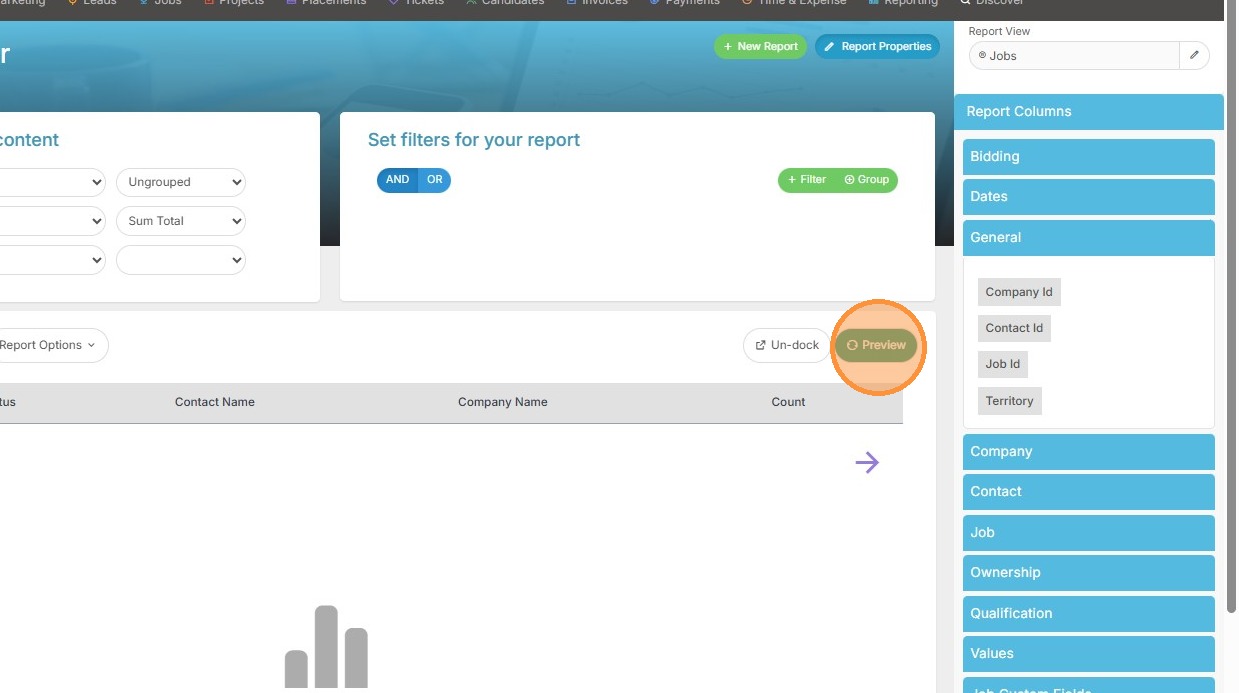
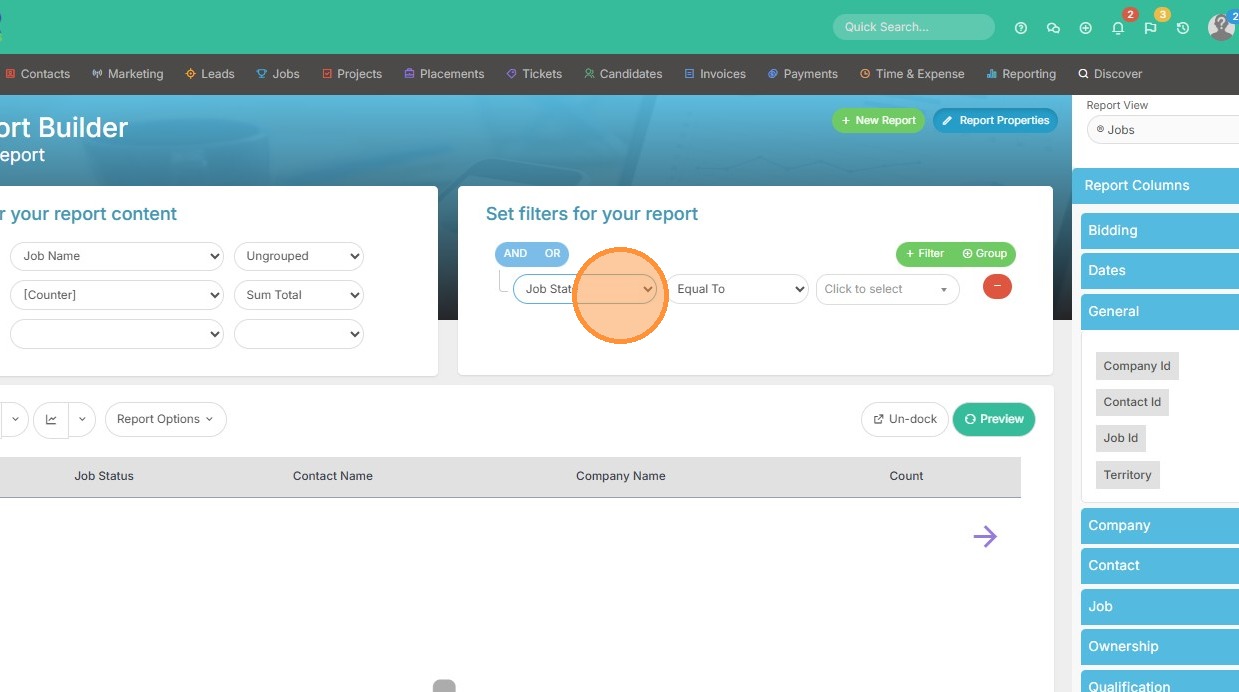
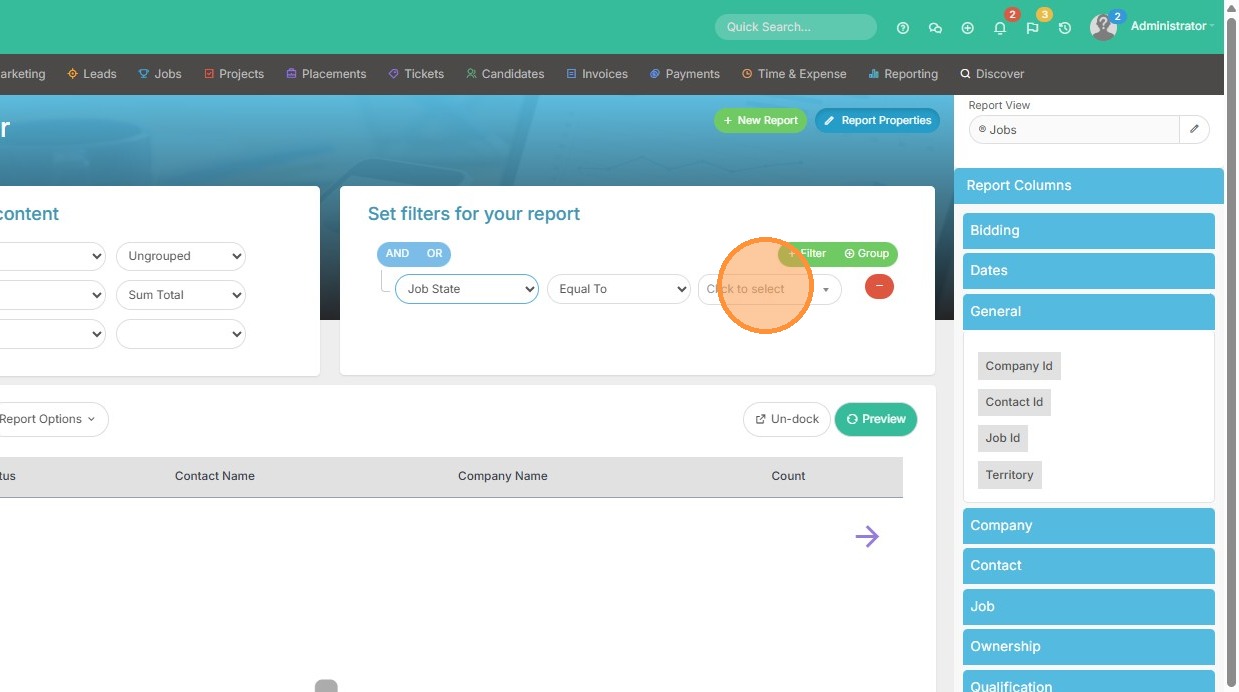
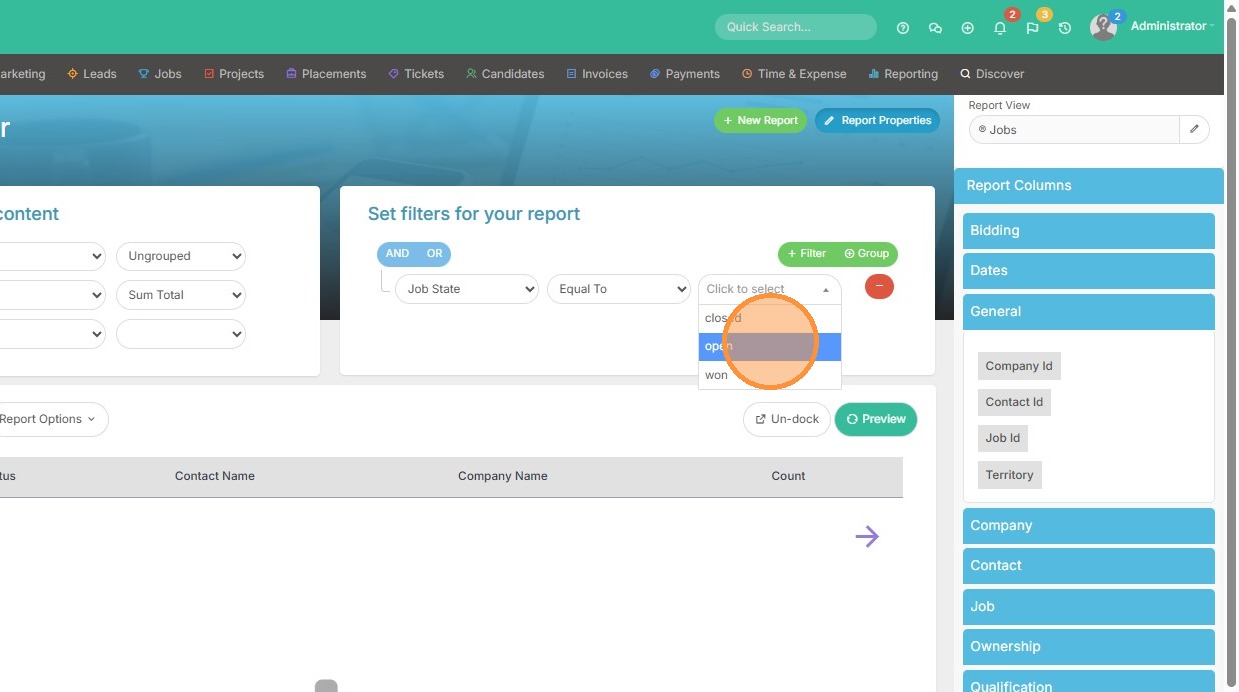
13. Click "Preview"
14. You will receive a prompt that asks if you want to add filters. You should ALWAYS try to add filters to your report, especially if you are working with a large database. This will help narrow the information down that we're trying to gather.
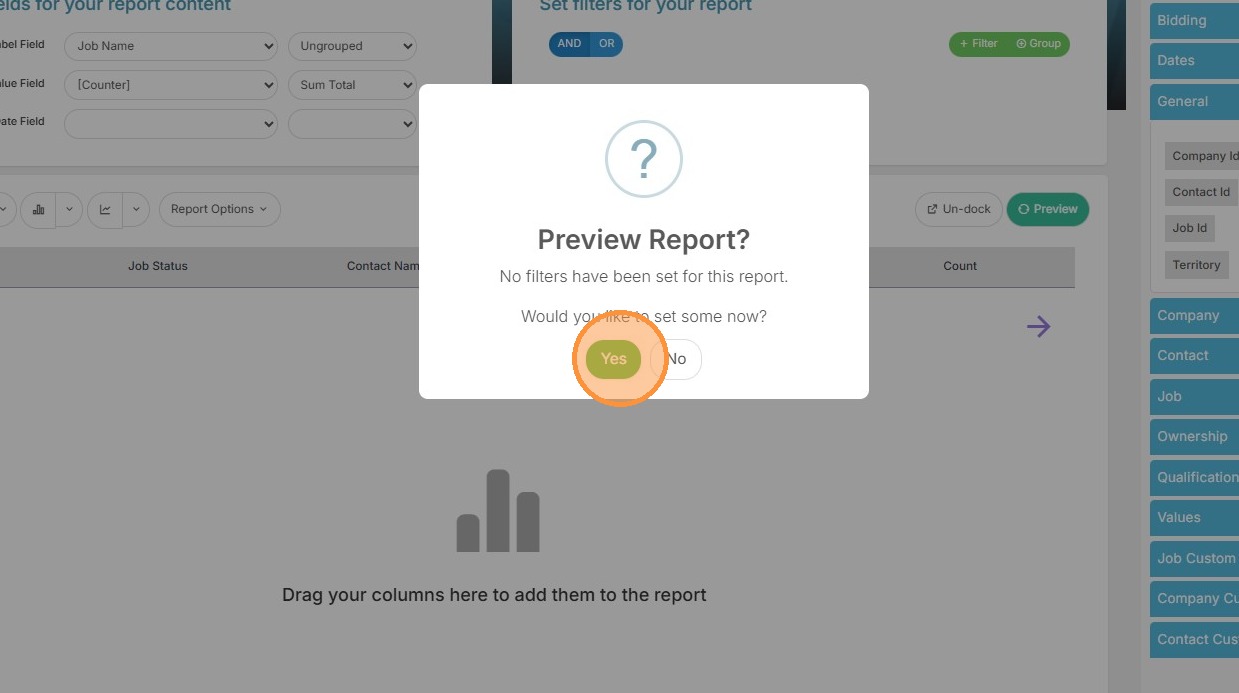
15. In this case, I only want to see jobs that are in a state of Open. The job status column will then show me what status those open jobs are in (interview, offer, etc.).
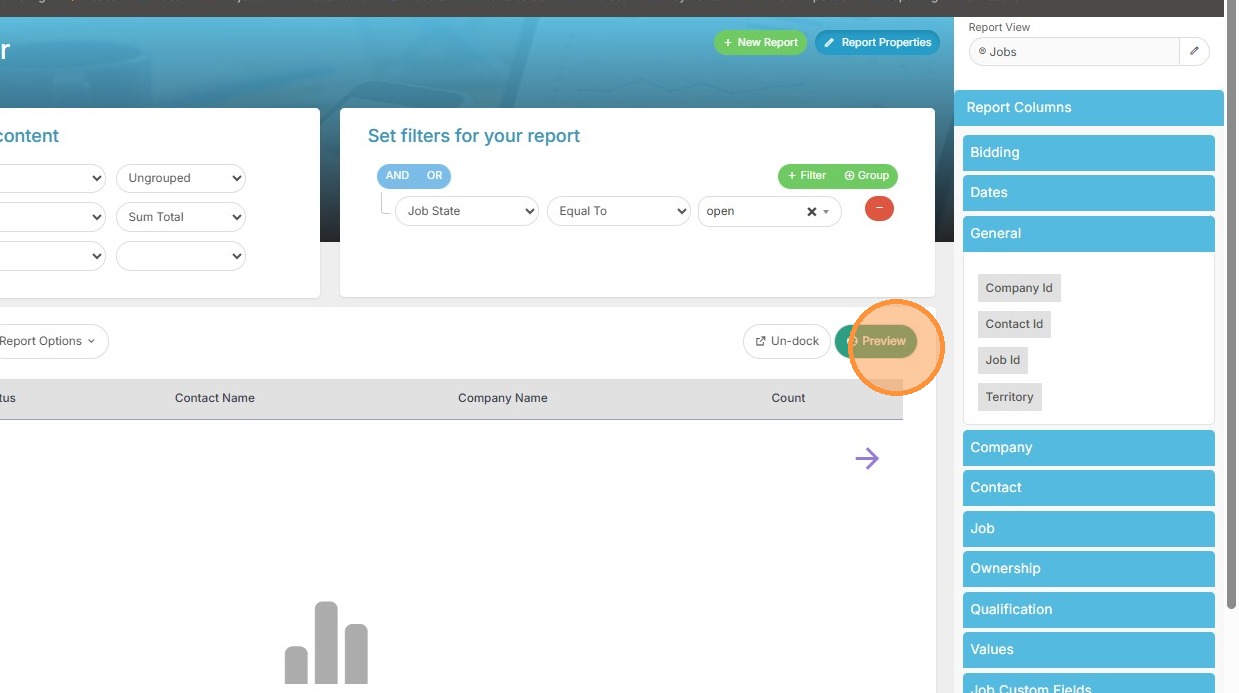
16. Click 'Preview' to refresh the report data.
Layout and Sorting
17. Open the configuration menu for any of the column headers to sort information, change column names, or add a number function if it's a number type column.
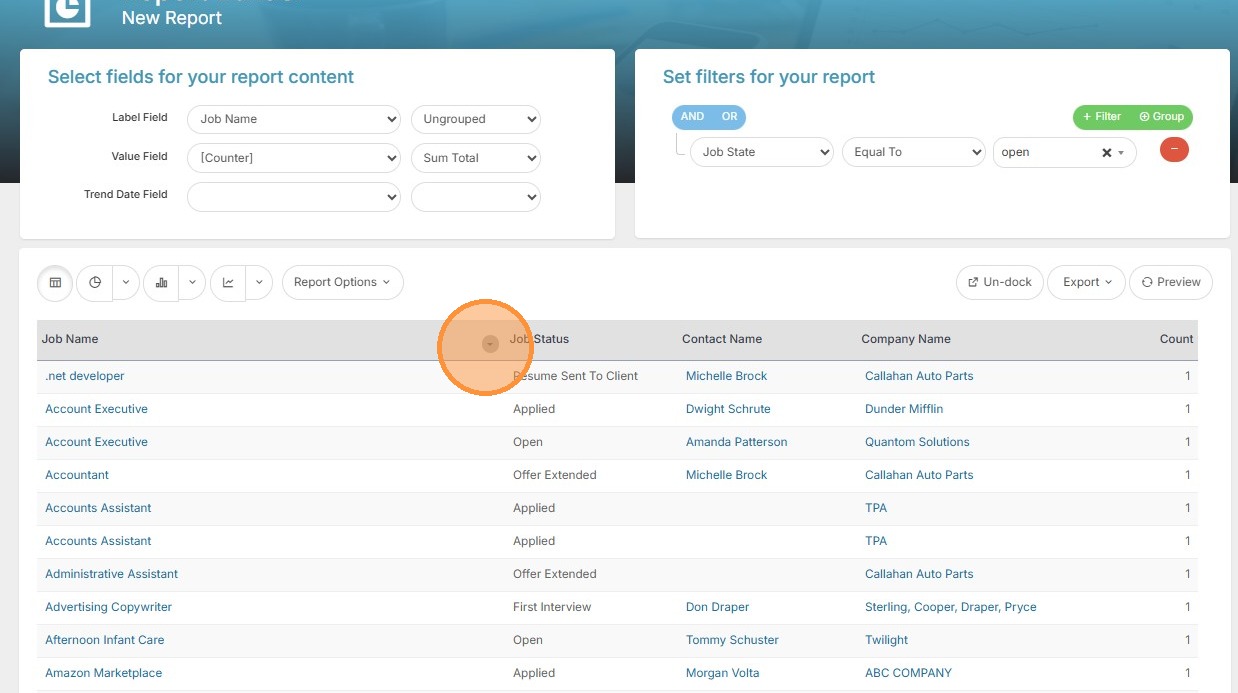
18. If you want, you can also group information. For example, I want to see the total number of open jobs by company. So I will group Company Name.
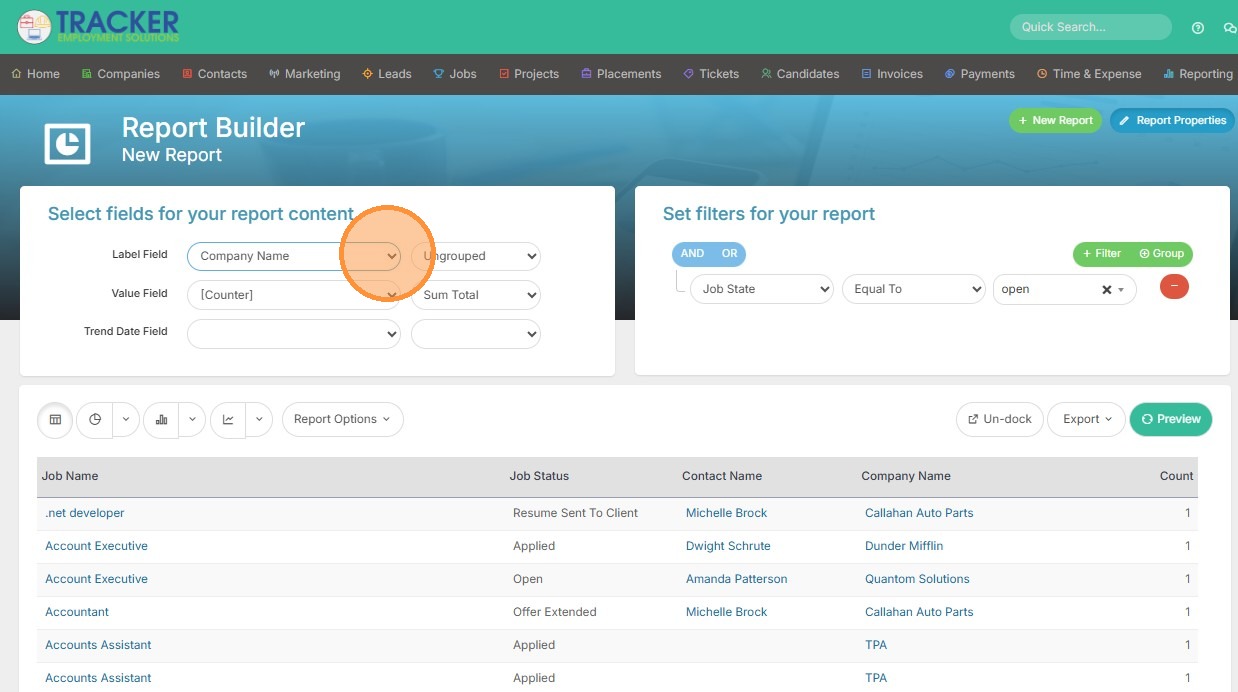
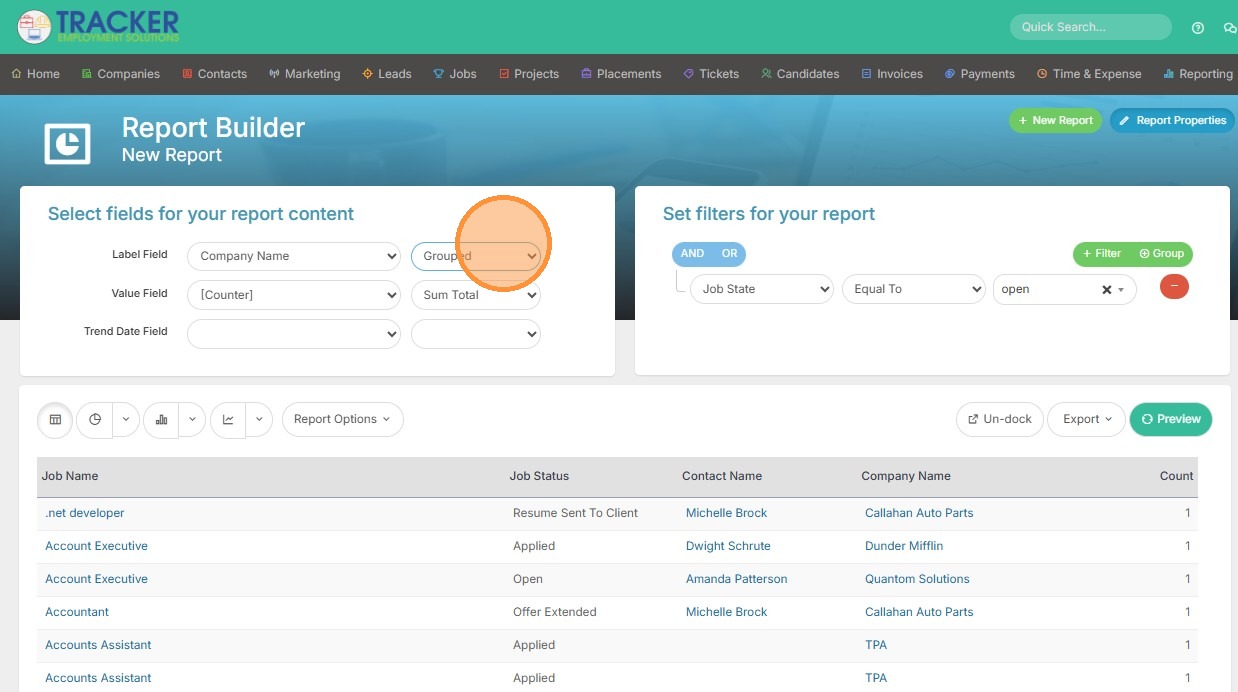
19. Set the grouping option to 'Grouped'.
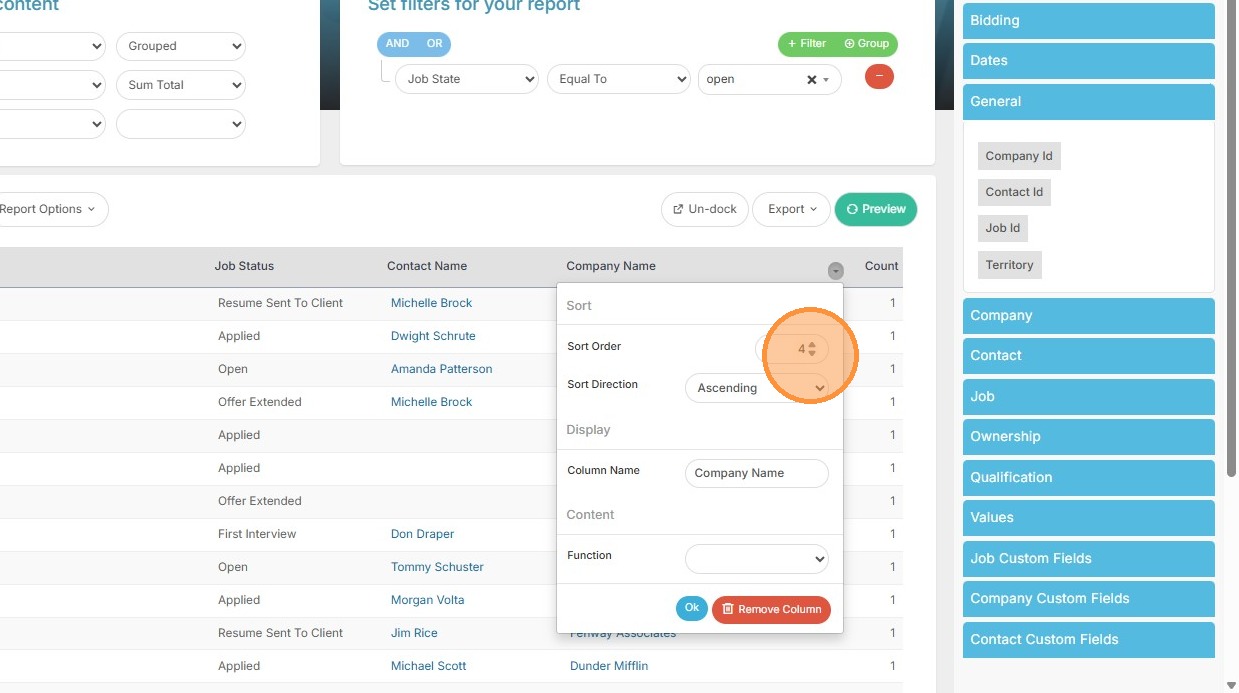
20. Then head over to the Company Name column, and open the dropdown arrow.
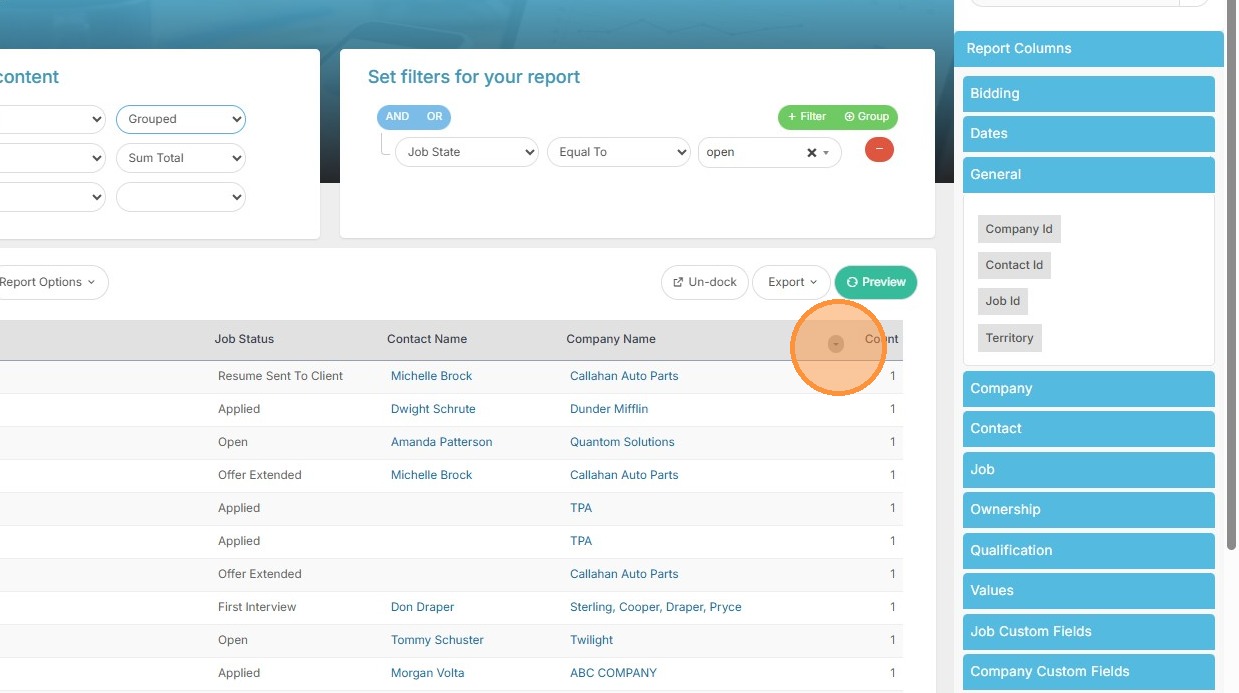
21. Change the Sort Order to 1. Whenever you're grouping a column, ensure that specific column has the Sort Order set to 1.
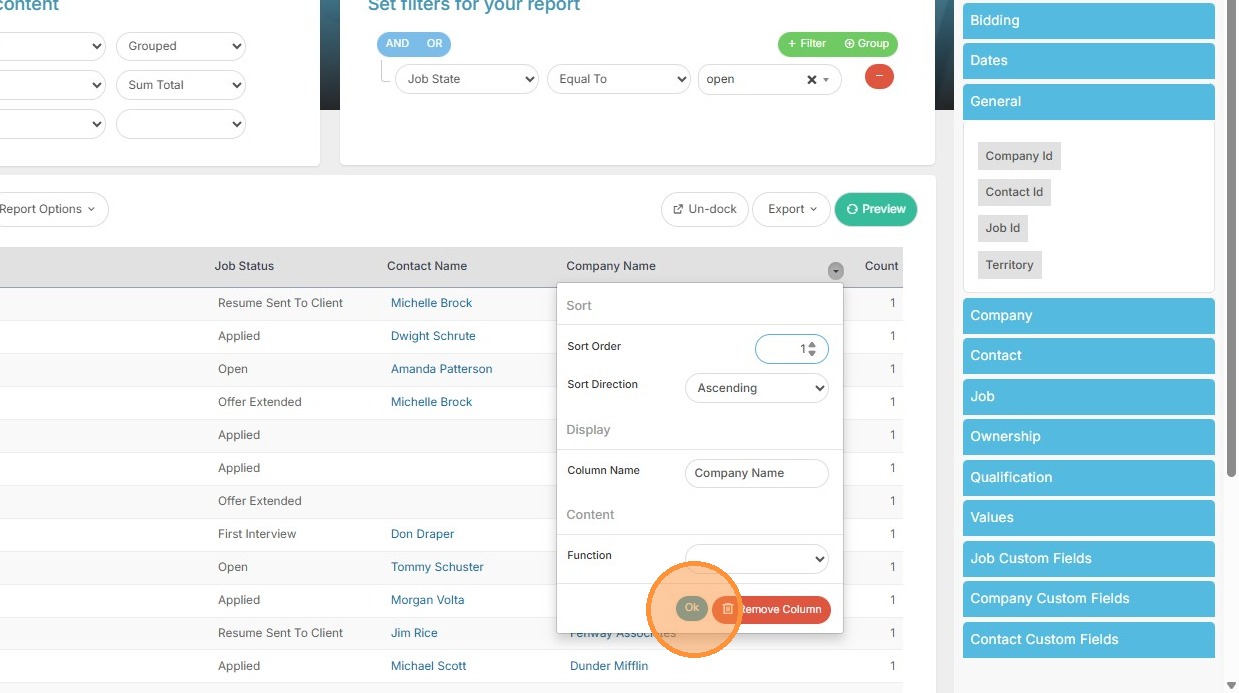
22. Click "Ok"
Finalizing and Saving
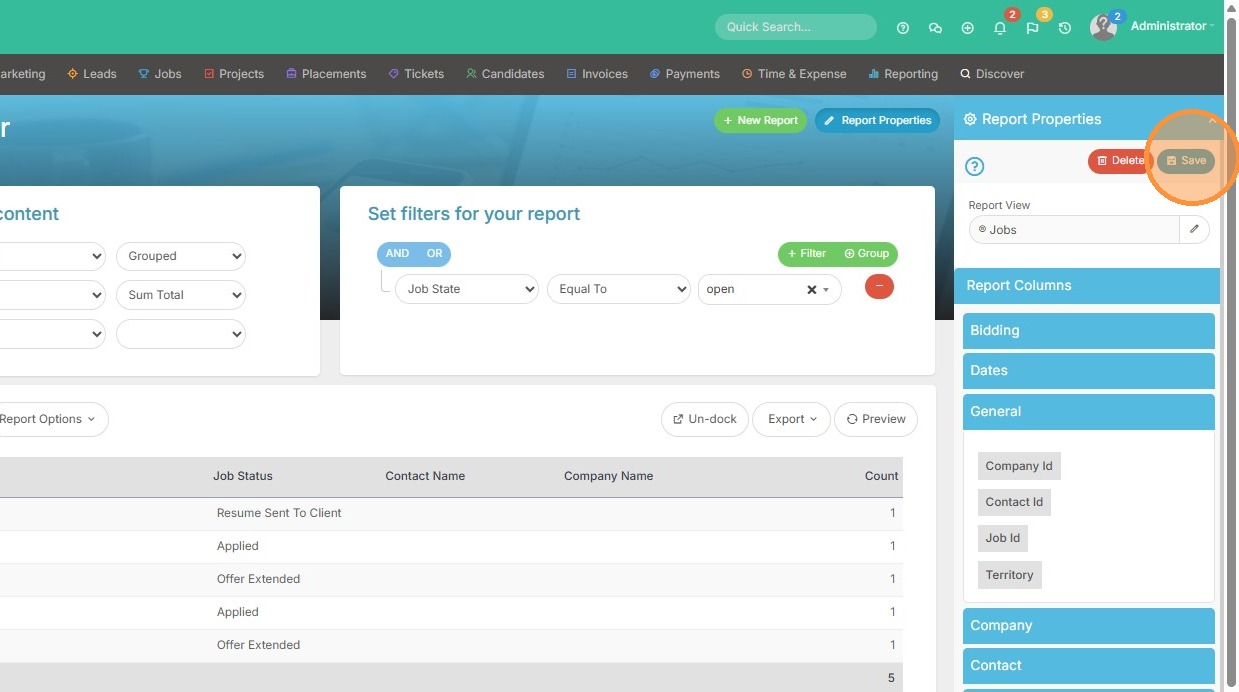
23. Click 'Save' to complete this report.
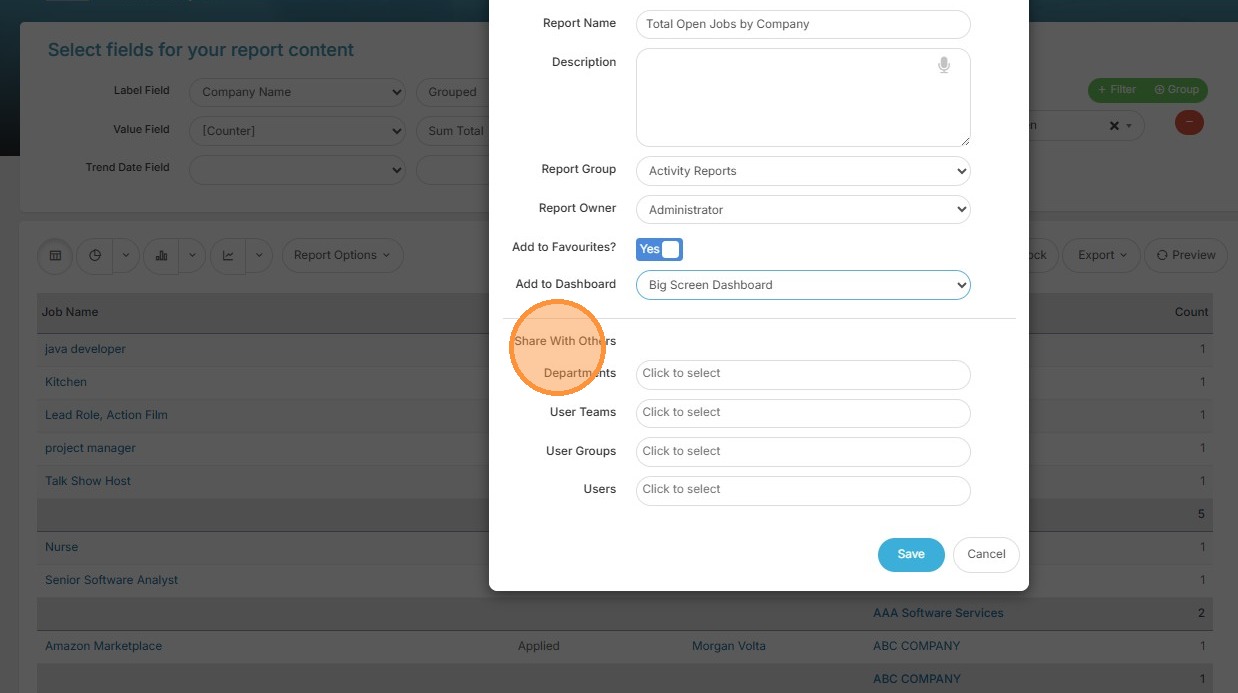
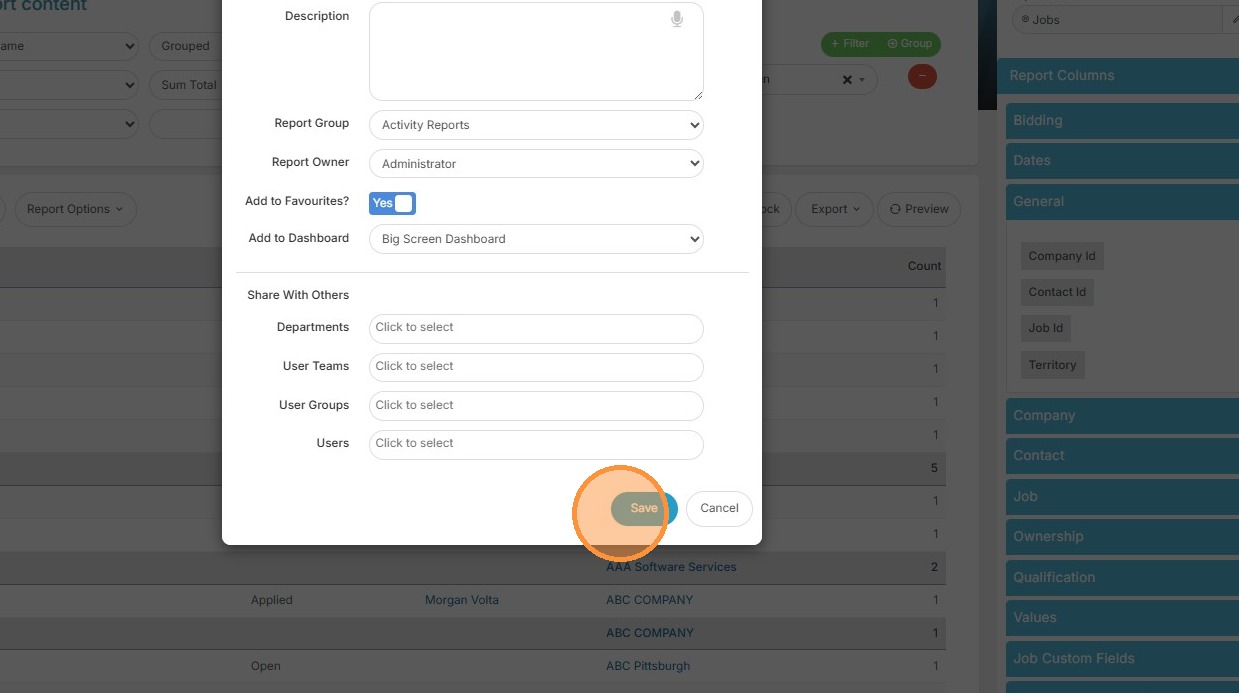
24. Here you can name the report, add a description, put it in a specific Report Group (or folder), add to your favorites, or a dashboard. You can also share it with others, just keep in mind that whomever is listed as the Report Owner is the only person that can edit this one.
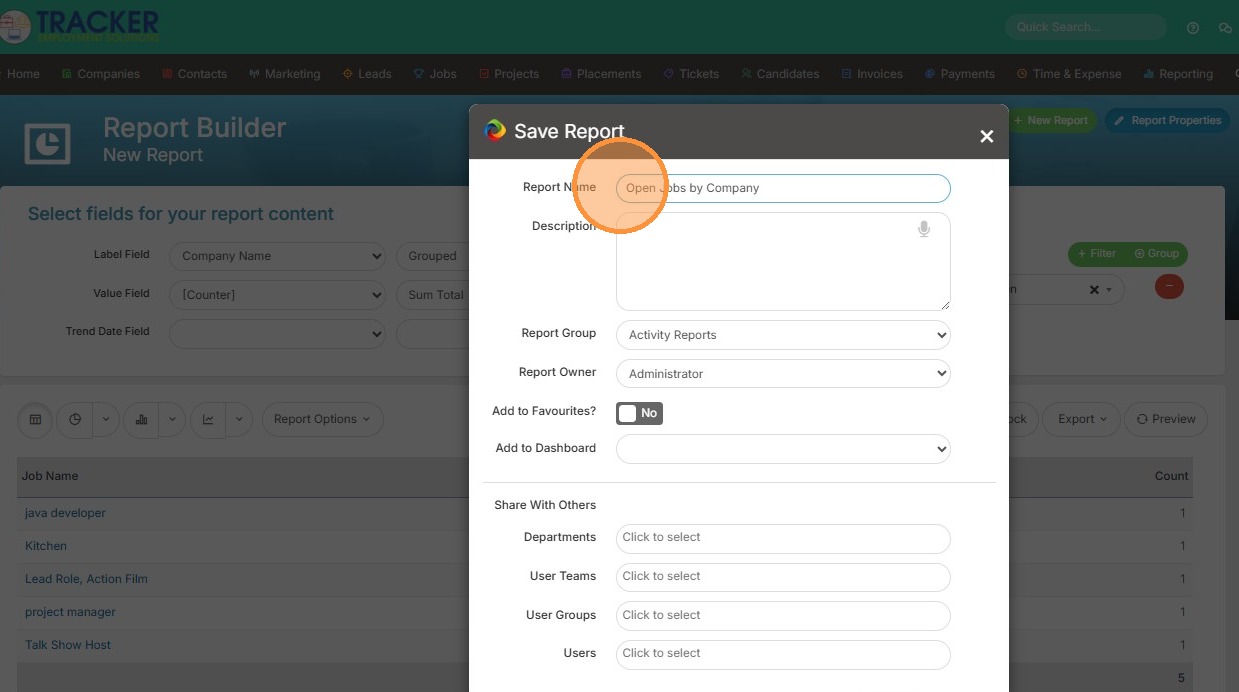
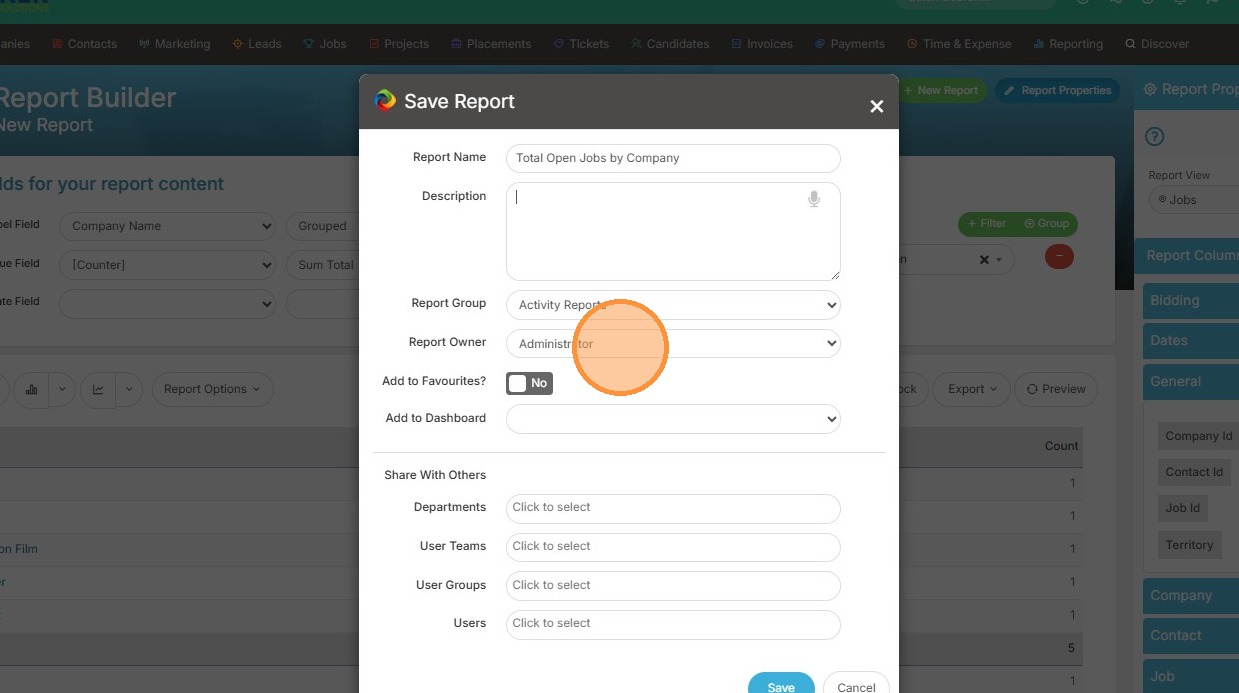
25. Configure sharing settings and click 'Save' to finish.