This lesson shows you how to filter Dashboards
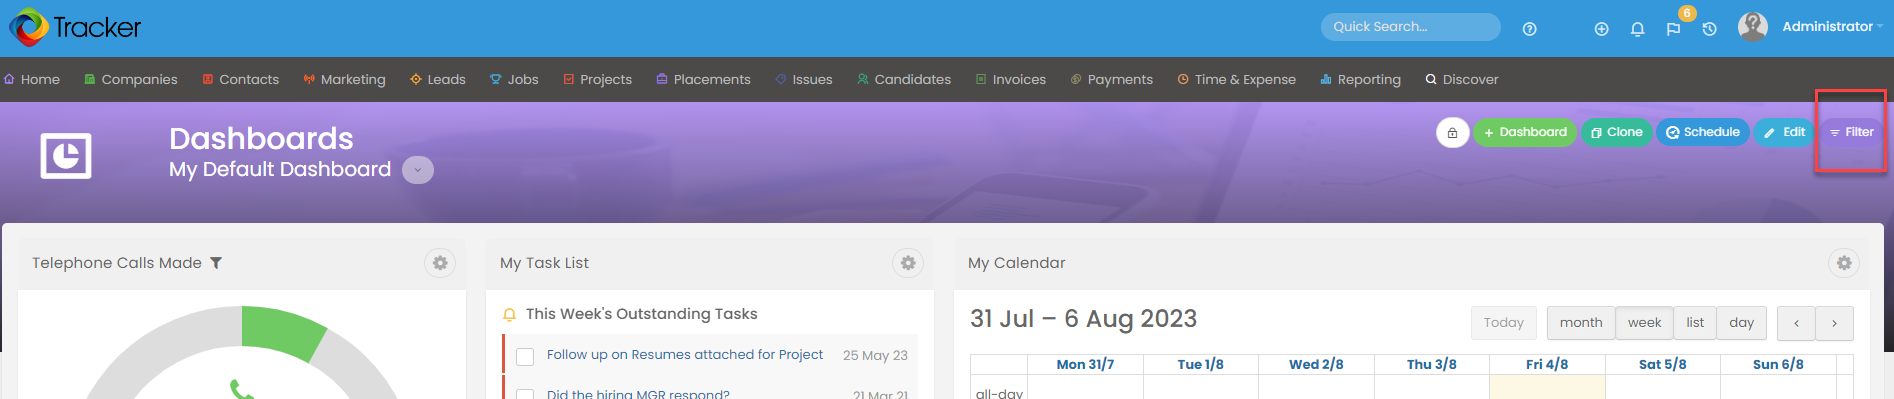
Filters can be added to Dashboards to alter the data accordingly within the view. When you are in a Dashboard view which you need to alter the information for, go to the 'Filter' button to the right of the screen:
You will then see the following. Here you can select a different user other than yourself to view in your Dashboard (assuming you have the privilege to do so) and you can select a Department, Team and a date range for the view too. Once you have seleceted a view, hit 'Go' at the top right corner of the box and your Dashboard will reload with the correct data for your filters.
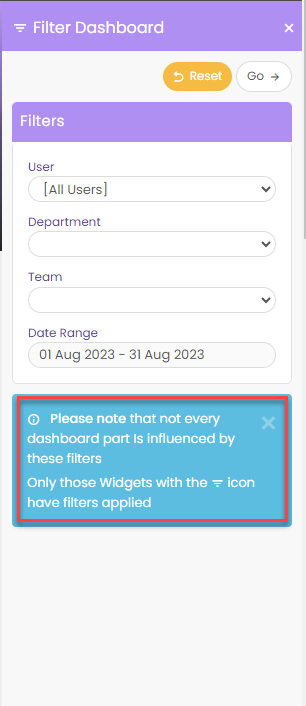
To clear the filters you have set and go back to your default view, please click 'Reset'.
*Please note, not every Dashboard part is influenced by the filters, only widgets with the filter icon will have filters applied.