Initial Candidate Selection

1. If you have auto-action turned on, you can simply drag and drop the candidate from their current shortlist card to the Interview card.
If you do not have this turned on, click the drop down arrow next to their name, select "Workflow", then "Arrange an Interview".
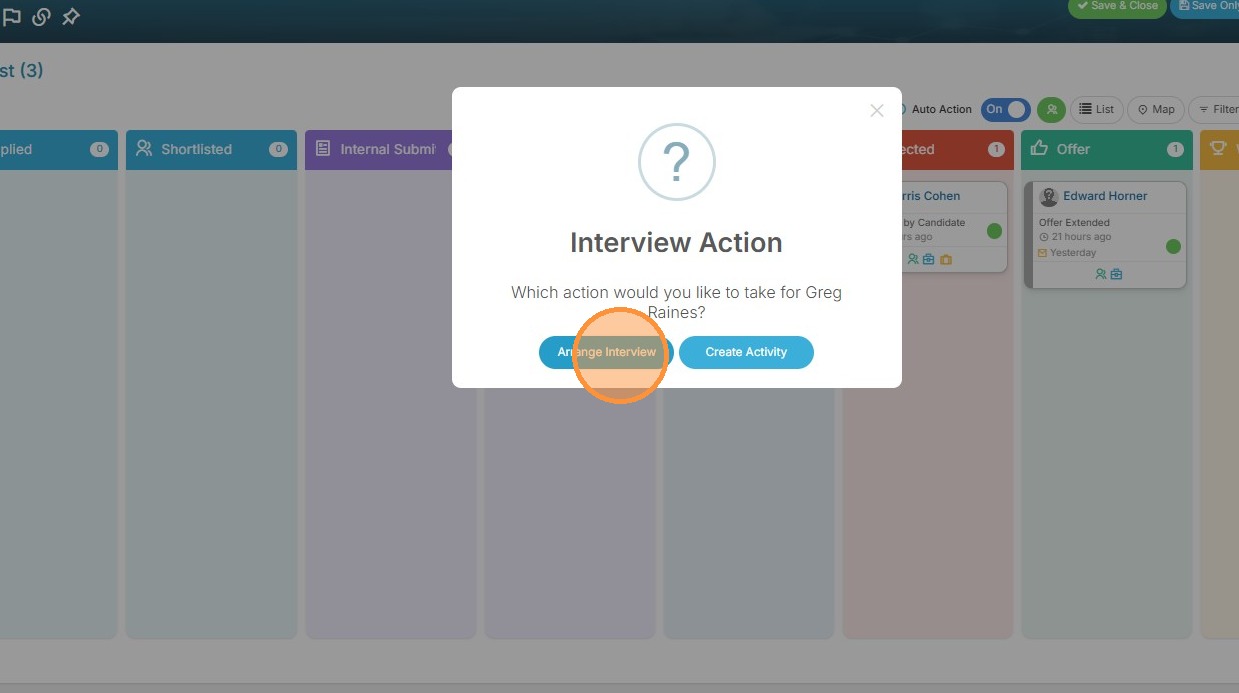
2. Select "Arrange Interview" from the action options.
Meeting Configuration
3. Here you can add or change Interviewers, and attendees.

4. Set the Interview Type.
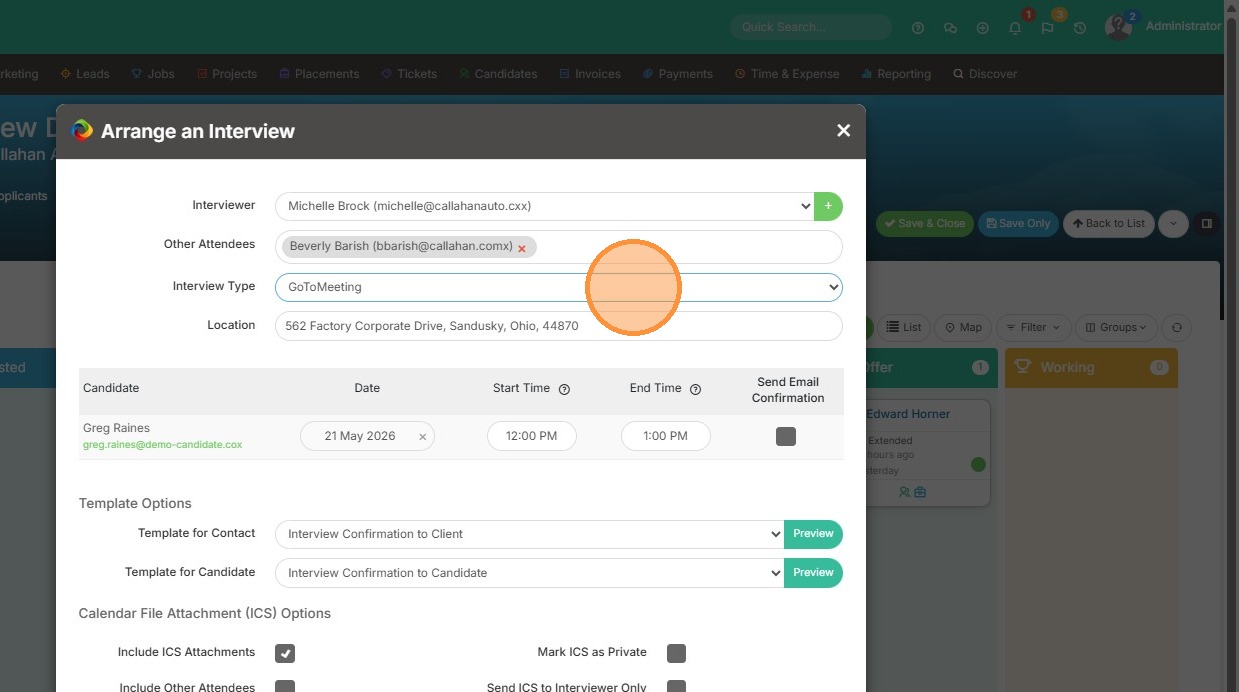
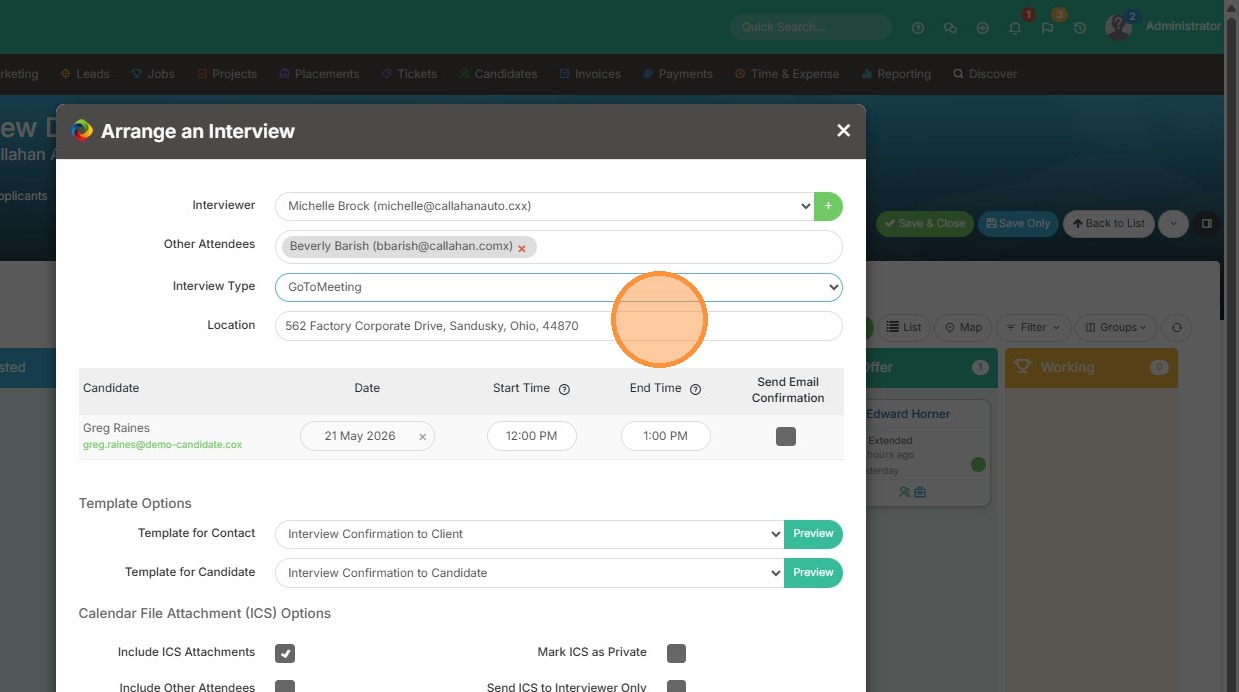
5. Review or update the meeting location.
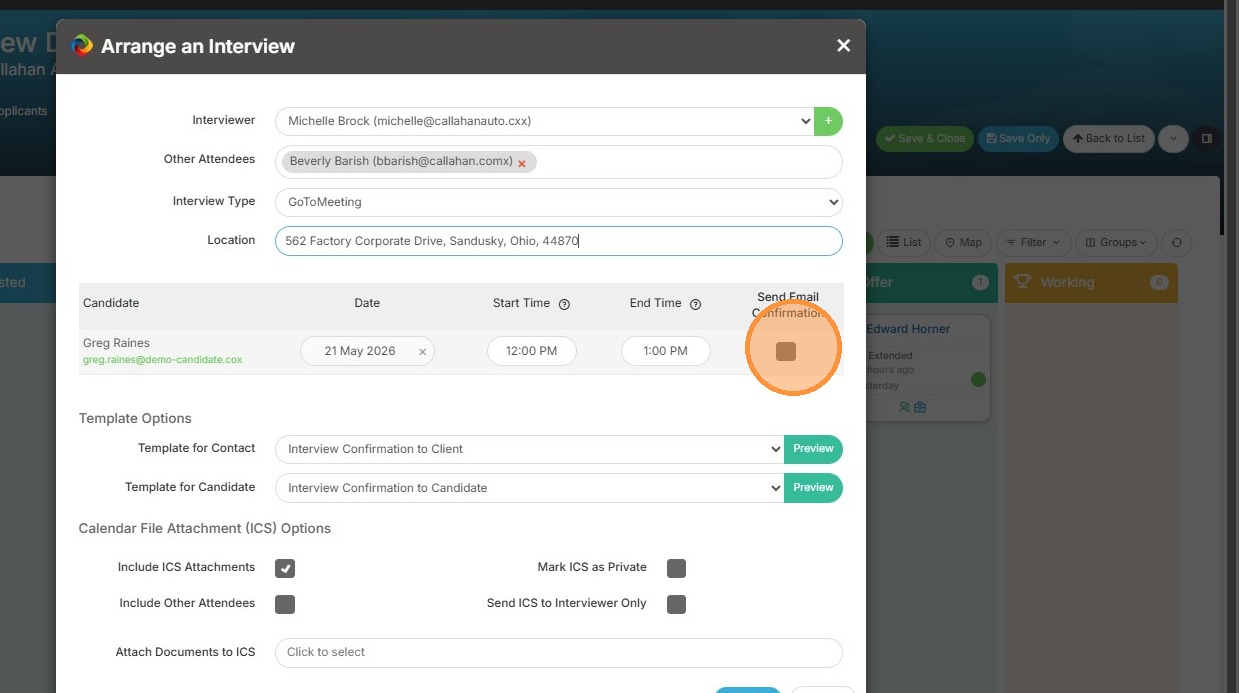
6. Check off Send Email Confirmation once you have confirmed the Interview date and time.
Email Template Review
7. Review and save the Contact Template settings (you can edit this as needed by clicking Preview).

8. Review and save the Candidate Template settings (you can edit this template as needed by clicking Preview).


9. Here, you can include the calendar invite by checking off "Include ICS Attachments". You can also include the Other Attendees on the invite, mark it as private (it will display as Busy on their calendars), and you can choose to send that calendar invite to the Interviewer only.
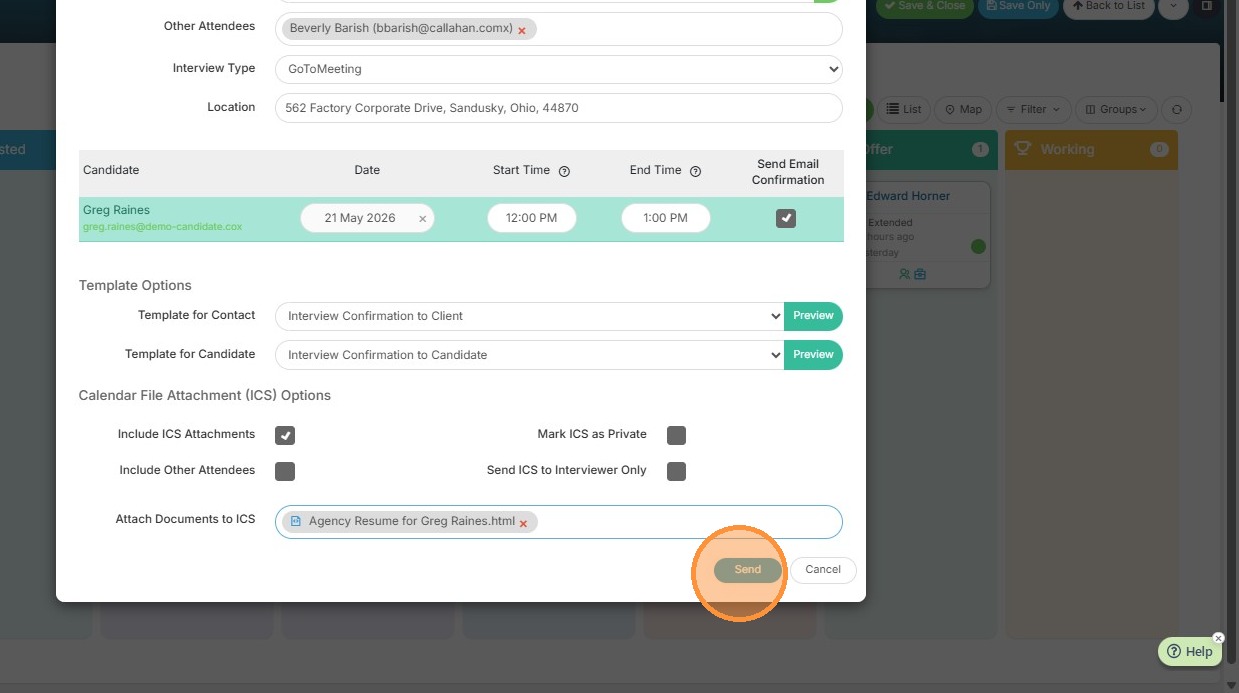
Lastly, you can attach the candidate's resume / agency resume as needed.
Confirmation and Finalization
10. Click "Send" to finalize and distribute the interview invitations.
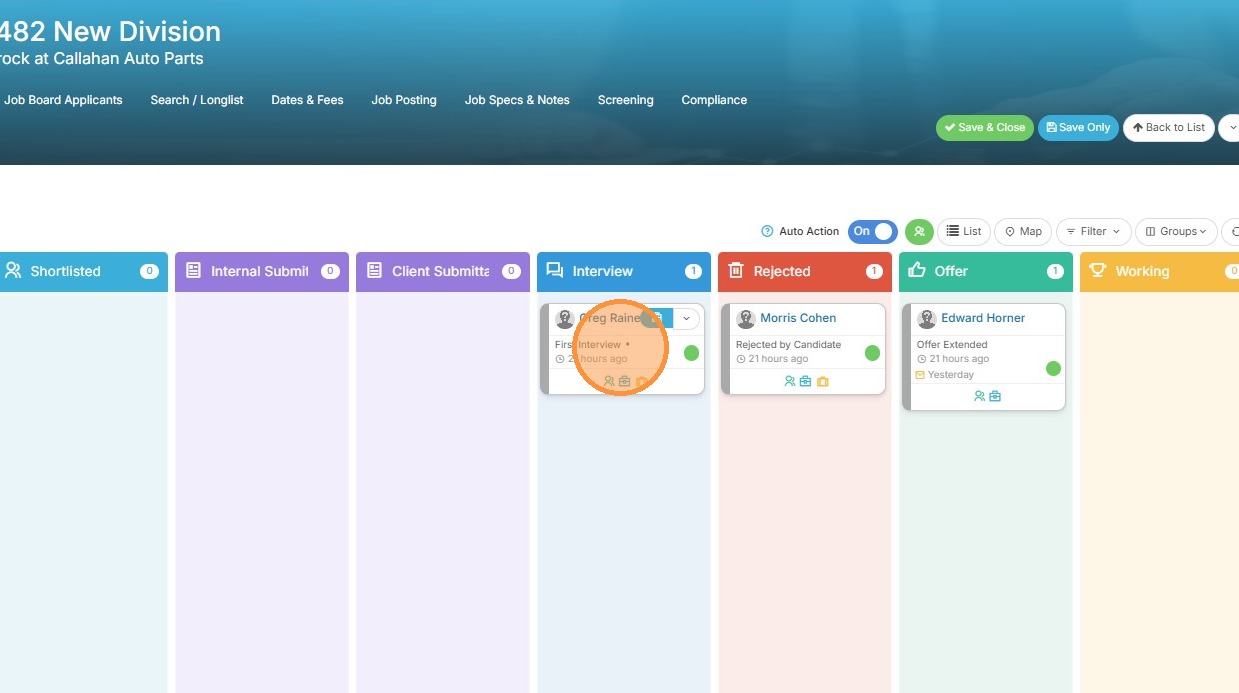
11. You will see the candidate's status will update to First Interview.
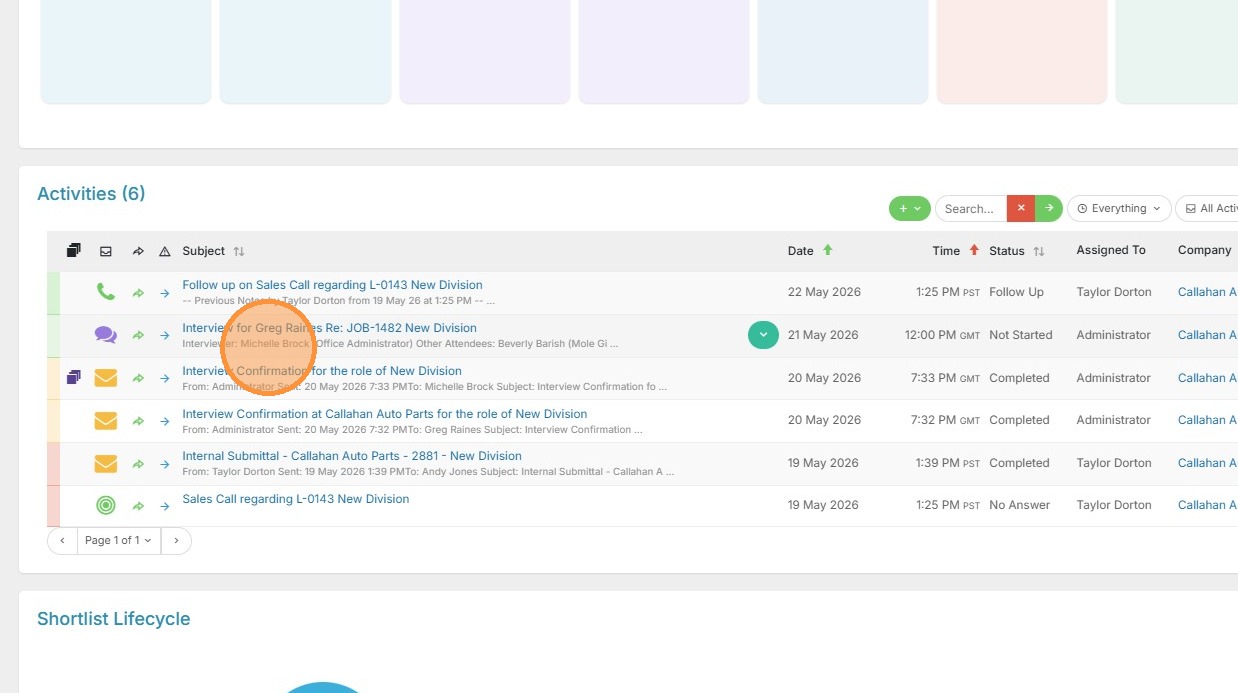
12. Below, in activities, you will see the new interview scheduled.