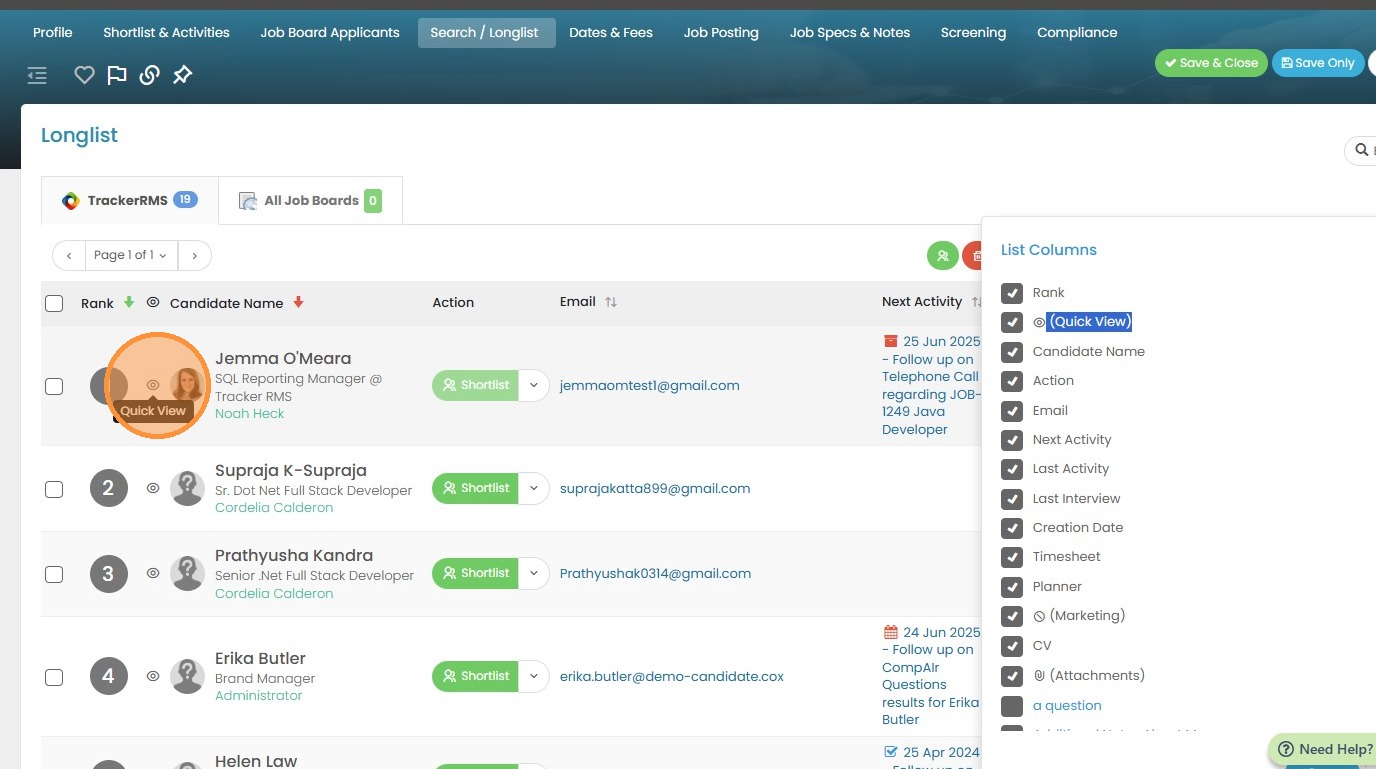
1. Within the Longlist you can add a column called the Quick View.
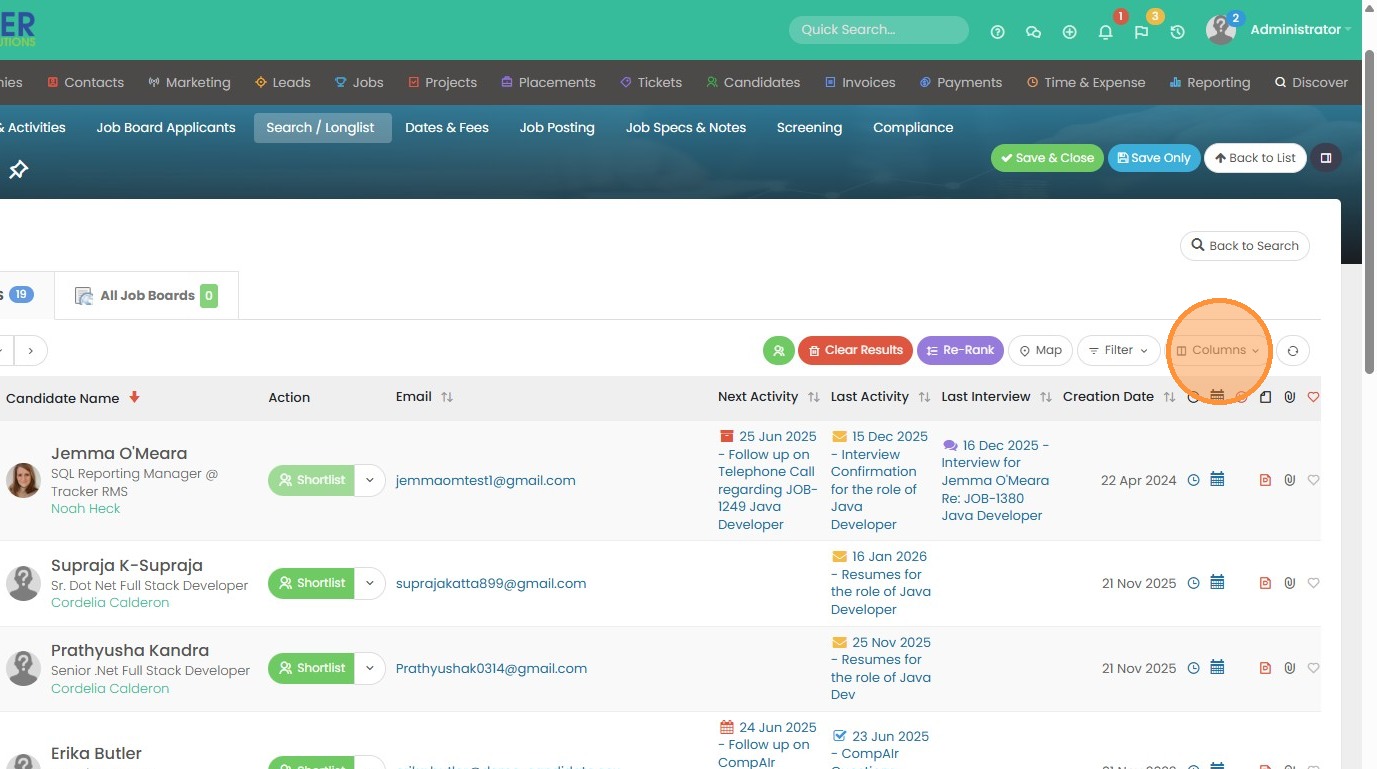
2. Click "Columns" if you don't see it, and want to add it.
3. The items in this list are alphabetical, so you will see it towards the bottom.

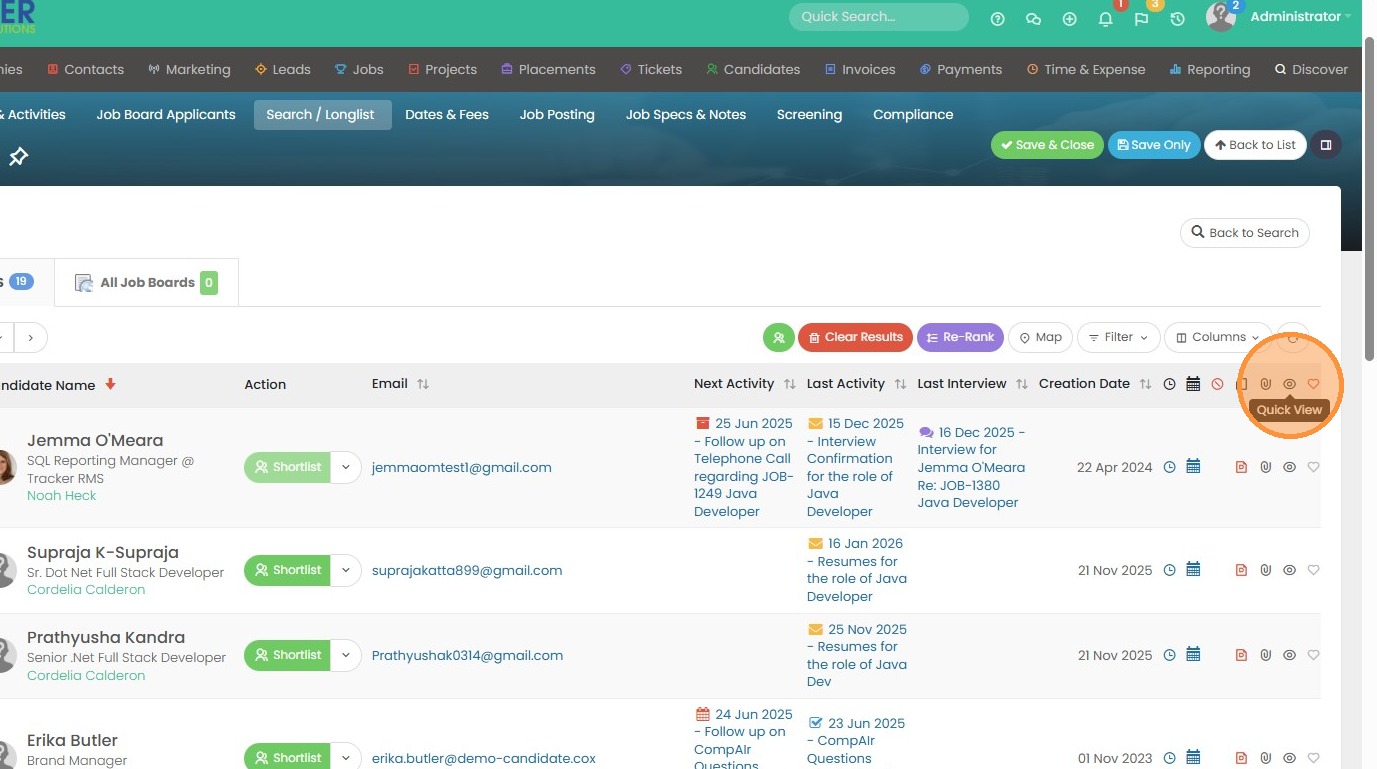
4. Click on the quick view eye to get started.
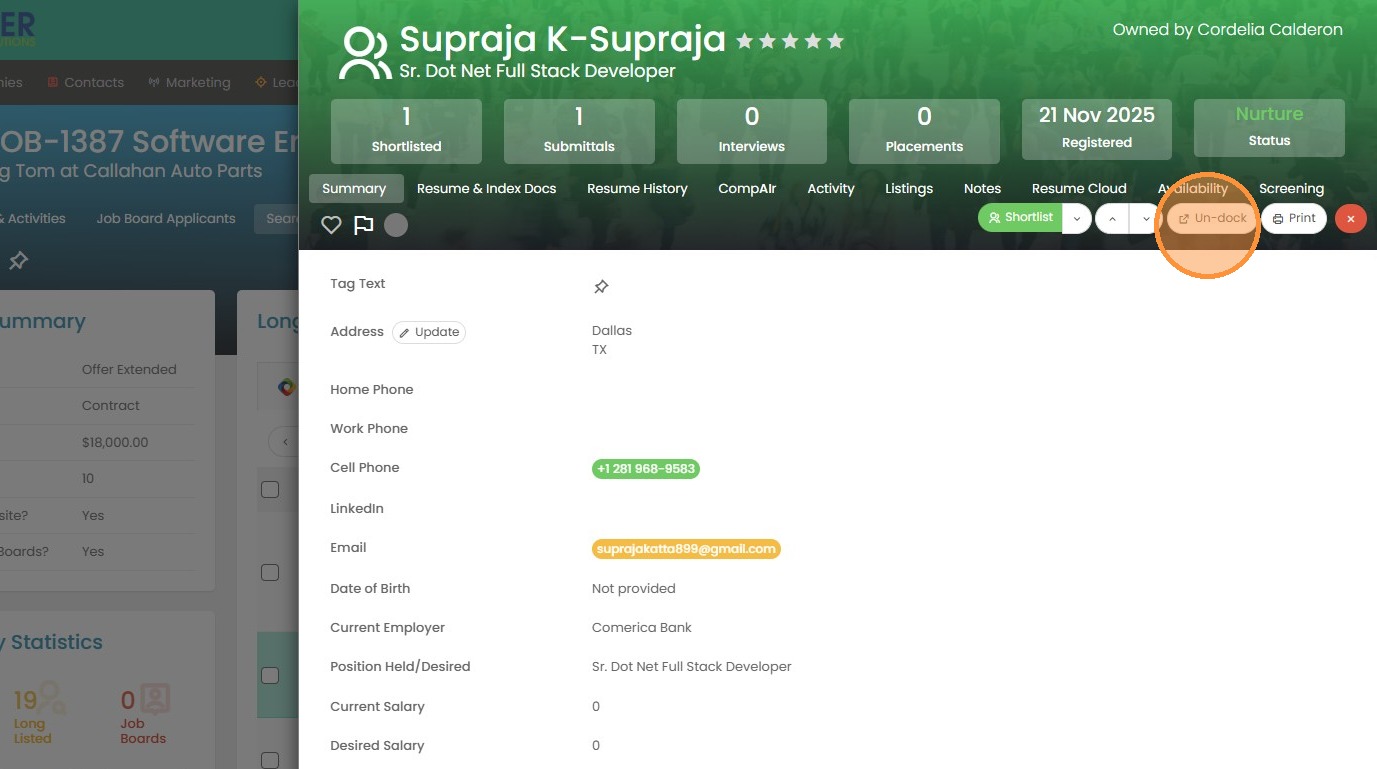
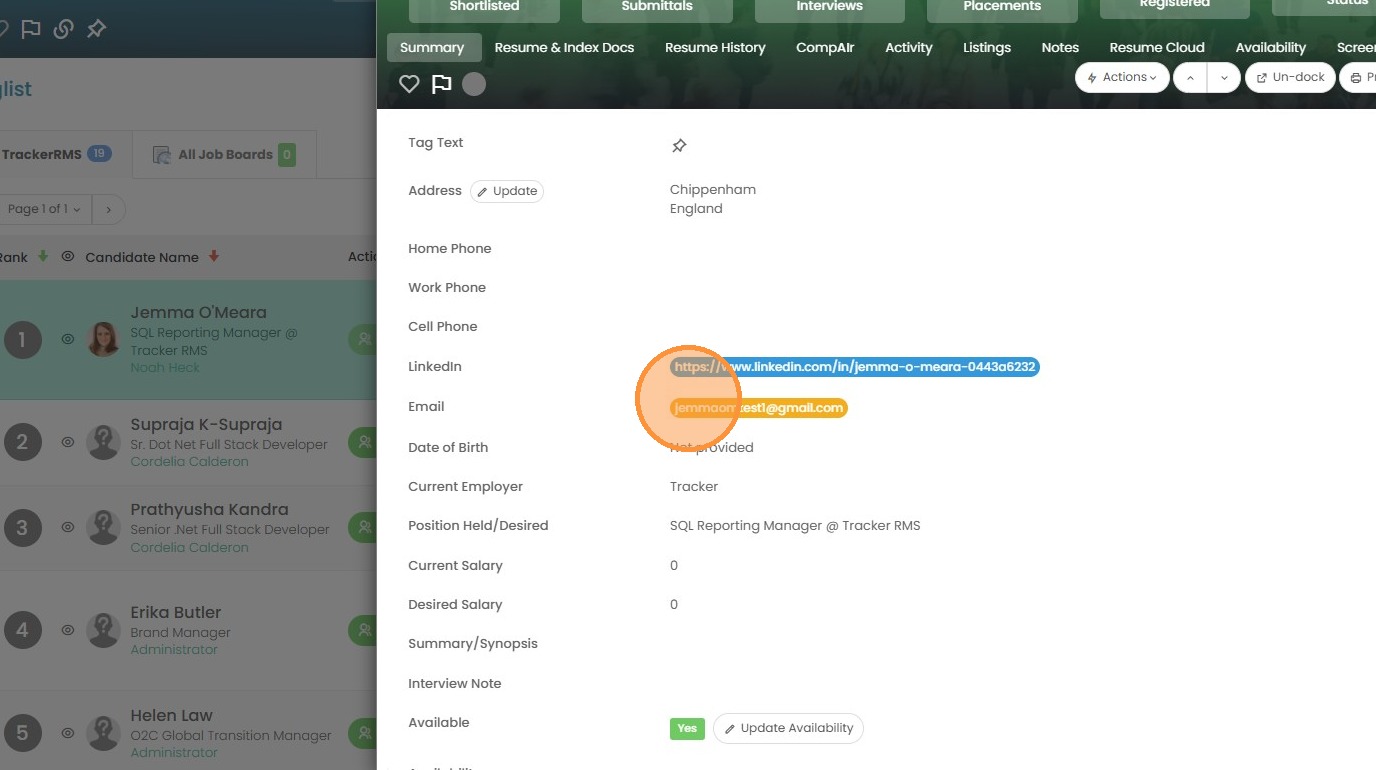
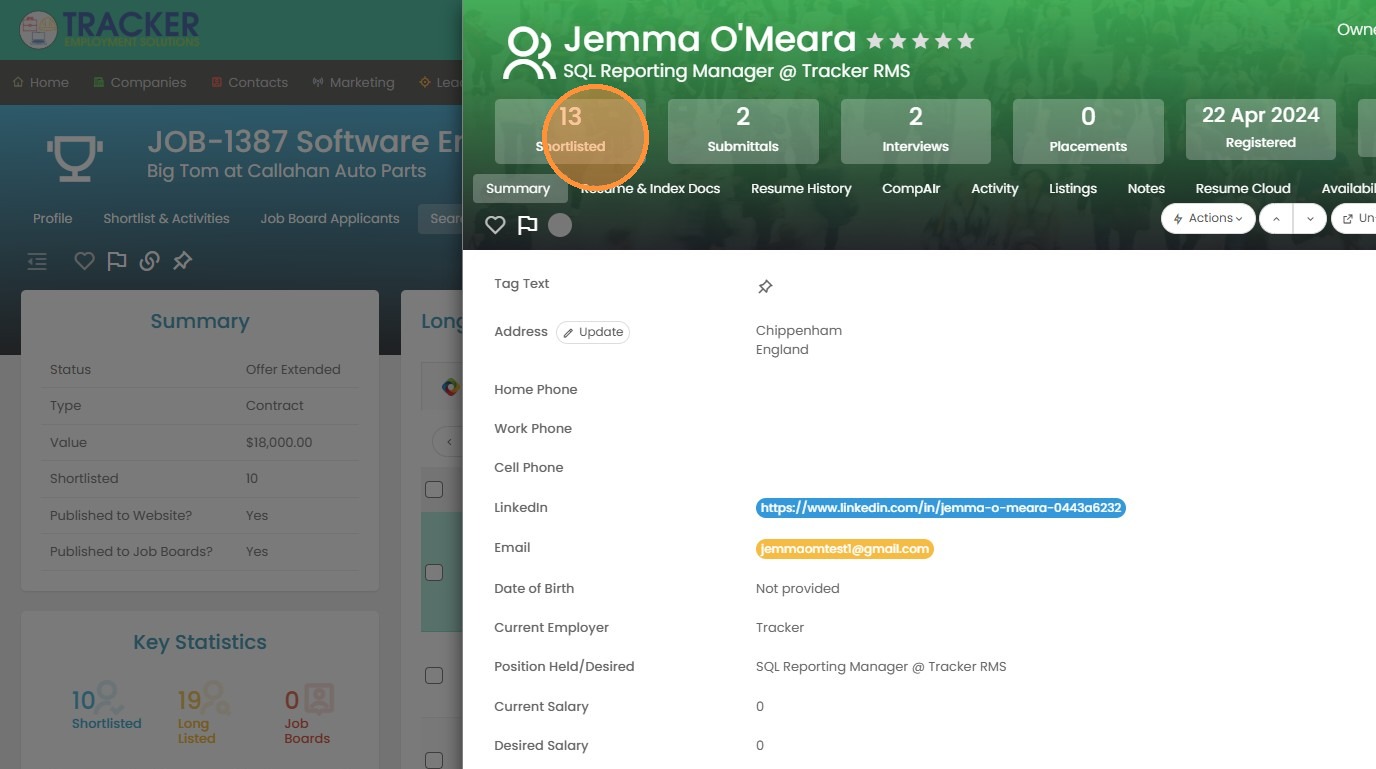
5. Once open, it will bring you to the Summary tab. Here you can view the candidates contact details and custom fields. You can click on their email to send them a quick message from here if needed. If their phone number is listed, you can also quickly dial out from here.
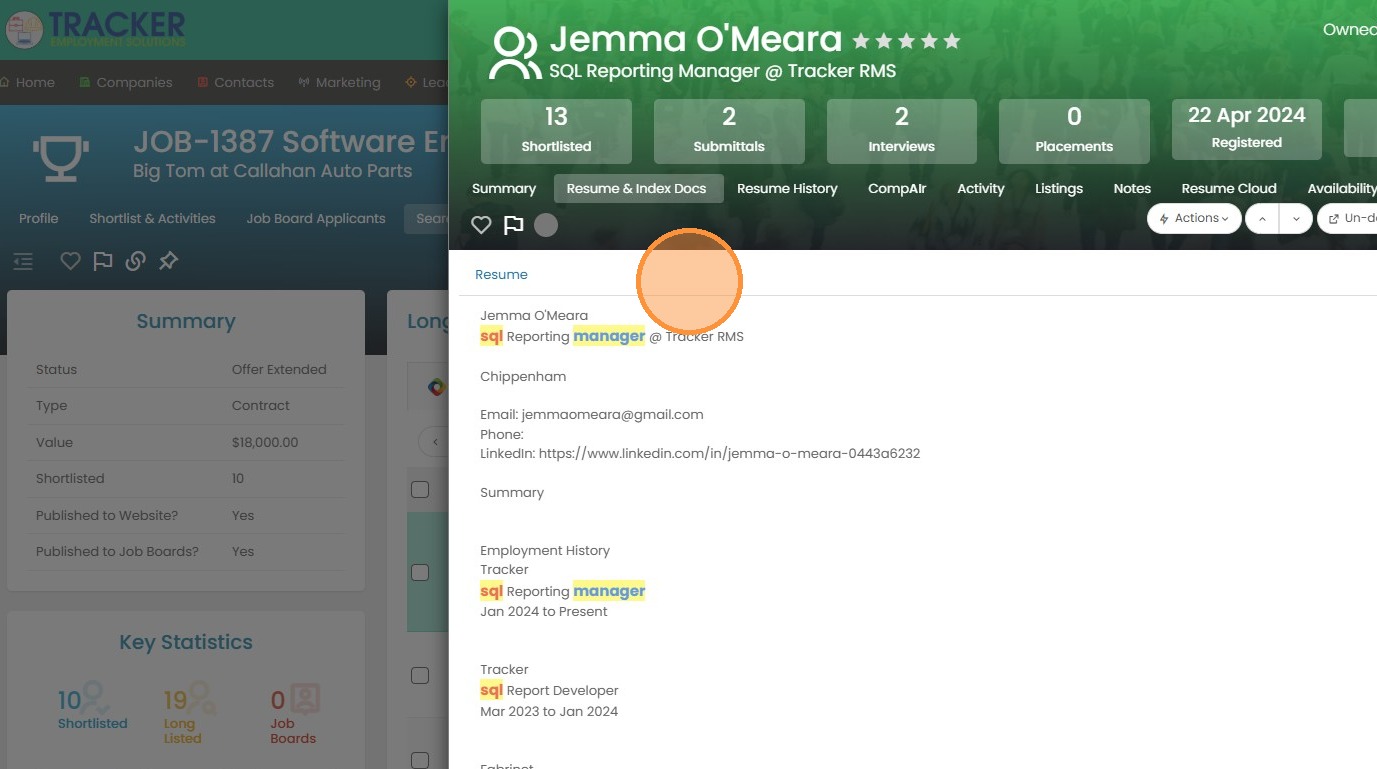
6. Click "Resume & Index Docs" to view the candidate's resume.

7. In this section it will also highlight any keywords or phrases you searched in the longlist, so you know why this candidate appeared.
8. Click "Resume History" next.
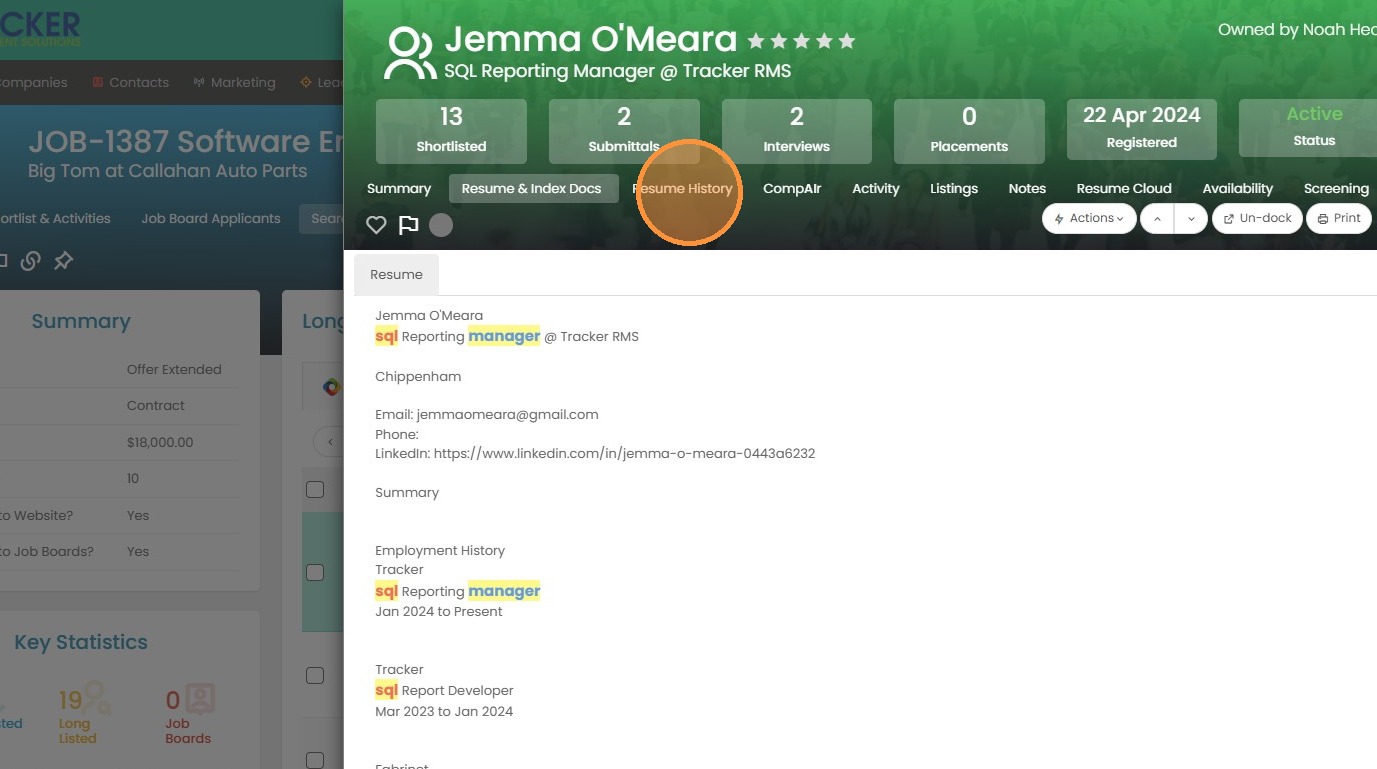
9. Resume History will breakdown the candidate's resume into a simplified view so you know where they worked, for whom and for how long. Next, we have the CompAIr tab.
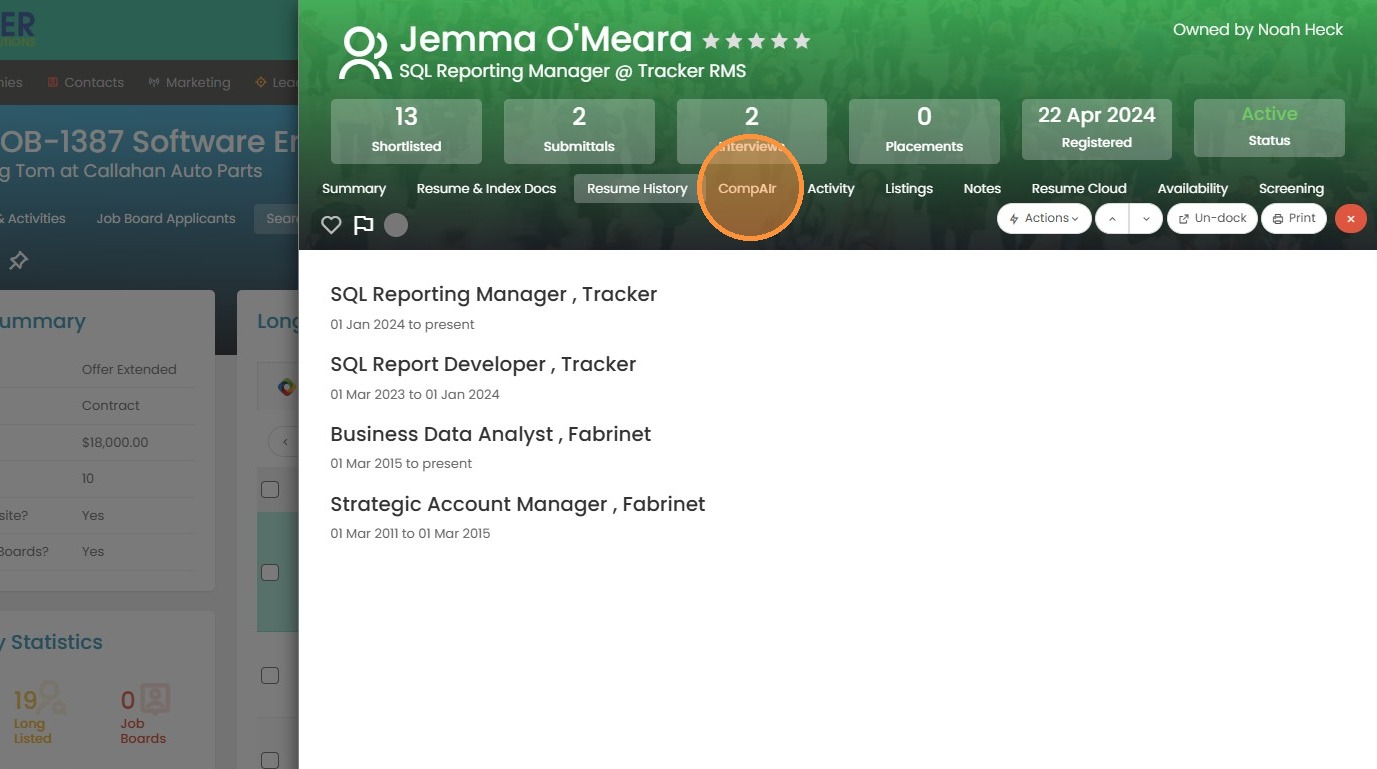
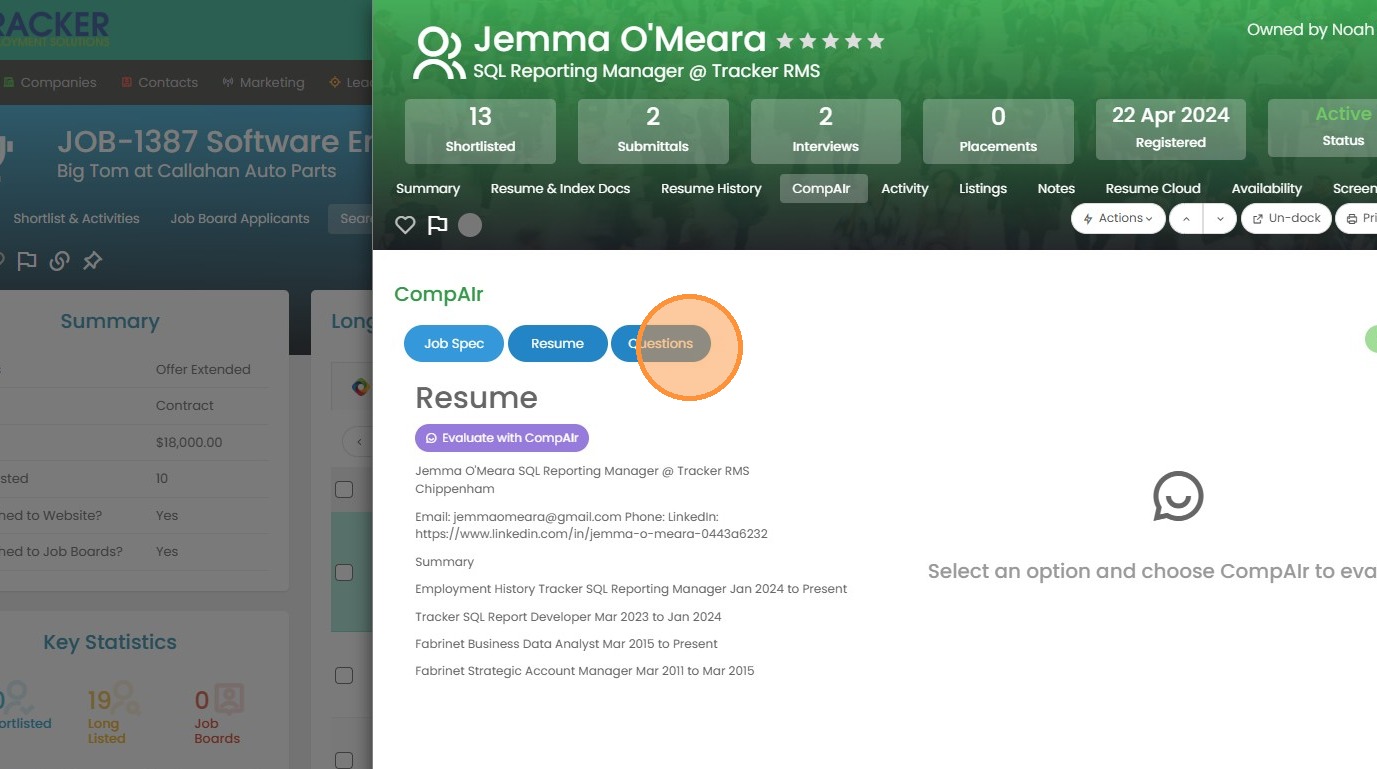
10. CompAIr allows you to view the job specification/description and compare it against the candidate's resume.
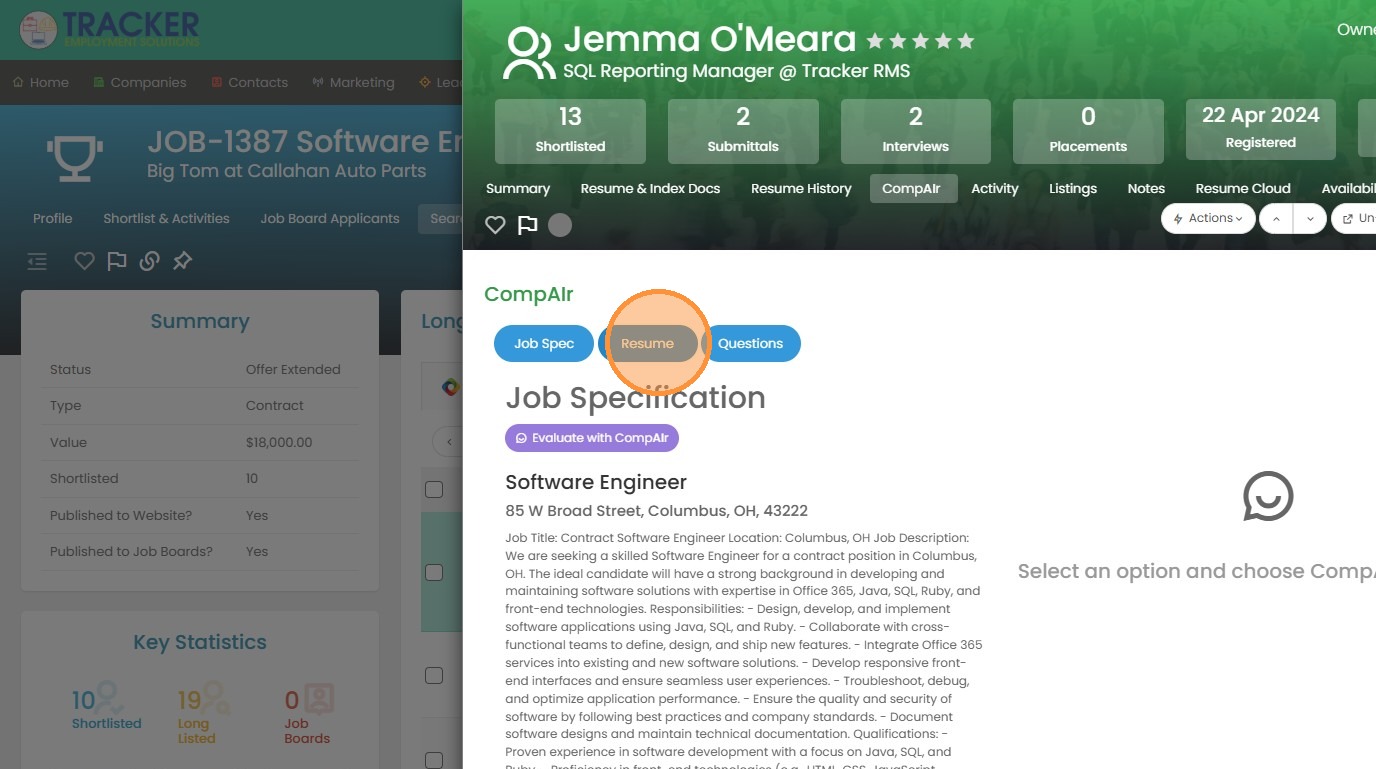
11. If you like what you see, you can click Questions, and our AI tool will generate questions to ask this candidate based on the resume vs job description.
12. Click "Generate with CompAIr".
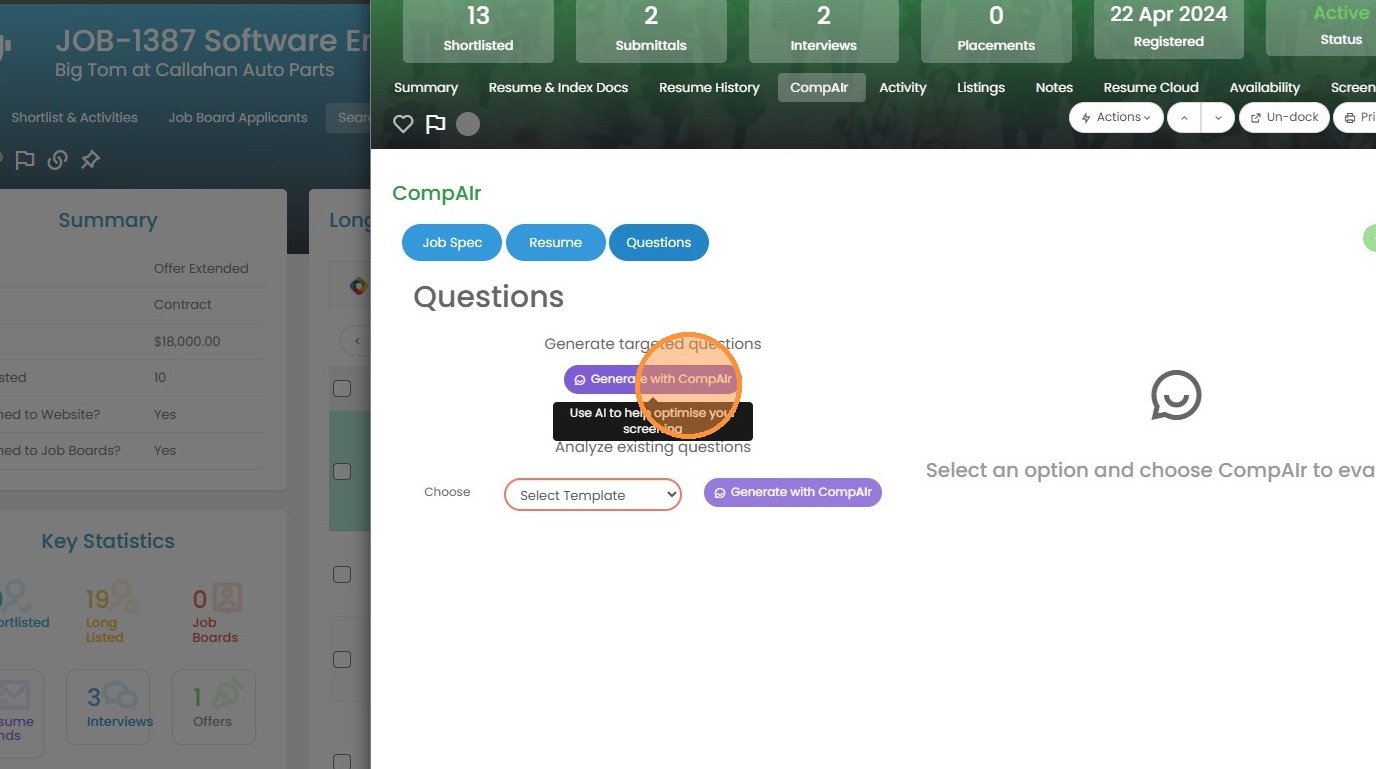
13. The questions have been produced, and now we can click Save to add these to an activity for later use. More info on CompAIr specifically can be found here.

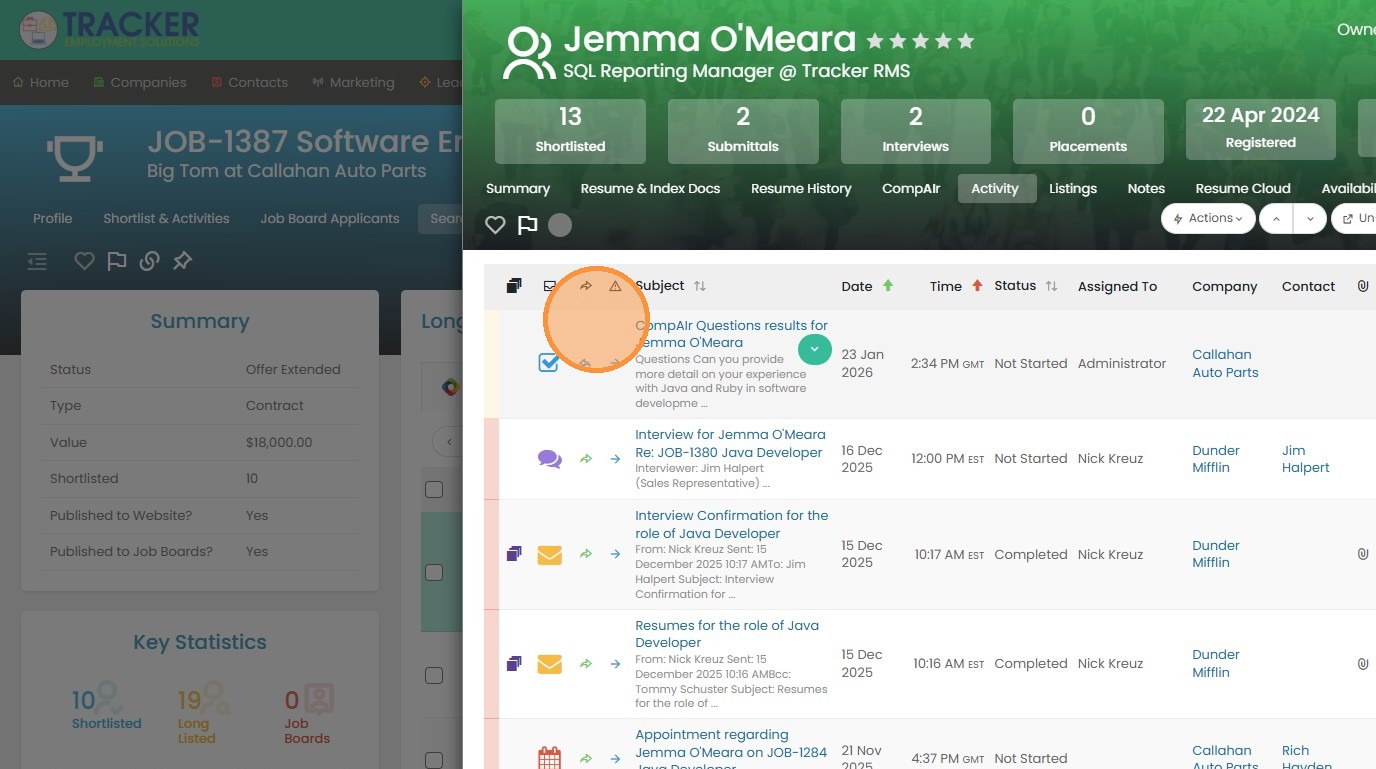
14. Click "Activity" next.
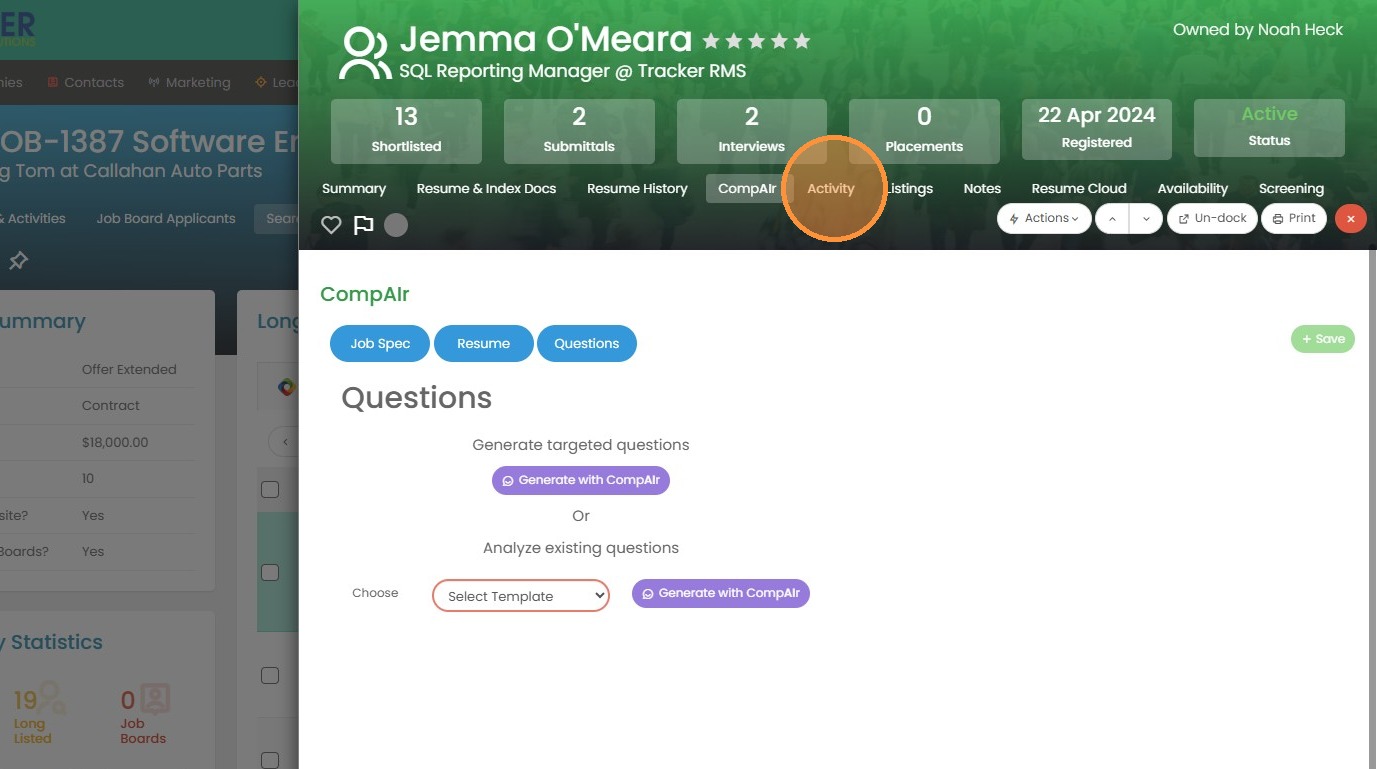
15. This tab will display all activities that have happened with this candidate. You can quickly see our CompAIr questions have been added here.
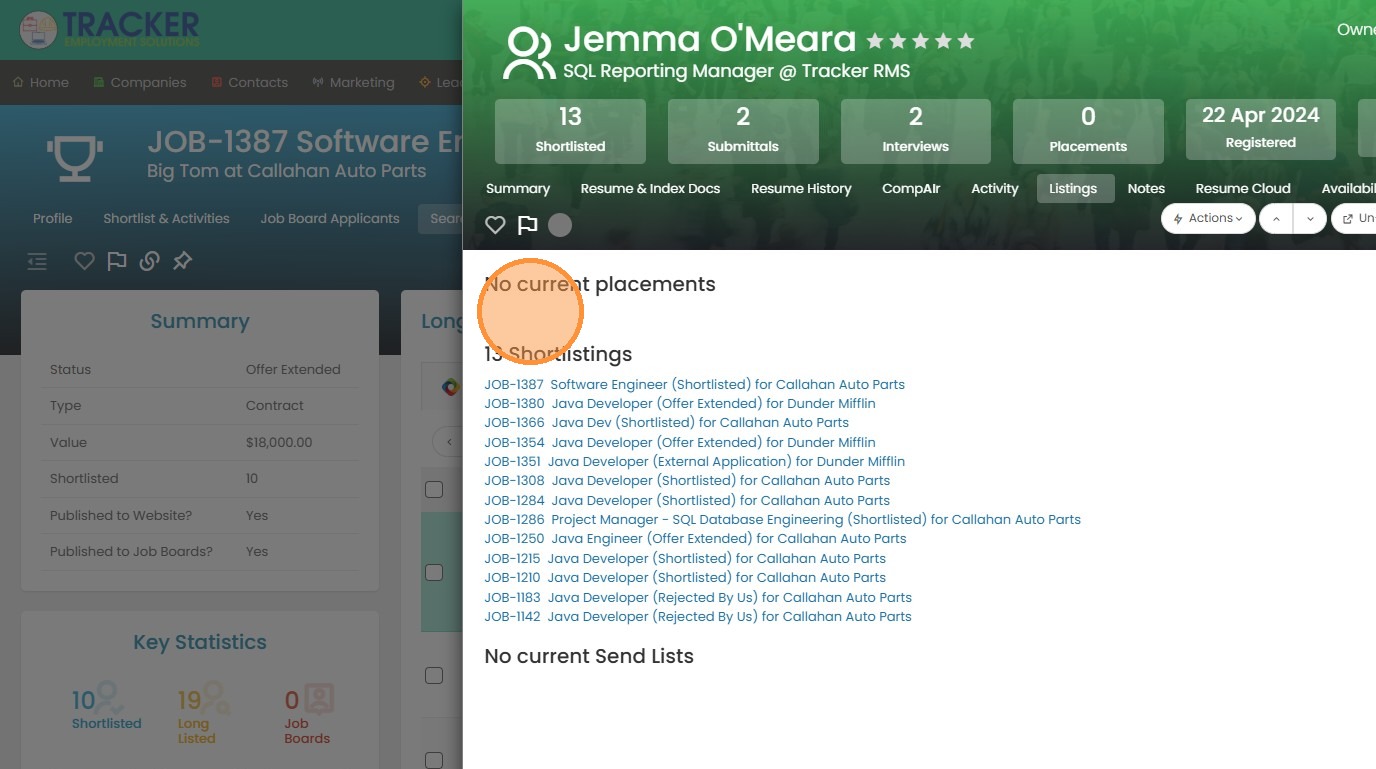
16. The Listings tab will show you what has occurred with this candidate in Tracker. What shortlists or jobs they have been added to, and what their status currently is in parentheses.
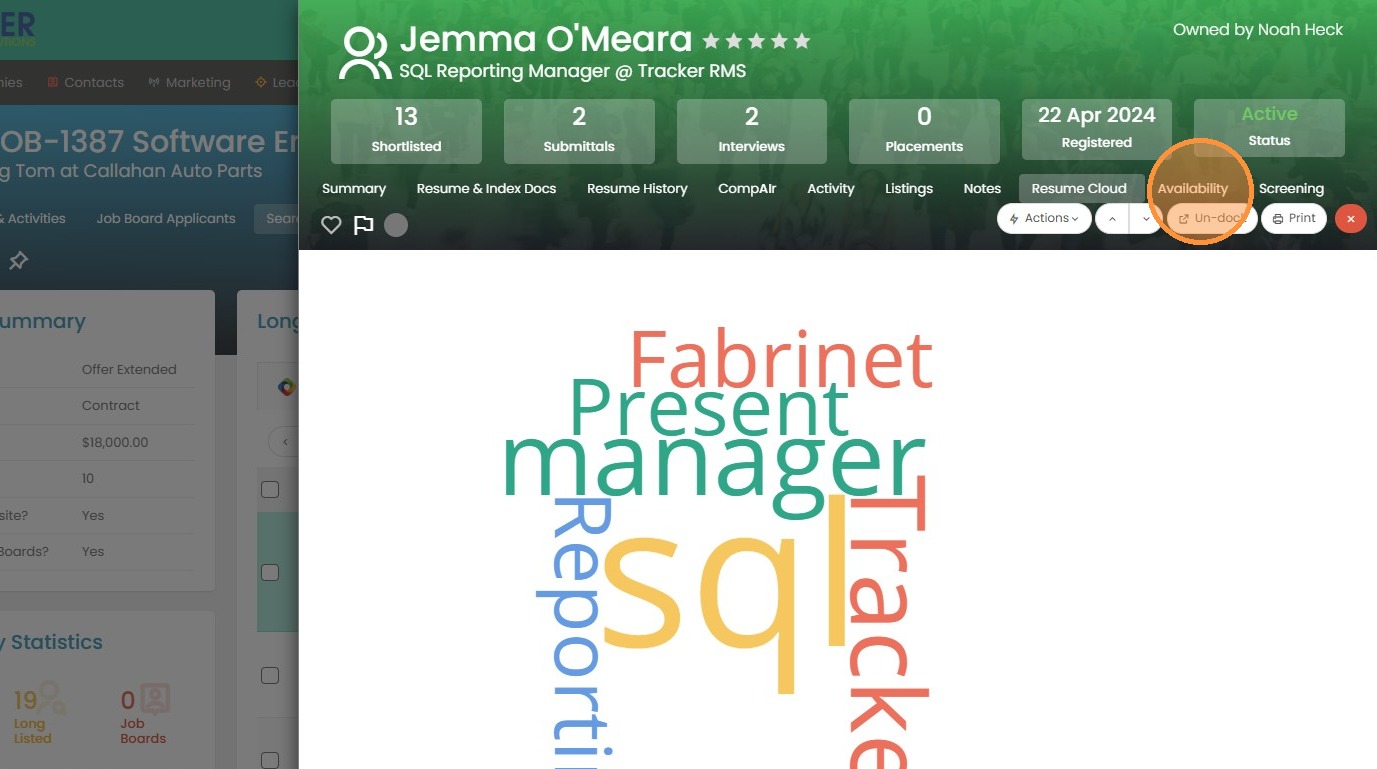
17. Resume cloud is a colorful view showing what keywords pop out the most in the candidate's resume. The larger the word, the more experience with that skill.
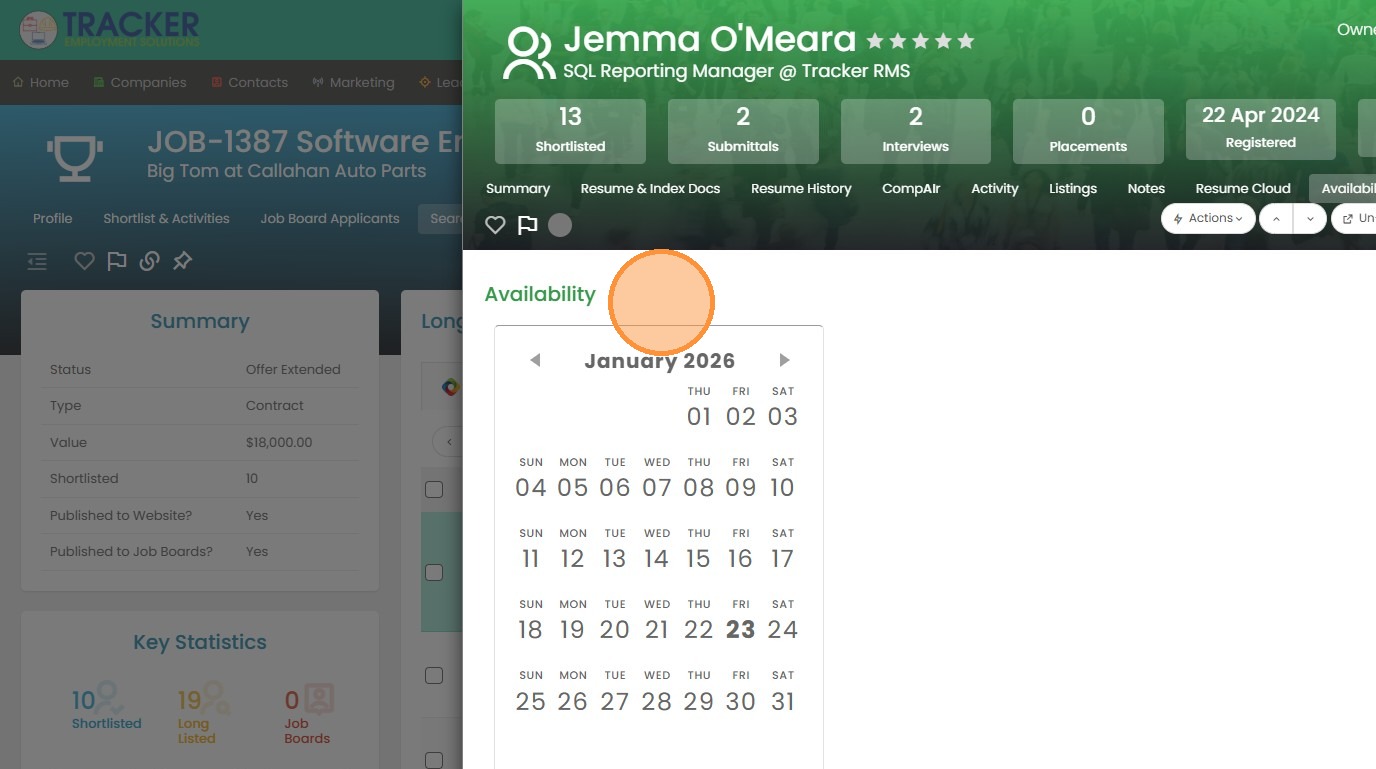
18. Click "Availability" to view the candidate's availability (if added).
19. At the top of the Quick View, you can see how many times the candidate was shortlisted on other jobs.
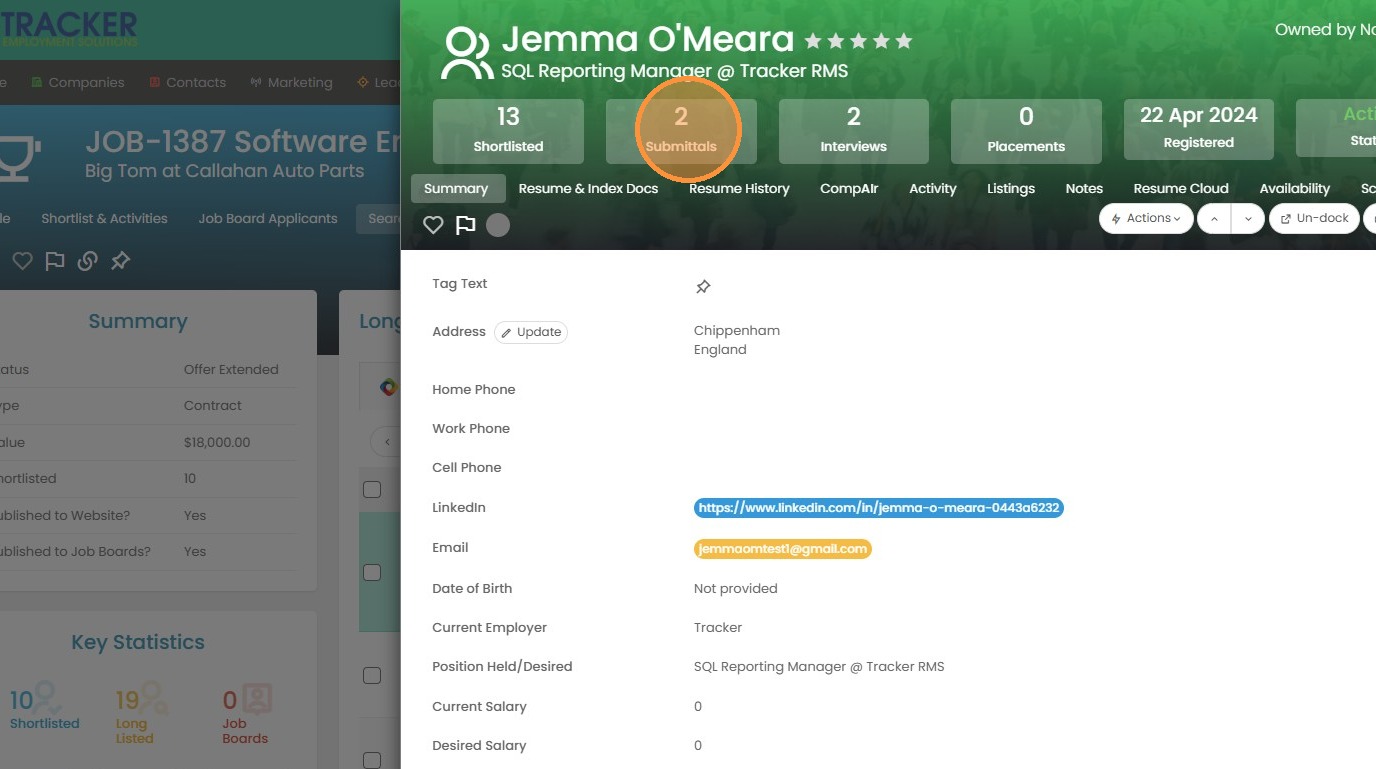
20. How many times this candidate was submitted to a client.
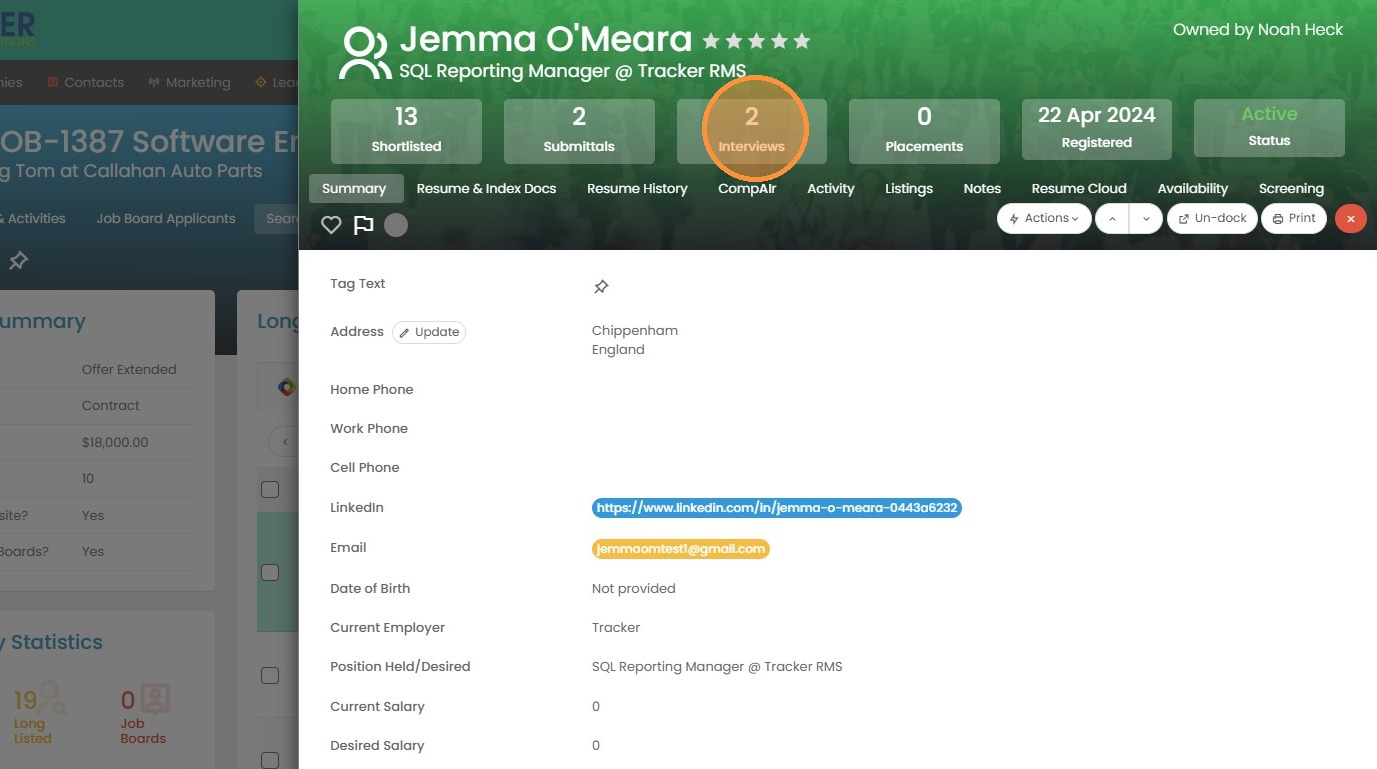
21. How many times the candidate has been interviewed.
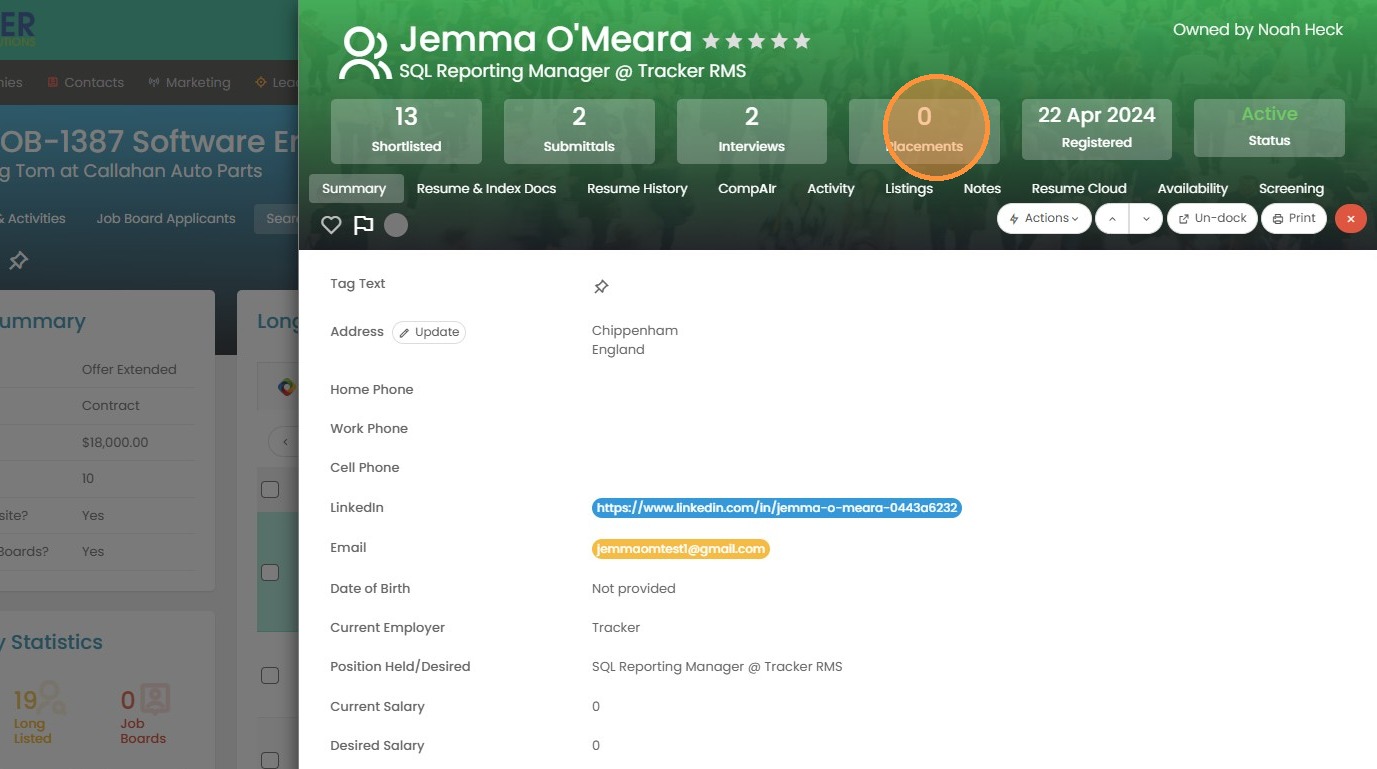
22. How many times they have been placed on a job.
23. When the candidate was created in Tracker.
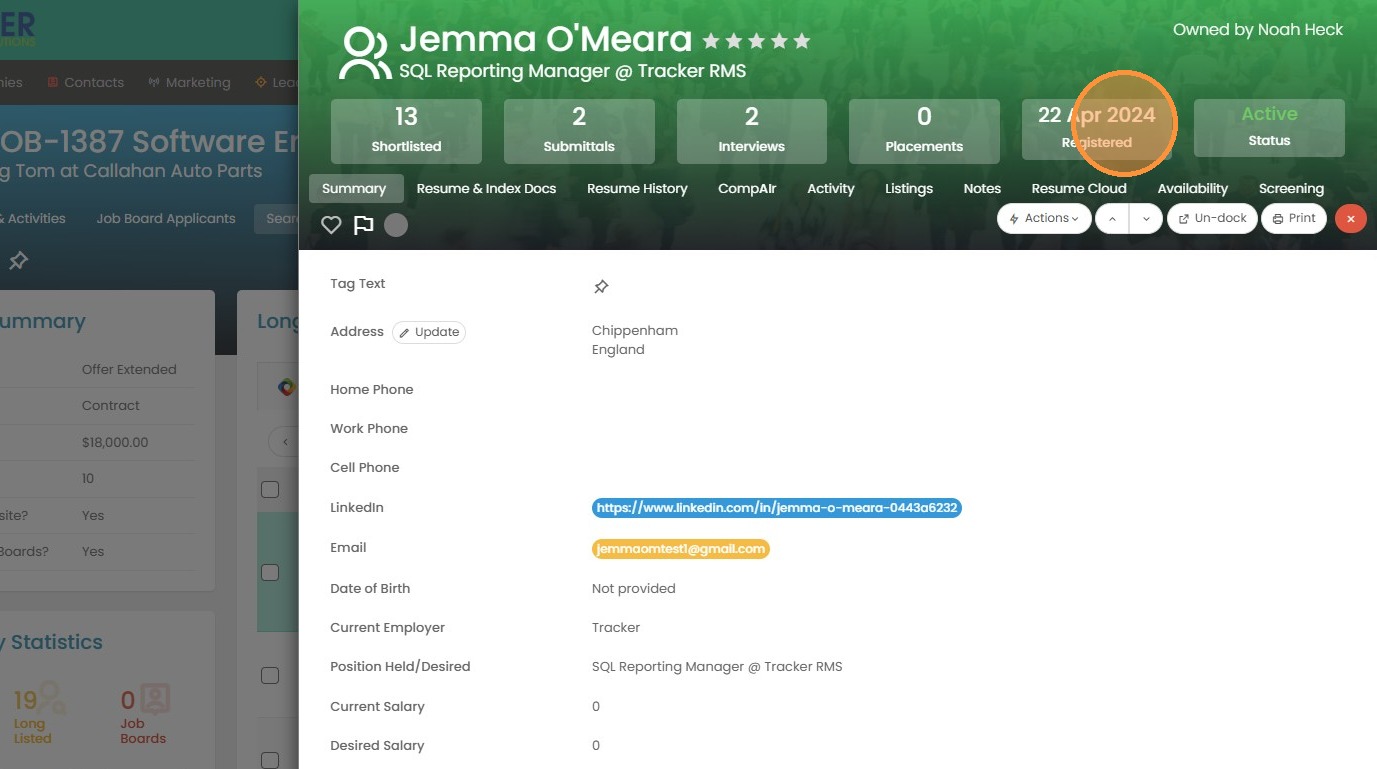
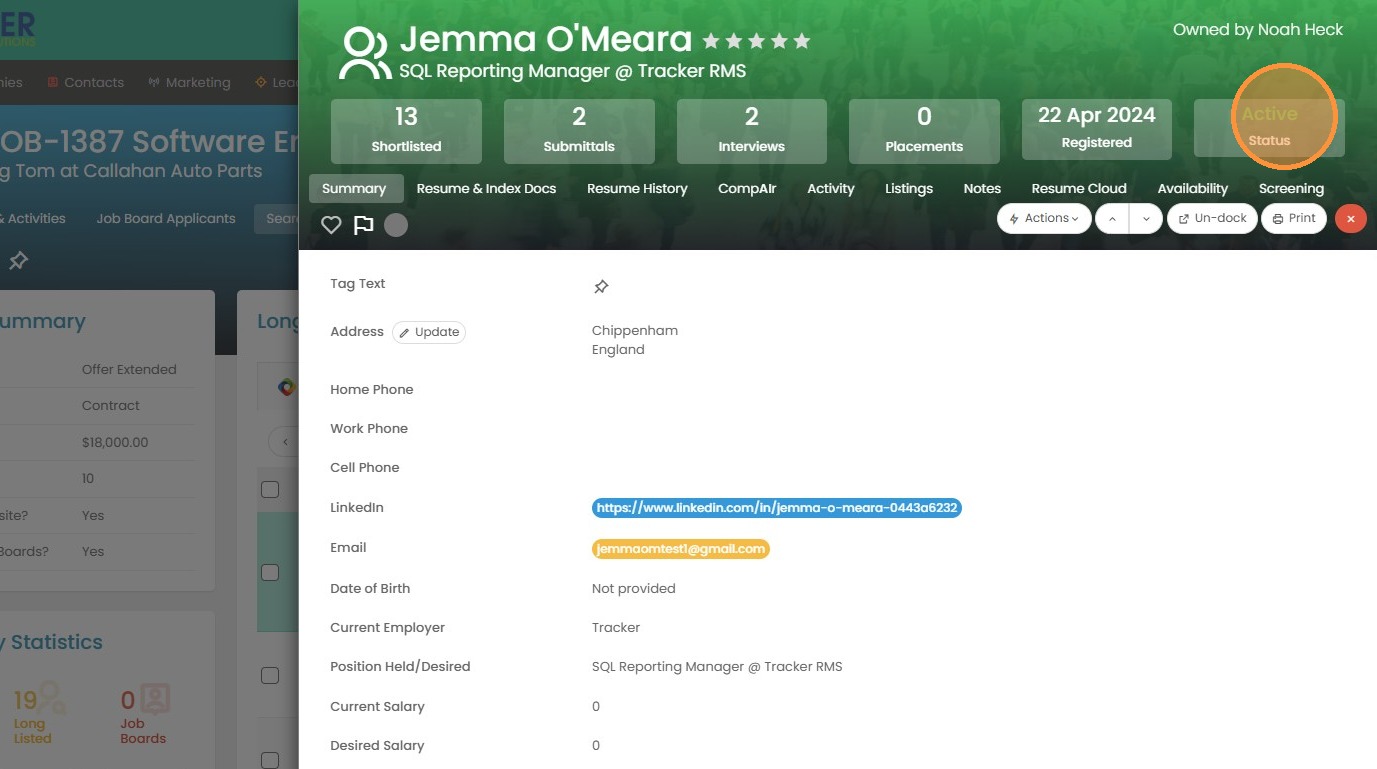
24. And lastly, their current status.
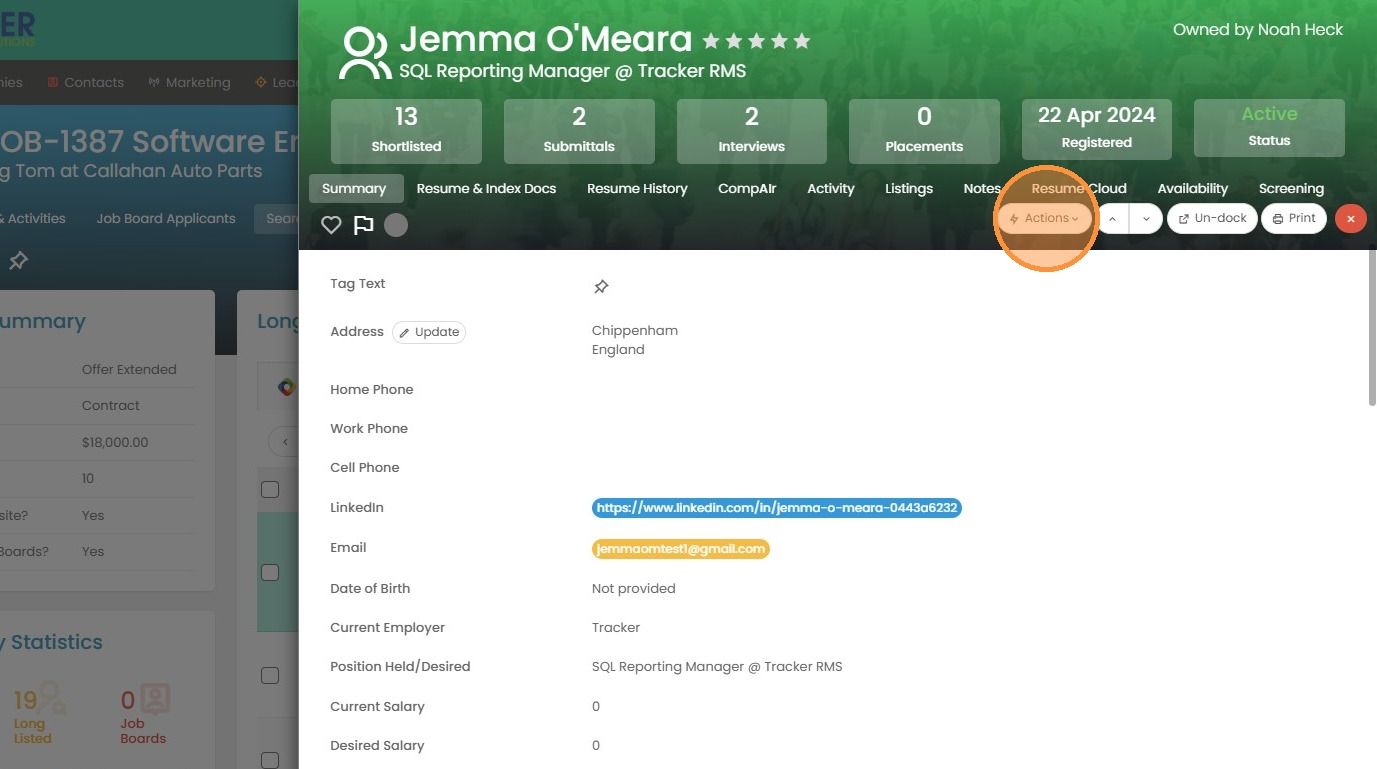
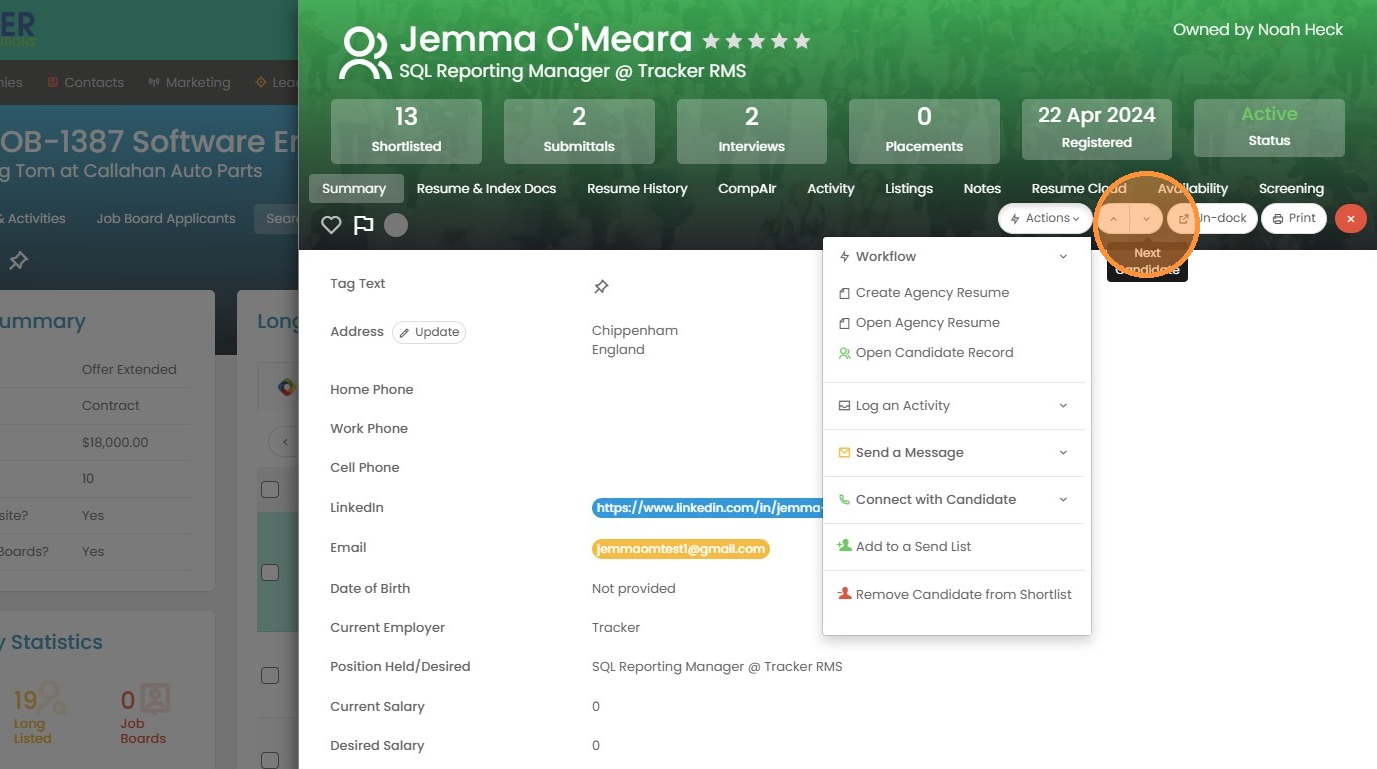
25. Click "Actions" to view the menu to connect with this candidate, or create activities.
26. The toggle to the right of the action menu allows you to scroll through to the next candidate on your longlist from this page.
27. Undocking the candidate will create a separate tab so you can easily compare candidates side by side on this screen, or print.