Creating a New Custom Field
Last Updated: February 14, 2024
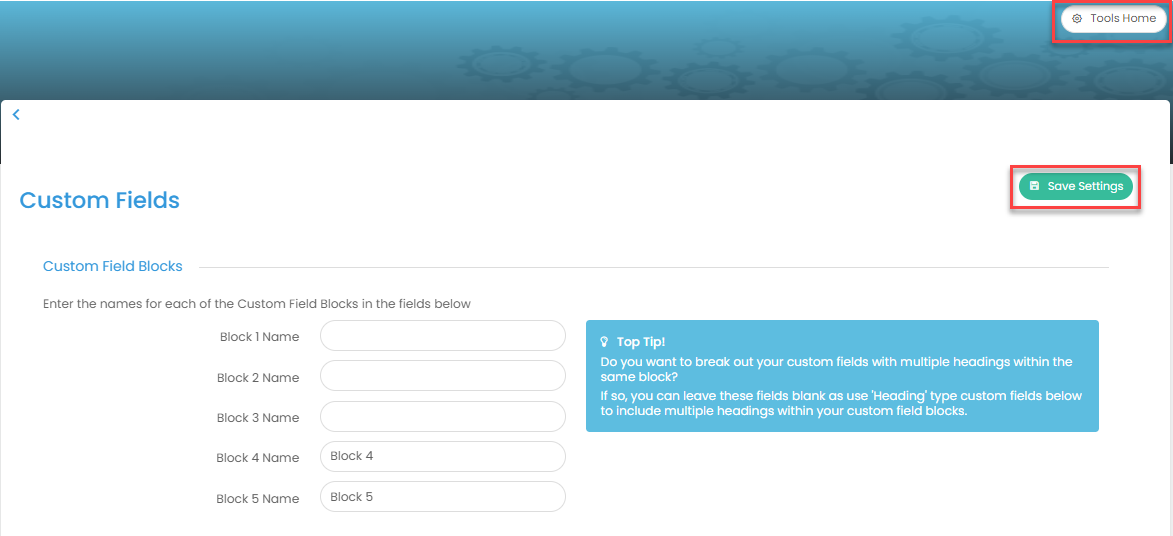
1. Click Into Tools & Settings
- Located at the top right of your screen by clicking on your name
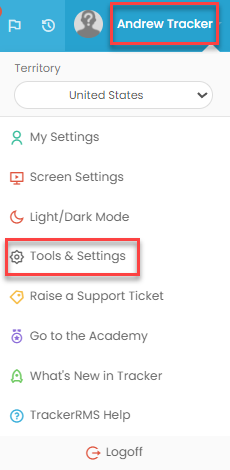
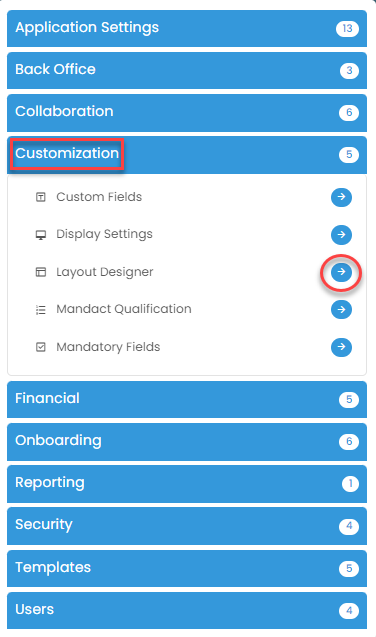
- Click on the Customization tab on your left, and select Custom Fields
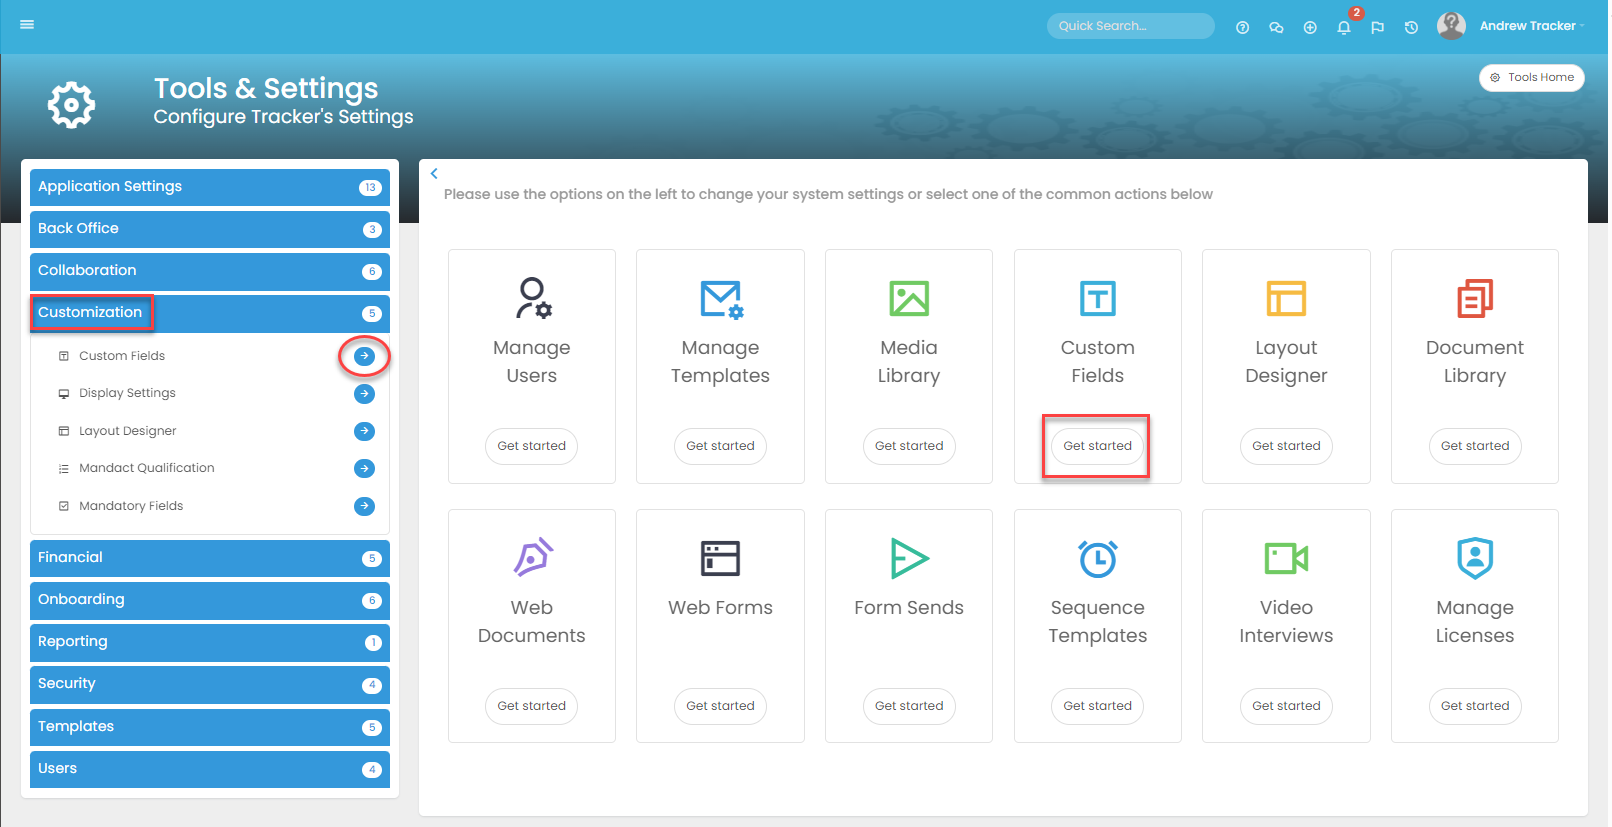
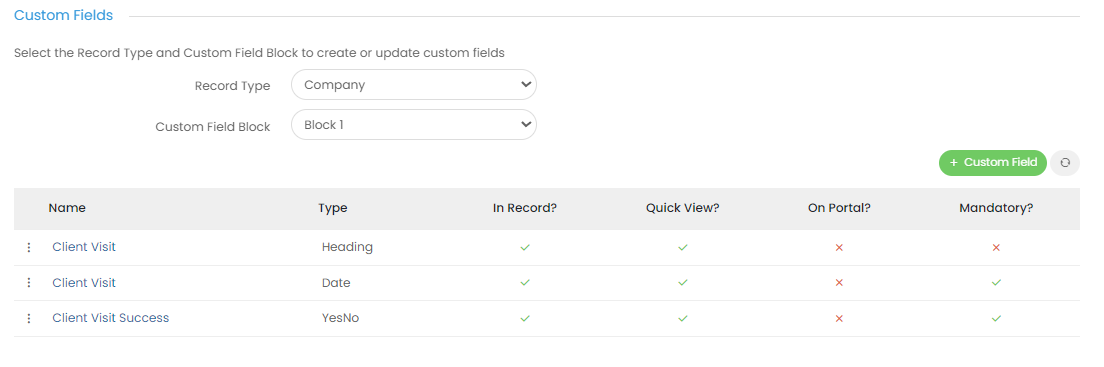
2. Create a New Custom Field
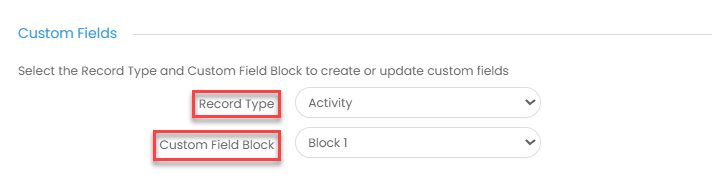
- Select the record type you would like to add the custom field to, and the custom field block
- Click on the green + Custom Field button to get started

- Next, fill in the custom field details including Name, Type, Record Type (you have the option to change this), Block etc
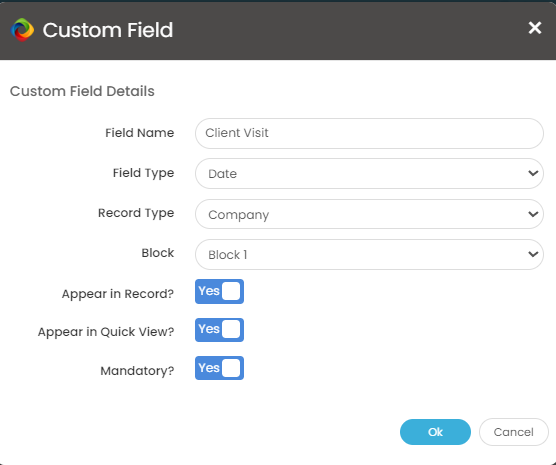
- Make sure to save your changes before leaving the screen
3. Add the Custom Field to Layout
- After adding the custom field, you will want to include it in the record layout
- Click back into Tools & Settings
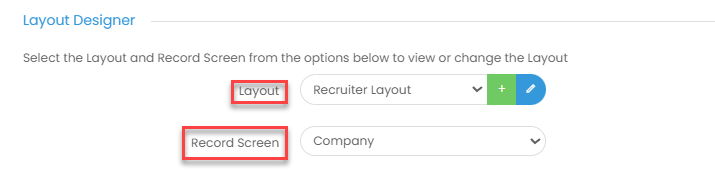
- Select the Customization tab, and Layout Designer
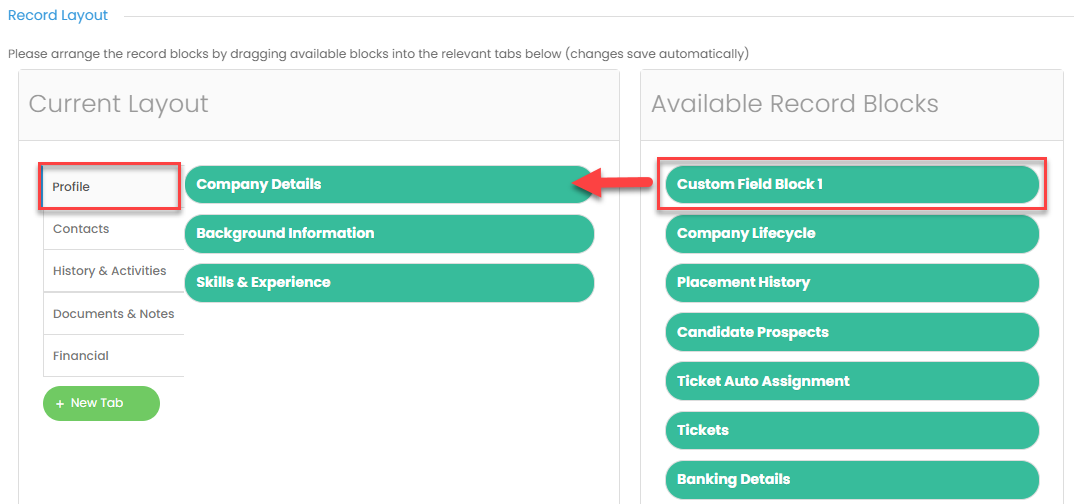
- Select the Layout you want to add the custom field to, and the record
- Choose the tab to add the new custom field to, and drag it over to Current Layout
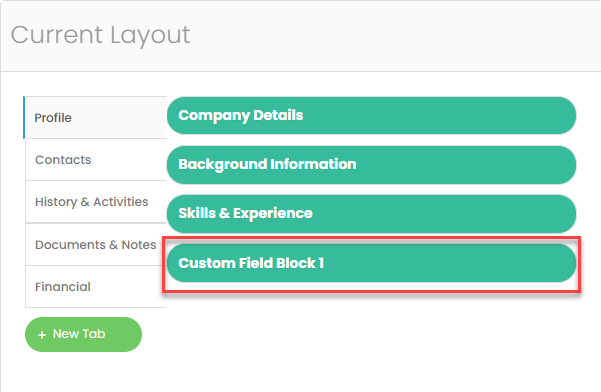
- You can then click into the record you added the new field to, and view
