This lesson explains how to arrange and move around custom fields within a record.
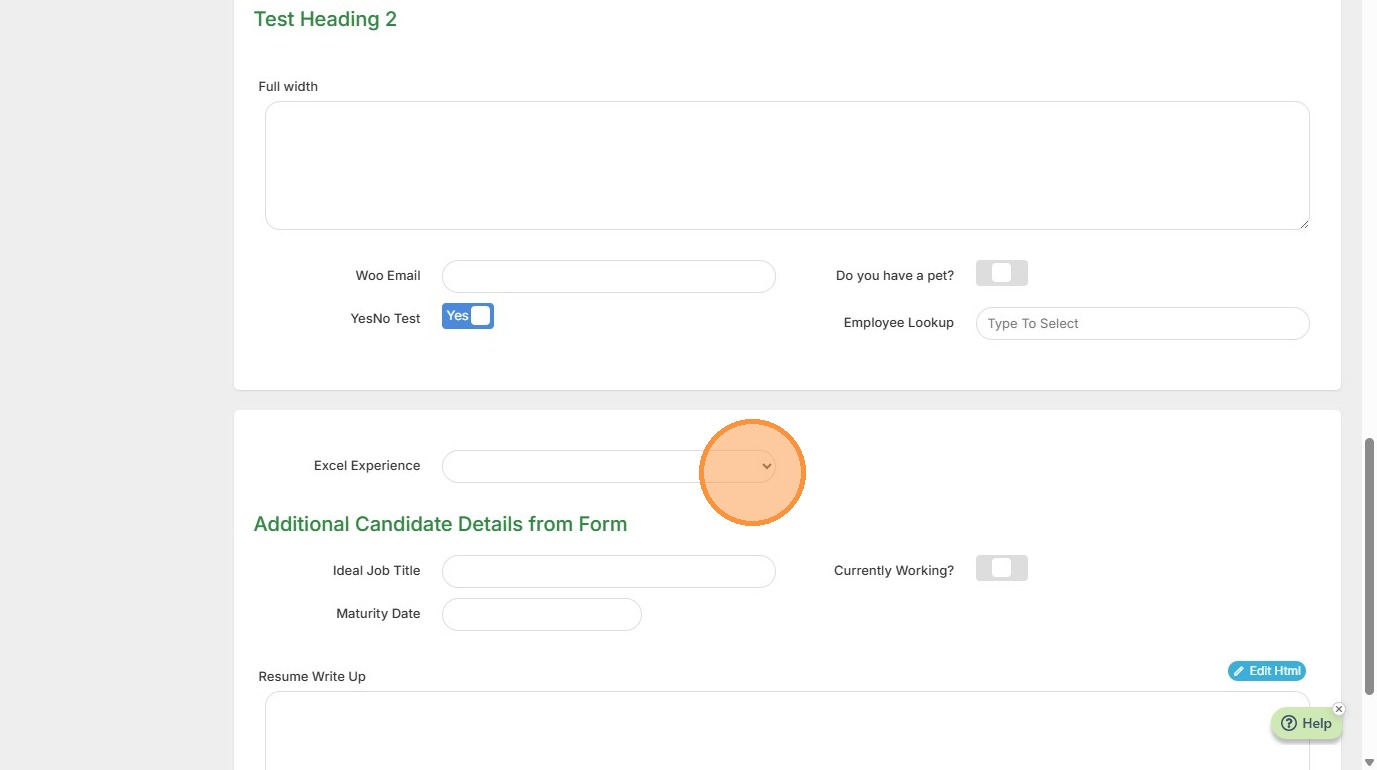
1. Below I want to rearrange the custom field "Excel Experience" above Test Heading.
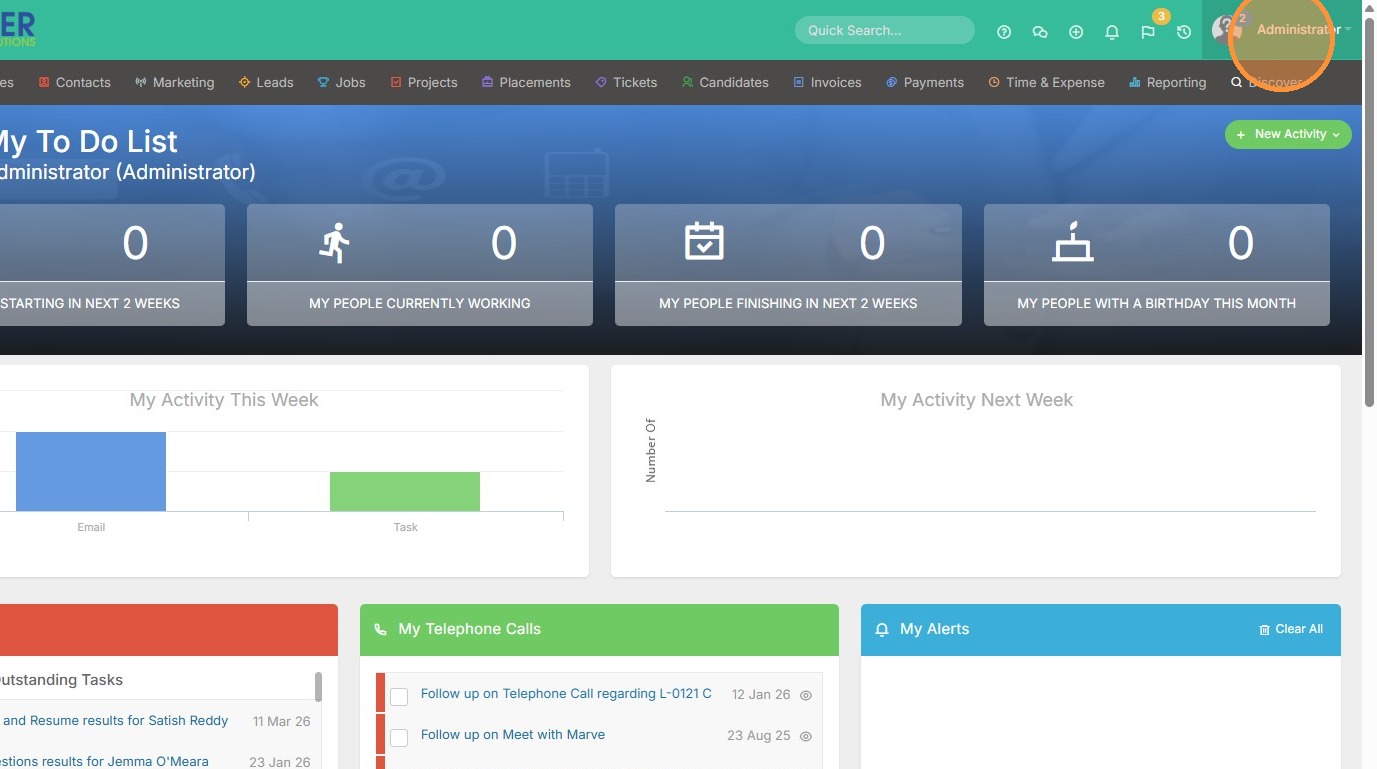
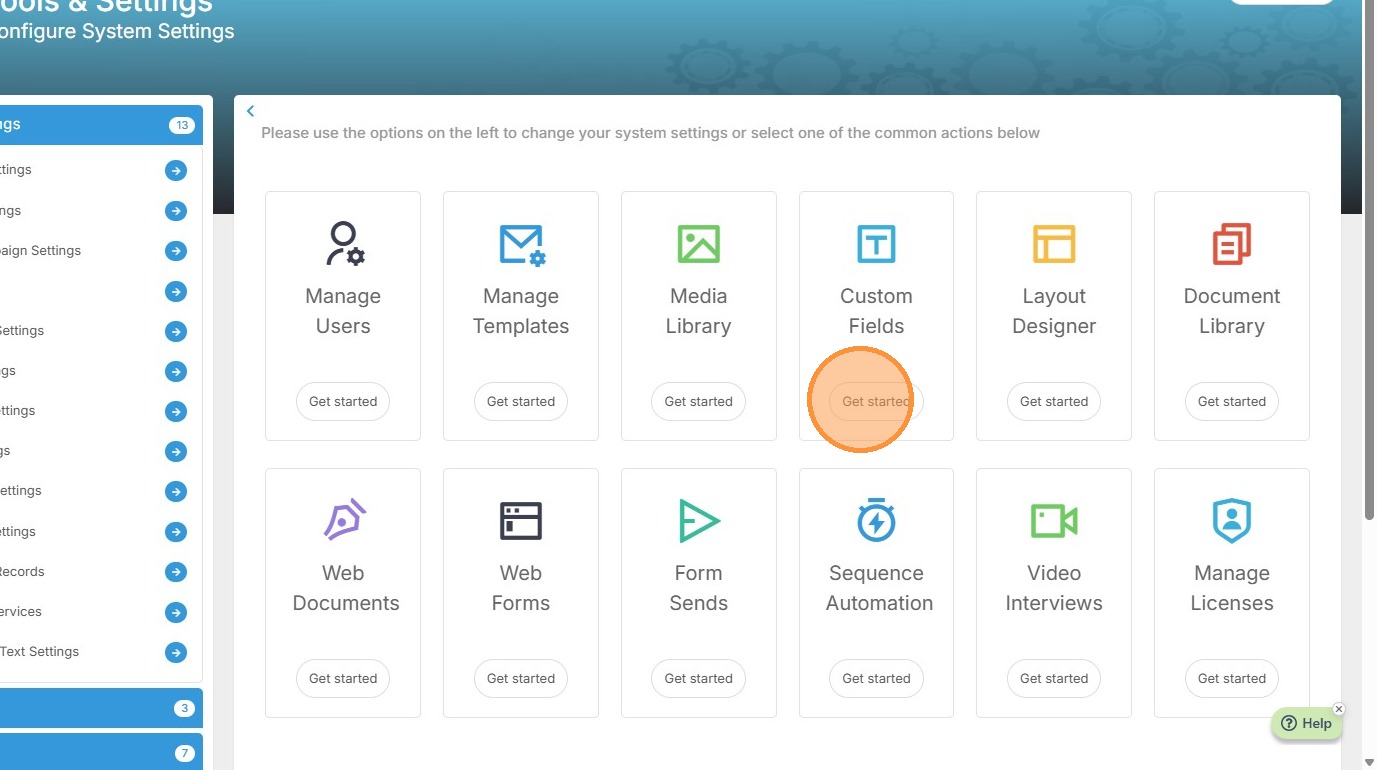
2. Click your name to access Tools & Settings.
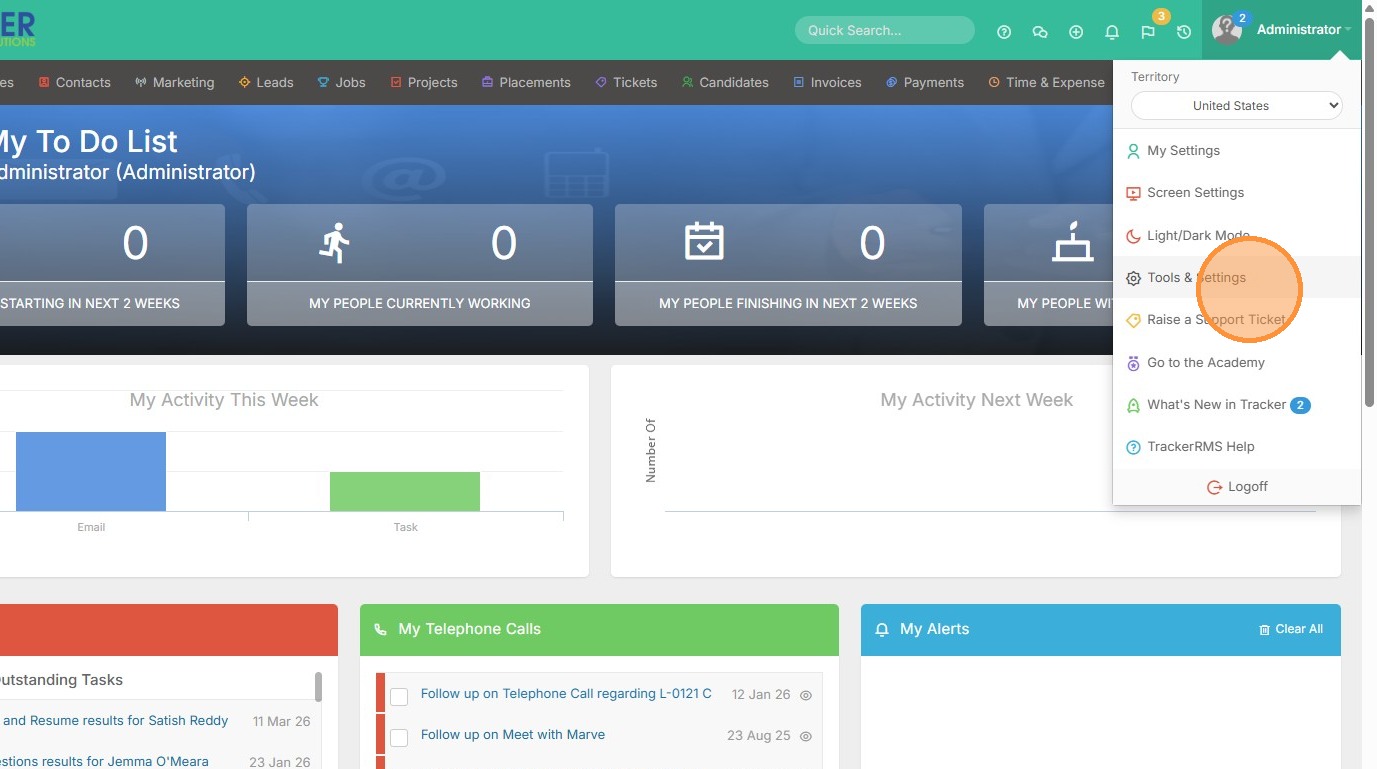
3. Click "Tools & Settings"
4. Click "Get started" on the Custom Fields option.
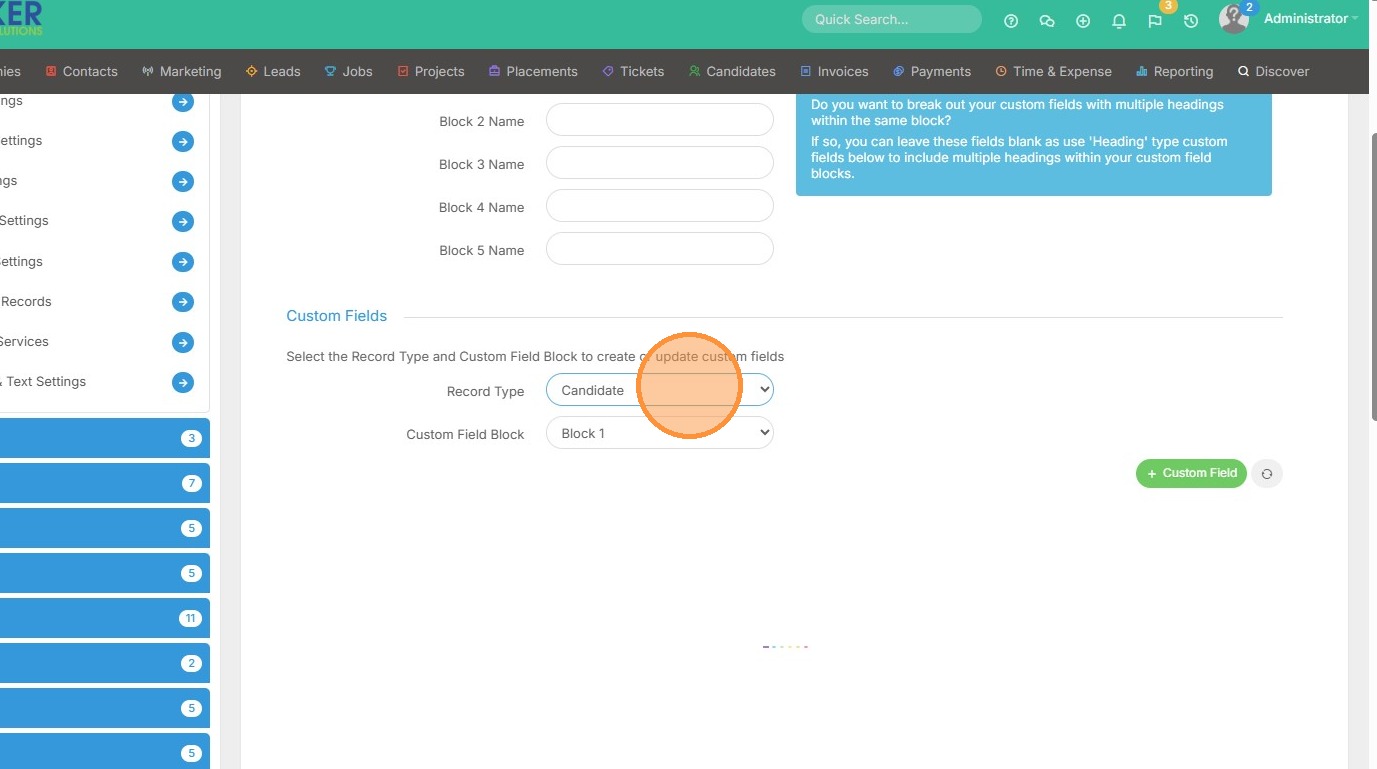
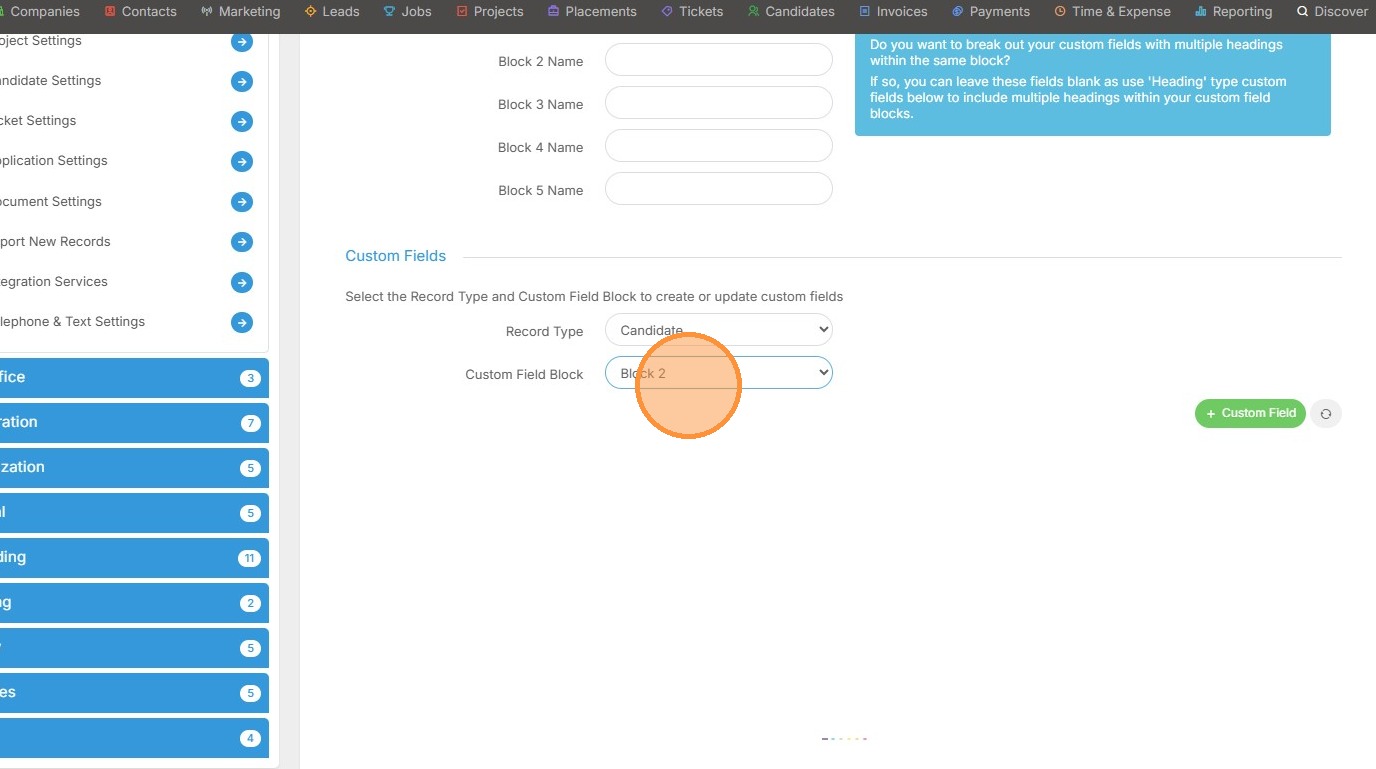
5. Select the "Candidate" record since that's where our custom field lives.
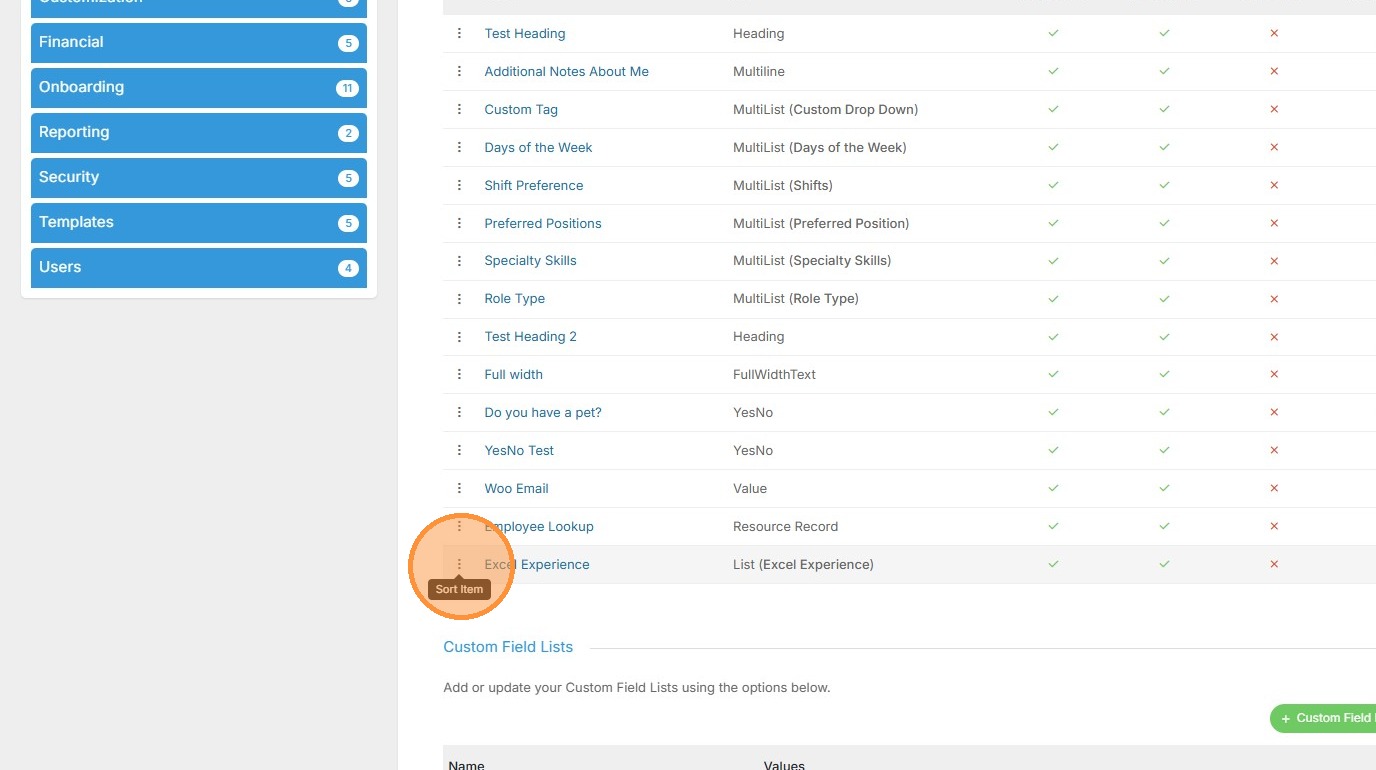
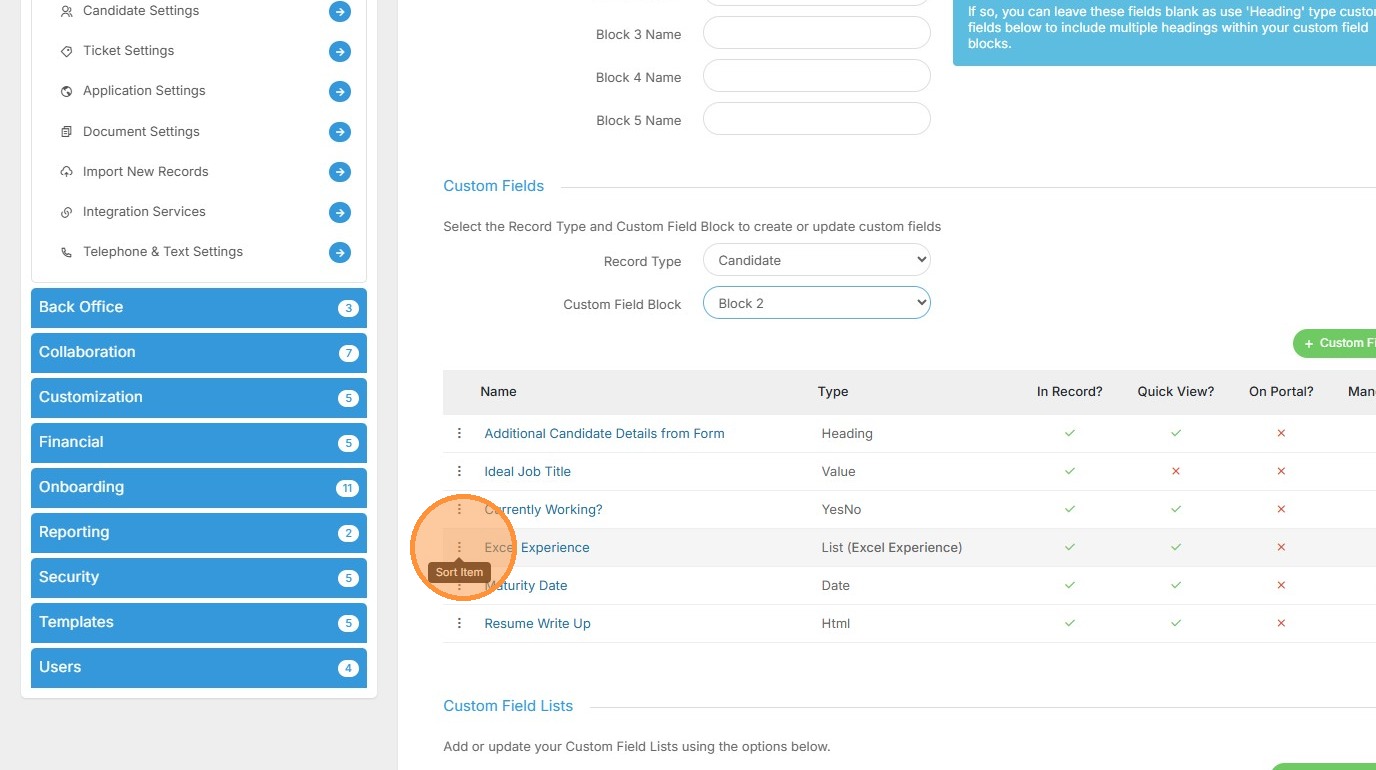
6. Use these 3 dots to drag this above other custom fields if desired. Or click on Excel Experience to change the record block it resides under.
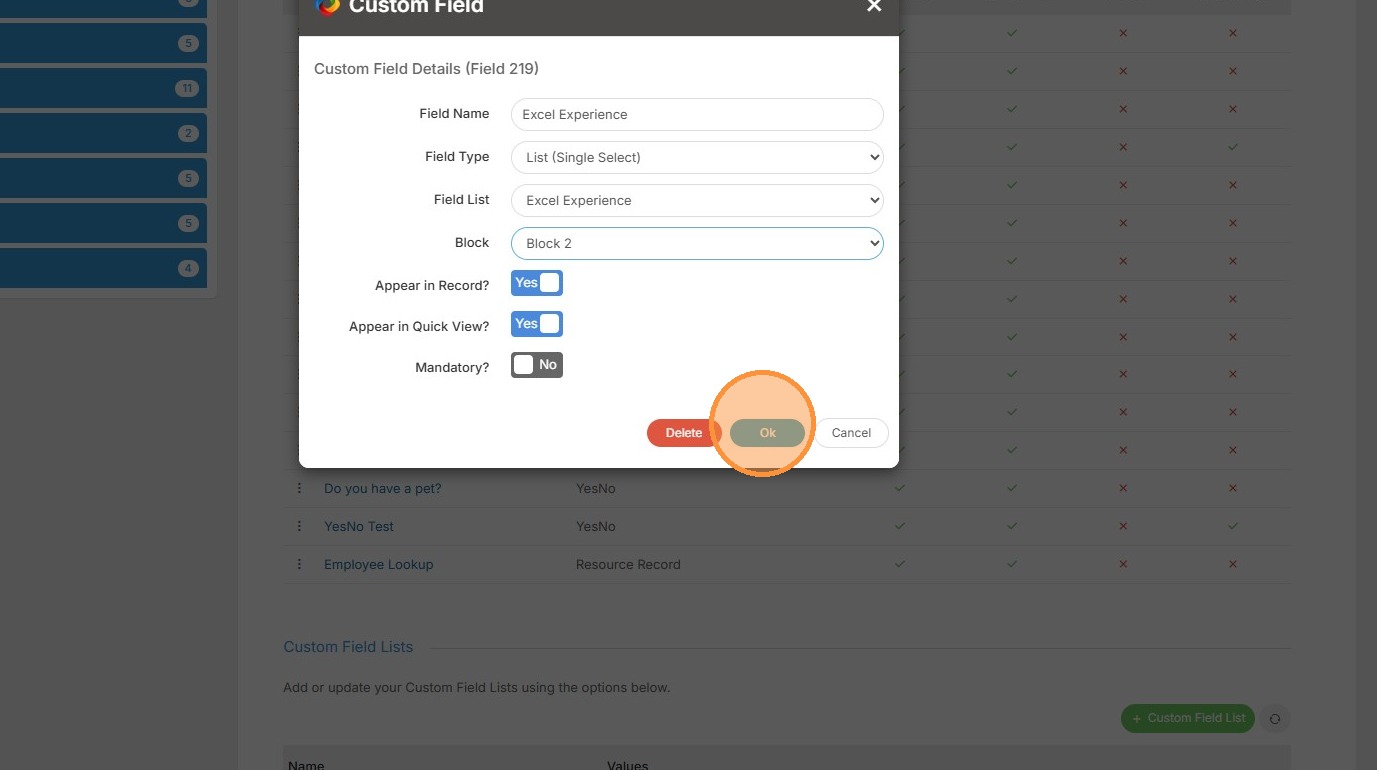
7. Select the "Block 2" option.
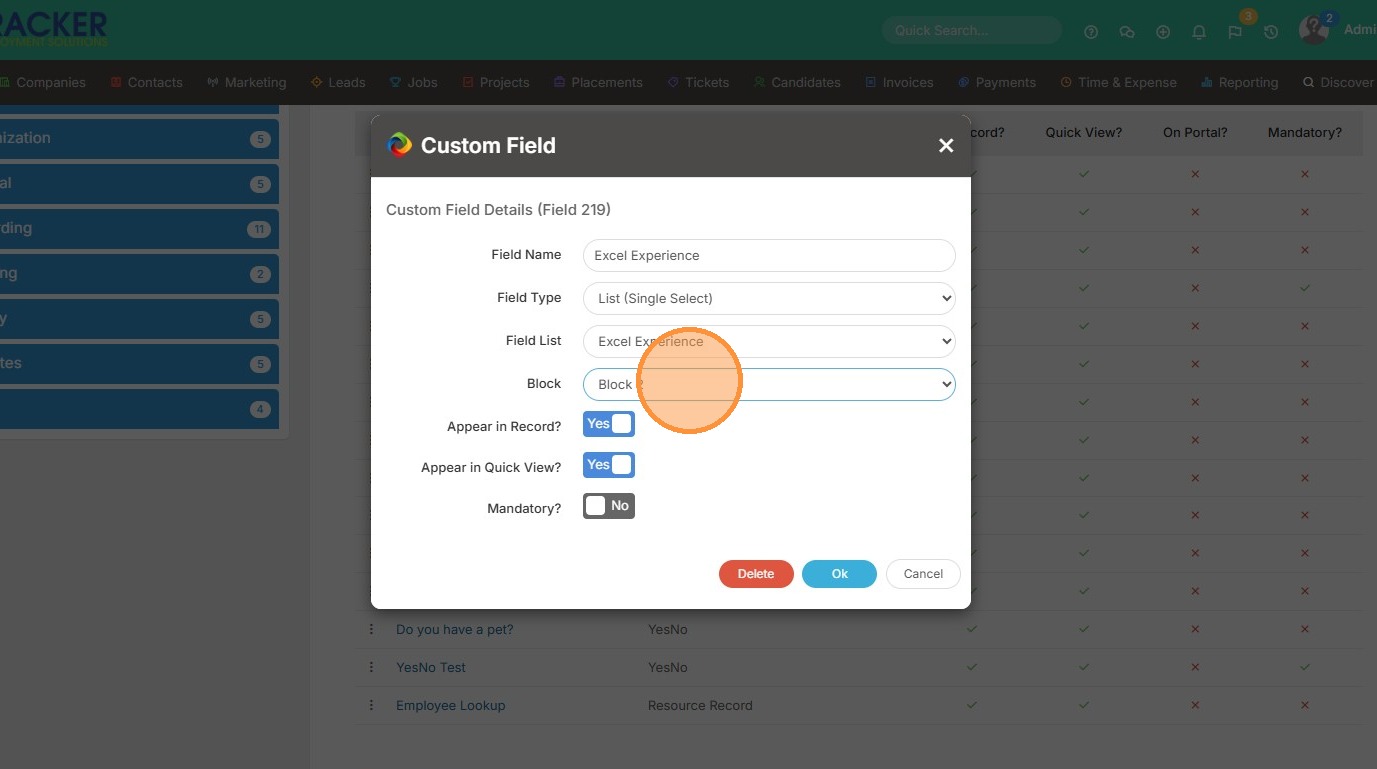
8. Click "Ok"
9. Now under Custom Fields select the "Block 2" option.
10. Here you can rearrange Excel Experience once more by clicking on these 3 dots and dragging it below or above the other fields in block 2.
11. Save your settings, and then Click "Tools Home"

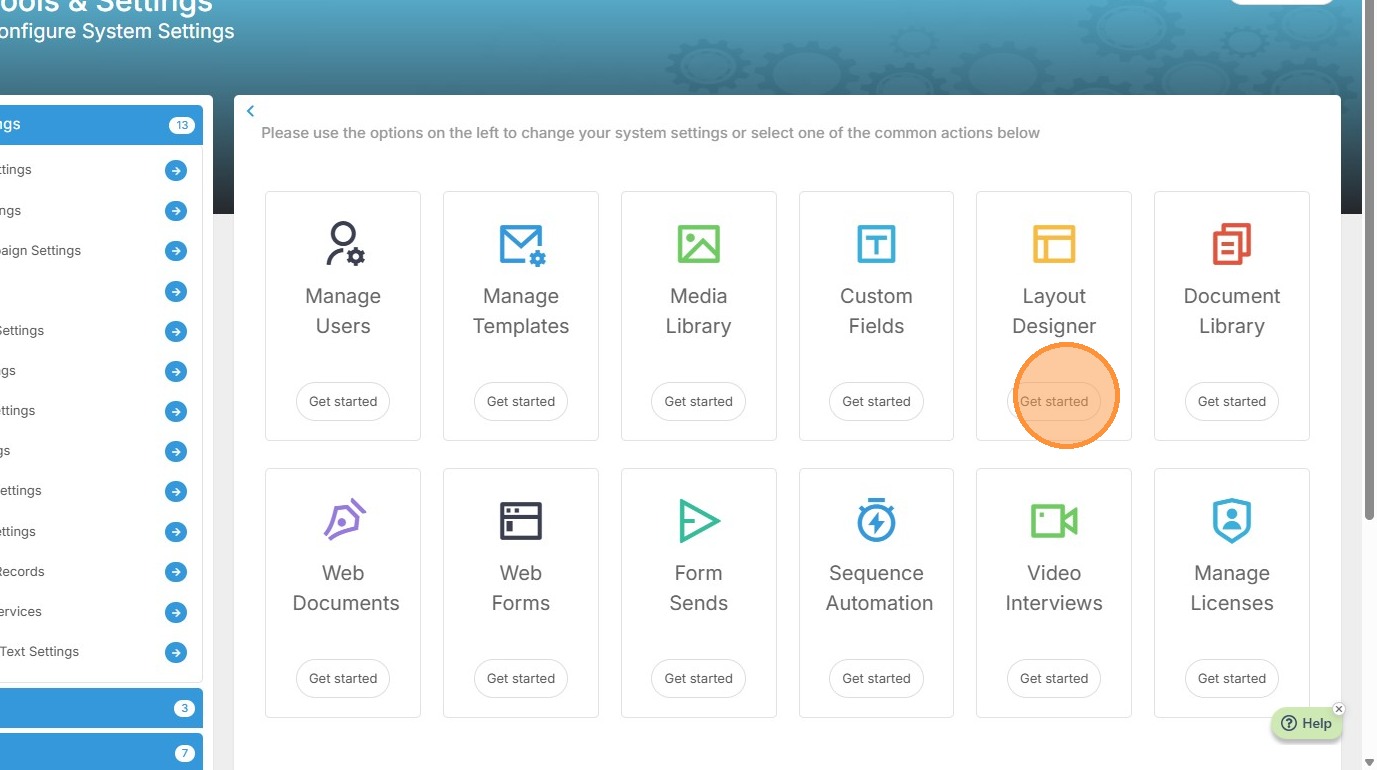
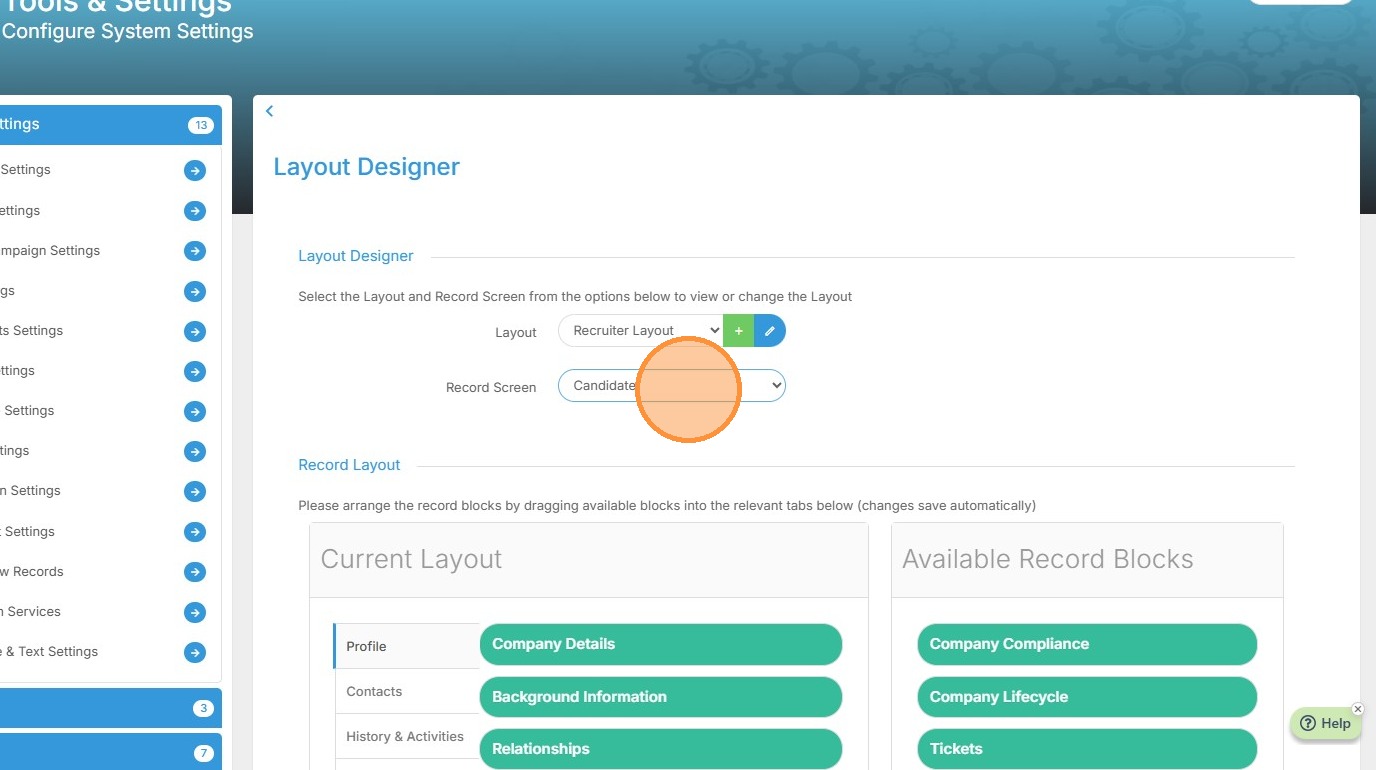
12. Click "Get started" on the Layout Designer.
13. Select the "Candidate" option.
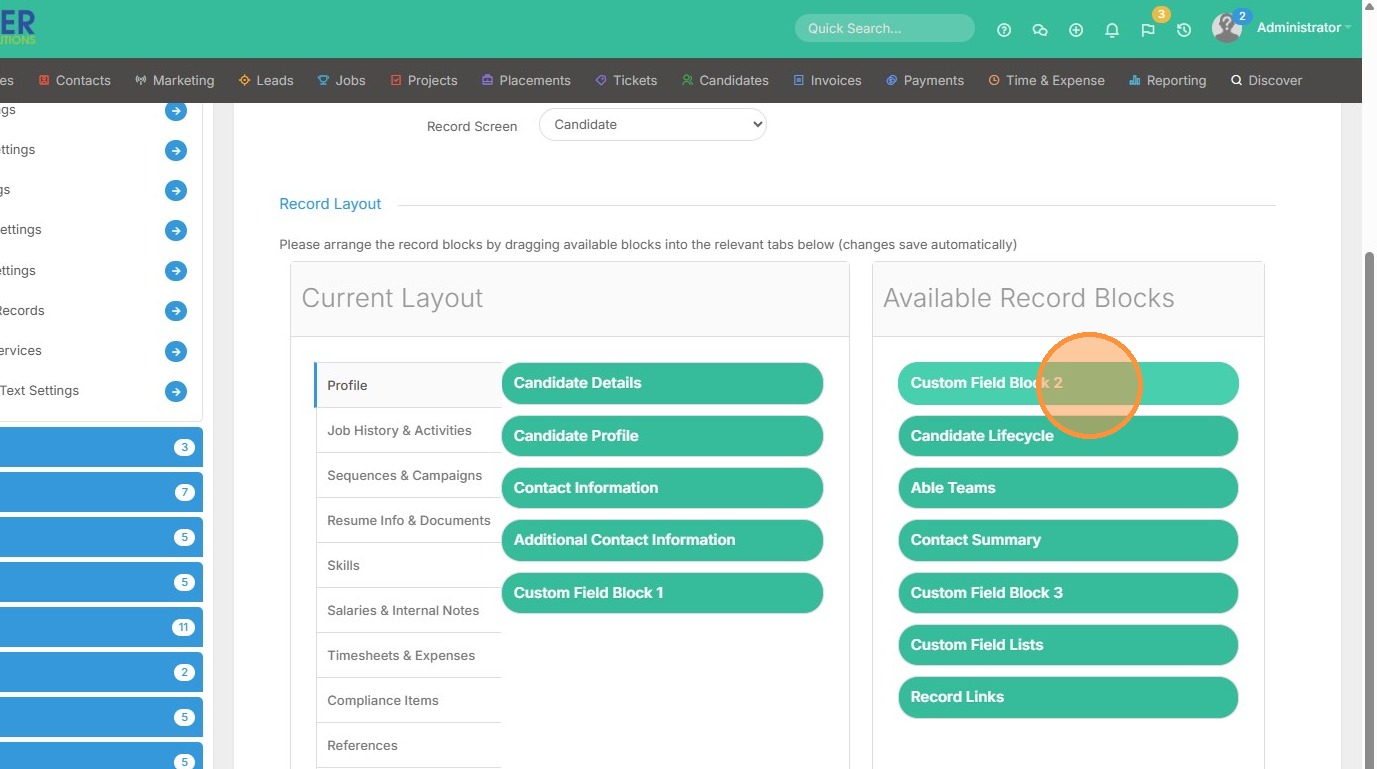
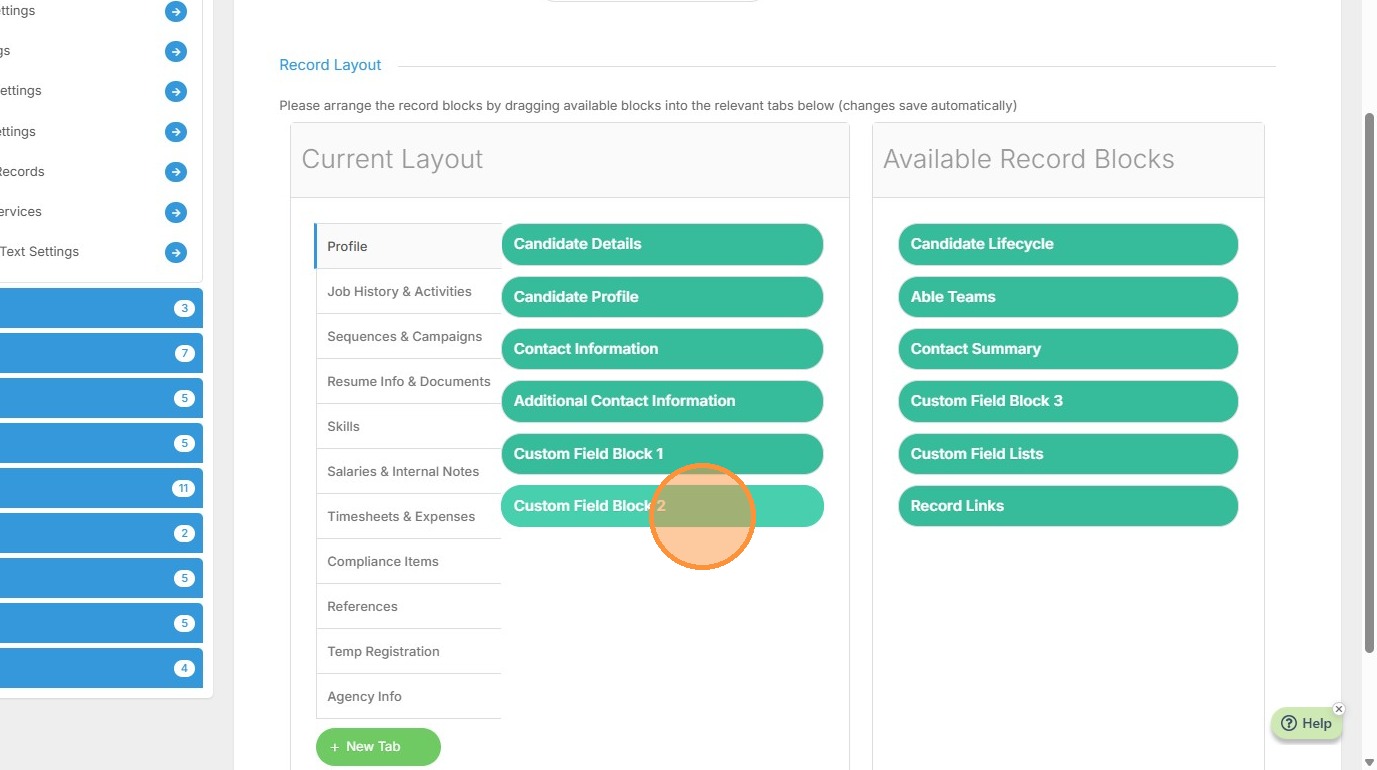
14. Here you can click "Custom Field Block 2" and drag it to wherever you would like in the candidate record. For example, I want it in the Profile tab, below Custom Field Block 1
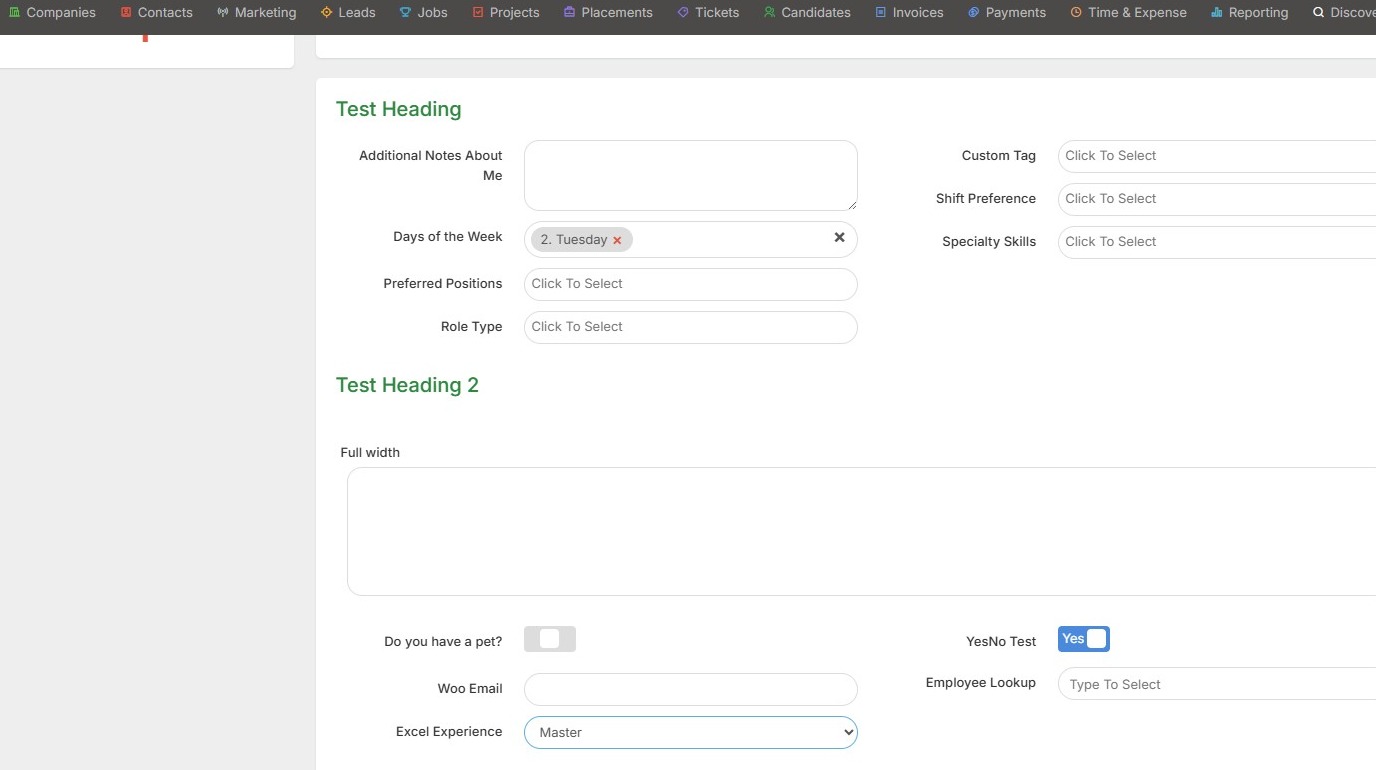
15. Now it's in the spot I want.
16. Click back into the candidate record, and you will see its new spot.