This lesson explains how to adjust your Invoice Settings.
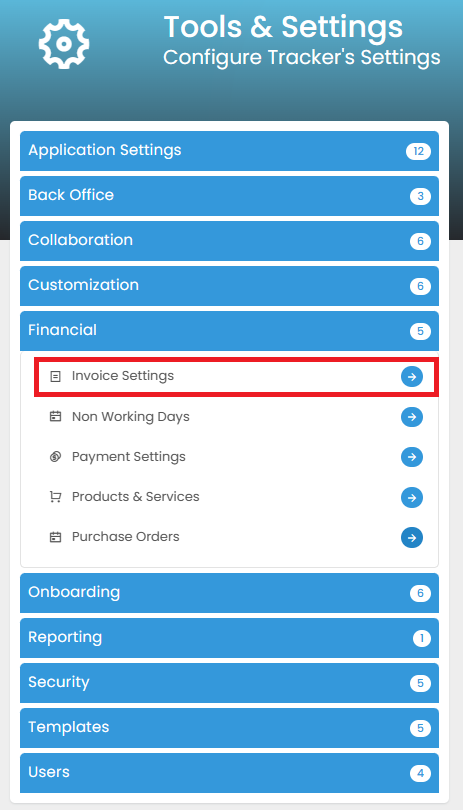
To access Invoice Settings, go to your name in the top, right hand corner of the screen and select Tools & Settings. Go to the Financial Section and click on the arrow next to Invoice Settings. If this isn't visible, you will need to ask your Administrator or Client Success Manager to add the privilege to your User Group.
General Settings
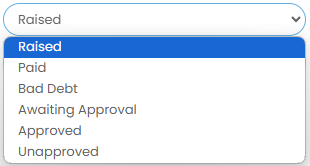
| Default Invoice Status |
When an Invoice is first created, you can set the Default Status by selecting one of the options above. Initially the Status will be Raised, so generally, it will be this which you have as the Default |
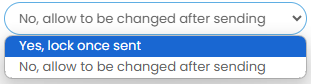
| Lock Invoice Date on First Send |
If you want the Invoice Date to be locked when the Invoice is first sent, select this from the dropdown. Should you want the ability to edit this after it has been sent, select 'No, allow to be changed after sending' |
| Default Invoice Terms |
To adjust the Invoice Term dates, either enter the number or use the up and down arrows in this box |
| Default Tax Rate |
To set a Default Tax Rate, enter the number or use the up and down arrows in this box |
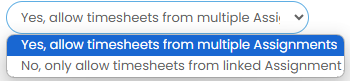
| Allow Multiple Assignment Timesheet Invoices |
If you want to add timesheets from different Assignments/Projects to the Invoice, select Yes. If No, the Invoice will only include timesheets that are on the same Assignment/Project |
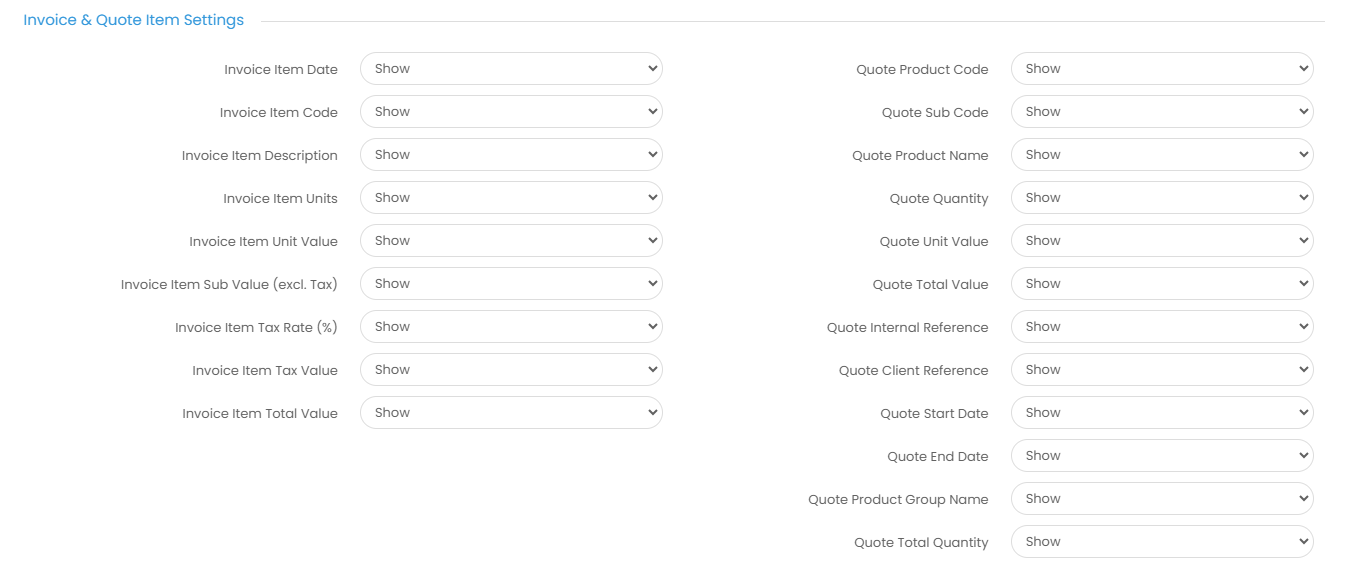
Invoice & Quote Item Settings
All of the below settings have the option of being shown within the columns of an Invoice when it is created. If you want to show the item, select 'Show' from the dropdown; if they are not required, switch to 'Hide'.
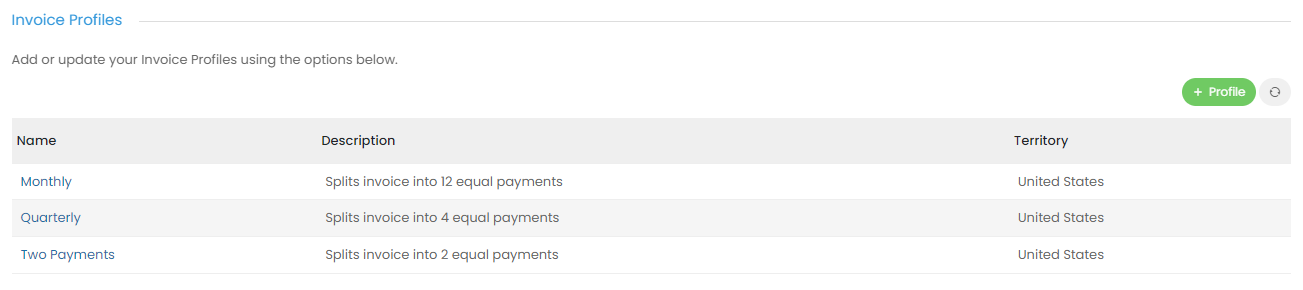
Invoice Profiles
Invoice profiles are used to split an Invoice over a set period of time. In the examples below we have Monthly, Quarterly, and Two Payments, but you may want to add Annual to this list, for example. Hit the green '+Profile' button and enter a profile name, a description and if you have more than one territory set in your system, select one, or 'All' from the territory list.