1. When sending campaigns in Tracker, you have the option to schedule that campaign to send out at a later date.

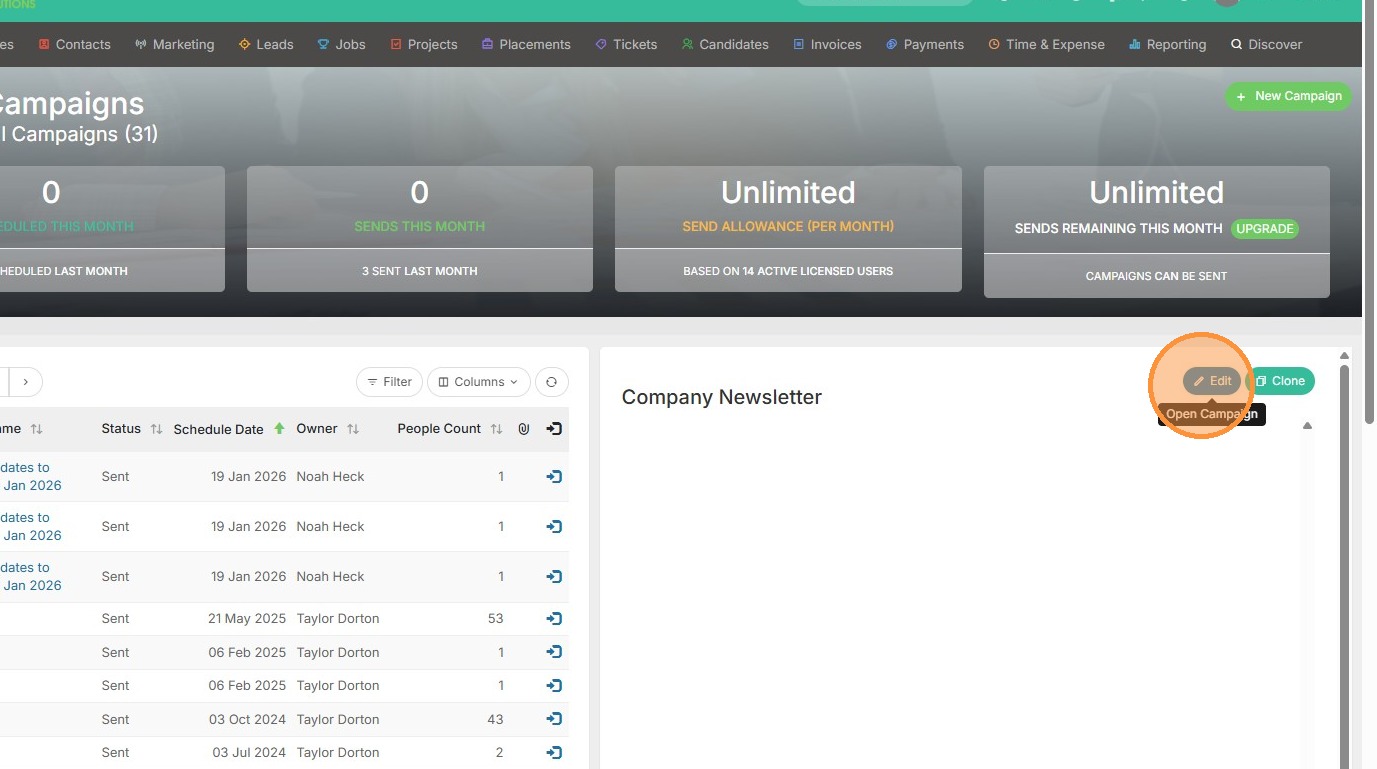
2. To begin, select your campaign and click Edit.
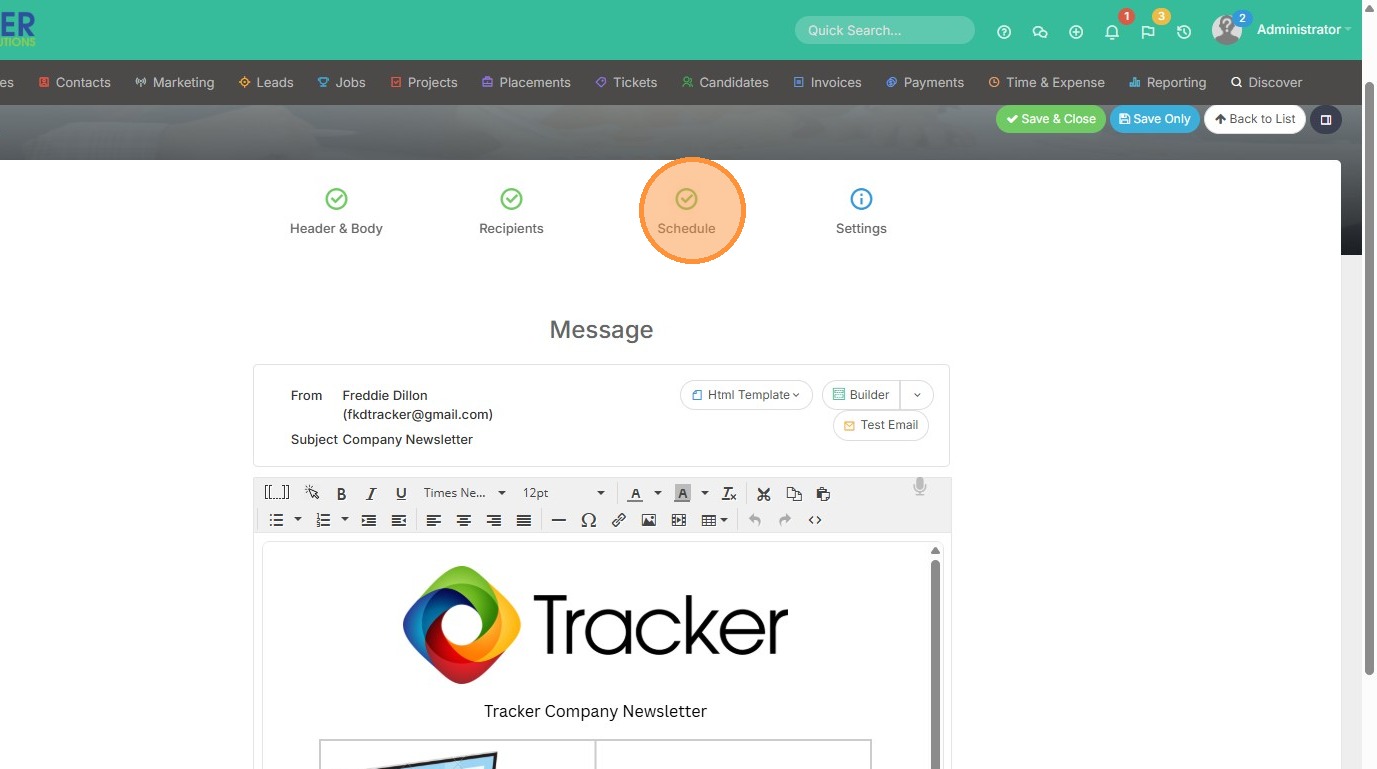
3. I would like to schedule my company newsletter to send out on a Wednesday in the future. So here we will click Schedule.
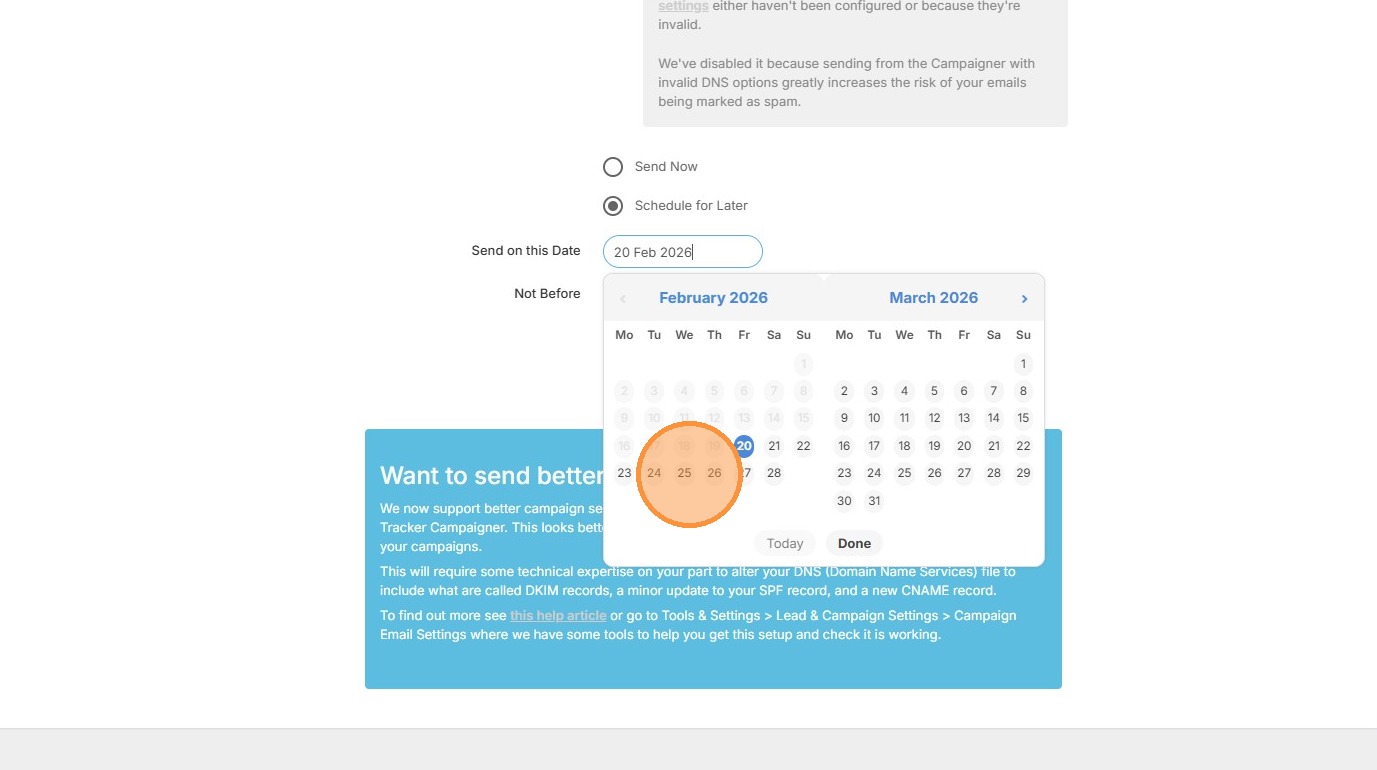
4. Click the "Send on this Date" field.
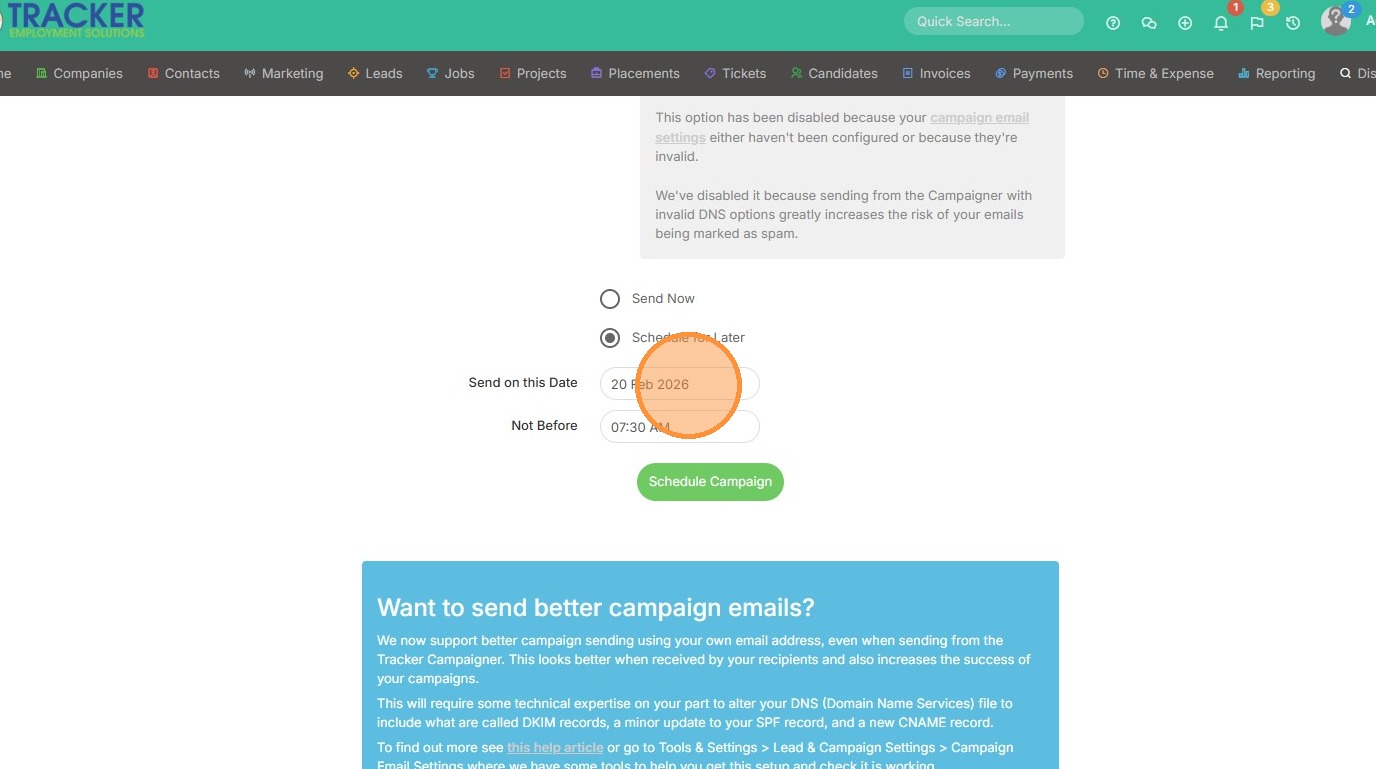
5. Select the date.
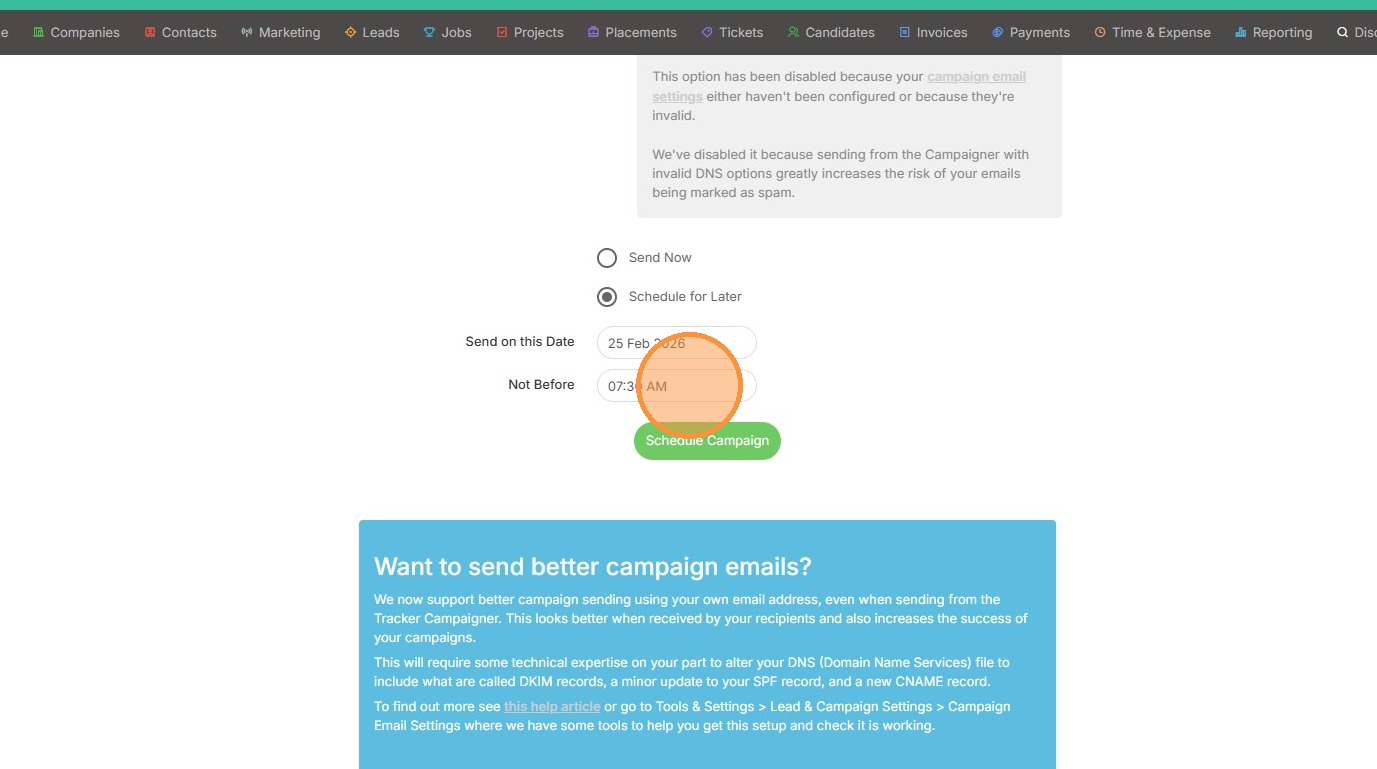
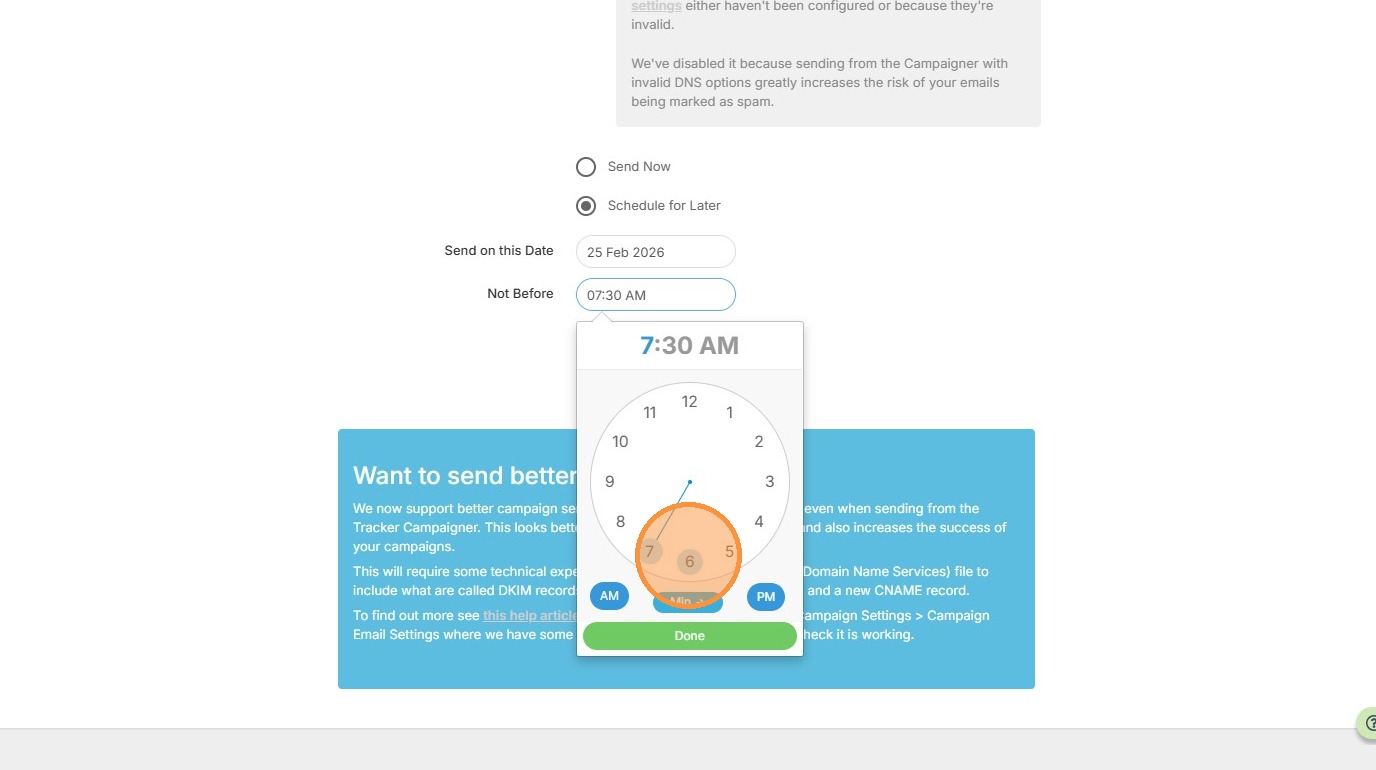
6. Click the "Not Before" field to schedule the time.
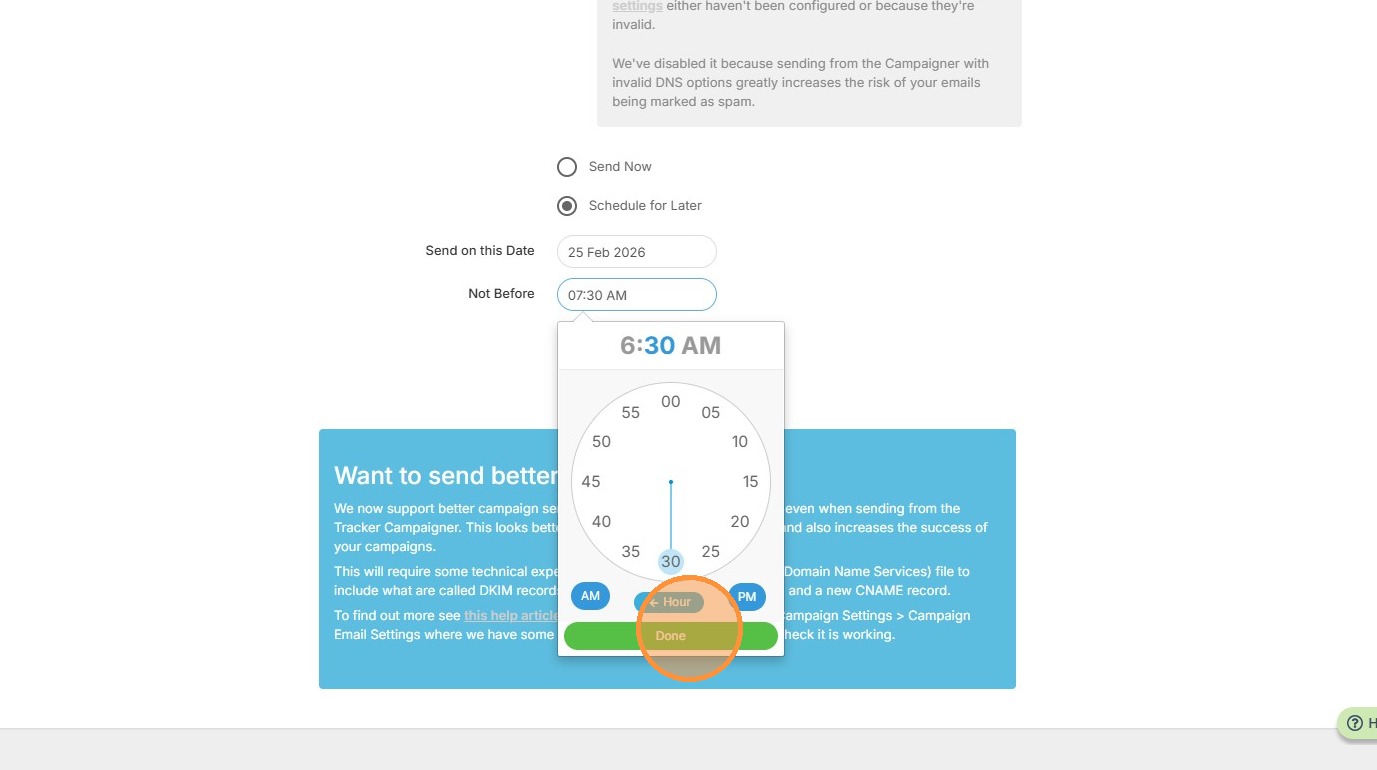
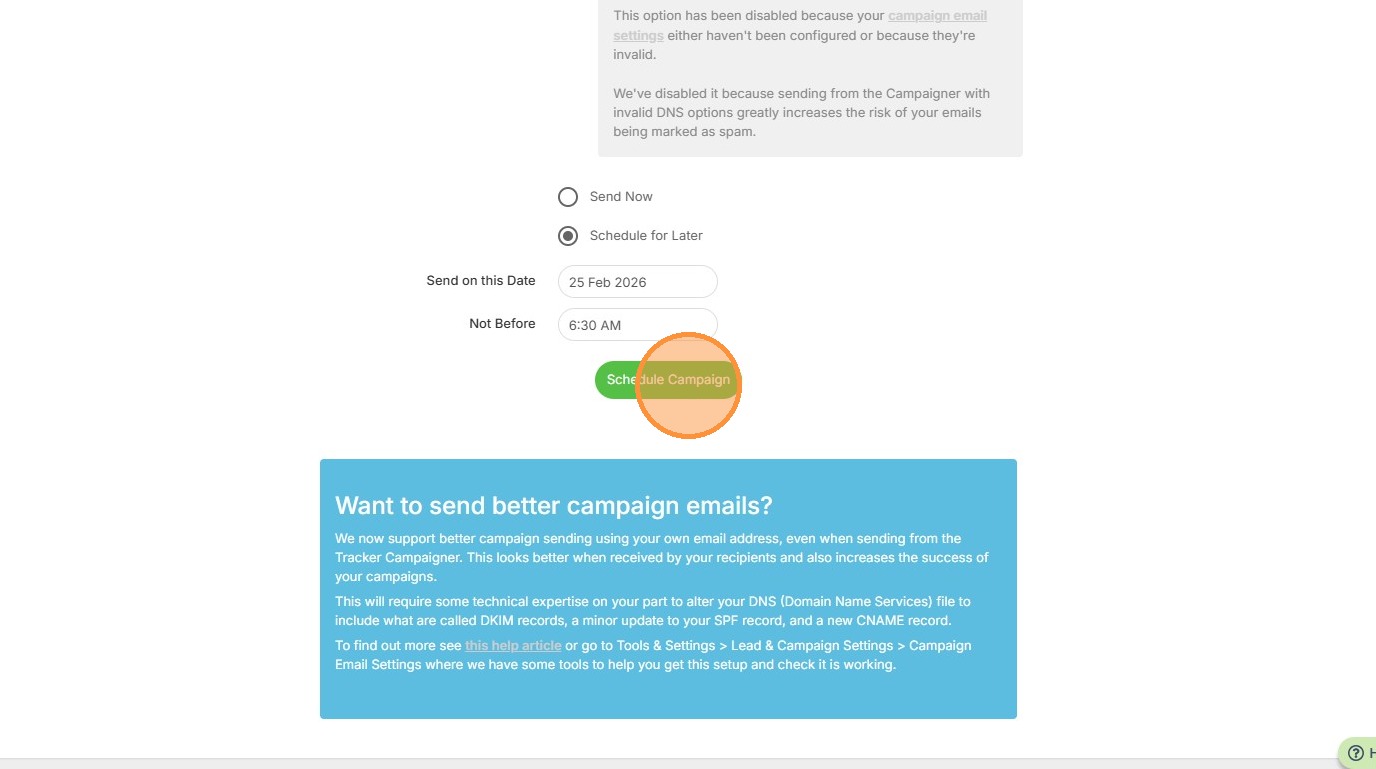
7. Here we can say we don't want the campaign to send out before 6:30am PST (my system's timezone).
8. Click "Done"
9. Click "Schedule Campaign"
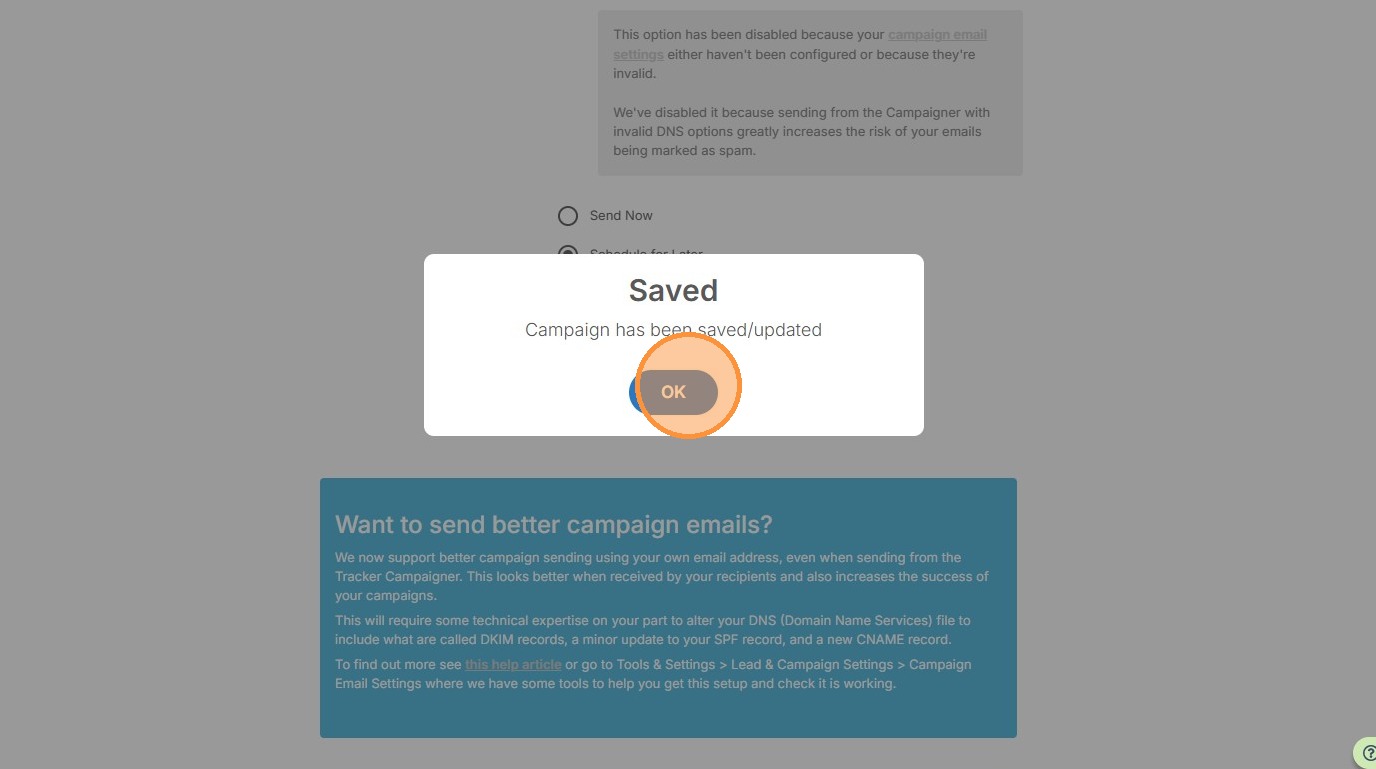
10. Click "OK"
11. Click "Back to List" to view the Scheduled campaign.
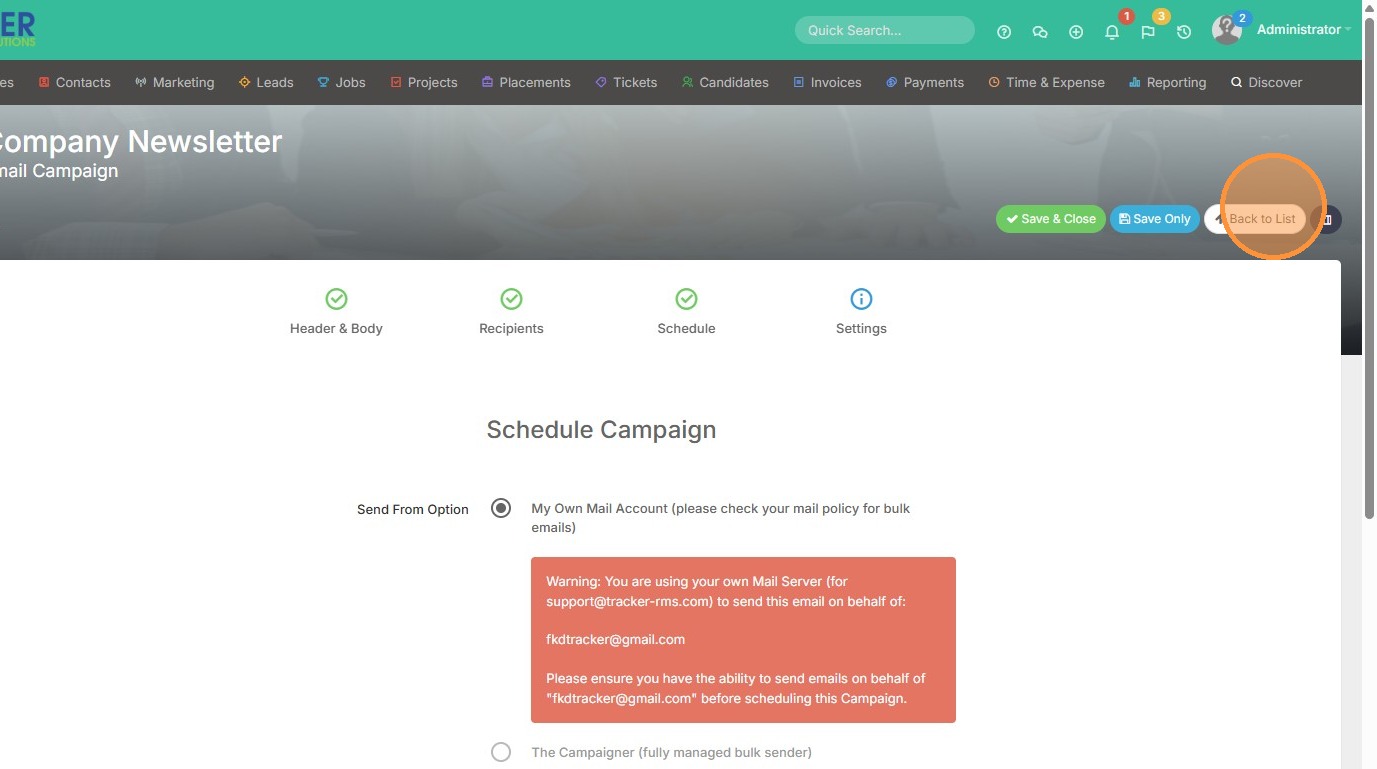
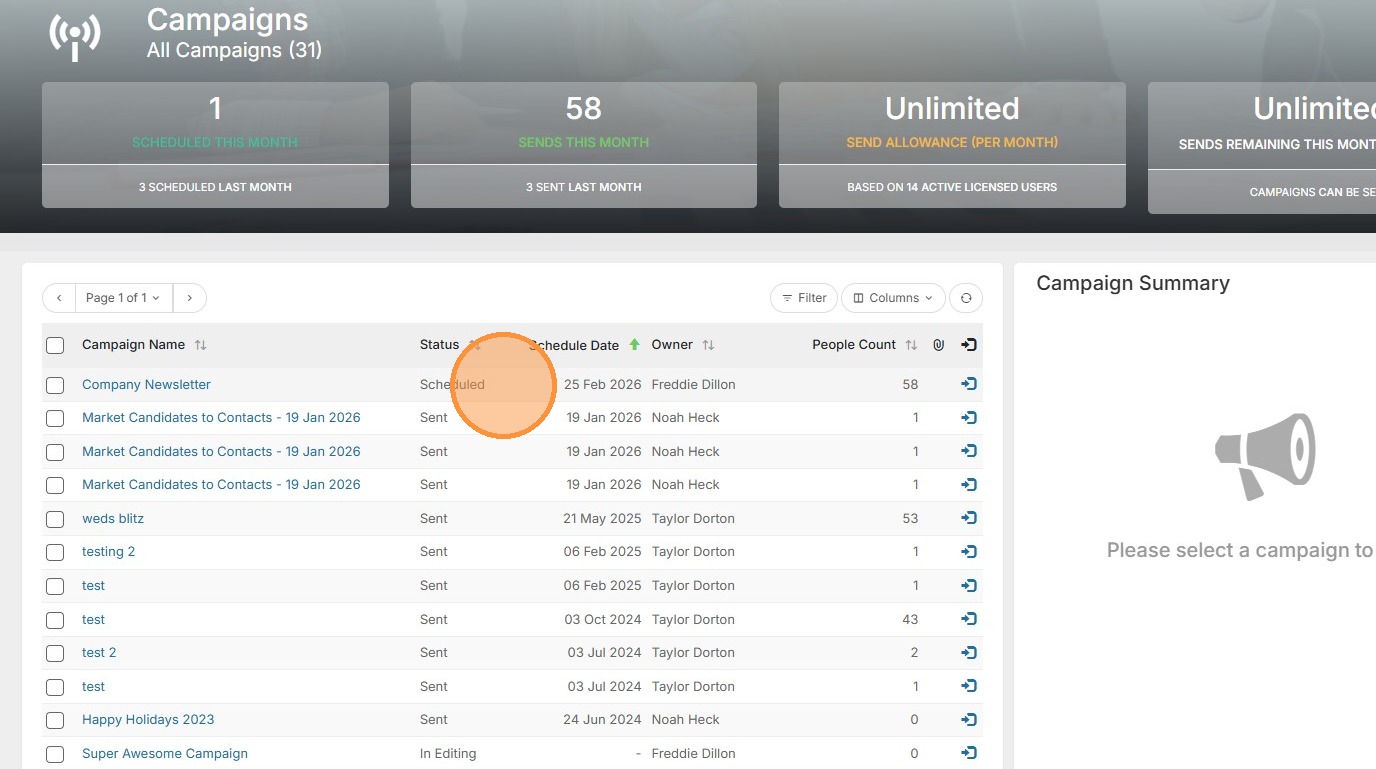
12. Here you can see it's at the top of the list, with the Status: Scheduled.