This lesson explains how to Populate a Timesheet.
- Once you have converted your placed job into an active project. You are going to want to go to the project team to work with the candidates to work with the timesheets. Click on “Tasks & Activities.”
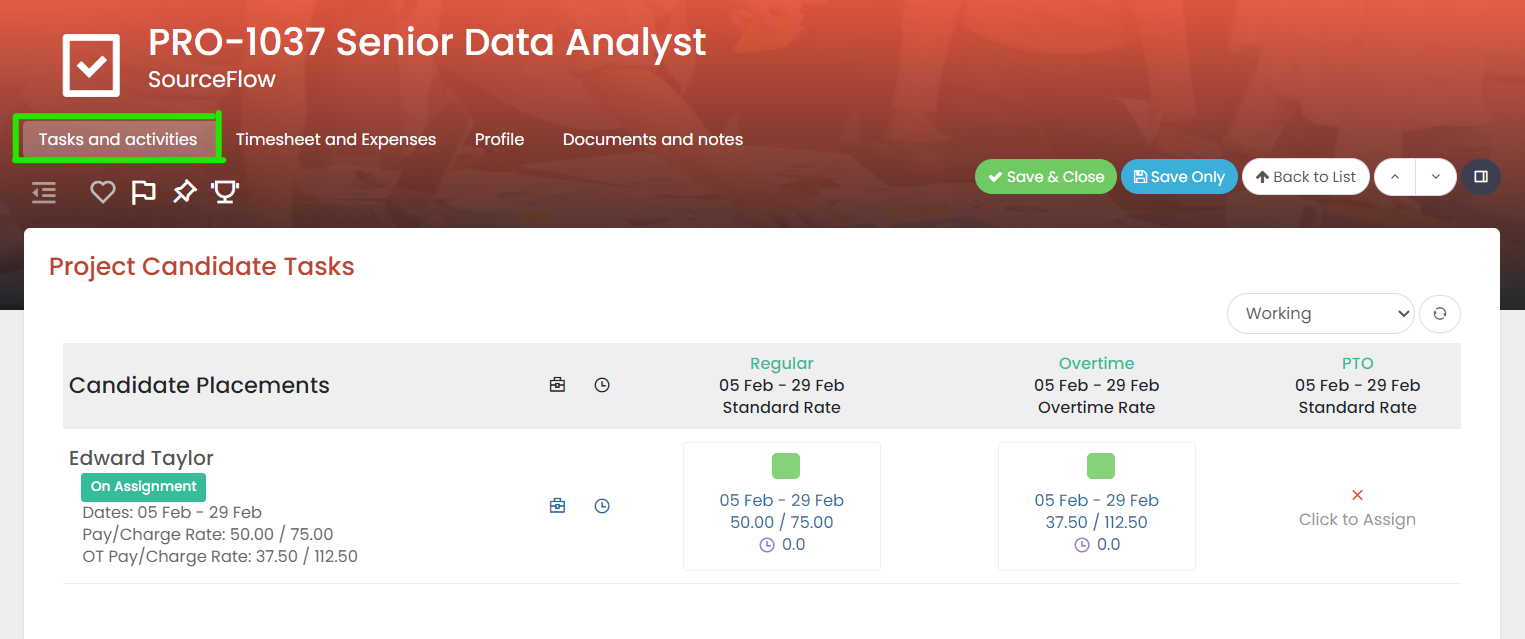
- Once you are in this tab, scroll down and under “Project Team” you will see your candidates and here go ahead and click on the placement record and then click on the timesheet section.

- In the timesheet section you will see the timesheet settings as well as the timesheet tasks that can be applied in this timesheet. At the top you will see “Timesheets?” which means they do have access to timesheets, you can then click on yes or no. You will have the option to allow this person to clock in or clock out using time, or you can just add units of time by using the timesheet. For “Weeks Start On” if your week does not start on a Monday you can click on the drop down and change that right there. In the Timesheet tasks, you can see all the tasks available inside of Tracker to apply to a timesheet. Check off only ones that apply to this candidate in this project. Here you can say hours worked as well as overtime. Then hit “Save and Close.”

- Once you have hit “Save and Close” that will update the placement record as well as your timesheet. You can click on the timesheet icon click on this and now see all your activities for this project
