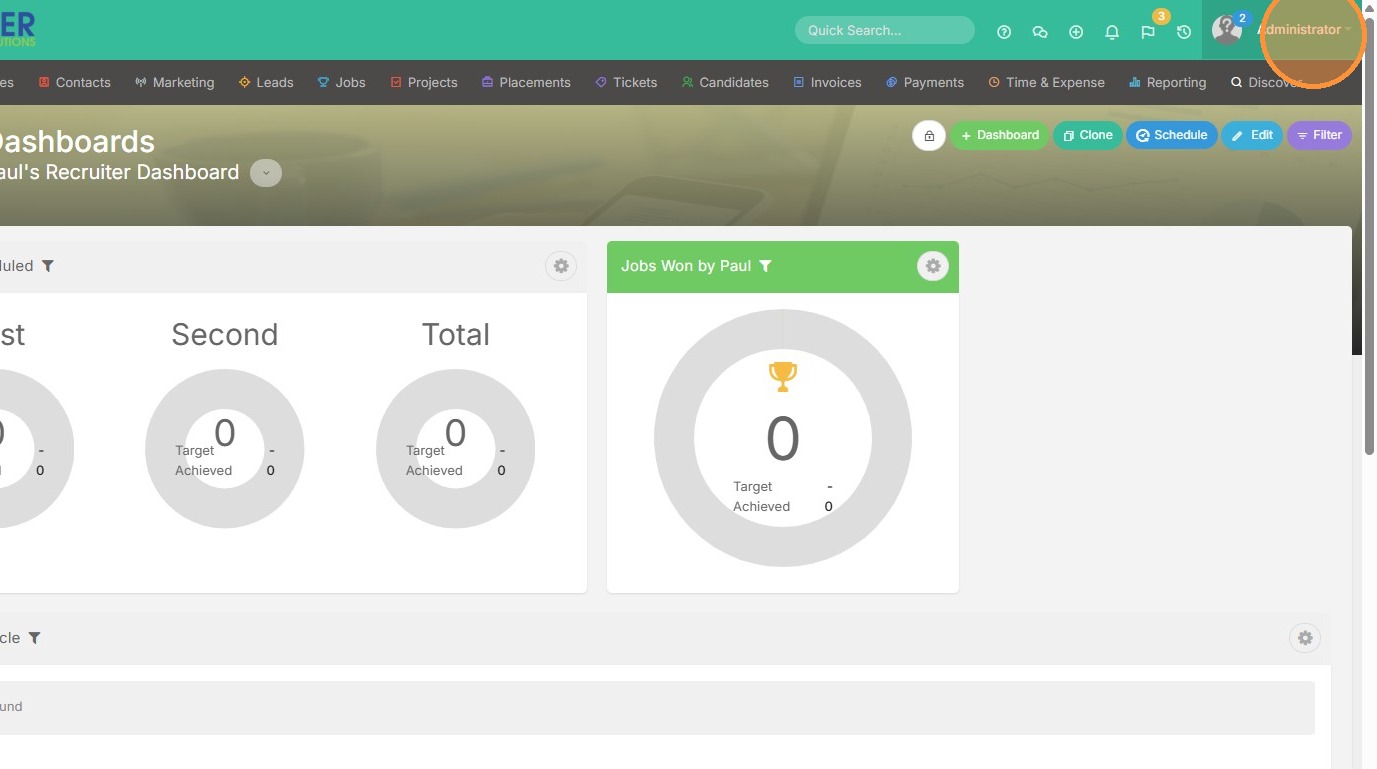
1. Click into Tools & Settings by selecting your name.
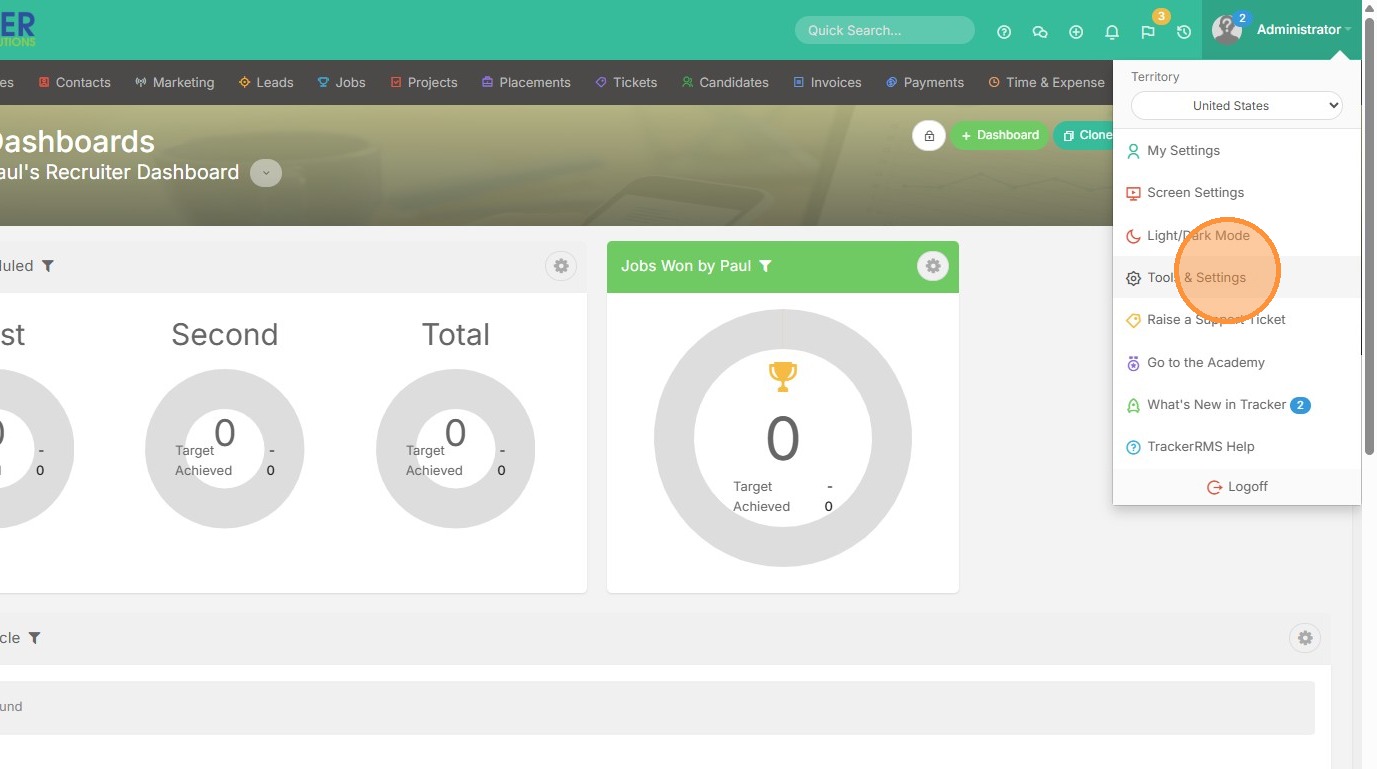
2. Click "Tools & Settings"
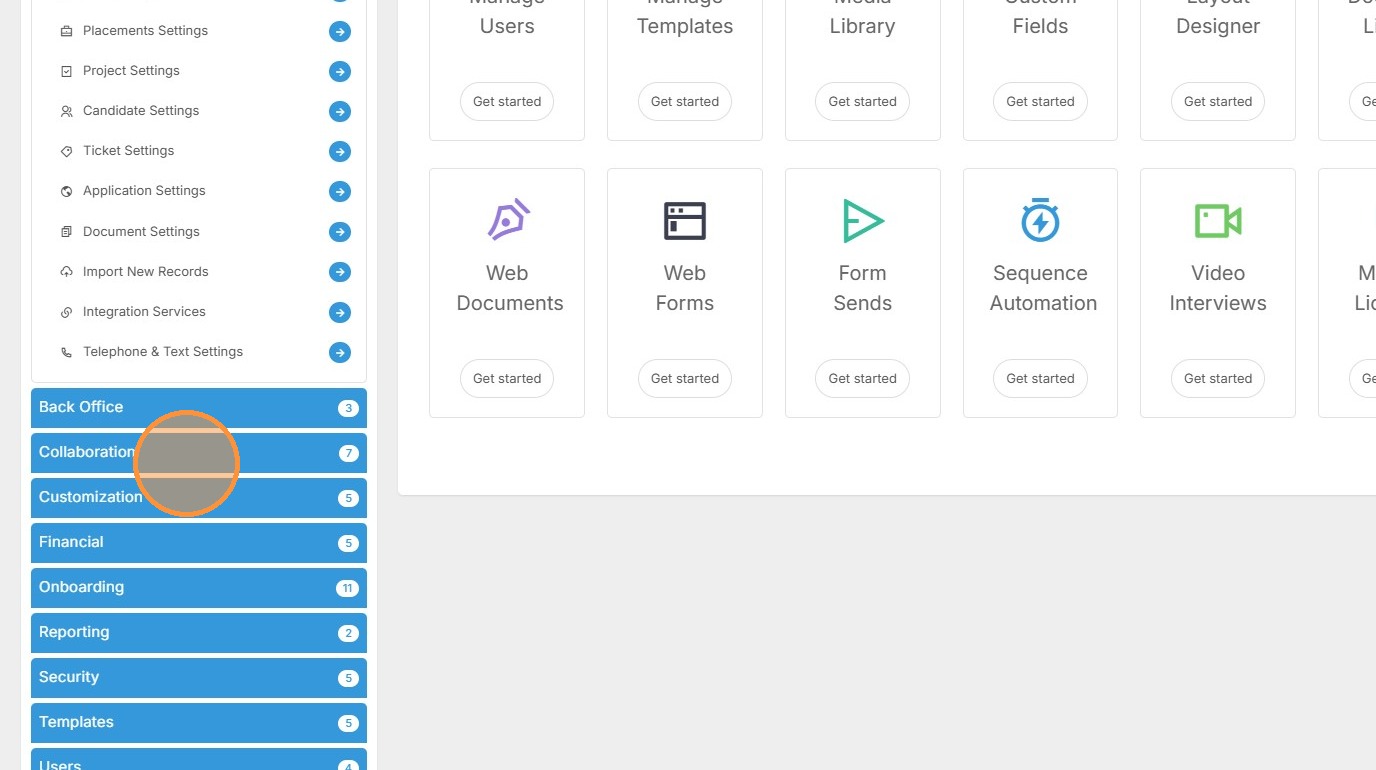
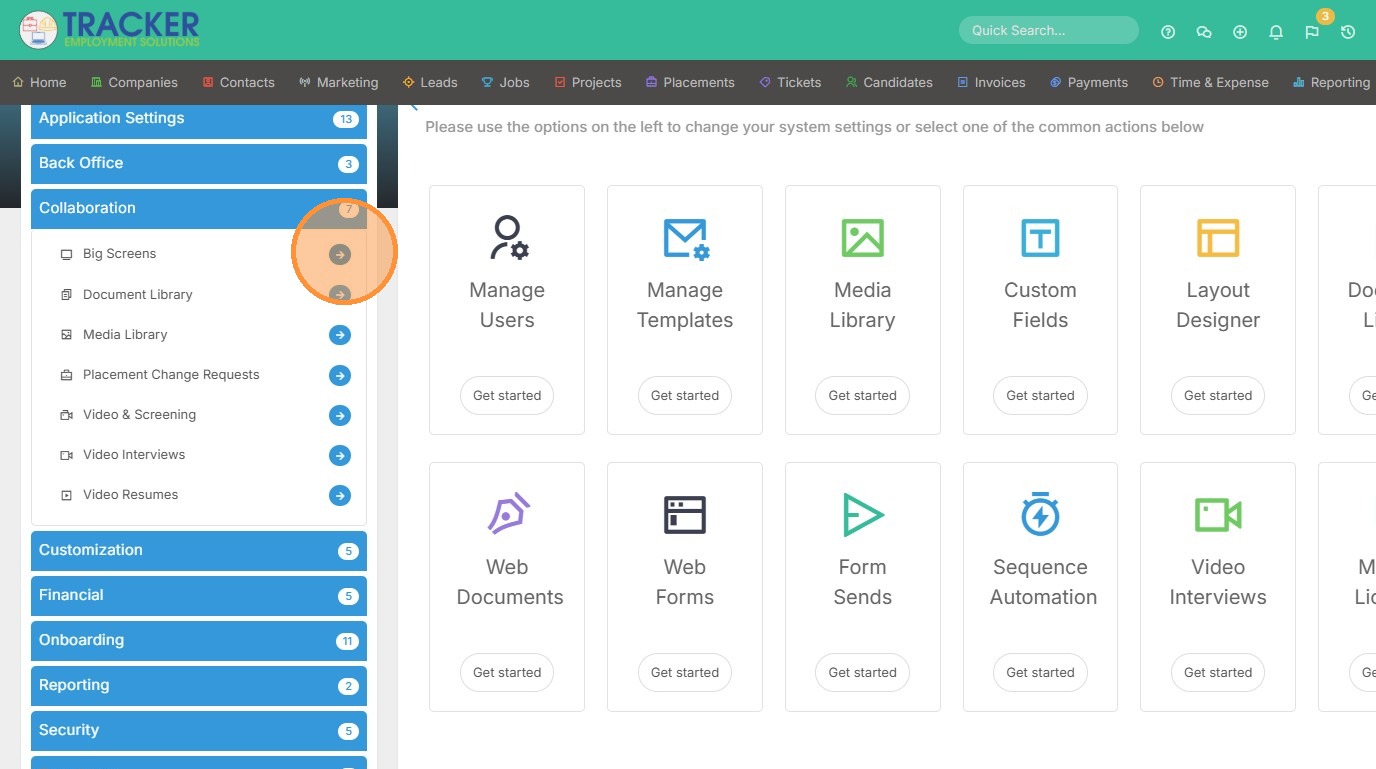
3. Click "Collaboration"
4. Click Big Screens.
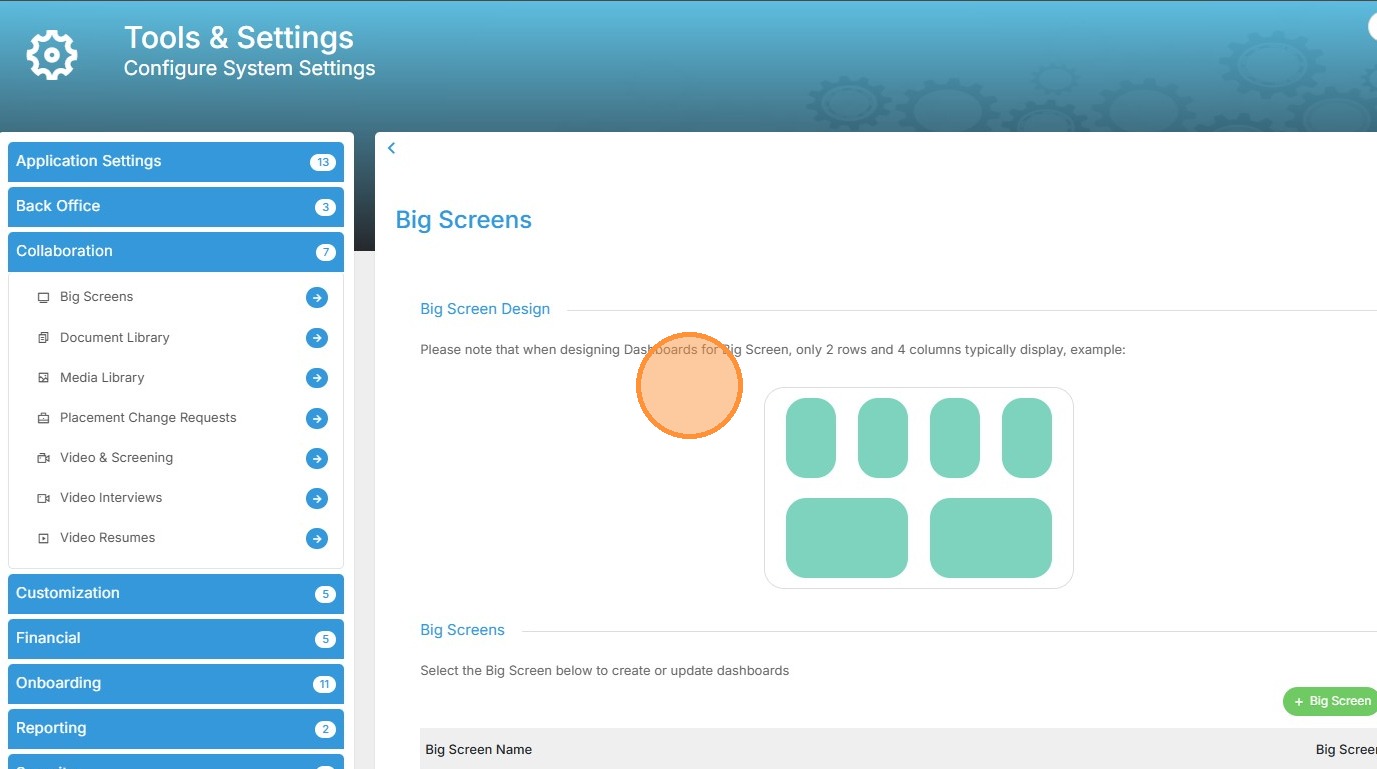
5. From here, it's important to note that "when designing Dashboards for Big Screen, only 2 rows and 4 columns display best".
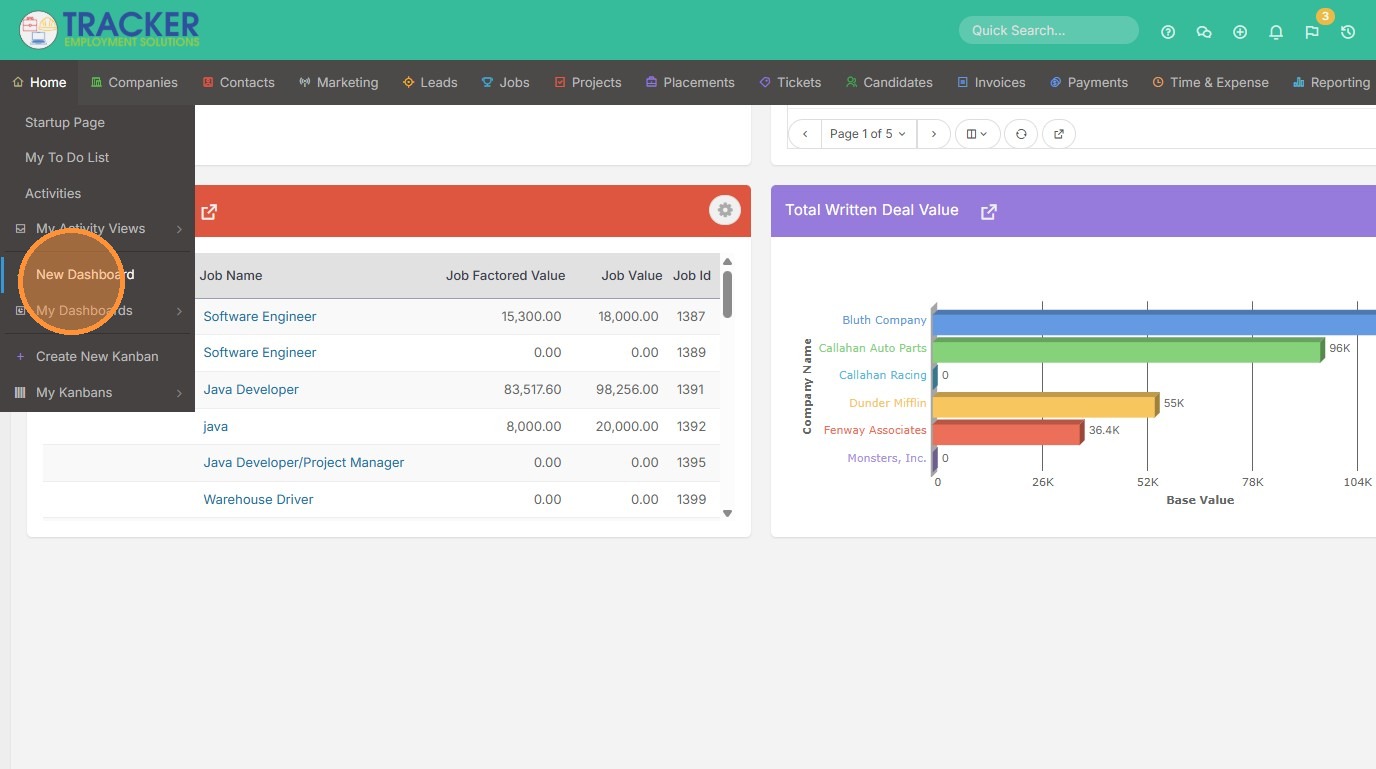
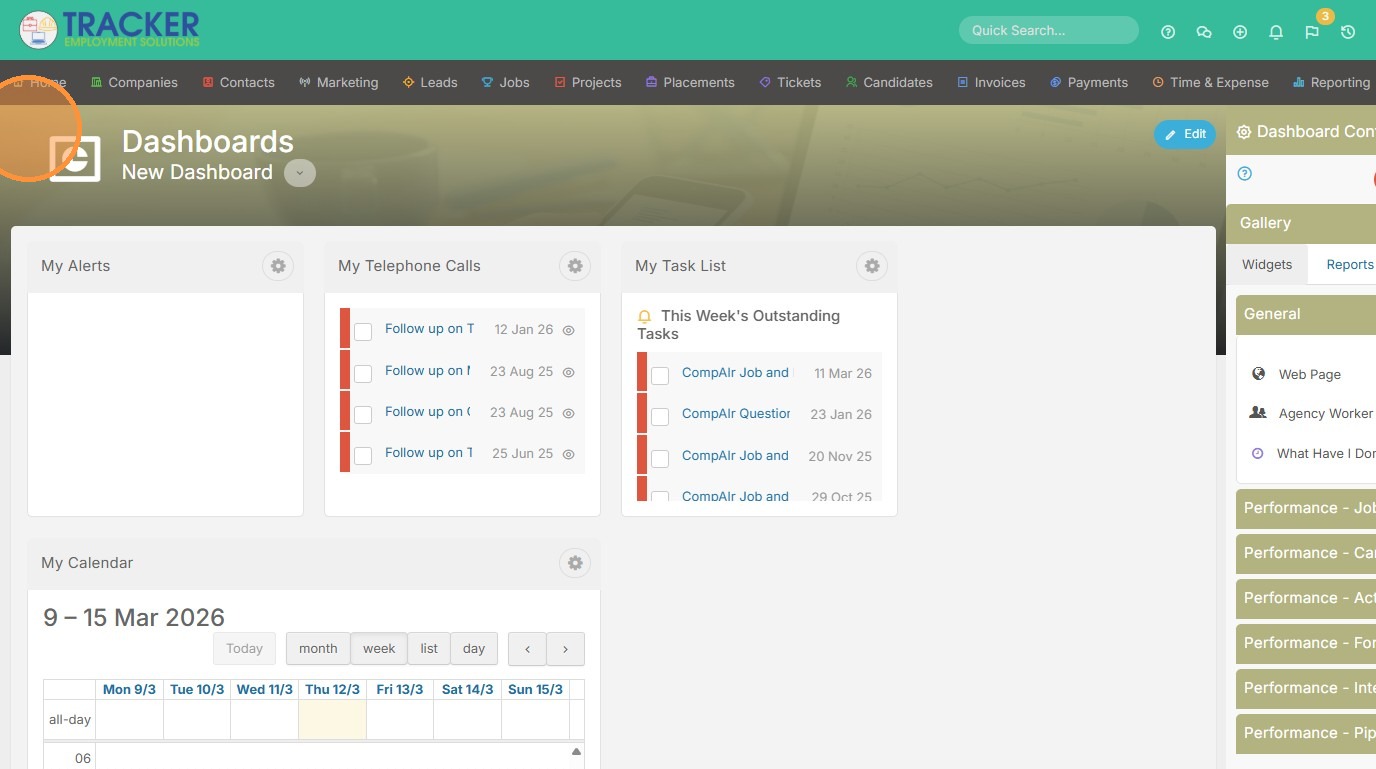
6. Hover over your Home tab and click "New Dashboard"
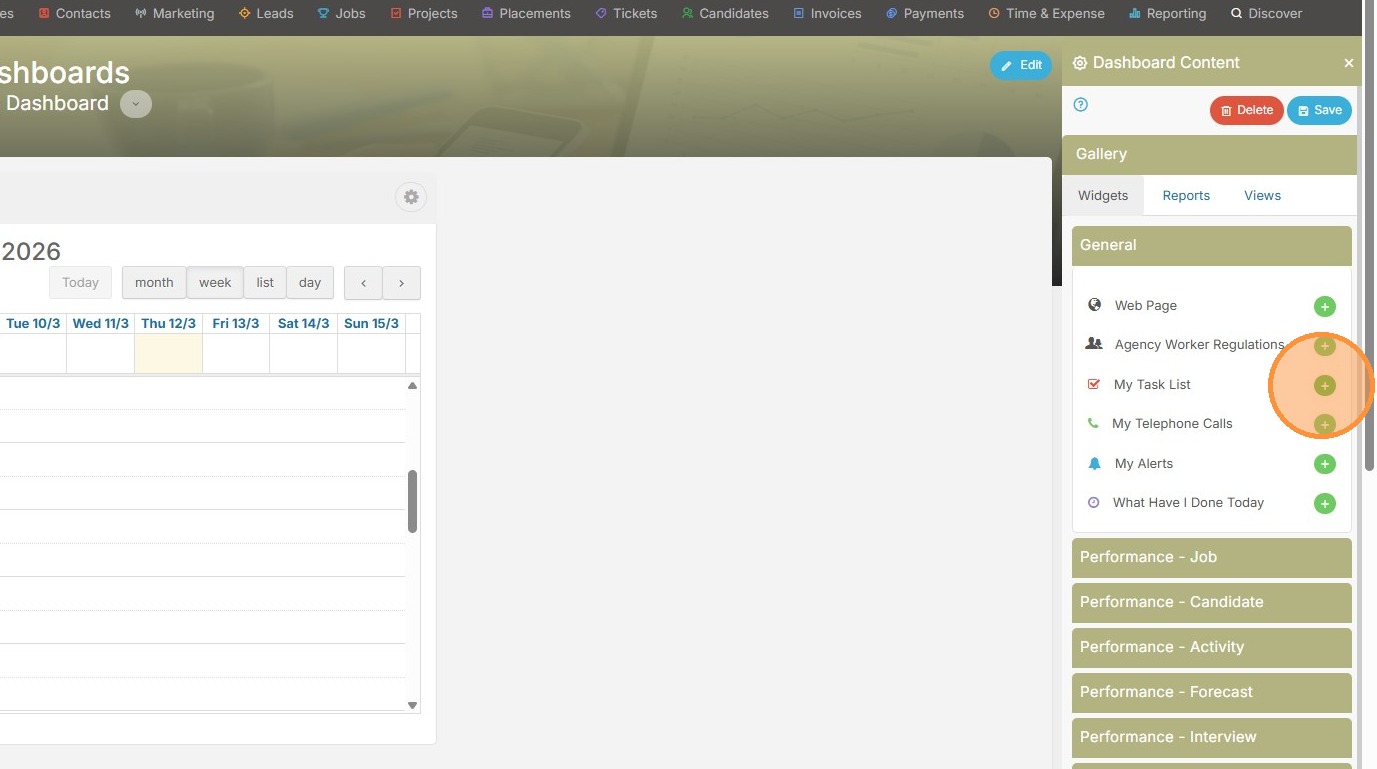
7. Here you can add the widgets, reports, or saved list views to the dashboard that you would like displayed on a big screen.
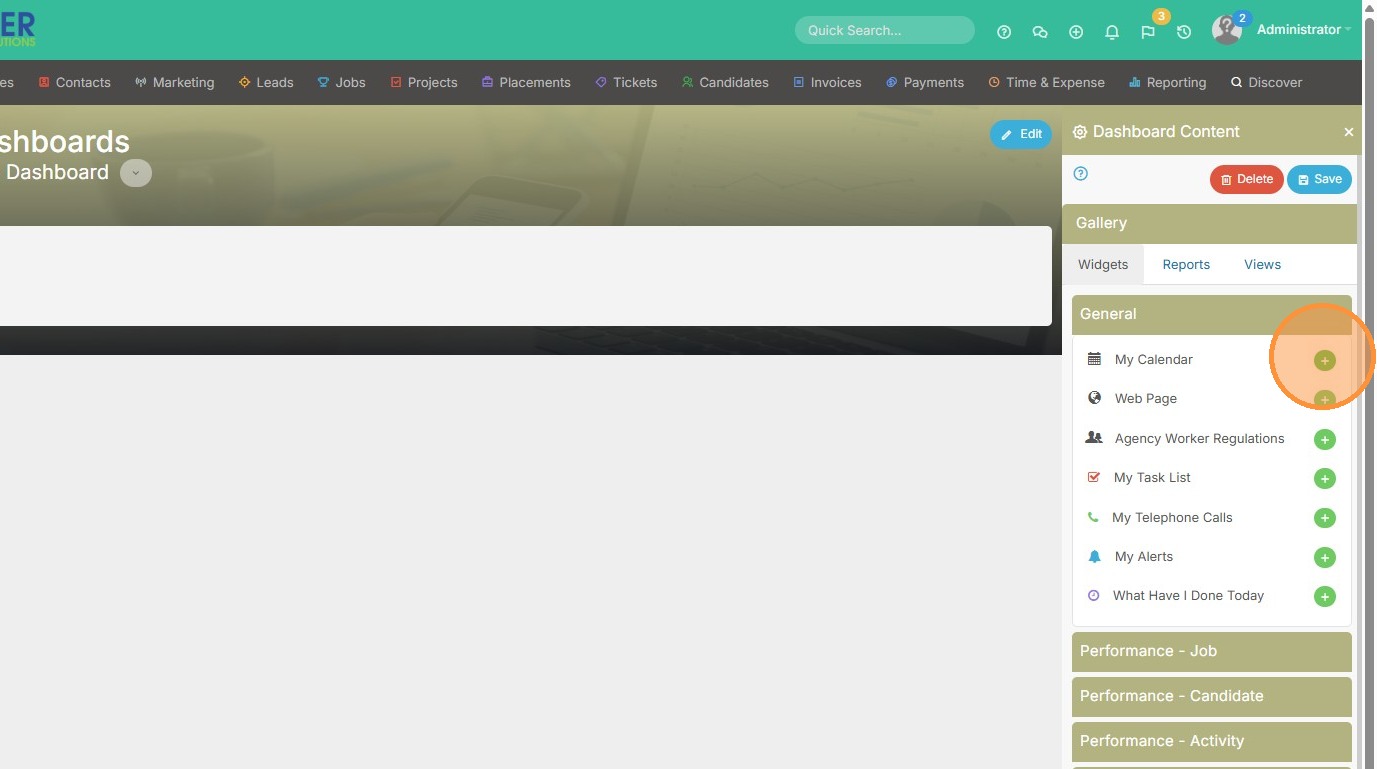
8. I'll add my calendar, and task list.
9. My telephone calls.
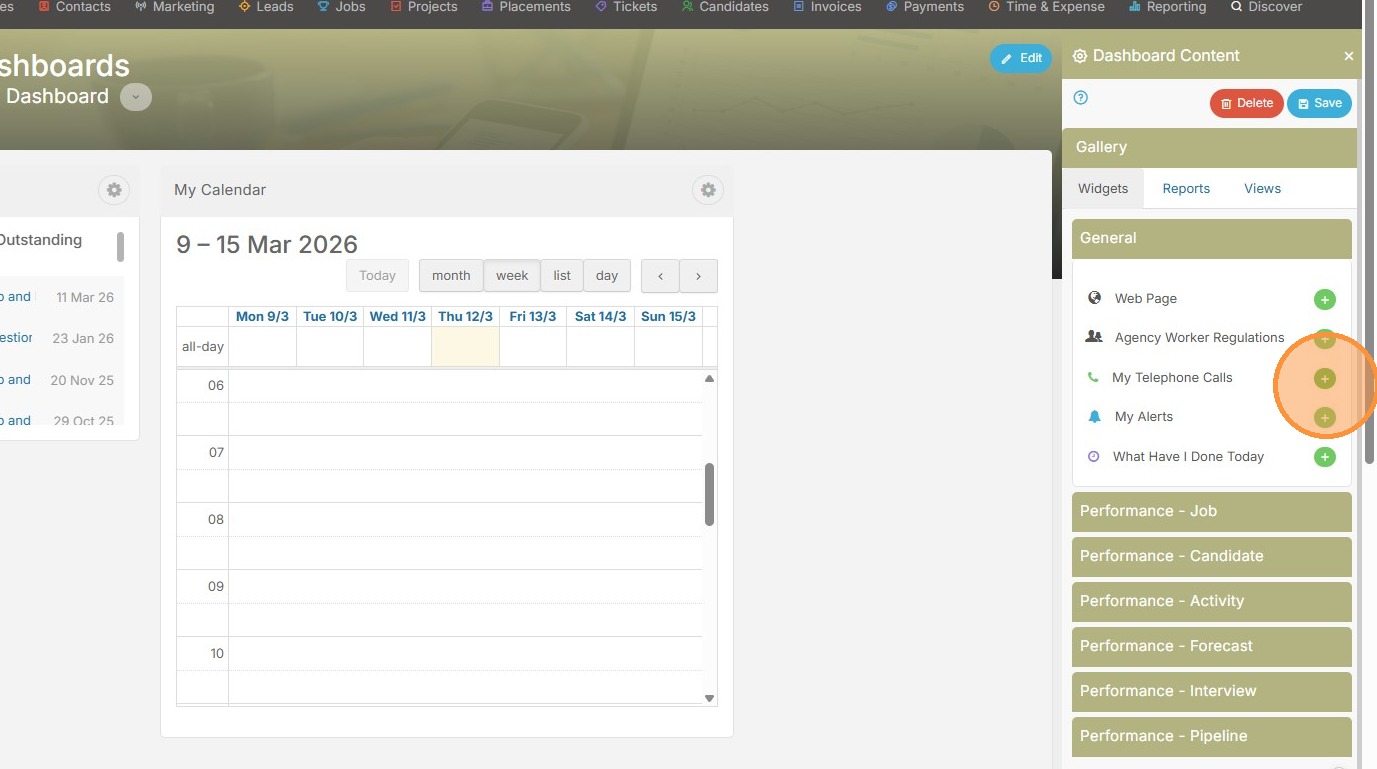
10. My alerts.
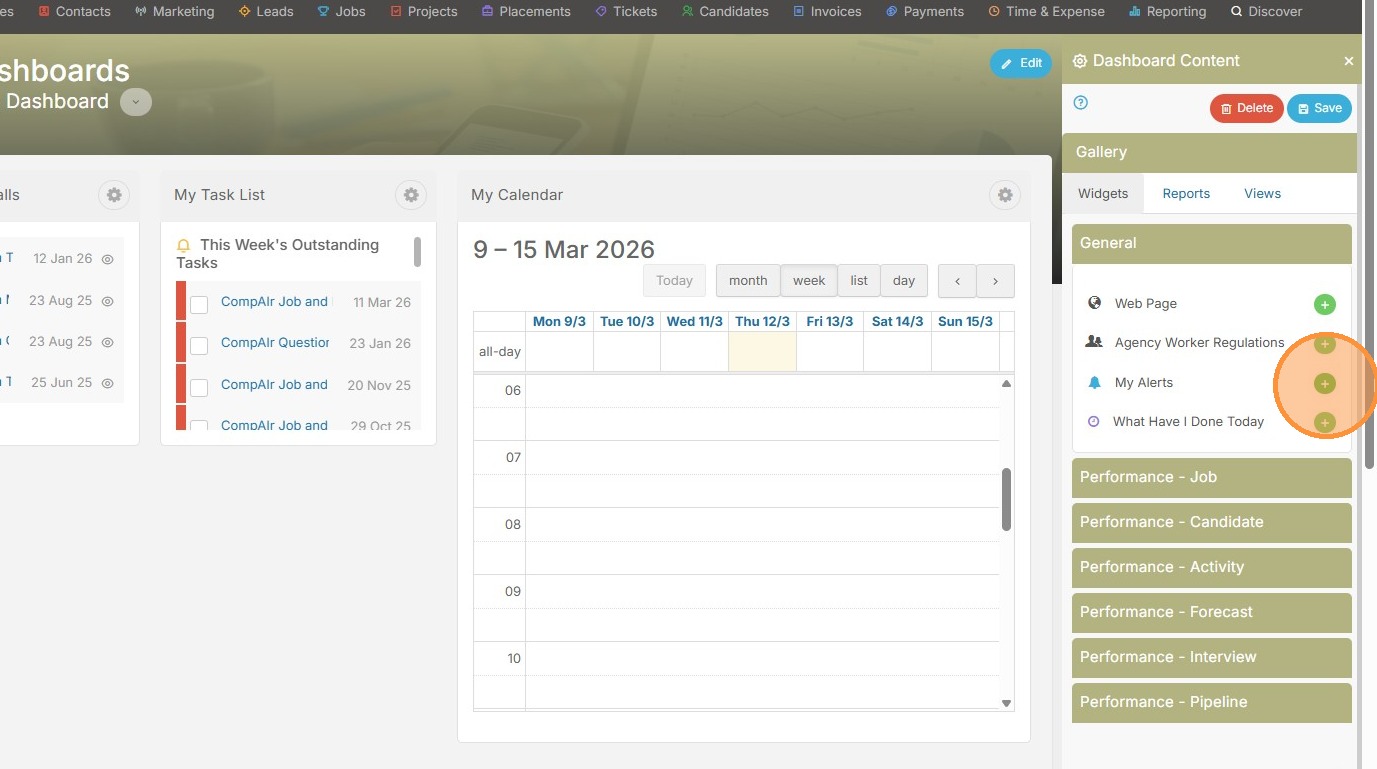
11. Here you can see my format doesn't match what we previously described as the best design format for big screens. So I'll resize things.
12. Click the wheel icon to do so.
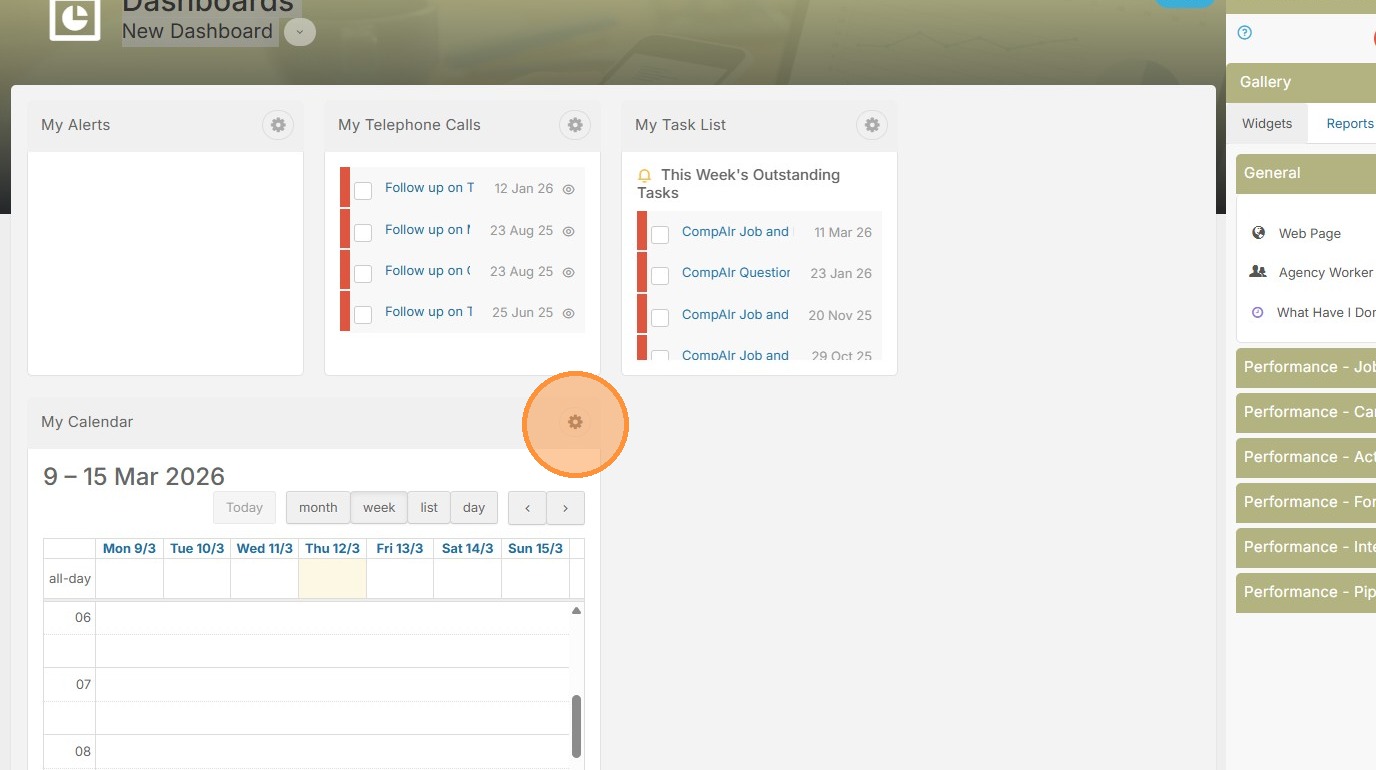
13. Select the size button.
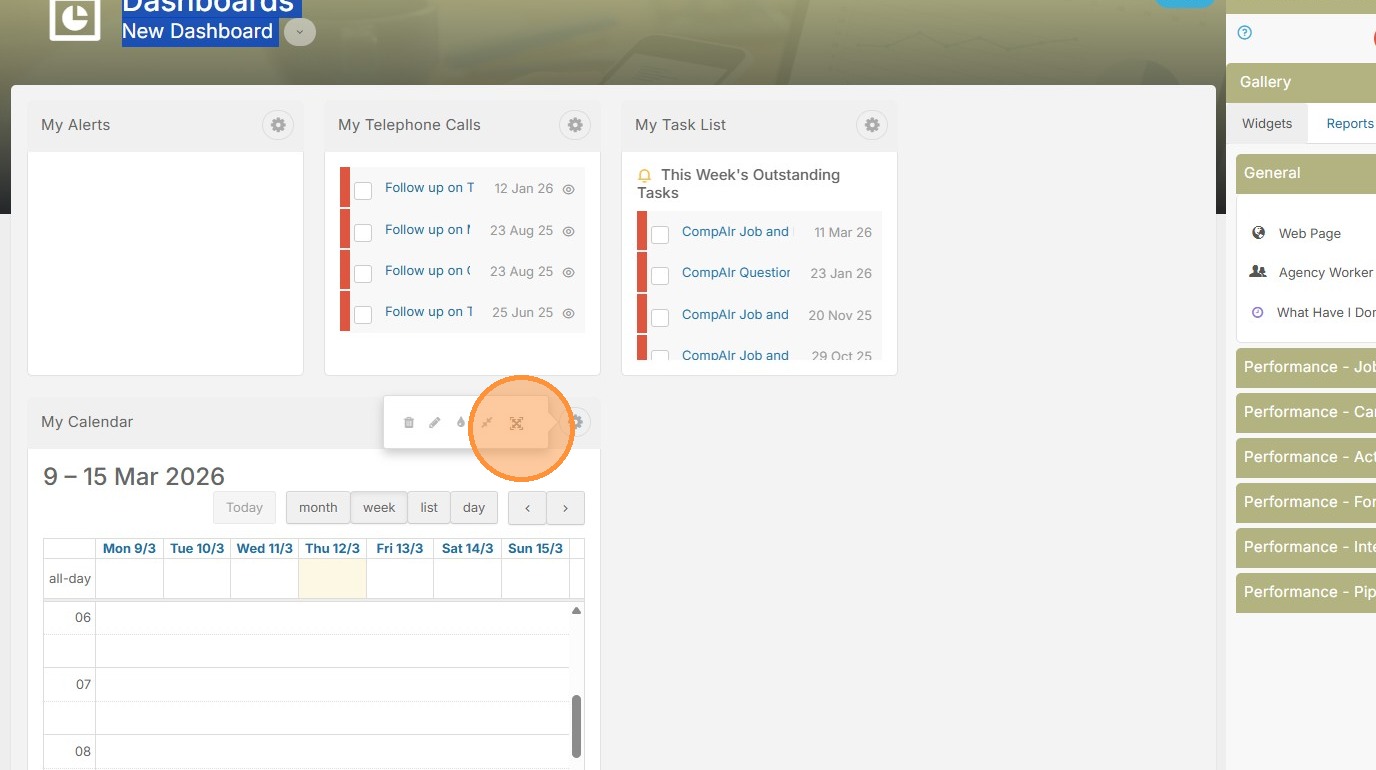
14. Pick a better size.
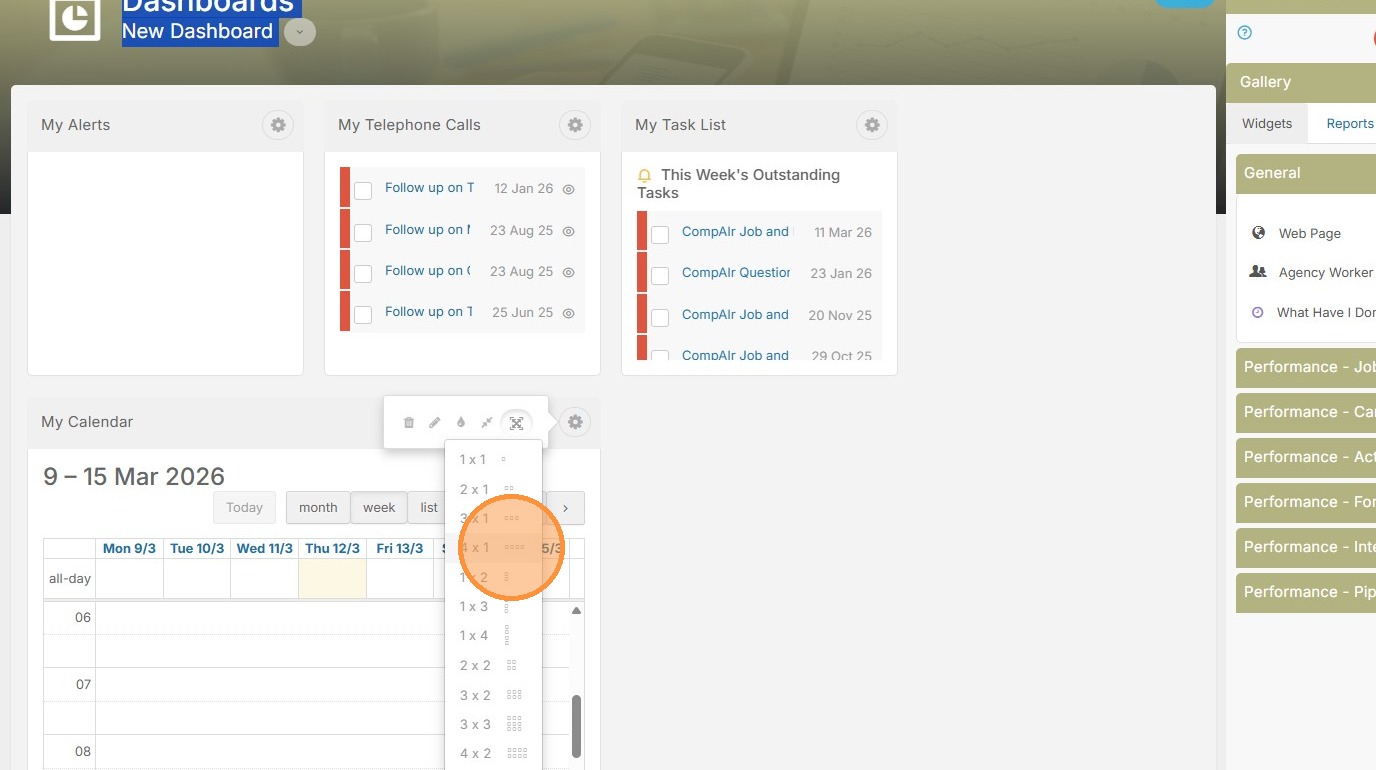
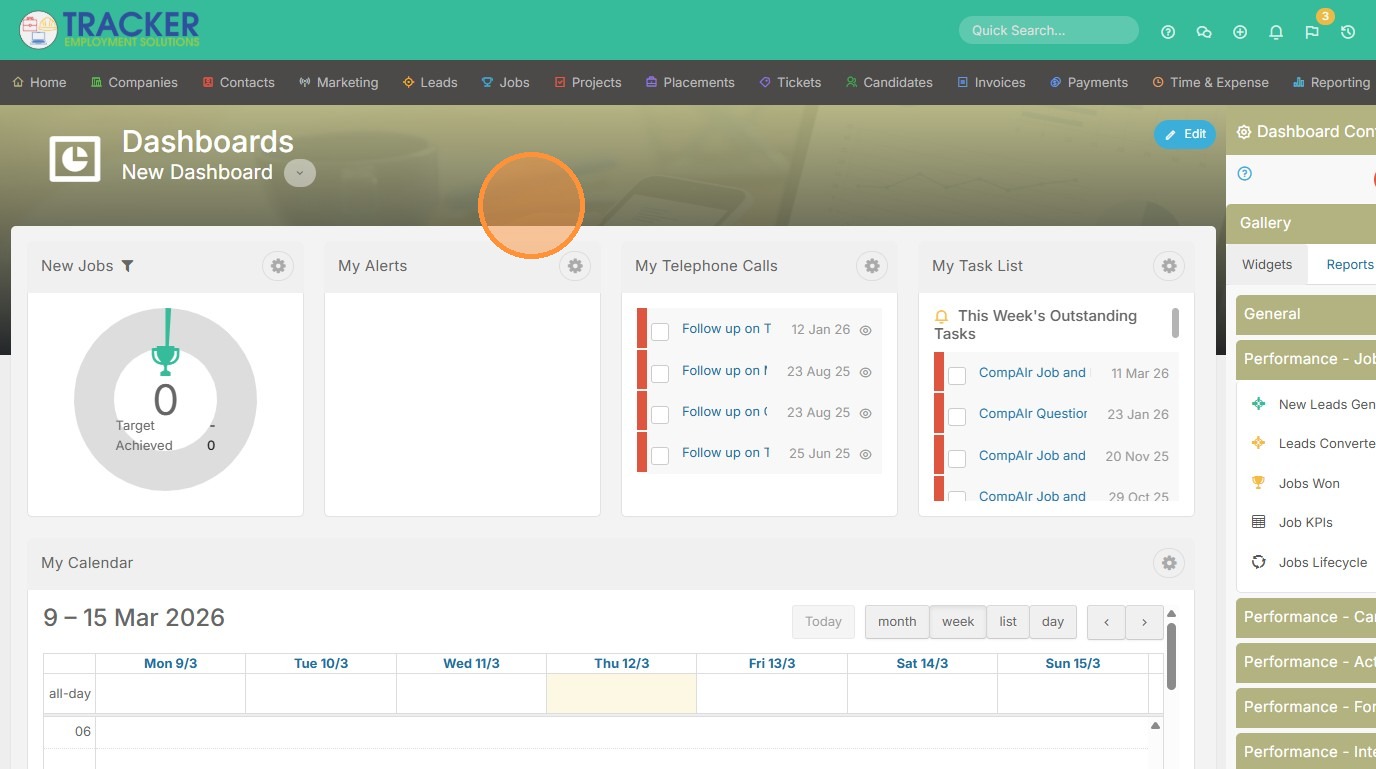
15. Now you can see this format matches more accurately to the 2 row / 4 column display. I do have an extra spot next to My Task List though.
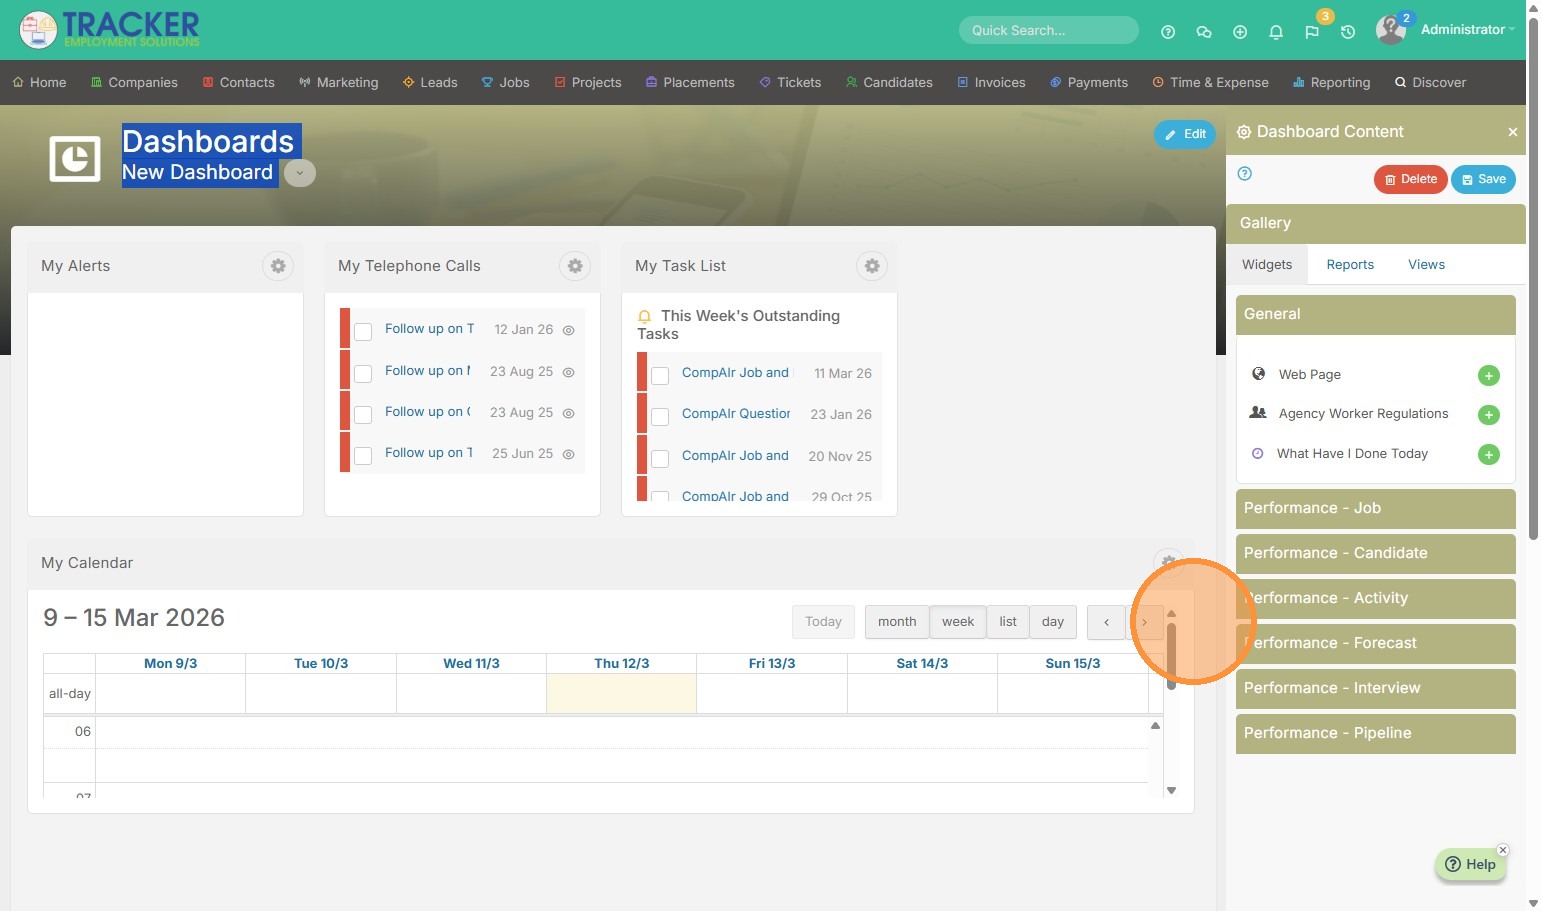
16. So I'll open the tab "Performance - Job"
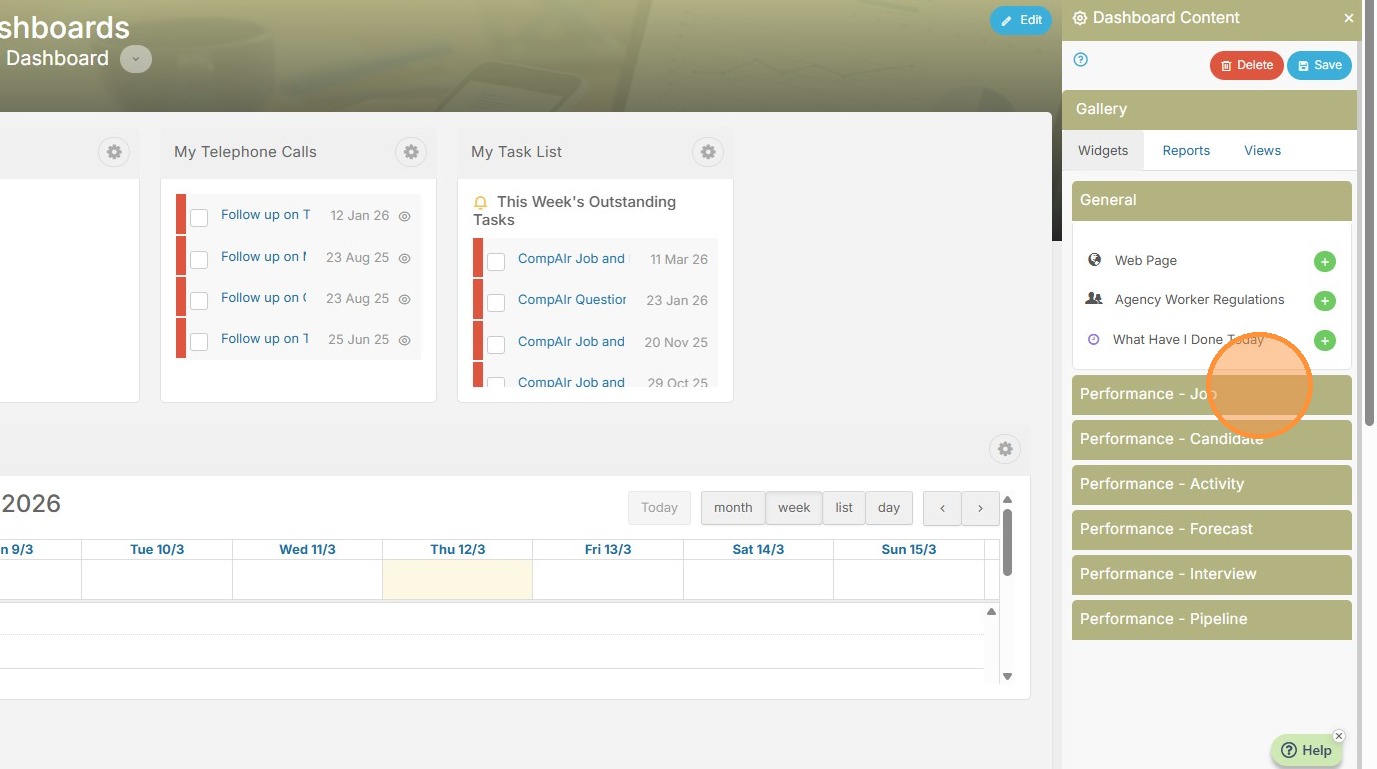
17. And add New Jobs, because that's important for me to track.
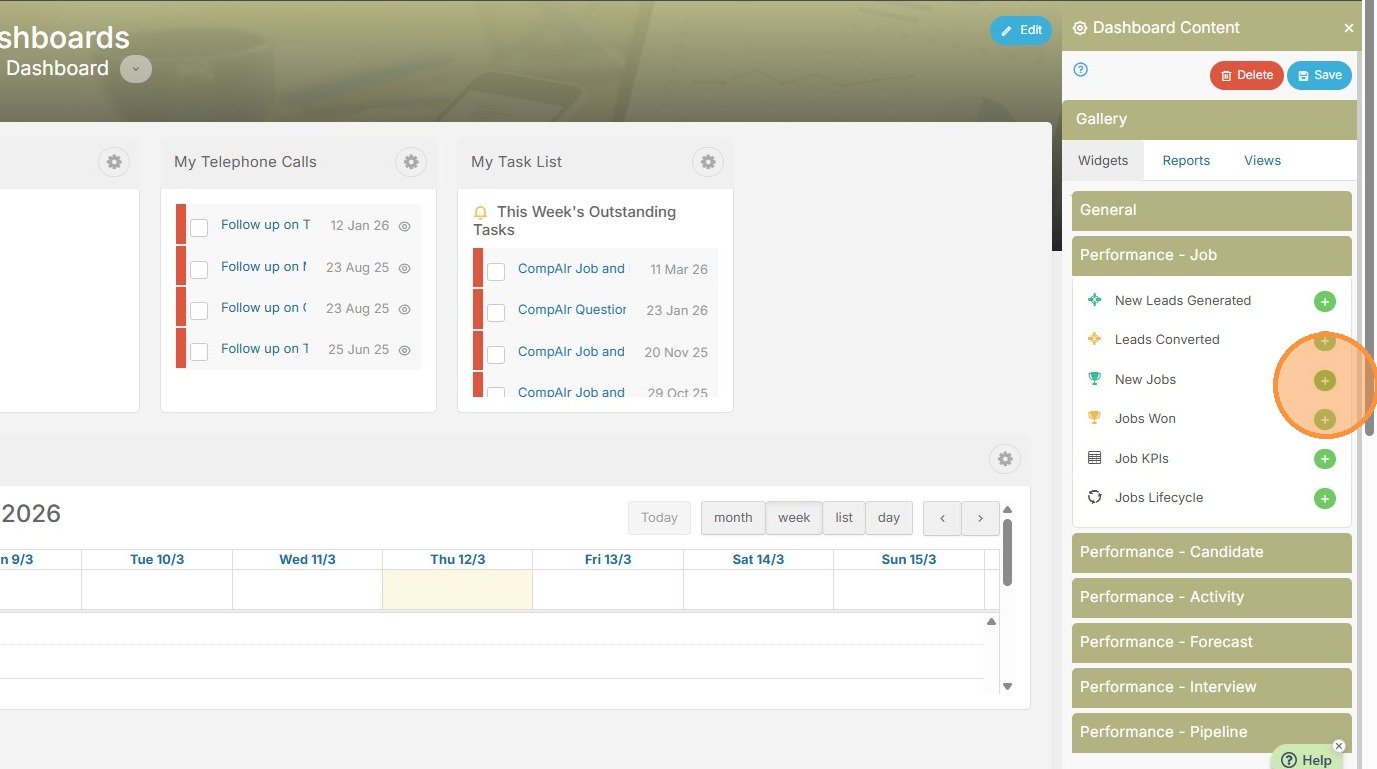
18. Now this is looking good. 2 Rows, 4 columns.
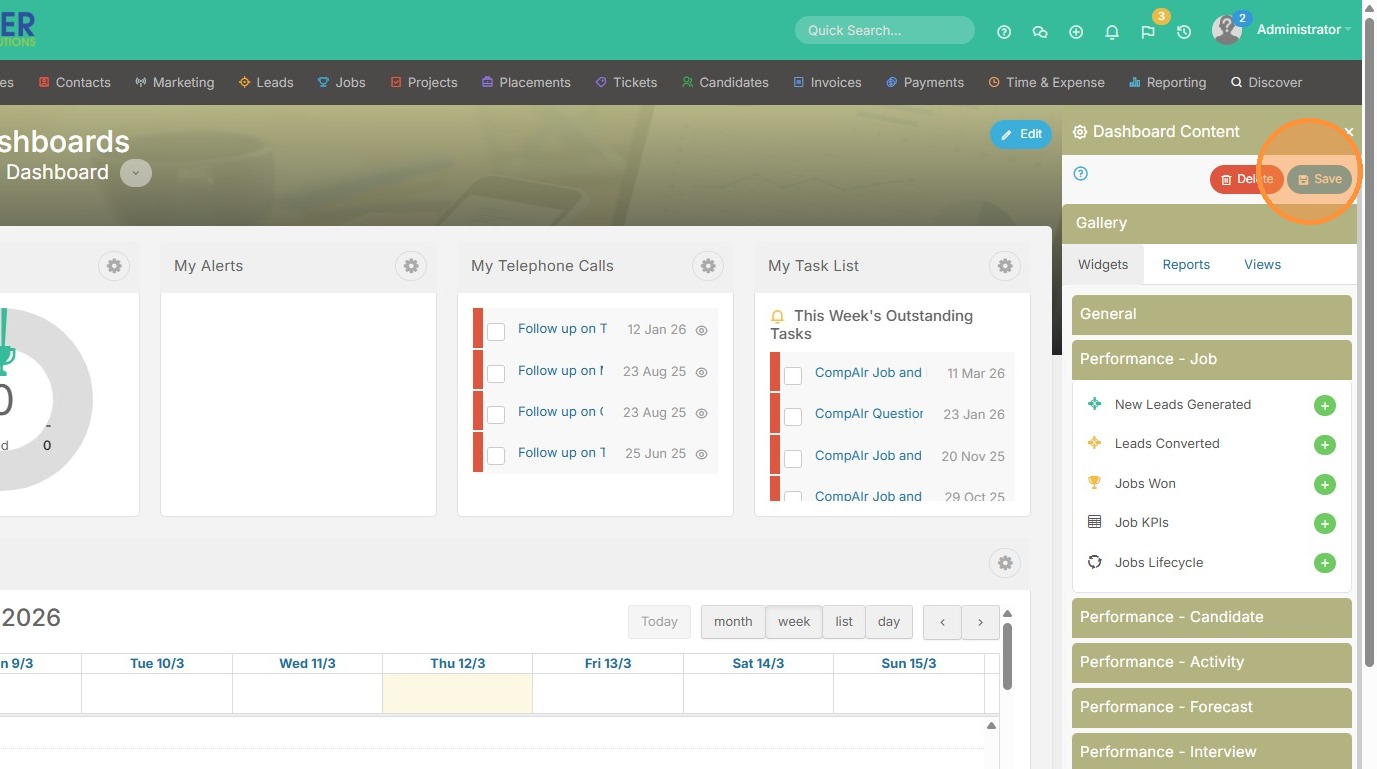
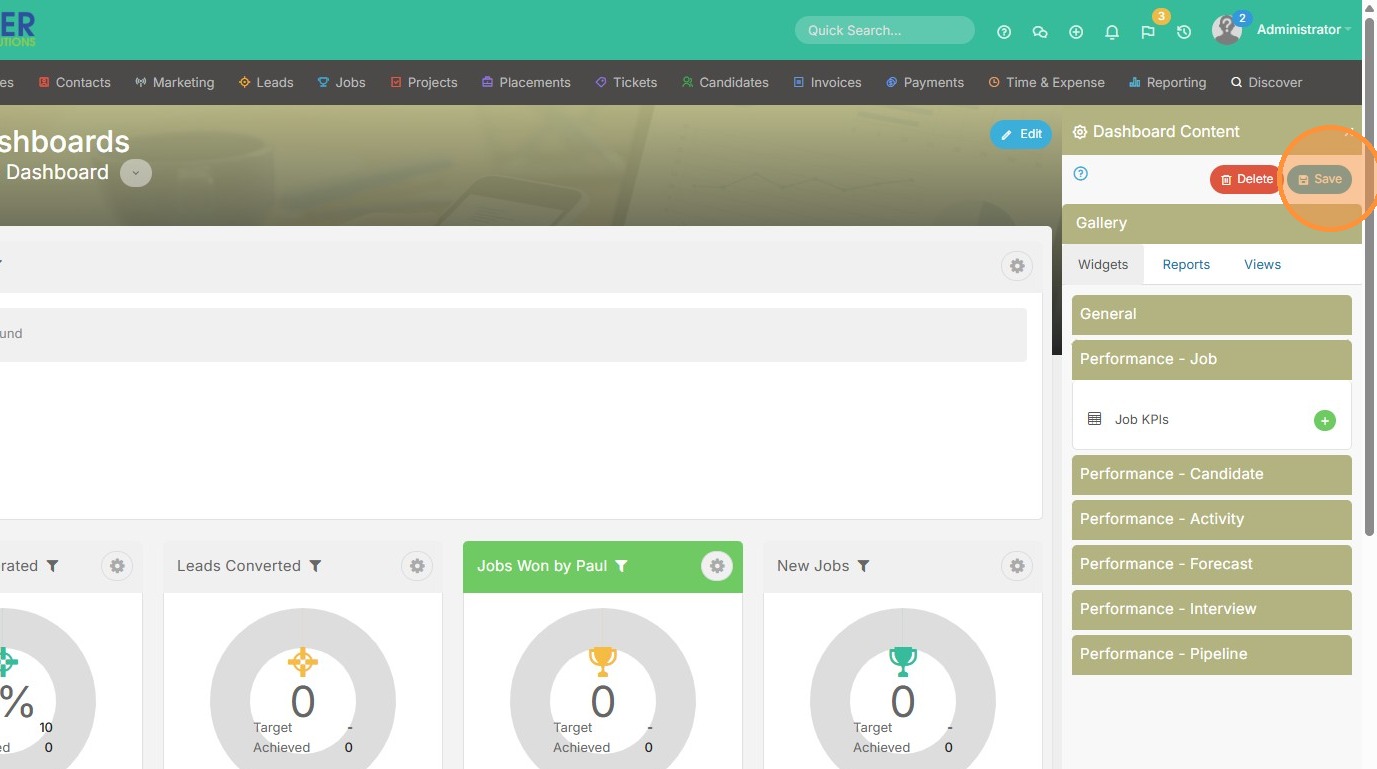
19. Click "Save"
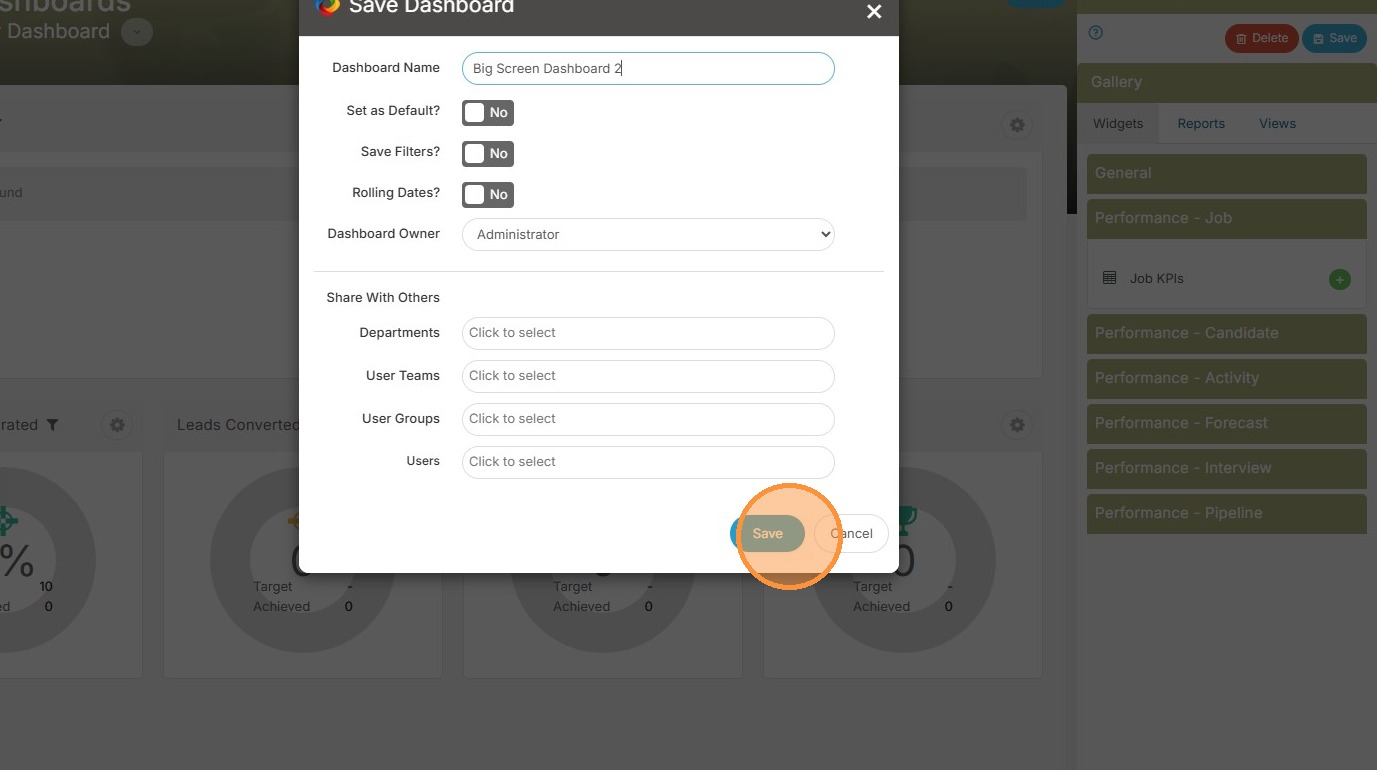
20. Enter in a dashboard name.
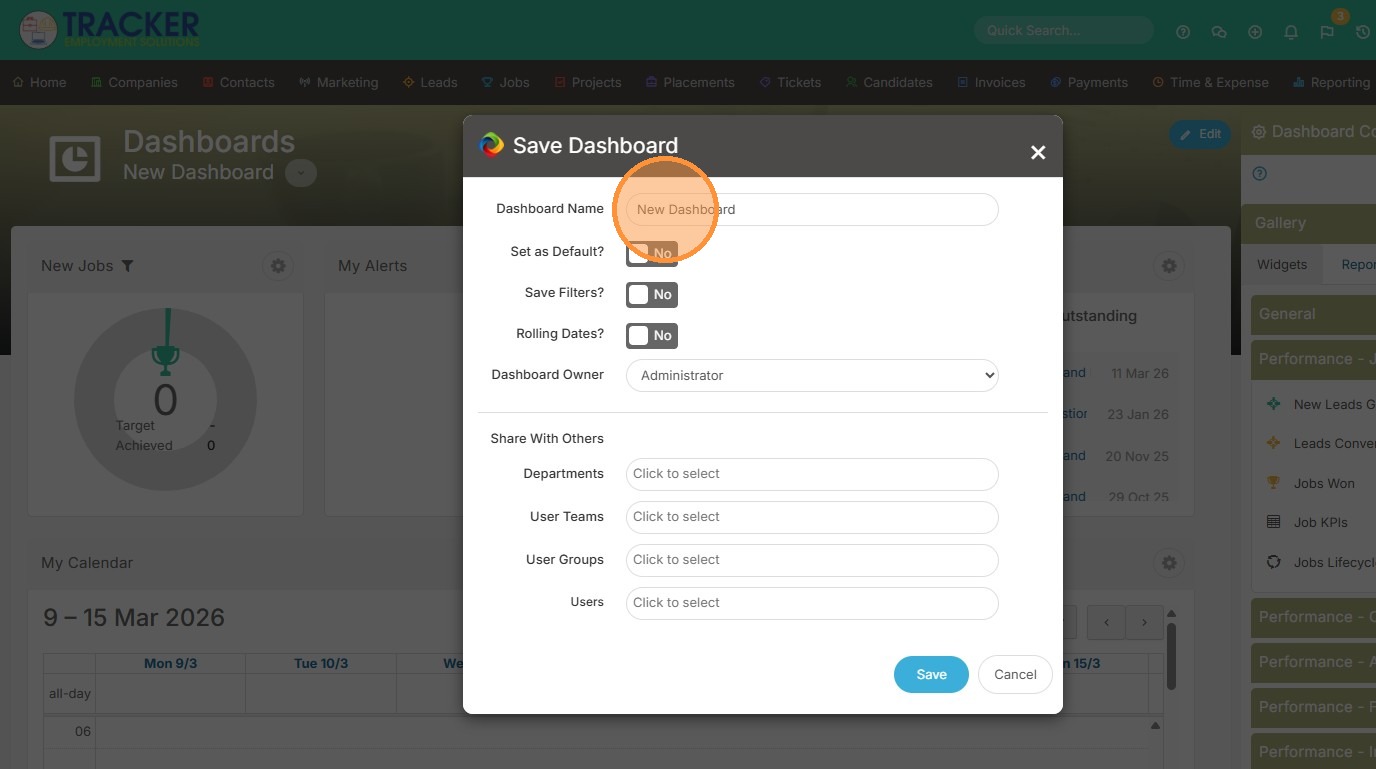
21. Click "Save"
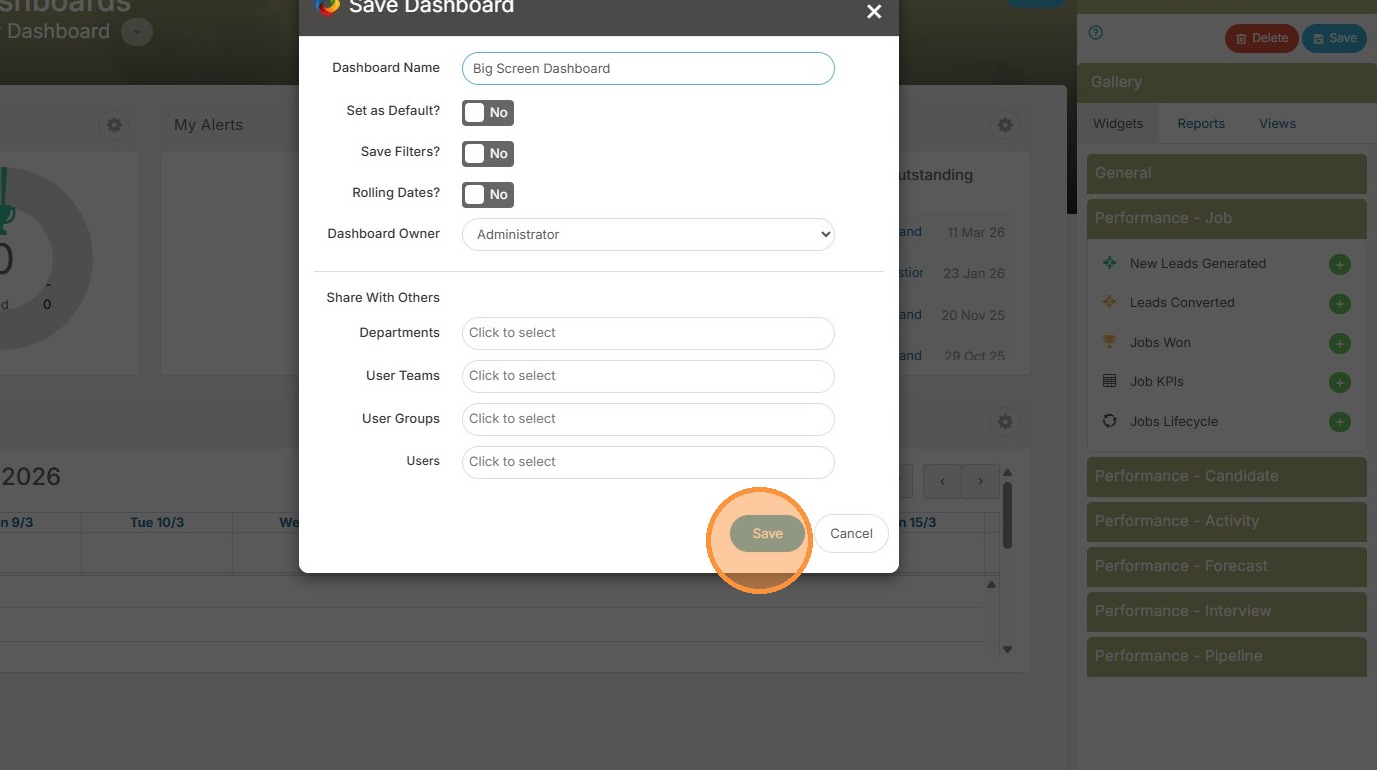
22. Click "Dashboard" to create another.
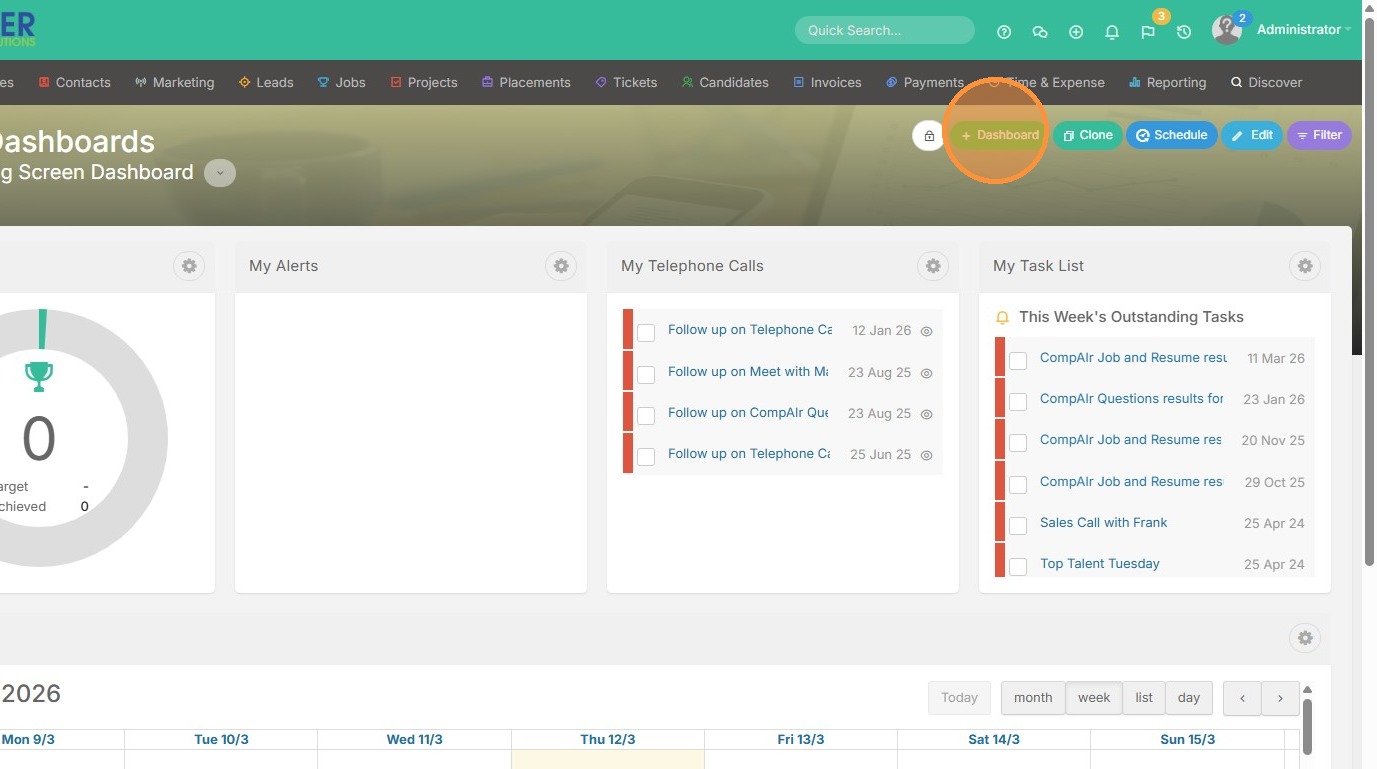
23. We'll make this one more job centric. Click the "Performance - Job" tab.
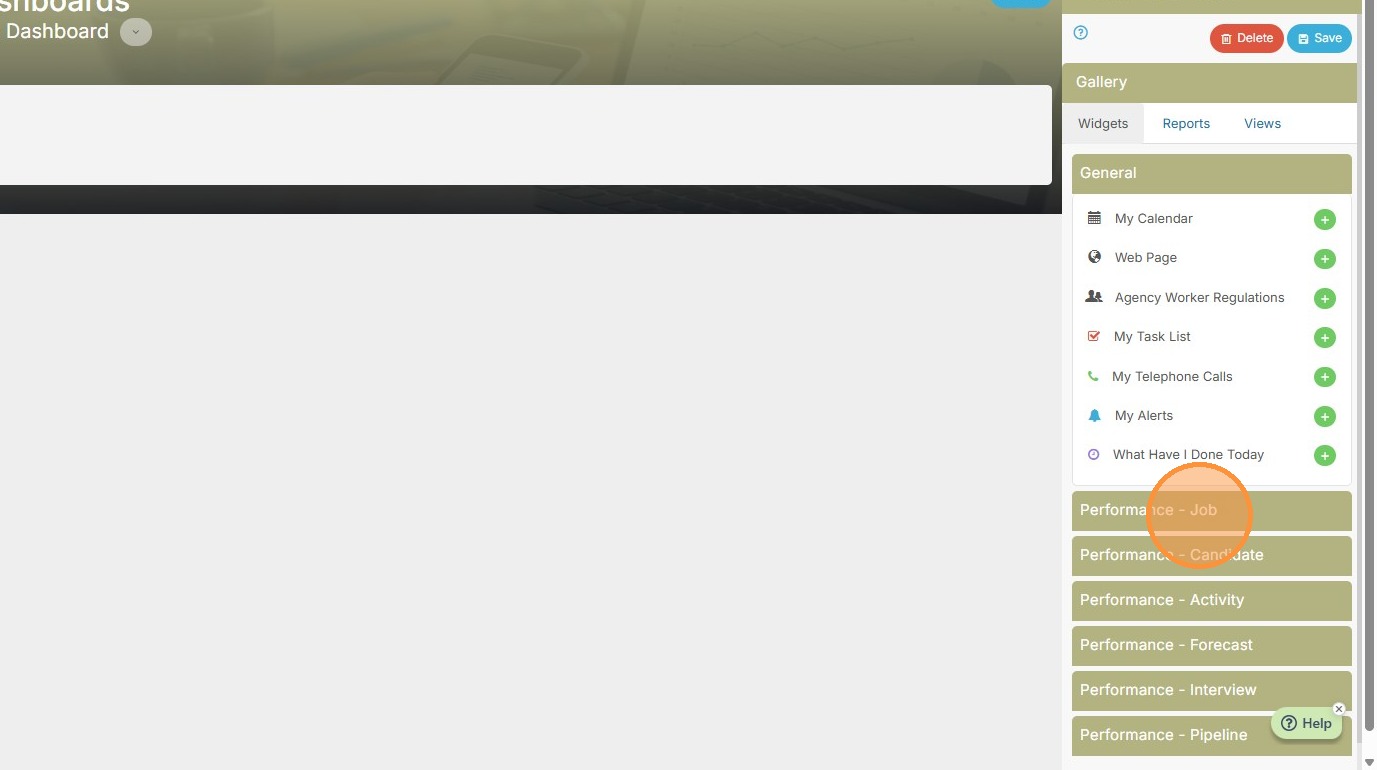
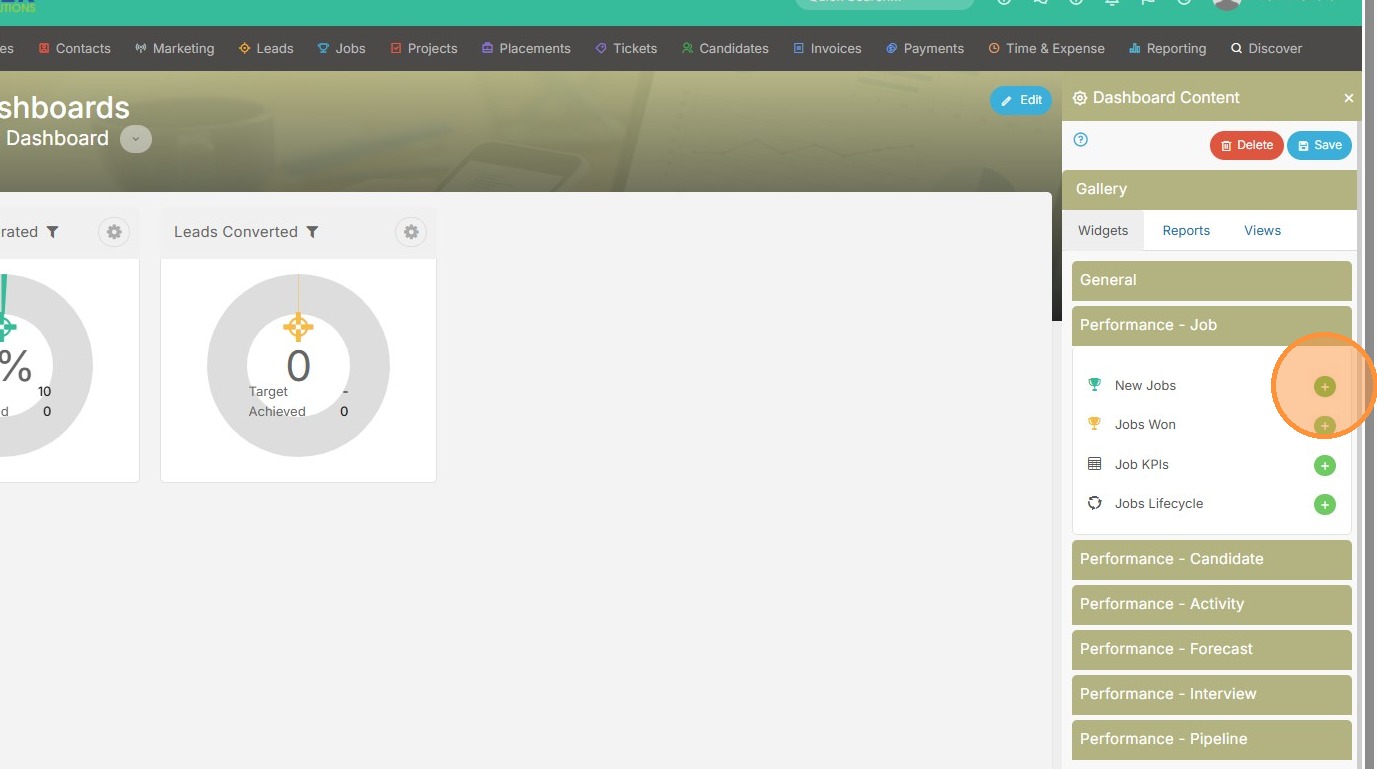
24. Add in Leads Converted.

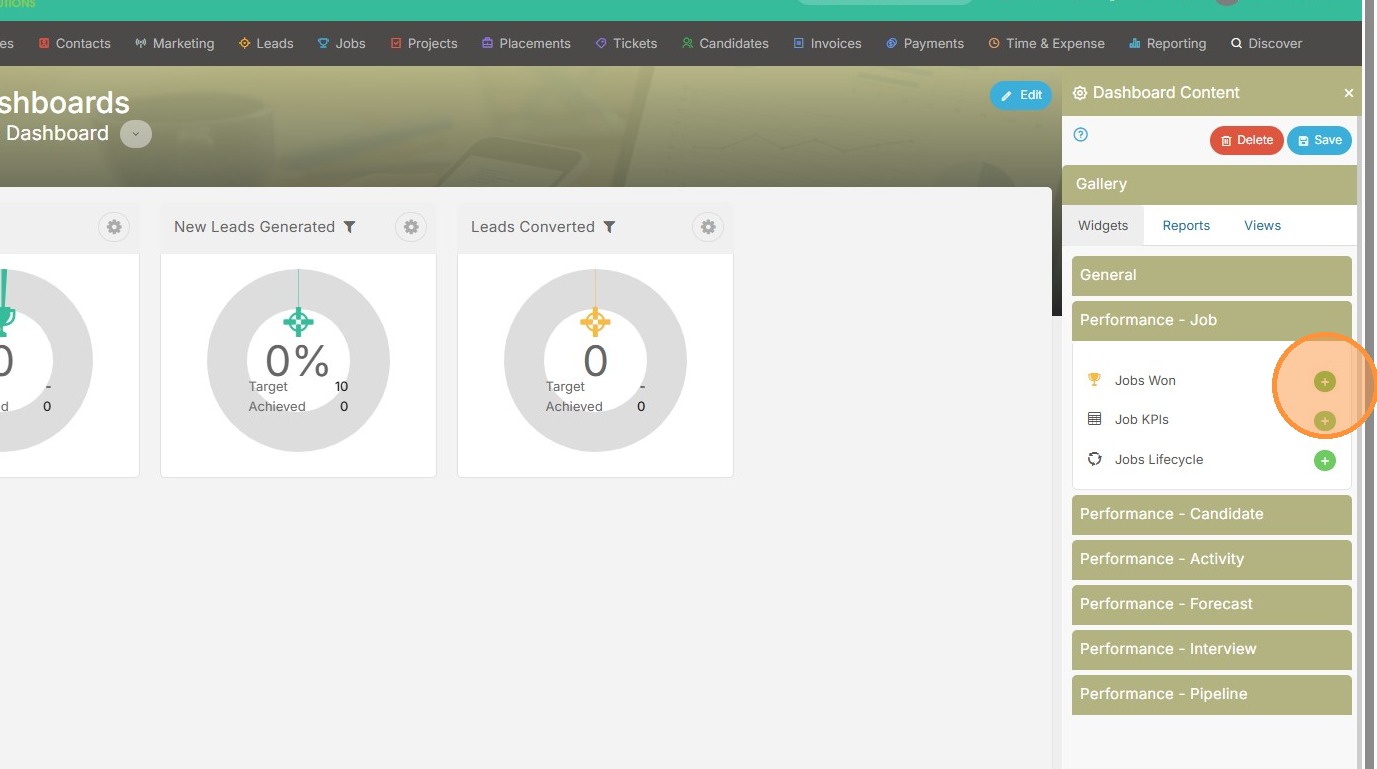
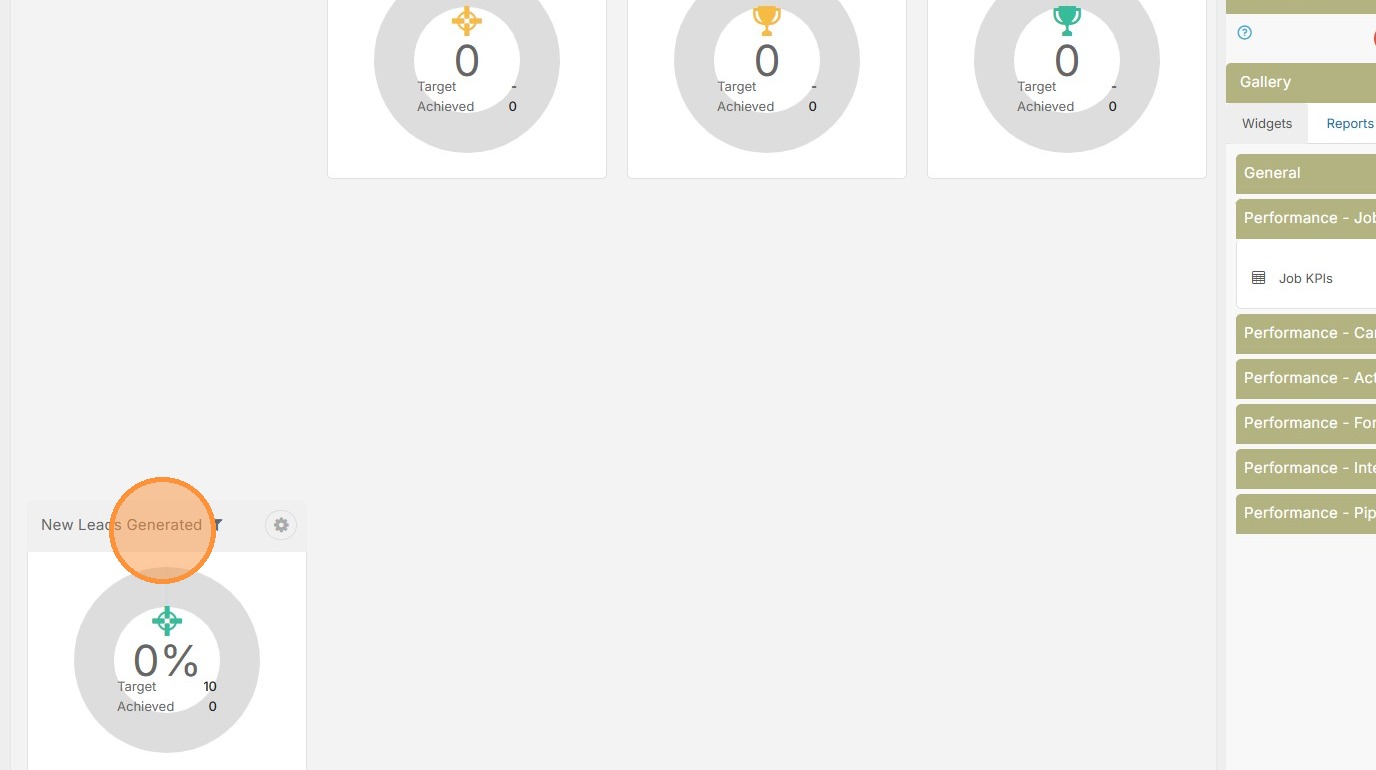
25. New Leads Generated.
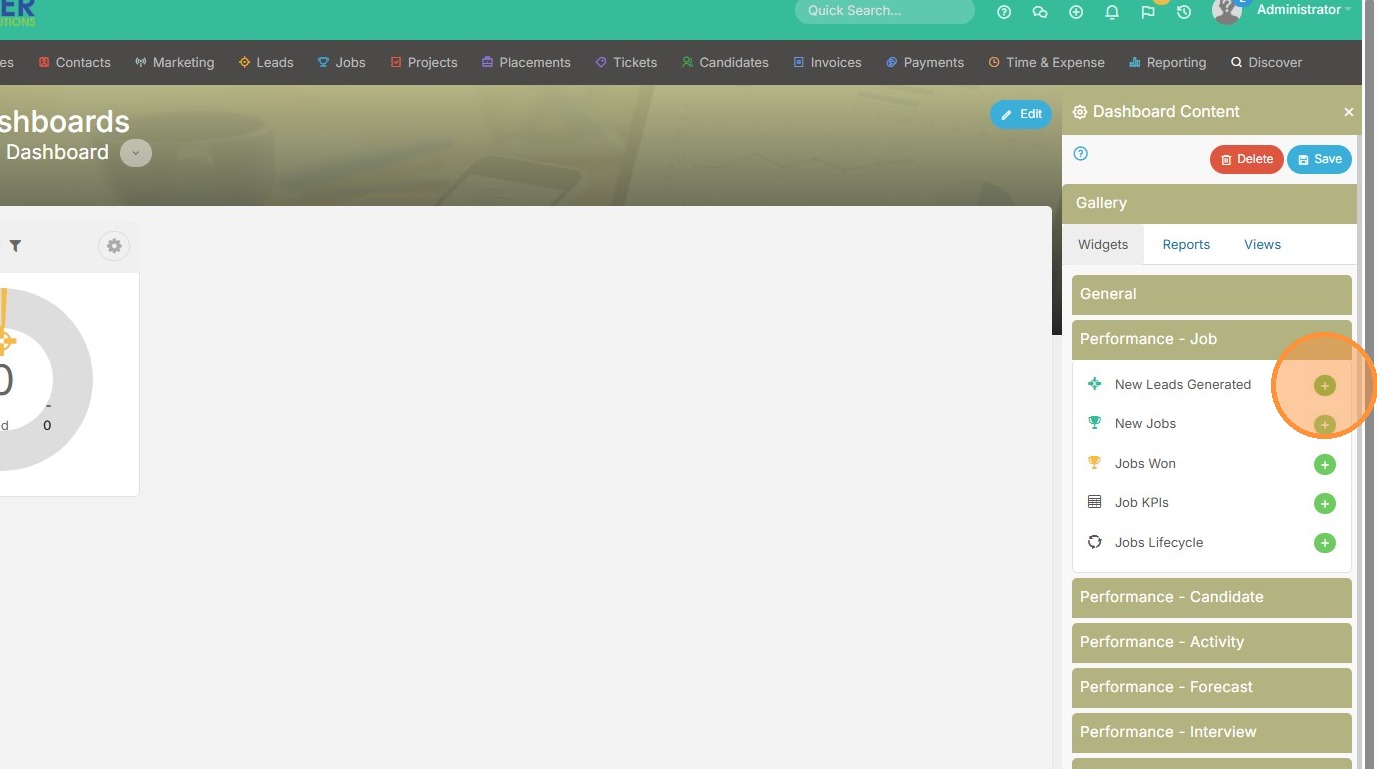
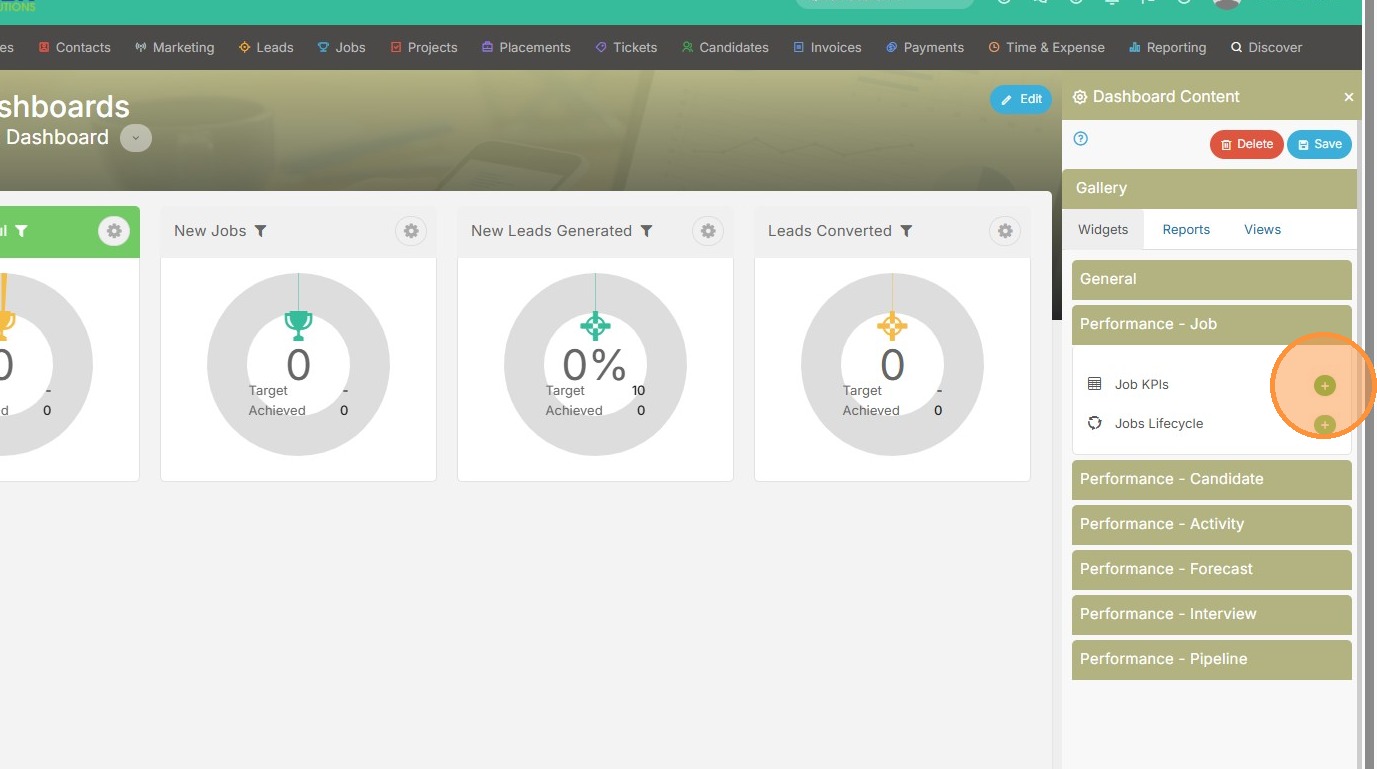
26. New Jobs.
27. Jobs Won.
28. Job KPI's.
29. And the Job Lifecycle.
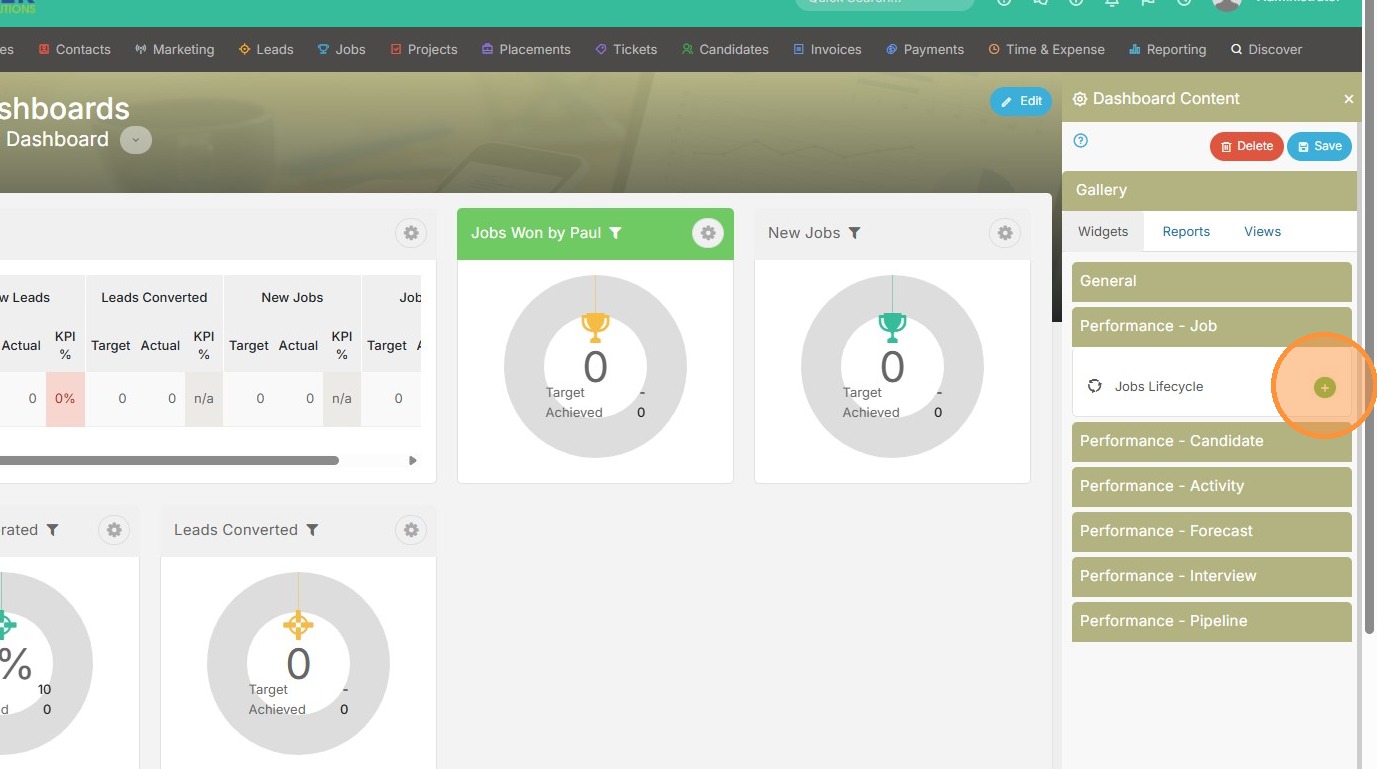
30. From here we can adjust the sizing again to better match that 2 row, 4 column format.

31. Or, if we don't like this widget, we can delete it.
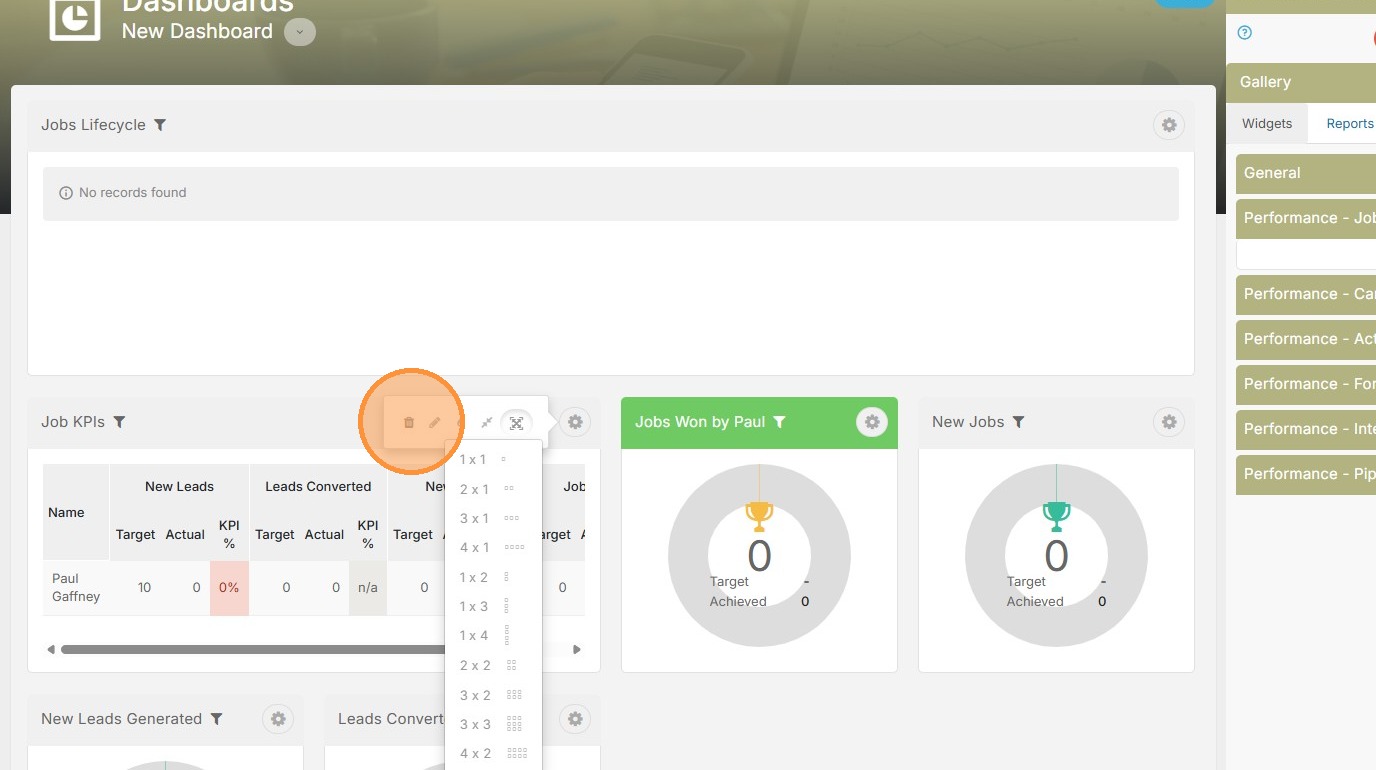
32. Click "OK"
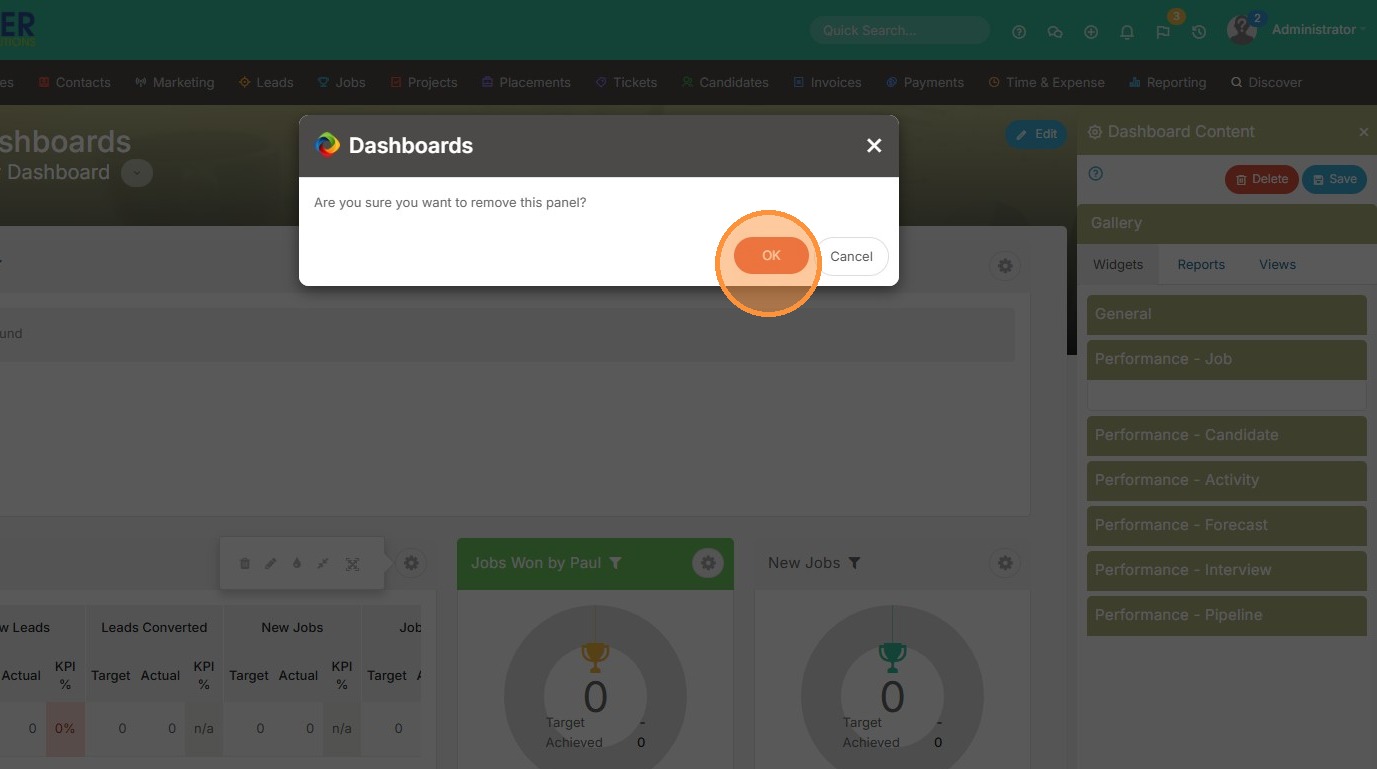
33. Then, we can drag widgets around to reorder them. Select the title of the widget, and drag.
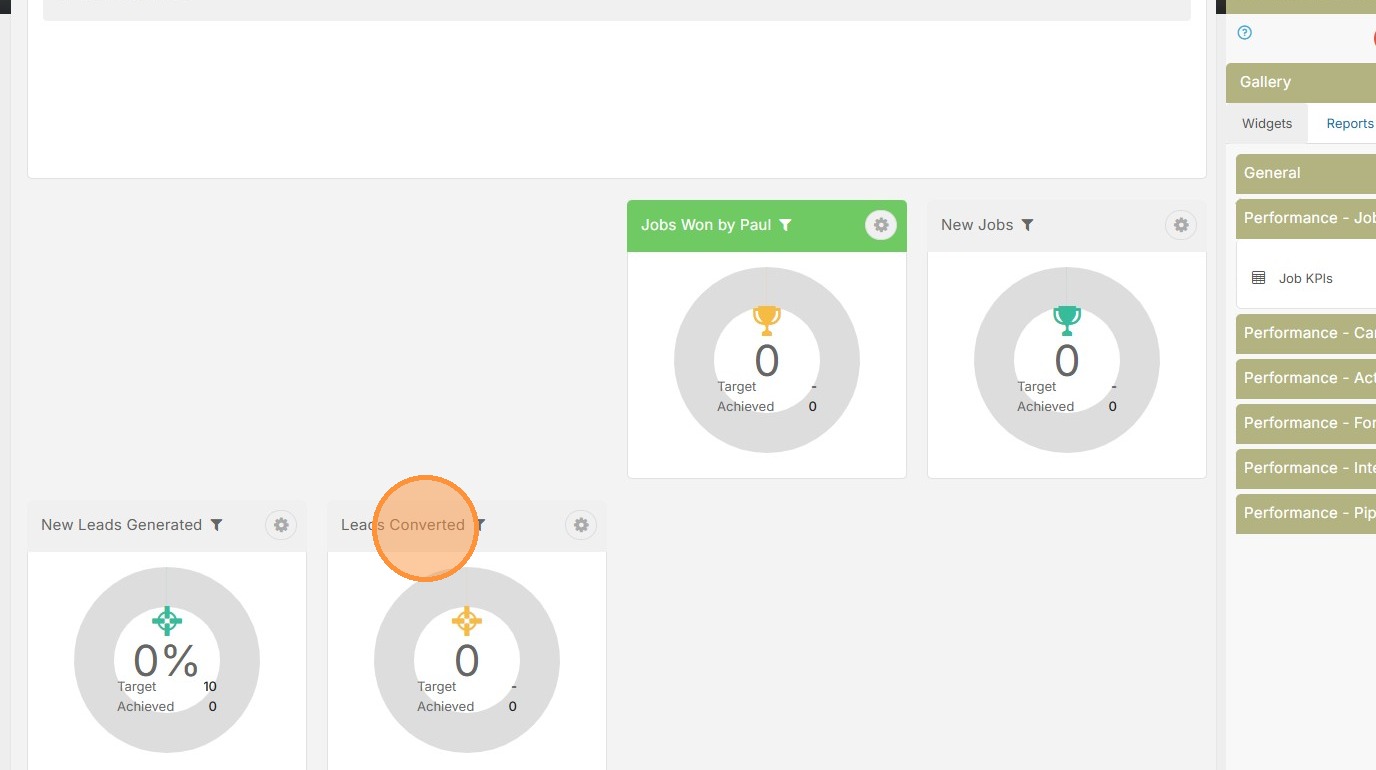
34. Drag New Leads Generated up as well.
35. Much better.

36. Click "Save"
37. Add in the Dashboard title.

38. Click "Save", and watch this lesson next.