This lesson gives you an overview of the Shortlist and how to use it.
Shortlist Overview
This lesson gives you an overview of the Shortlist and how to use it.
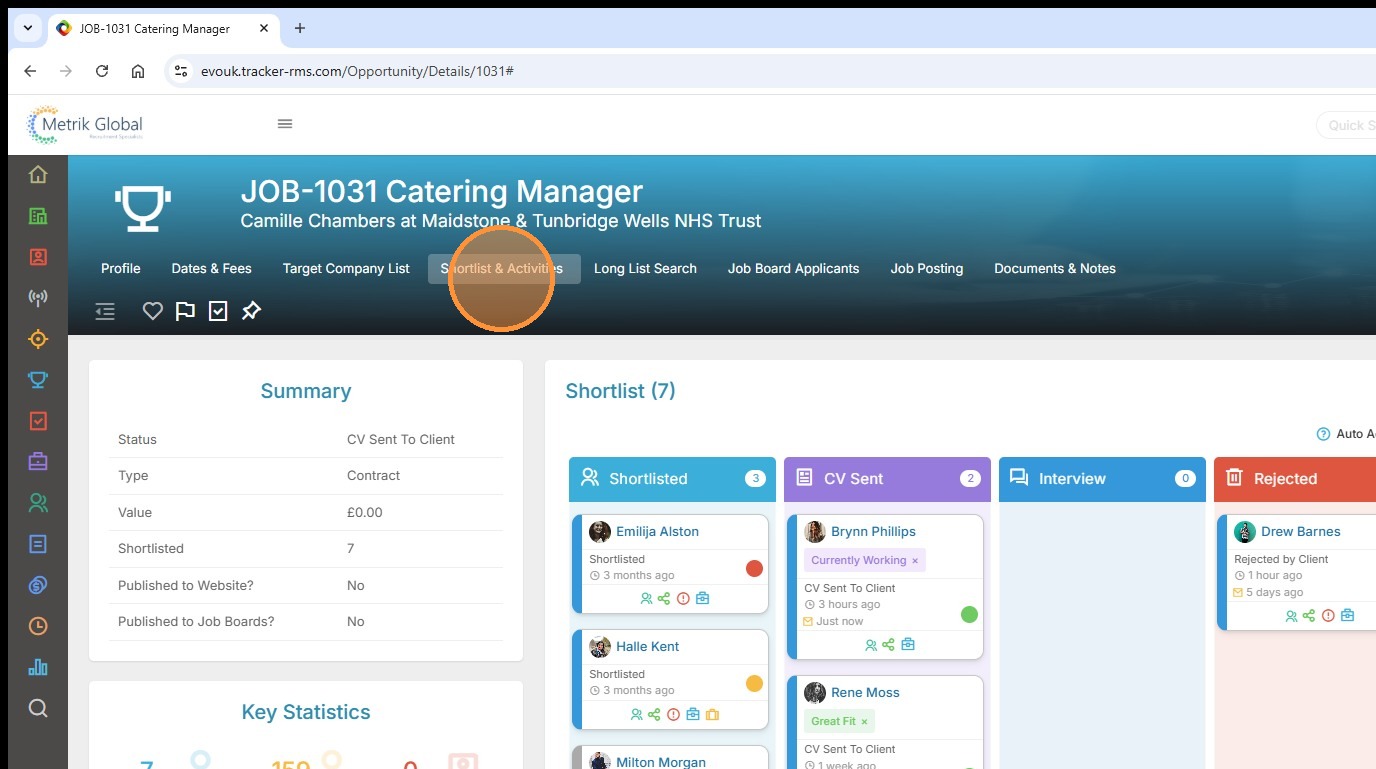
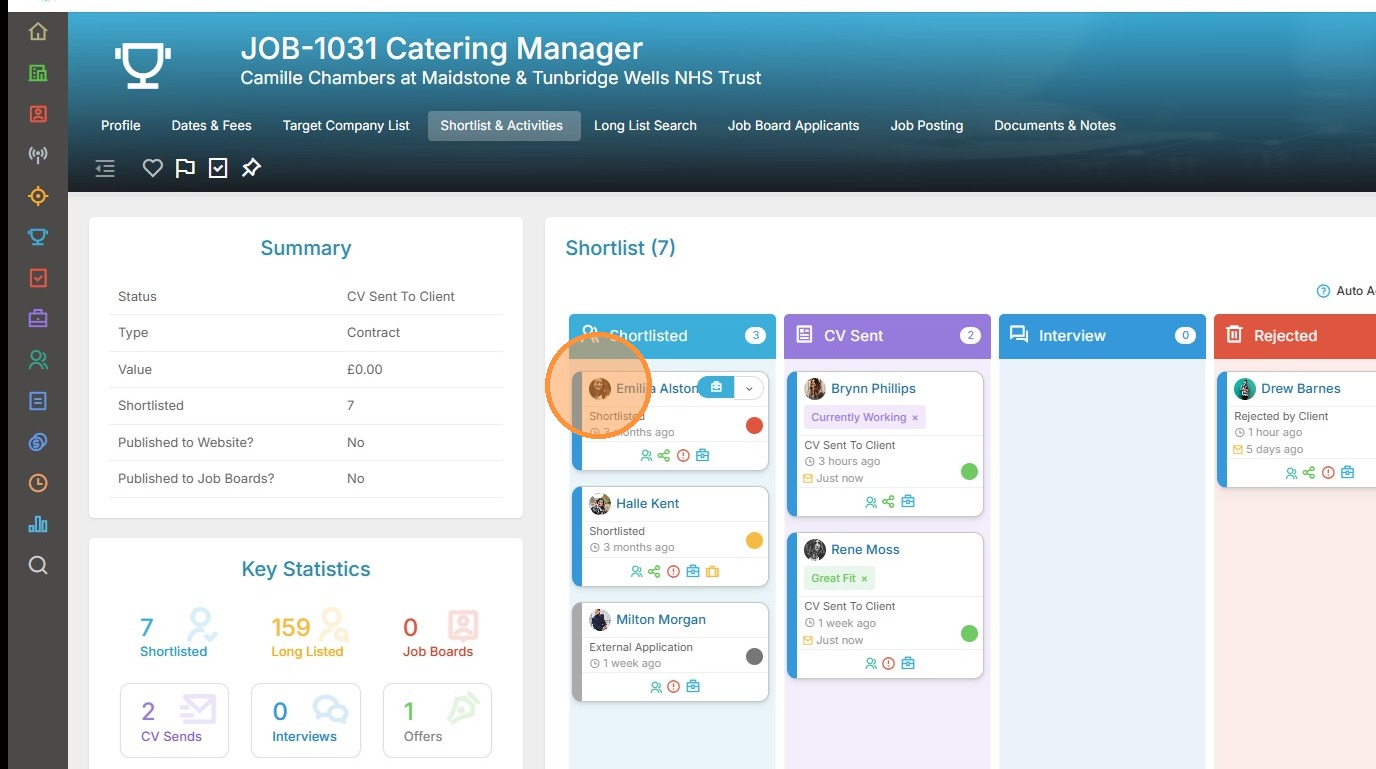
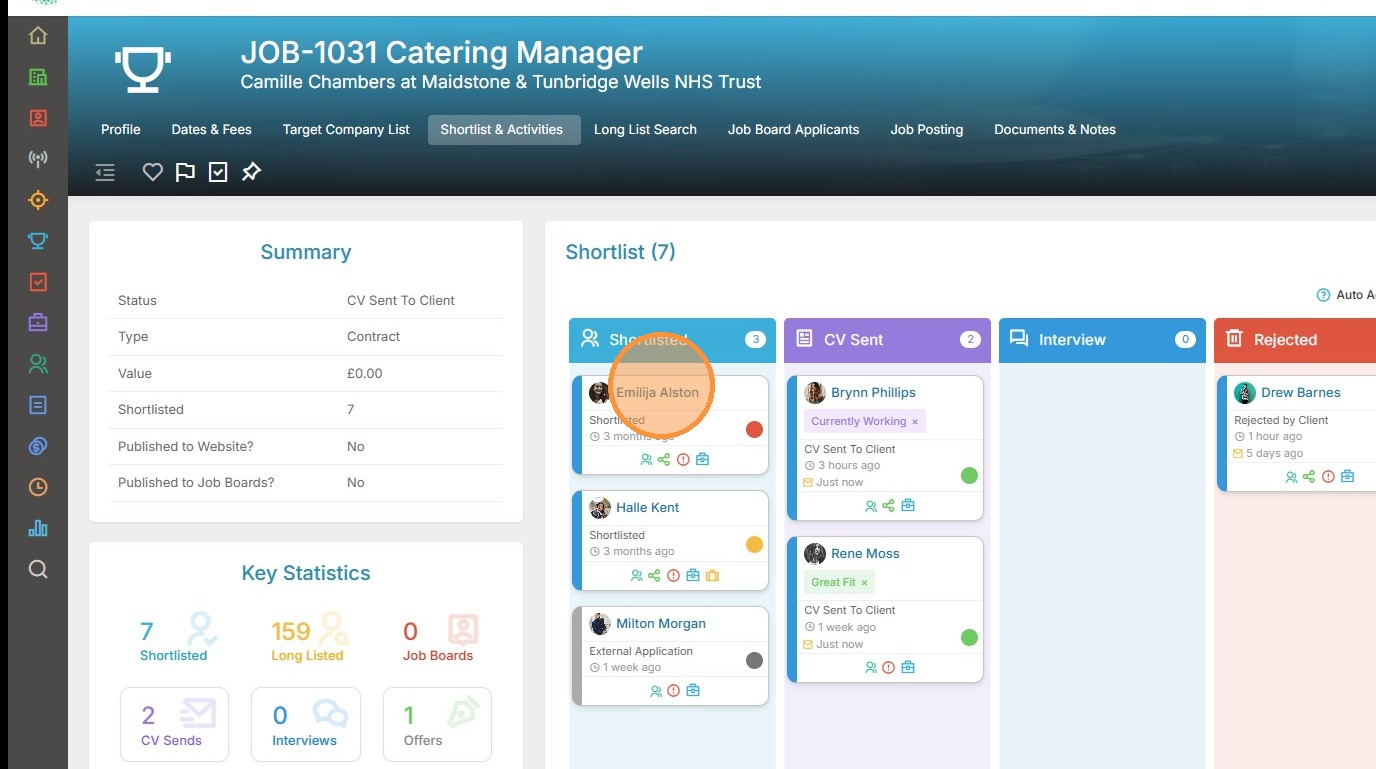
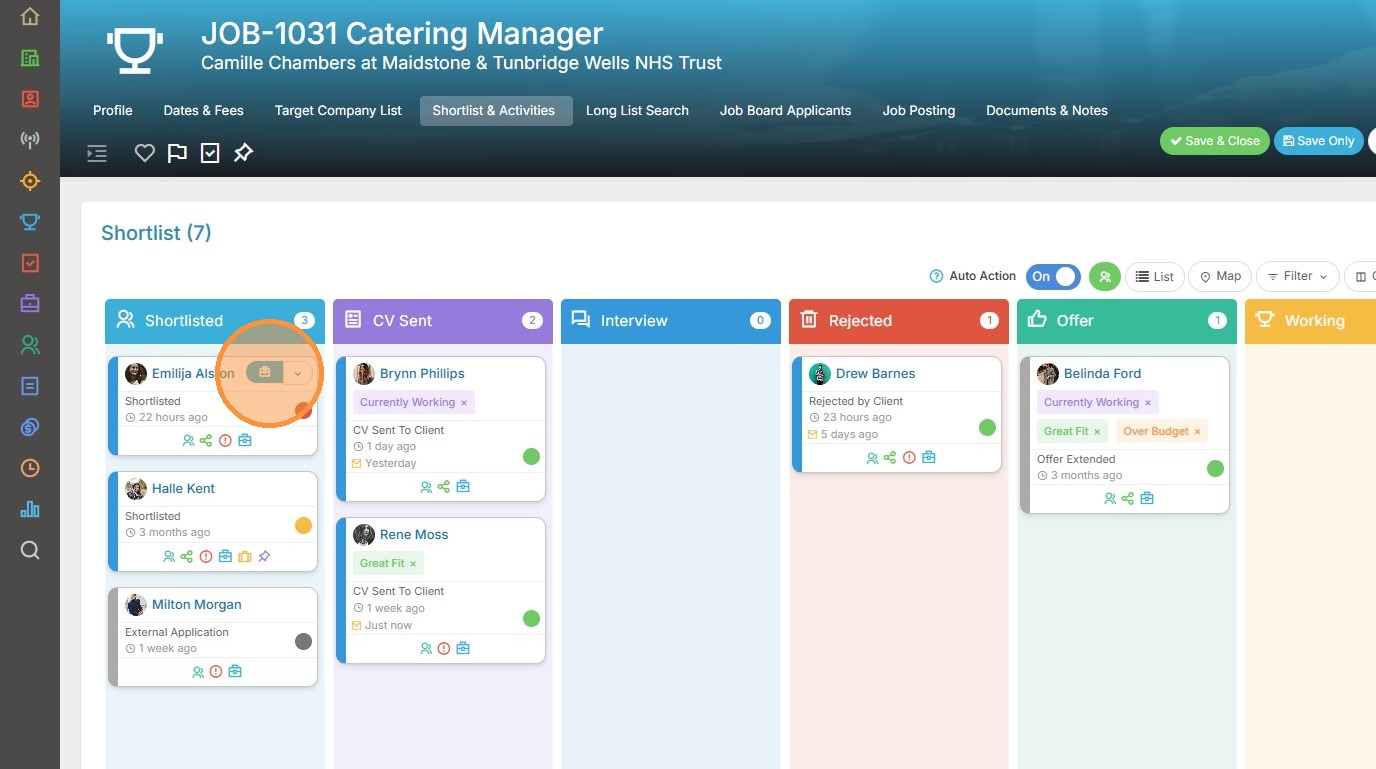
1. In this lesson we provide an overview of the Shortlist block and its functionality. Typically the Shortlist block is found in the Shortlist & Activities tab, but please note, due to Tracker being highly customisable, the order and name of the tabs, and the placement of the record blocks may differ to those shown.
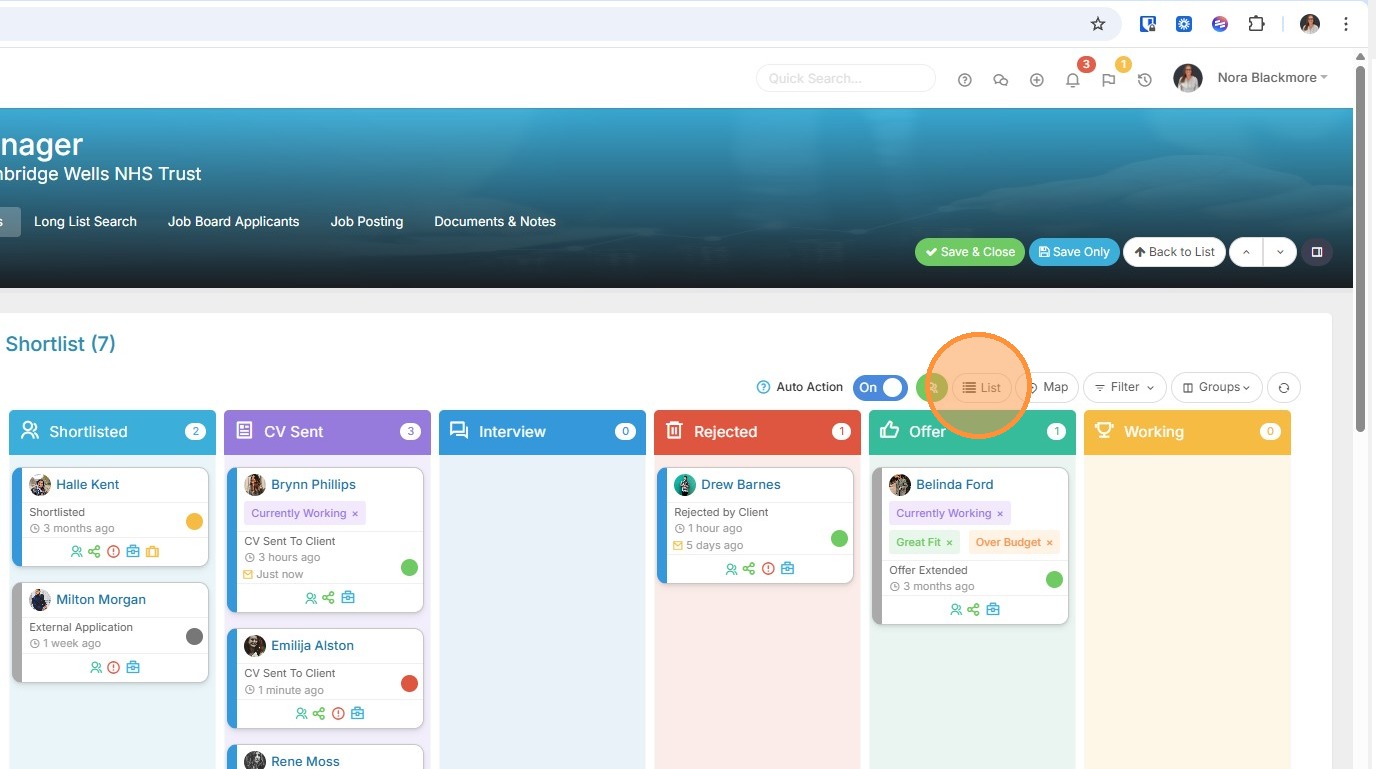
2. We're currently viewing this block in "Card View". It's a more visual perspective containing less detail than the List view, which we'll cover later.
Each Candidate has their own submission card, these display a number of details beyond their profile picture, name and submission level.
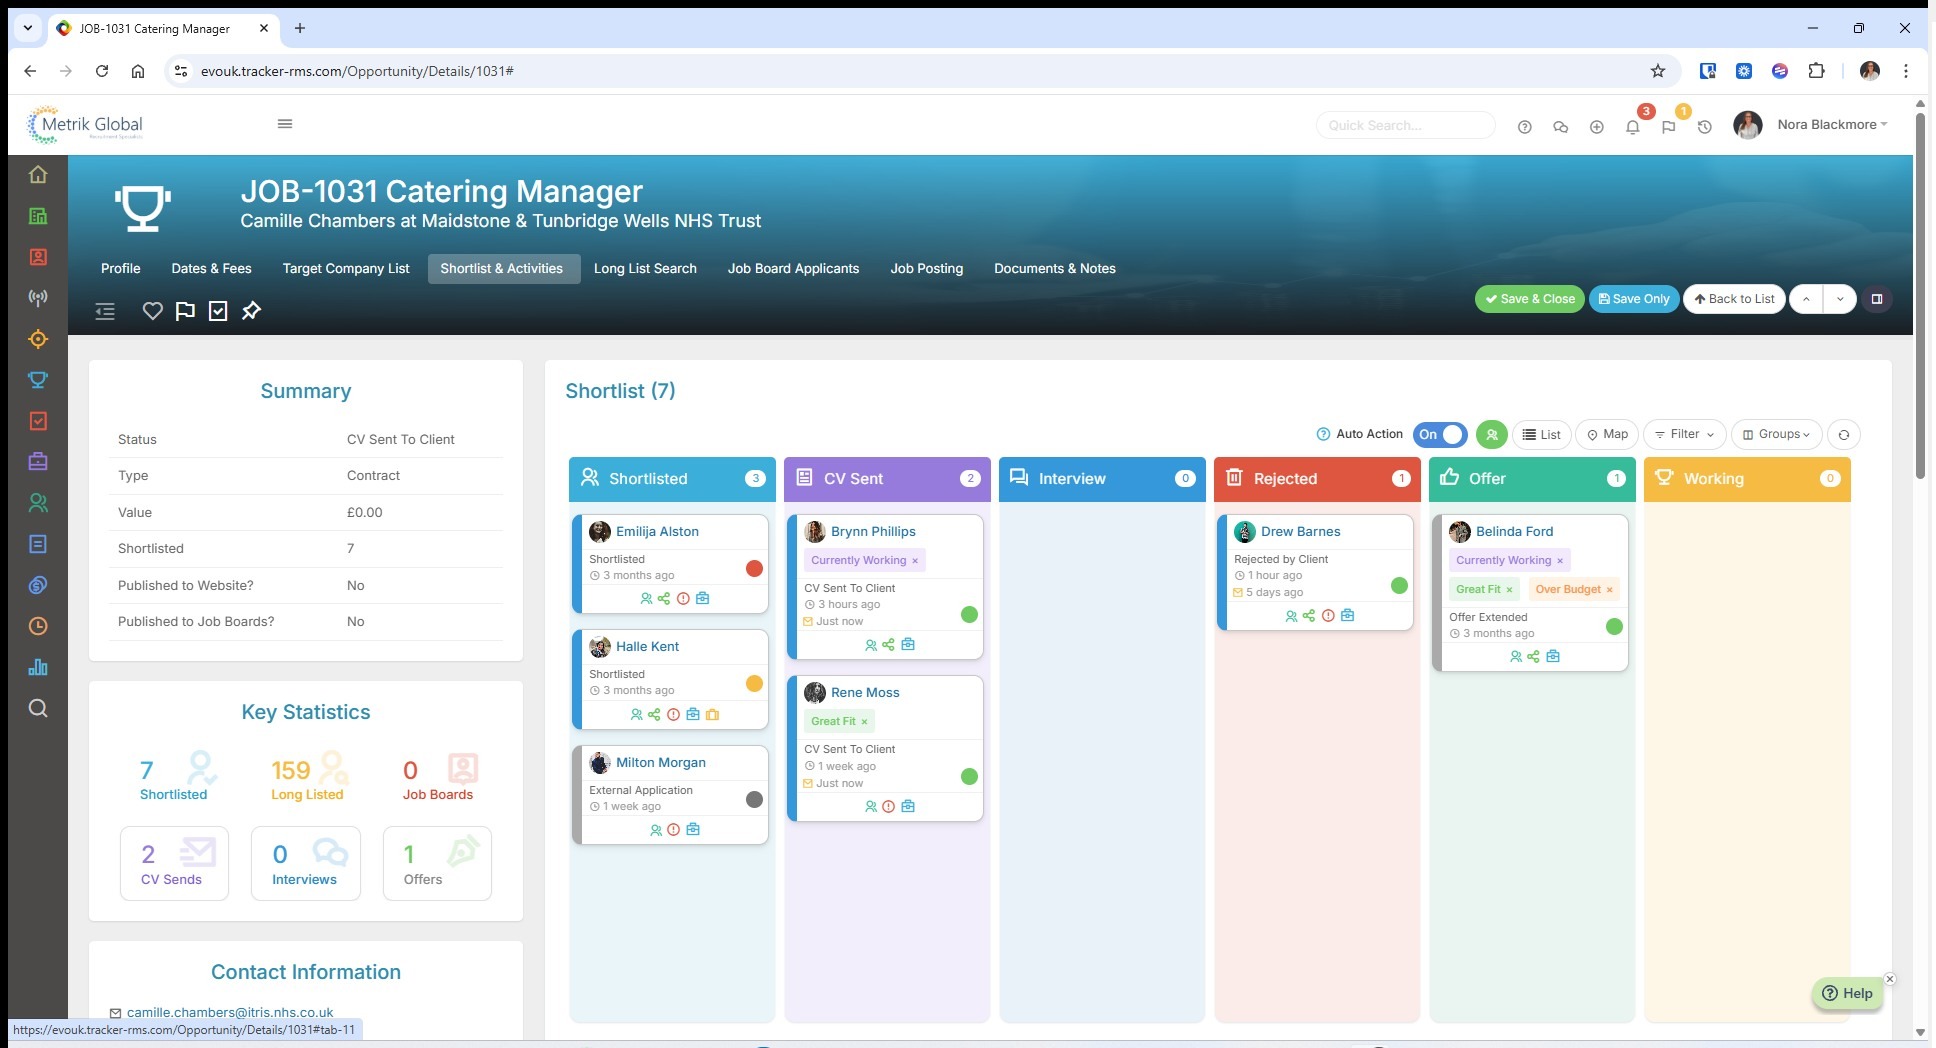
3. At the bottom of each card you may see some icons. These include shortcuts to open the Candidate and Placement Record, there is an icon that tells you whether or not they are compliant for this job, ones that tell you if the candidate has been shared via the portal or if they're currently on the shortlist of another job.
Additionally, they may include a pin icon that you can hover over to see the details of a Tag, if one is added to the candidate record.
Each provides you with insight without having to navigate away from the Shortlist area.
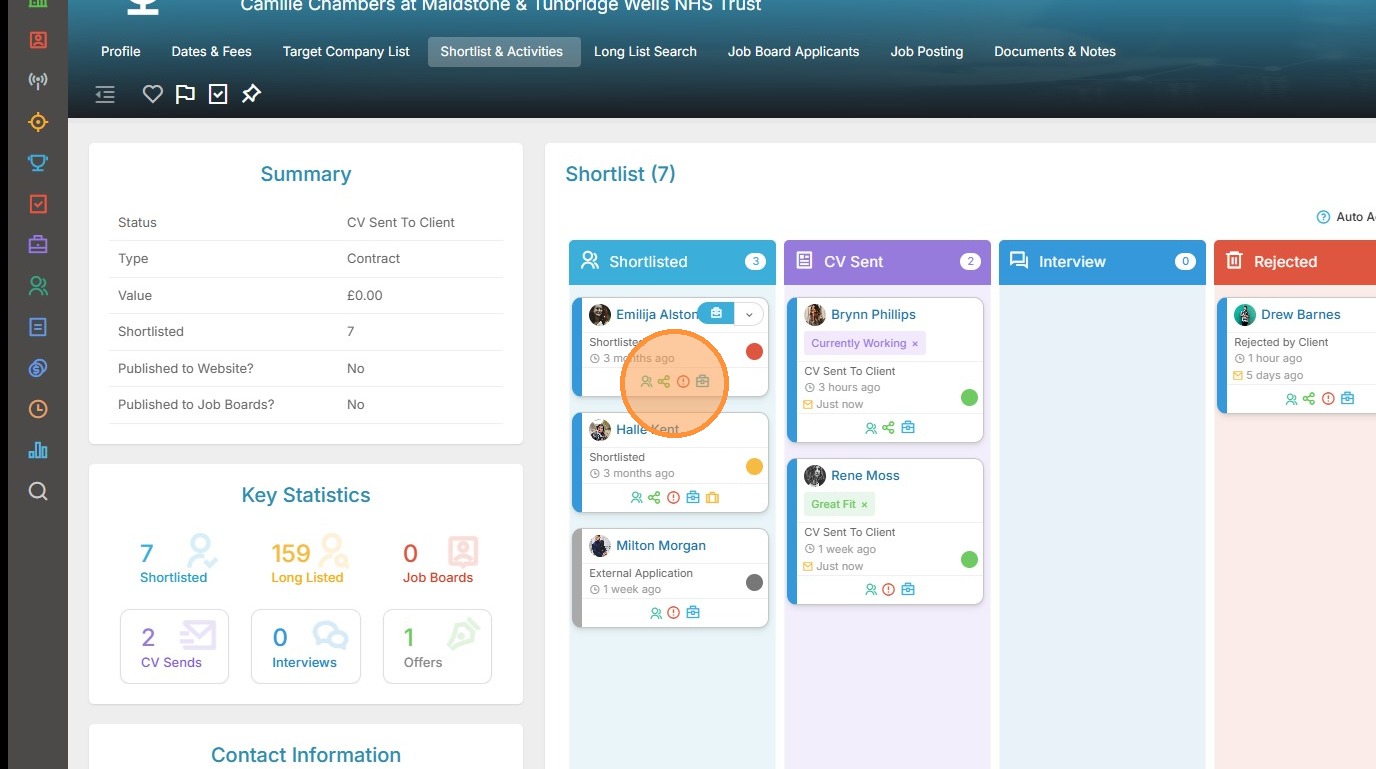
4. By clicking on the circle icon on the shortlist card you can also apply a RAG color - Red, Amber, Green - to that candidate. This coding can be used as a quick visual reference to highlight candidates after you have reviewed them, for example those you wish to progress with, not sure etc.
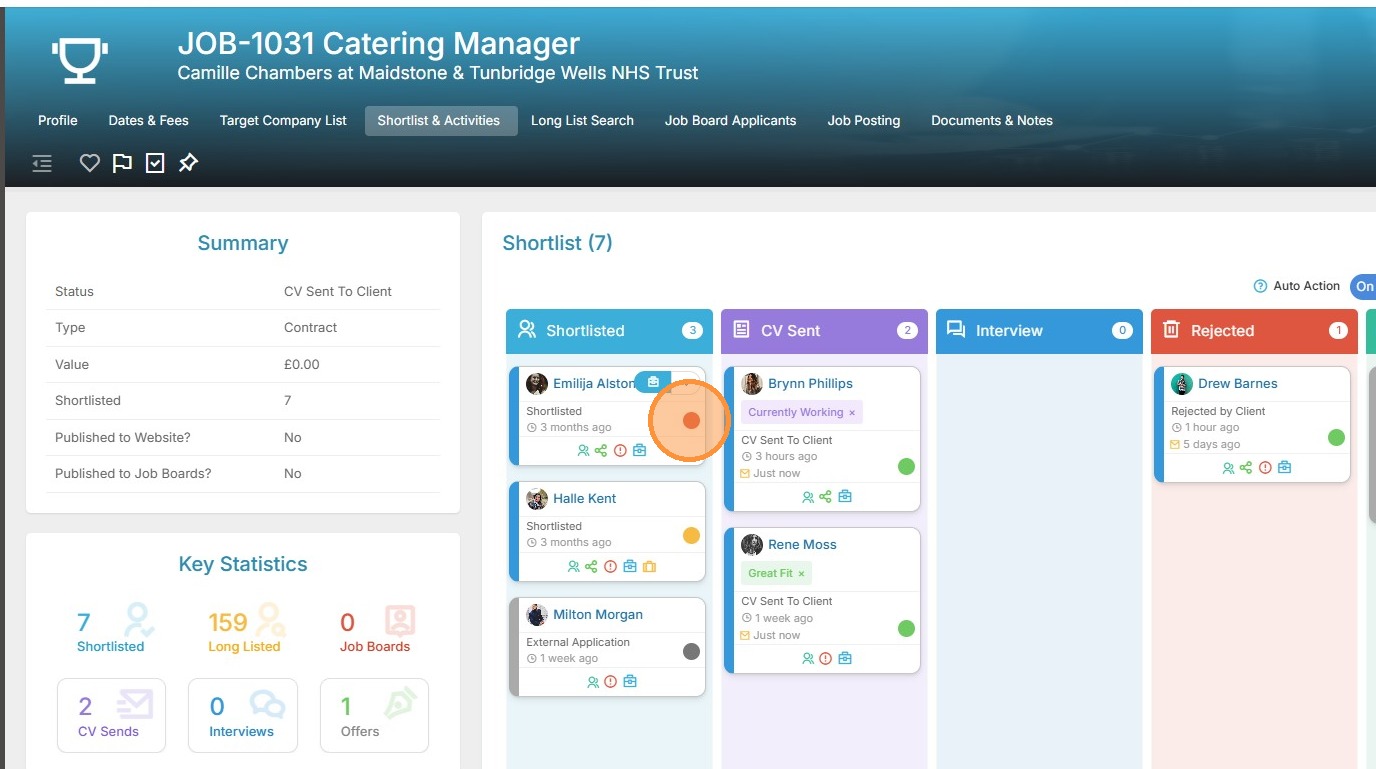
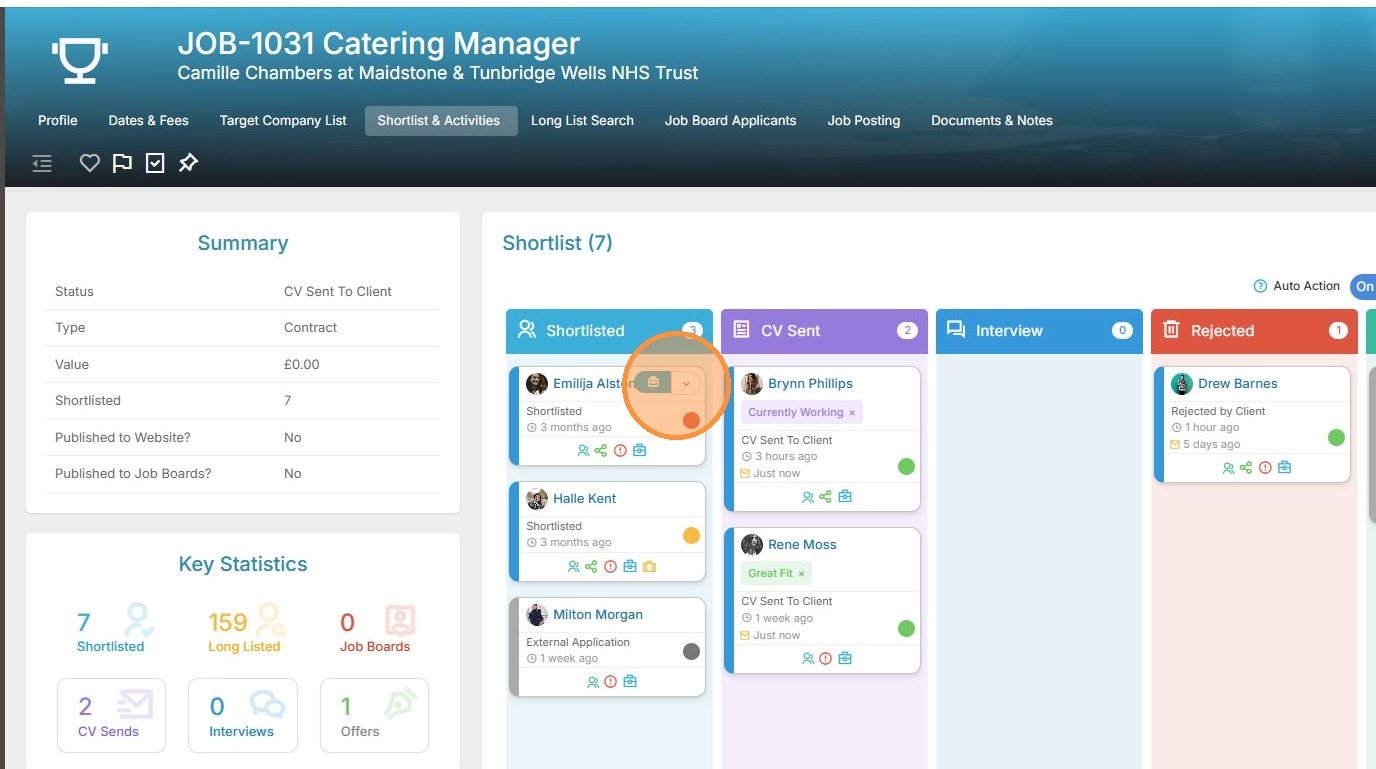
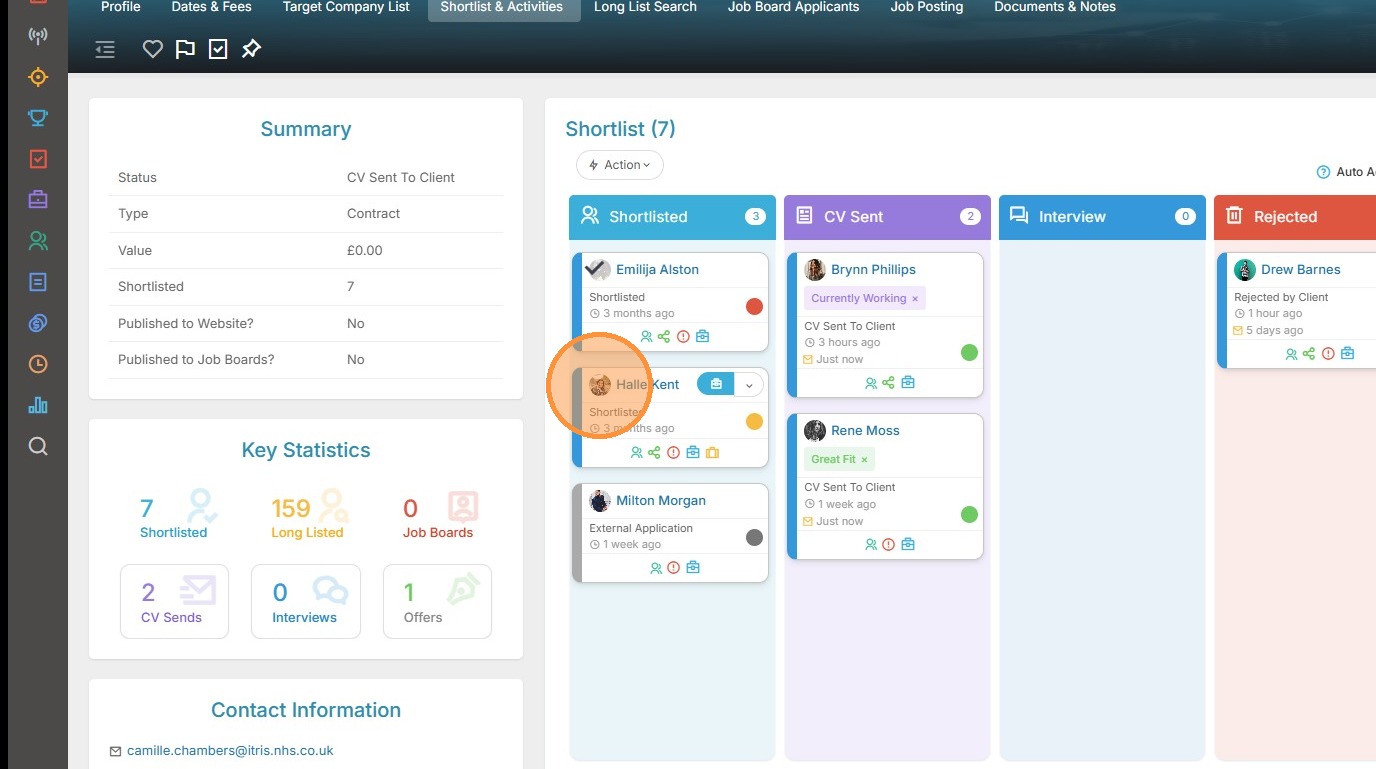
5. When you hover over a Shortlist card the placement icon and drop down menu will appear.
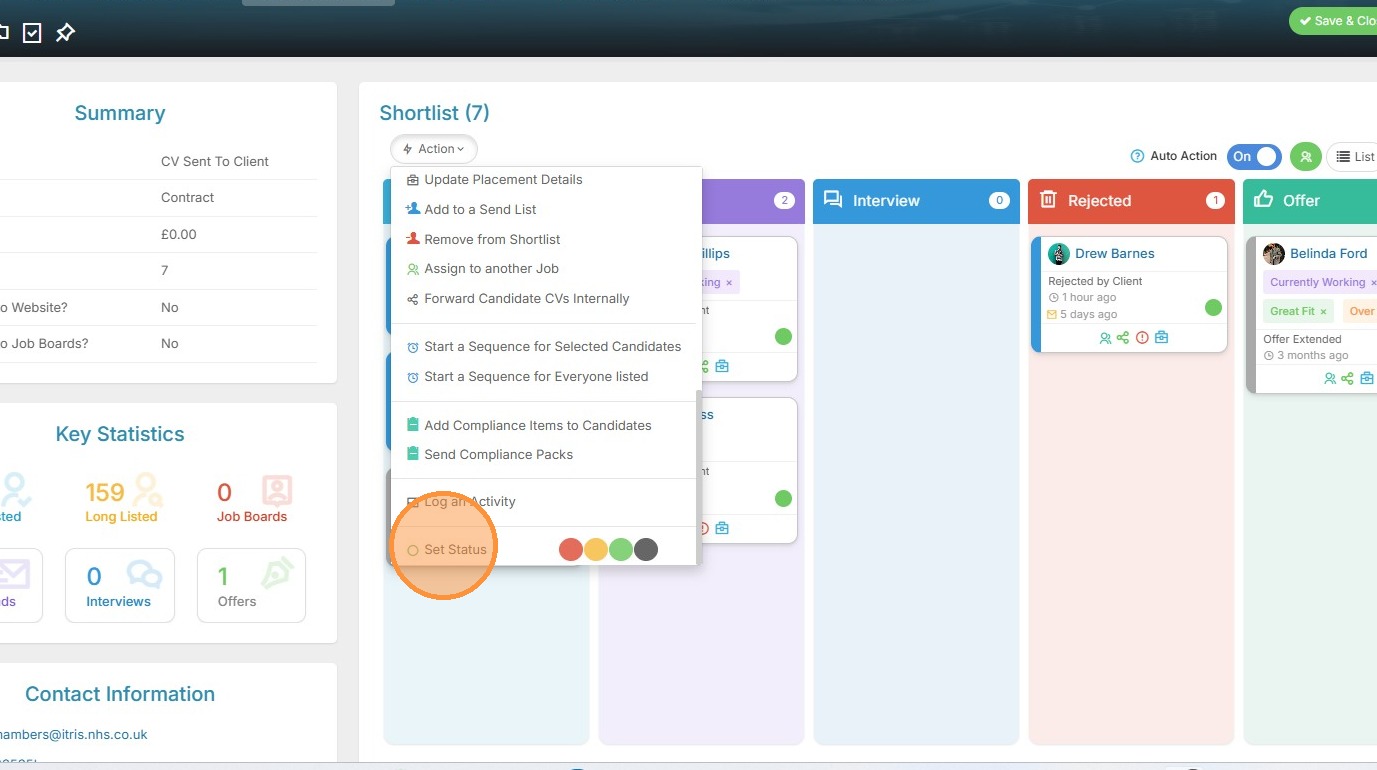
6. The drop down menu has a number of options, these are divided in to groups. In this screen I have all options collapsed to highlight them.
You can click to expand each area to see the options for each one.
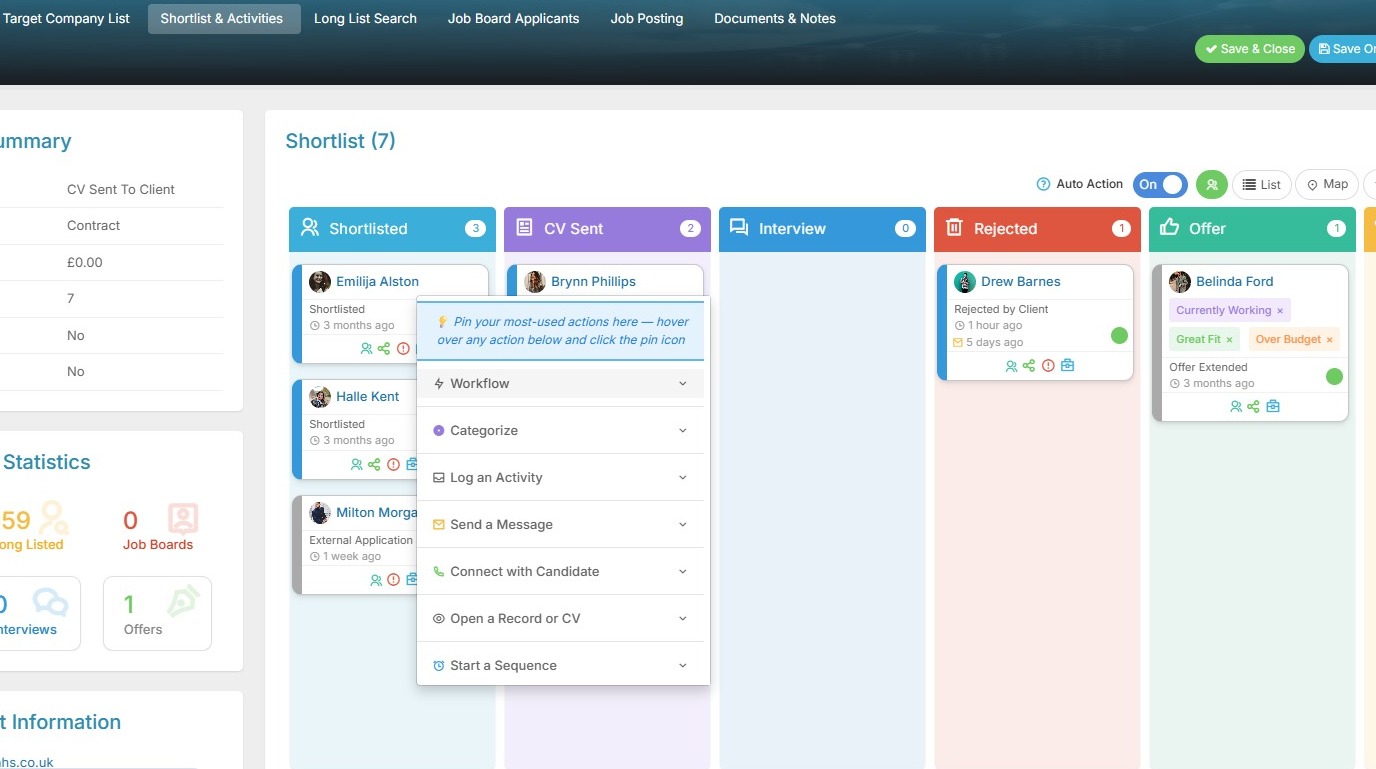
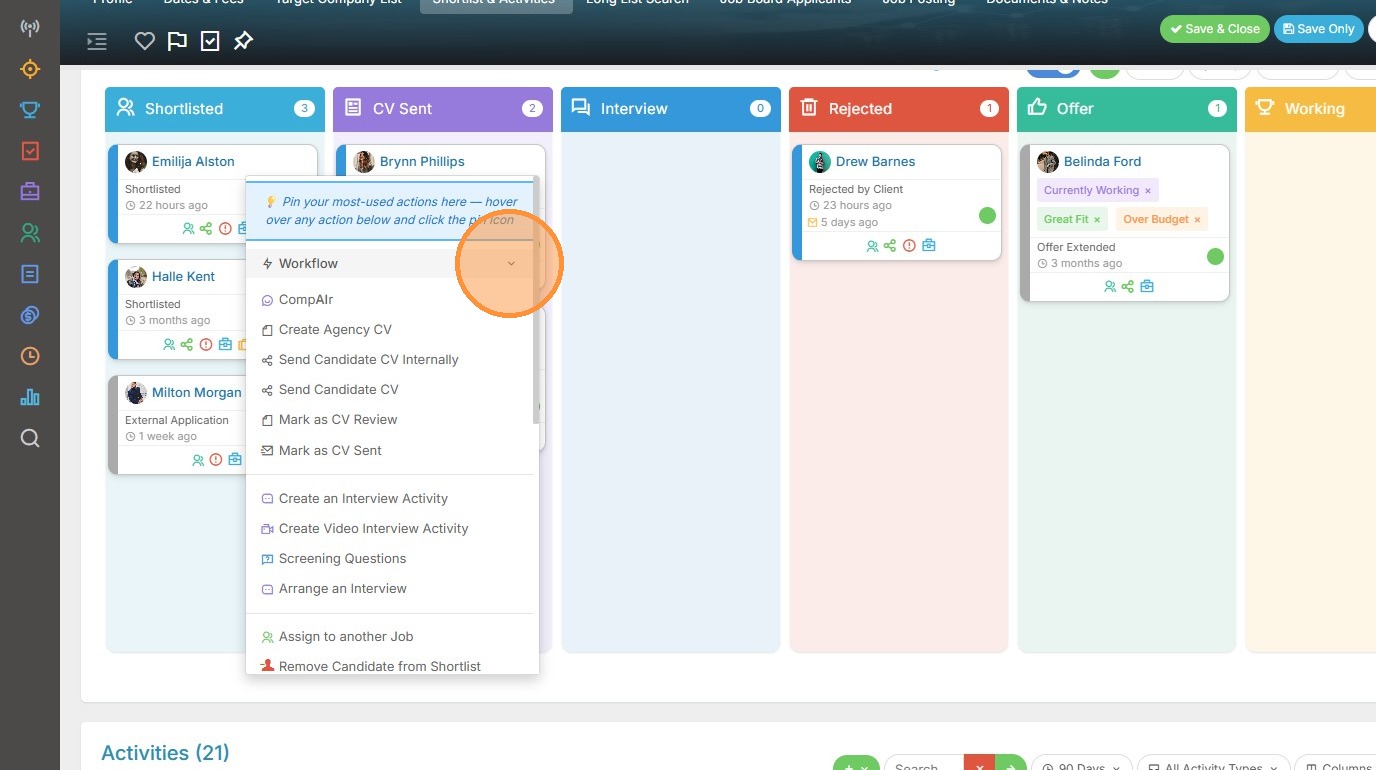
7. In expanding the Workflow option, we see we have options related to the submission process such as sending the Resume to the client, arranging interviews and more.
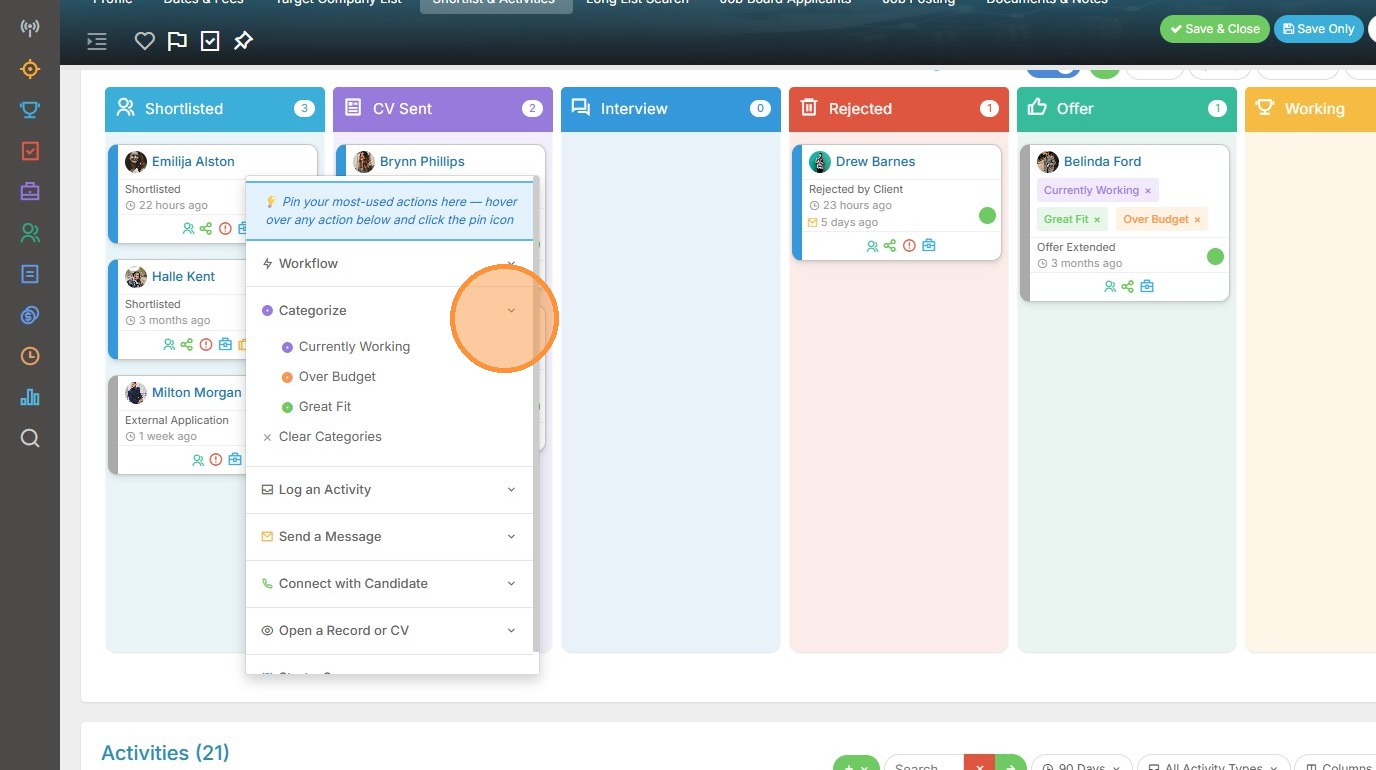
8. Categorising the candidate allows you to flag each candidate with one or more categories to provide more information about the submission at a glance. The three most recently added categories are visible on the card, with an option to expand to see more if added. Categories are fully filterable for more granular organisation.
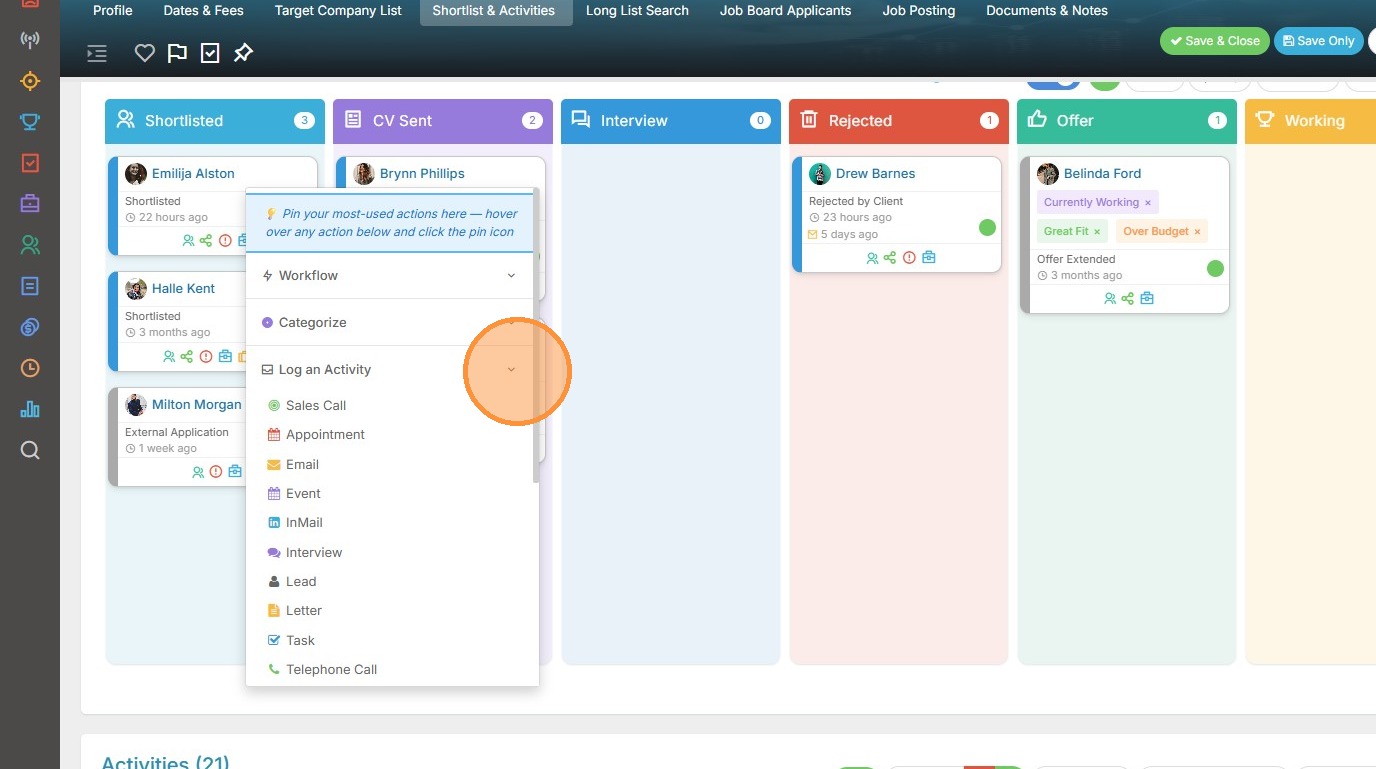
9. Via Log an Activity we have the available Activities types to select from.
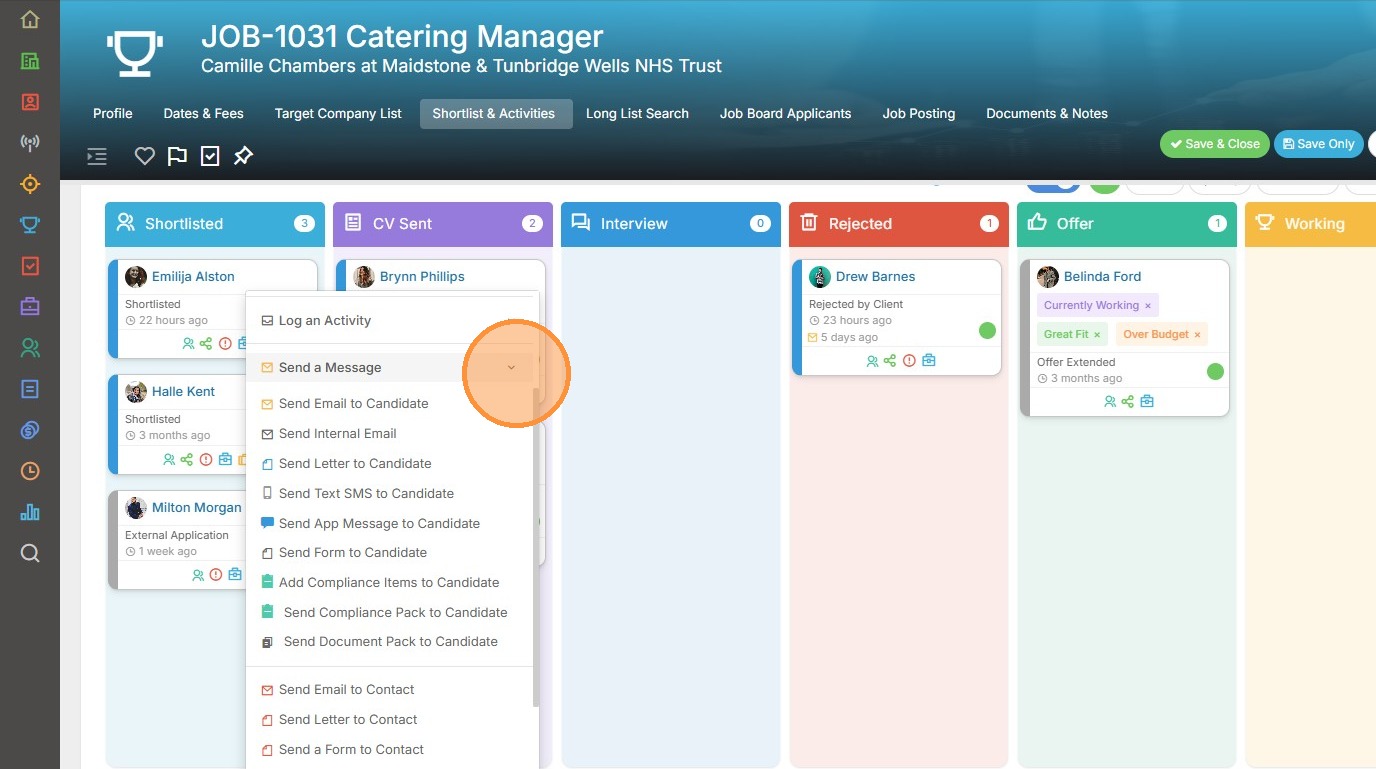
10. Expanding Send a Message allows for emails, text and more to be initiated.
11. Via Connect with a Candidate we can start a phone call in one simple click.

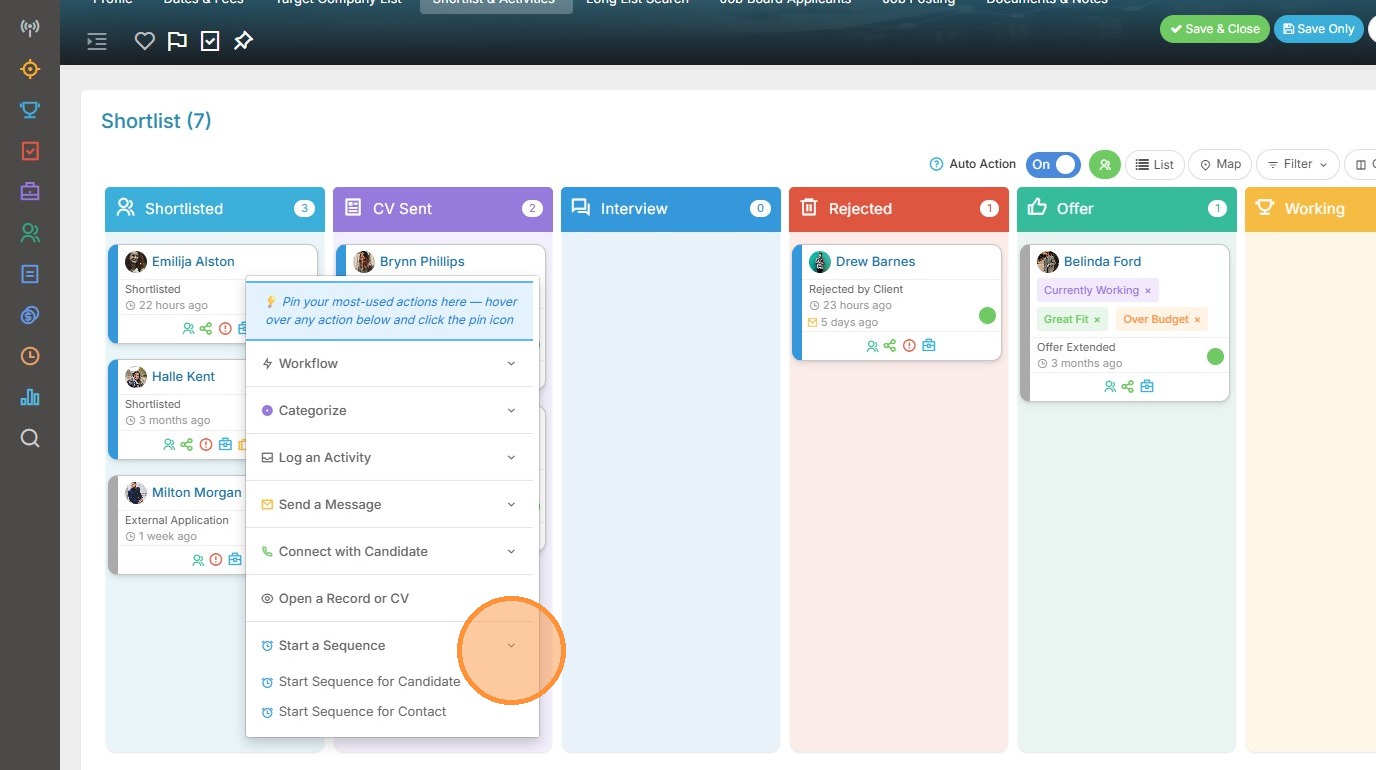
12. Beyond the options mentioned earlier, by expanding out Open a Record or CV we see other routes to open the Candidate or Placement records, or simply just view the CV.

13. There are also options for starting sequences.
14. You can pin up to ten of your most frequently used actions to the top of the menu, keeping them front and centre for quick access. Though seemingly a small feature, this can make a big difference to your daily efficiency.
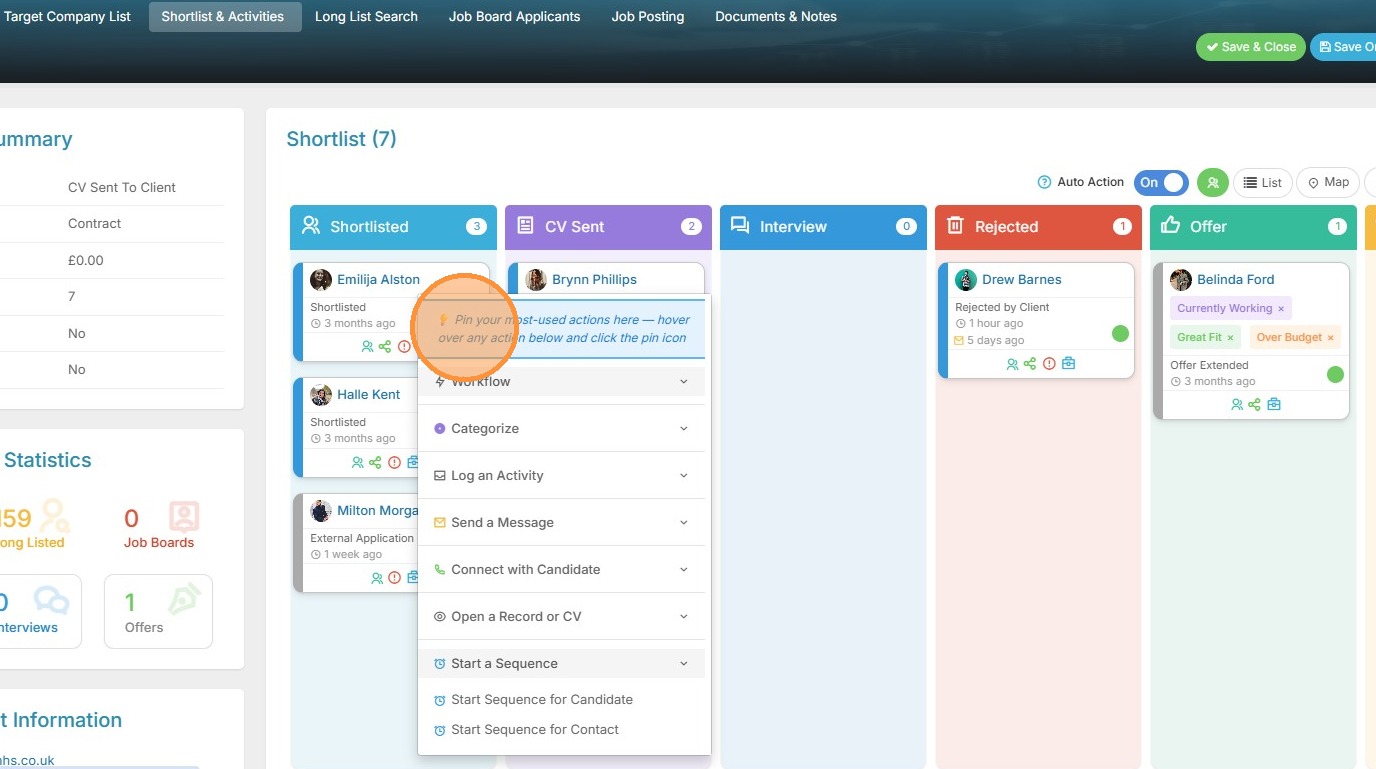
15. When you hover over a item in the menu you'll see the pin icon appear, simply click this to pin it to the top. Here I'm adding Create Agency CV.
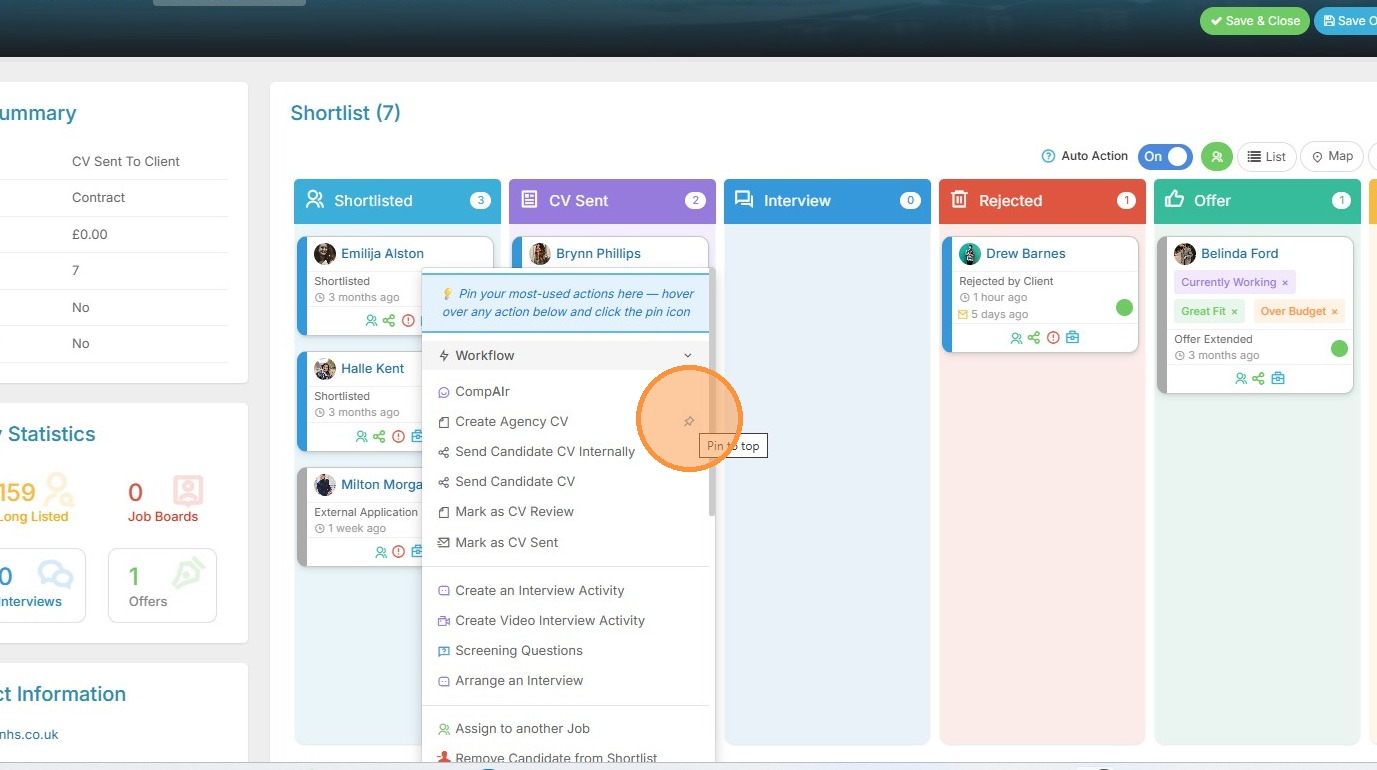
16. You choose which are the important actions you wish to pin - this is a personalized list. Another common one to add is the option for sending CV's/Resume's to your contact on the job.
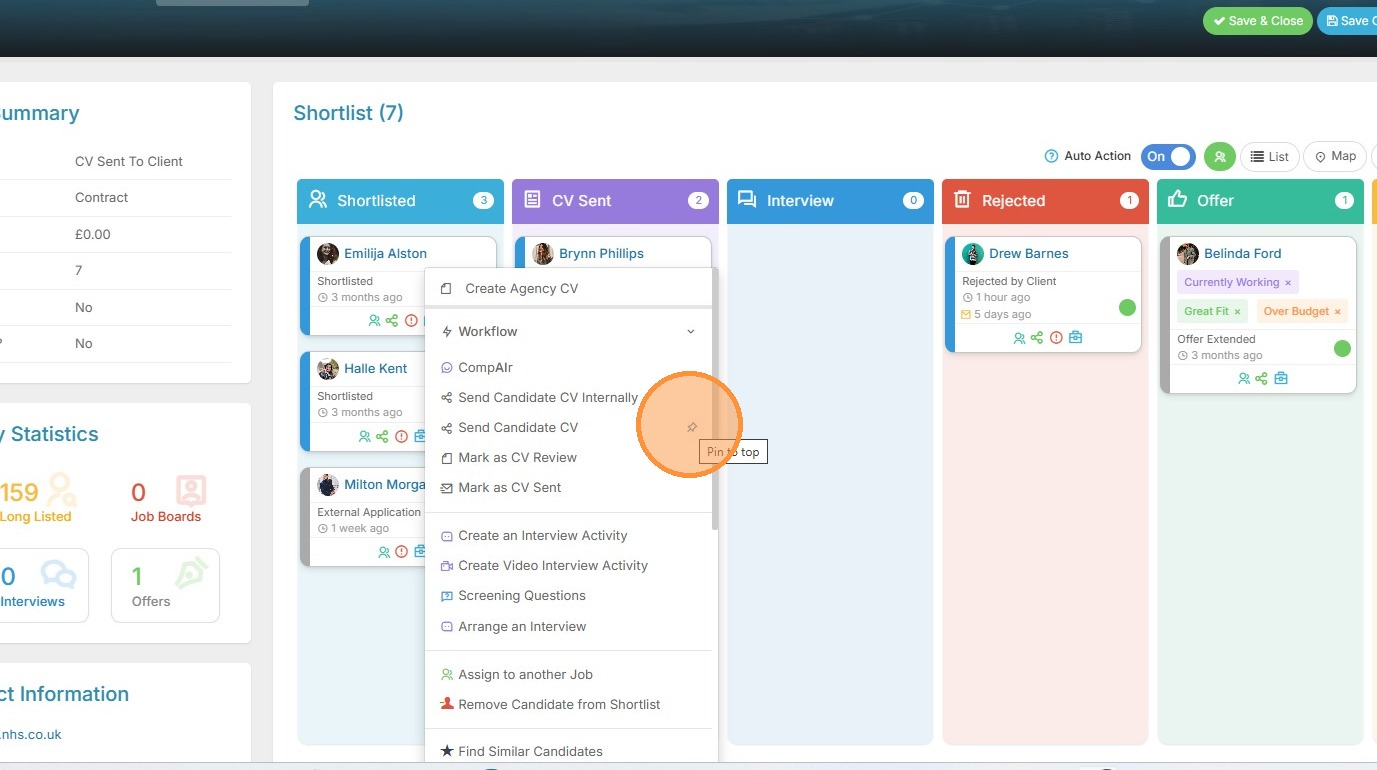
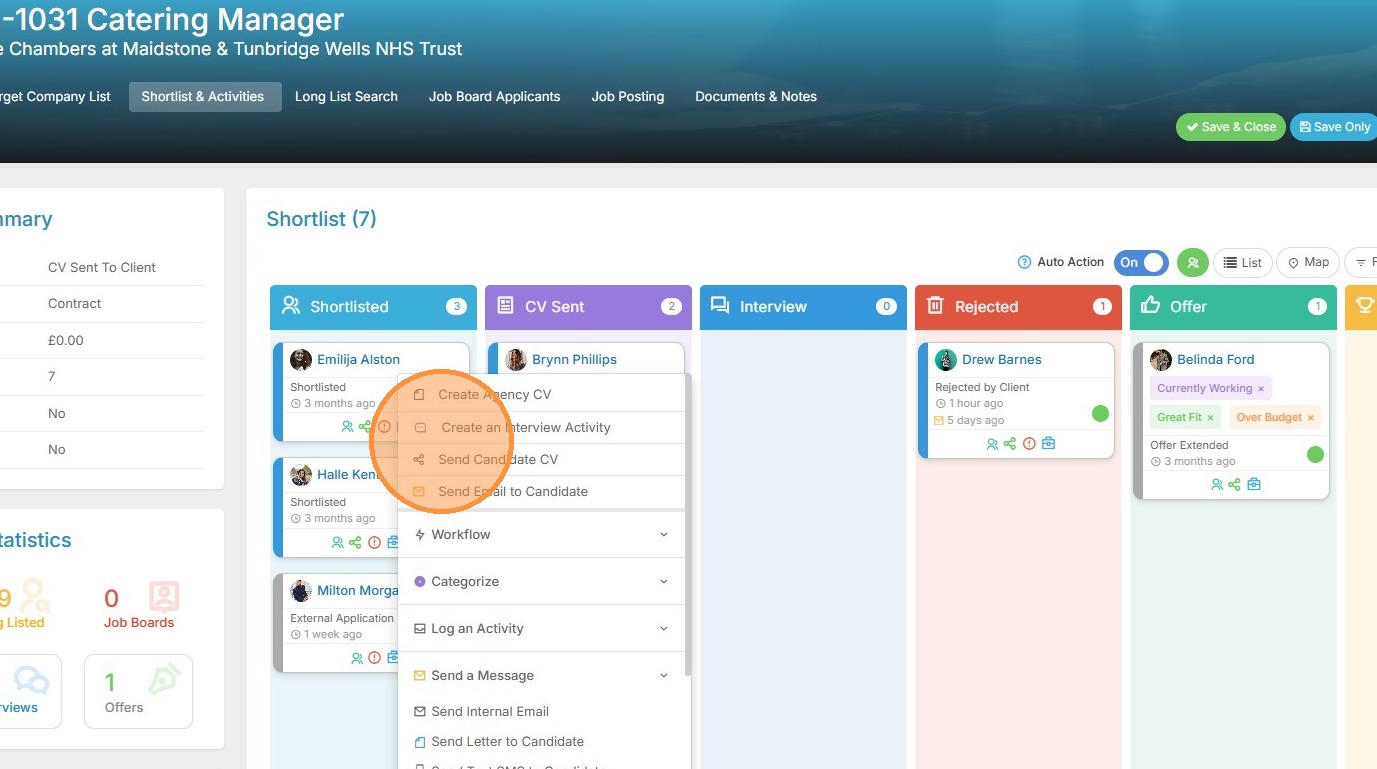
17. I've added four for now, I can come back anytime and add or remove from the list. Remember you can have 10 actions pinned.
18. Next, we're going to look at Bulk Actions. To see the Bulk Actions menu you'll need to tick one or more of the profile images (or the circle if you don't have candidate photos).
19. I've clicked one candidate, so the Action menu appears at the top, but I'll now select a second candidate.
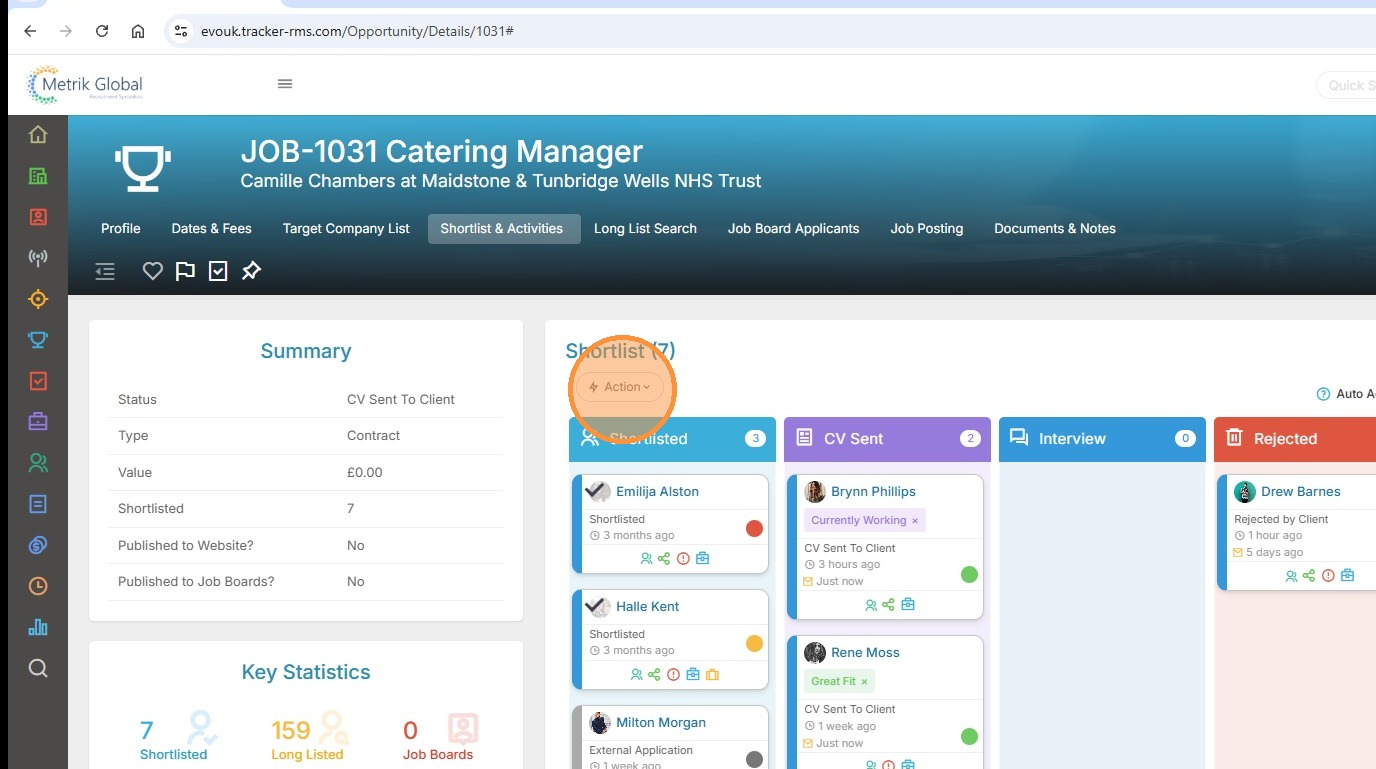
20. With both candidates selected, I'll click on the Action menu.
21. This expands to show the many options I can run on the selected candidates, which is a similar list to those you can apply individually. Examples include sending bulk emails, bulk sending resumes and arranging interviews.
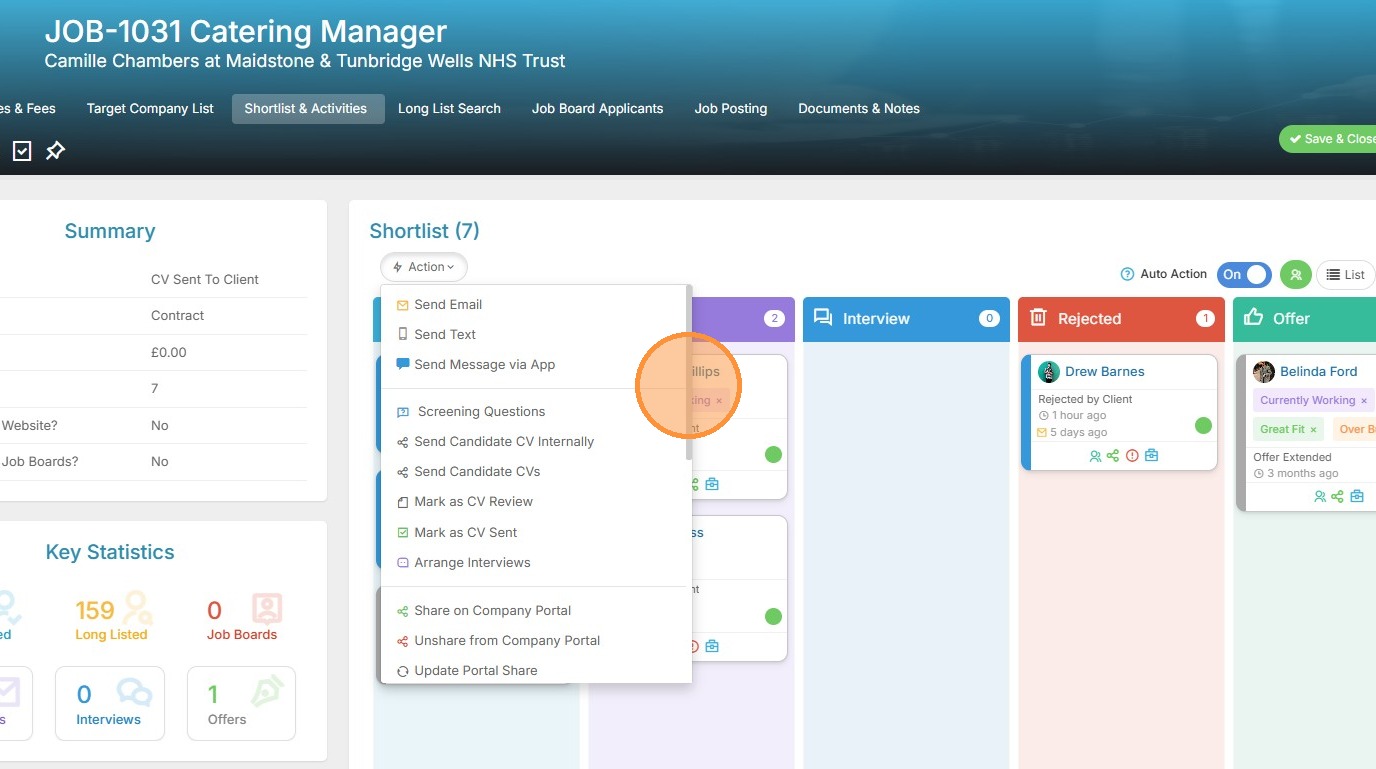
22. Scrolling down the list we see more actions, including bulk apply the RAG statuses.
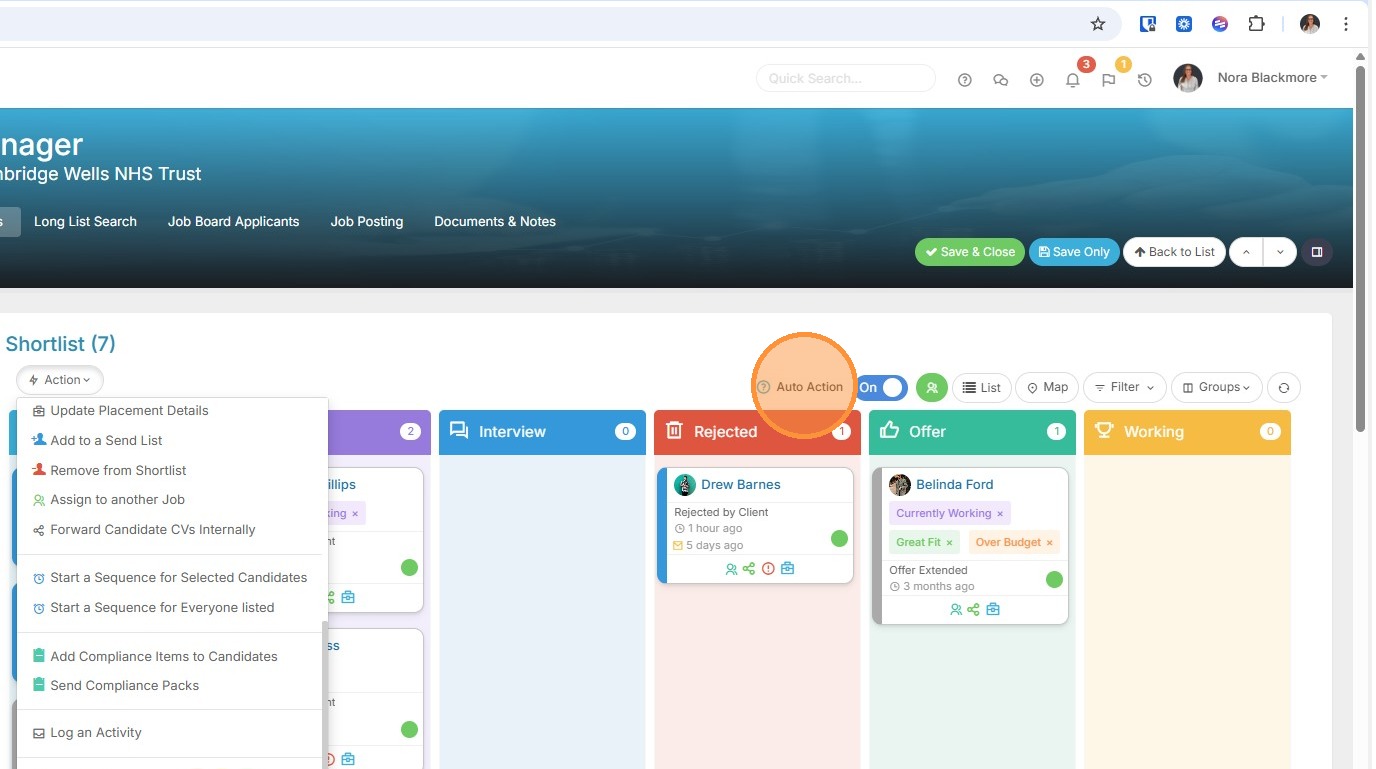
23. Use the Auto Action toggle in the top right to prompt you to complete an associated activity whenever you drag a candidate forward in the shortlist. For example, emailing Resume’s to the contact, creating an Interview activity etc. If you don't see this option, contact your system administrator.
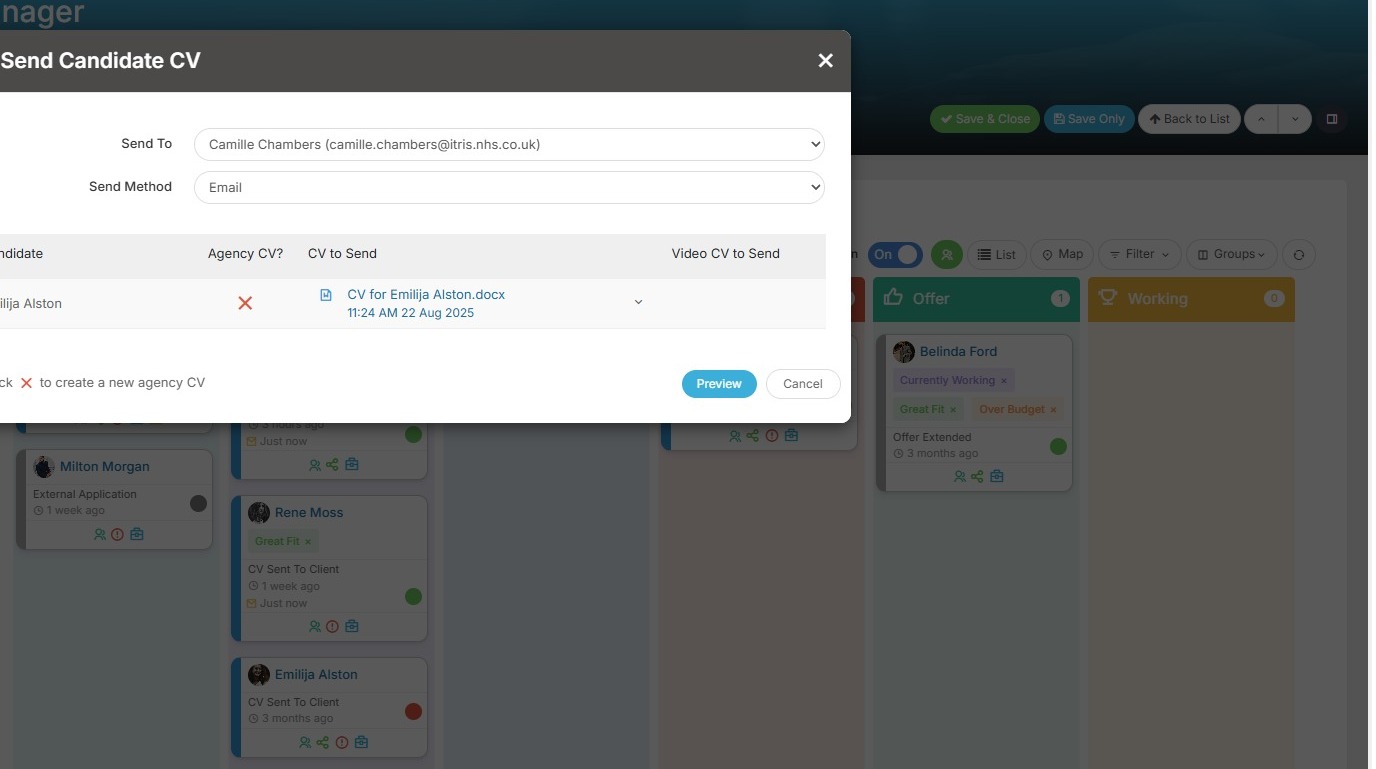
24. Let's see drag and drop in action. Here I will drag and drop this candidate from shortlist to CV Sent.
25. Automatically the CV Send window opens for me to select my send method, choose a resume to send etc.
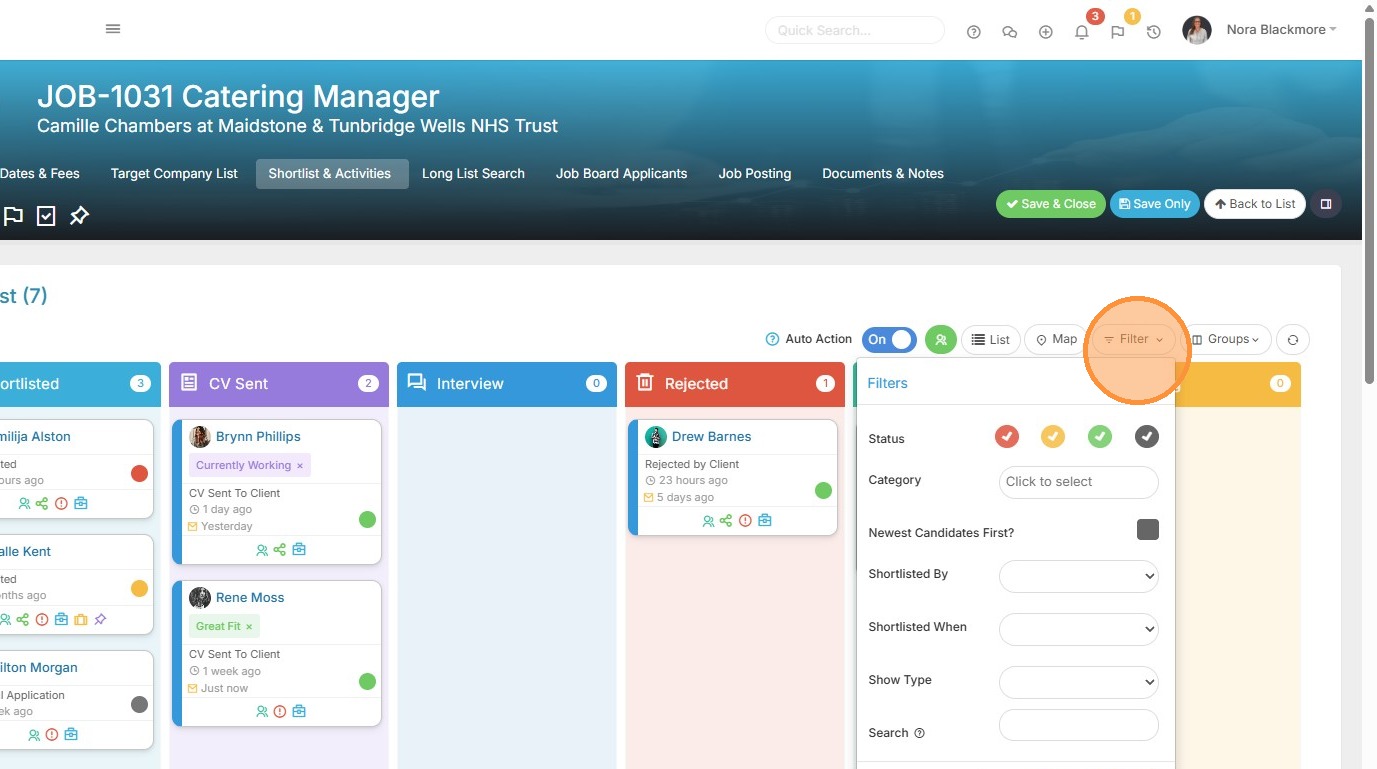
26. On the top right hand side we see the Shortlist Filters. This allows you to filter by status colour code, category, newest added, which recruiter shortlisted them and when, placement type and/or search by name/resume.
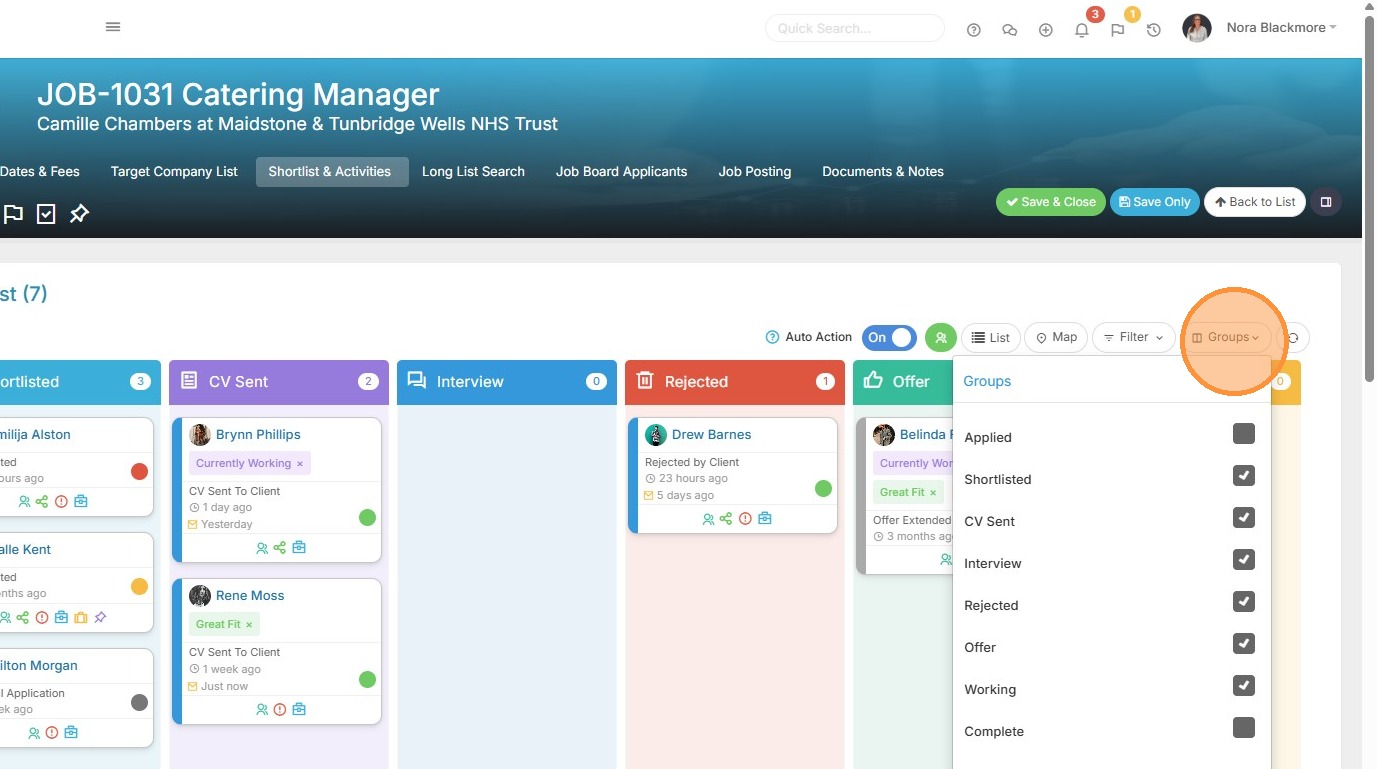
27. Groups allows you to choose which stages of the submission workflow you want represented on your board. The applied group will be relevant for applications via Jobs Lite or your own website. Your list may differ slightly depending on what has been set up for you in Display Settings within Tools & Settings.
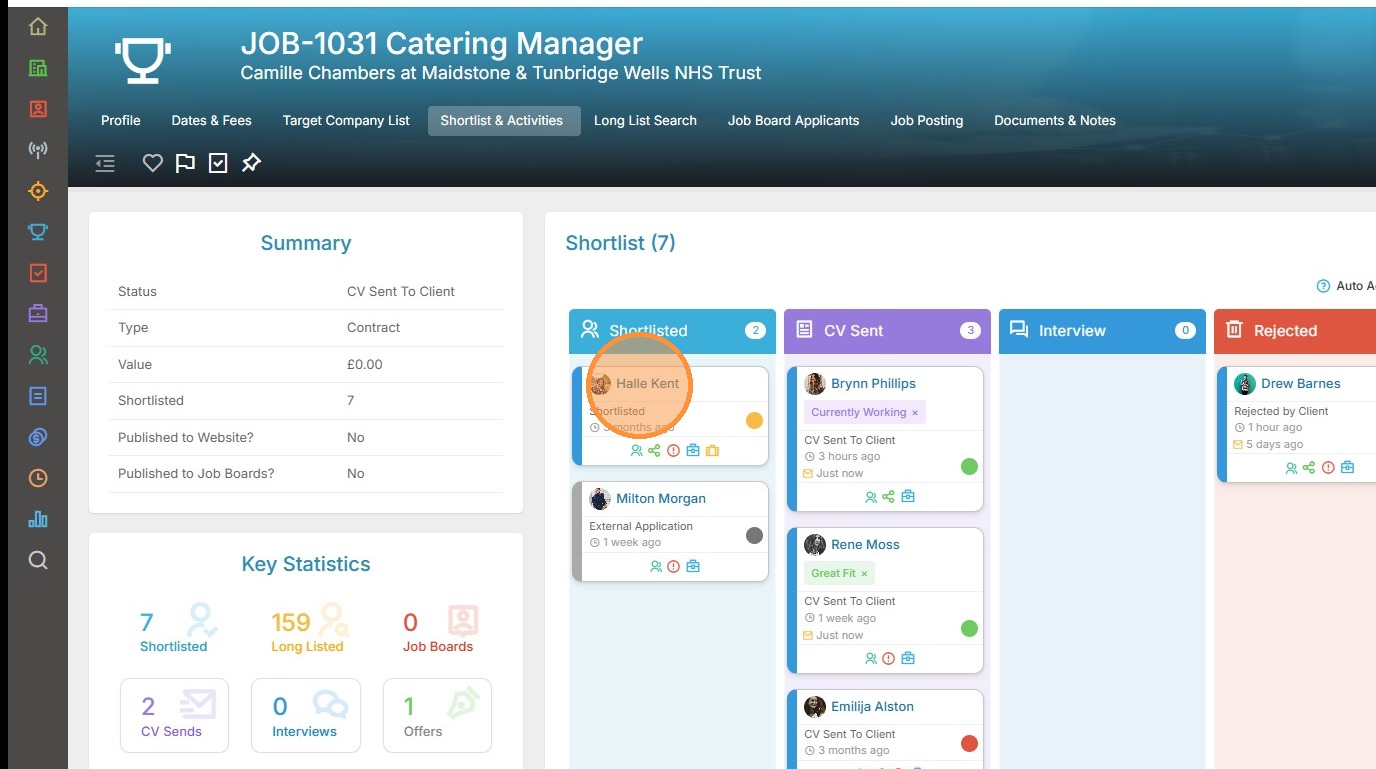
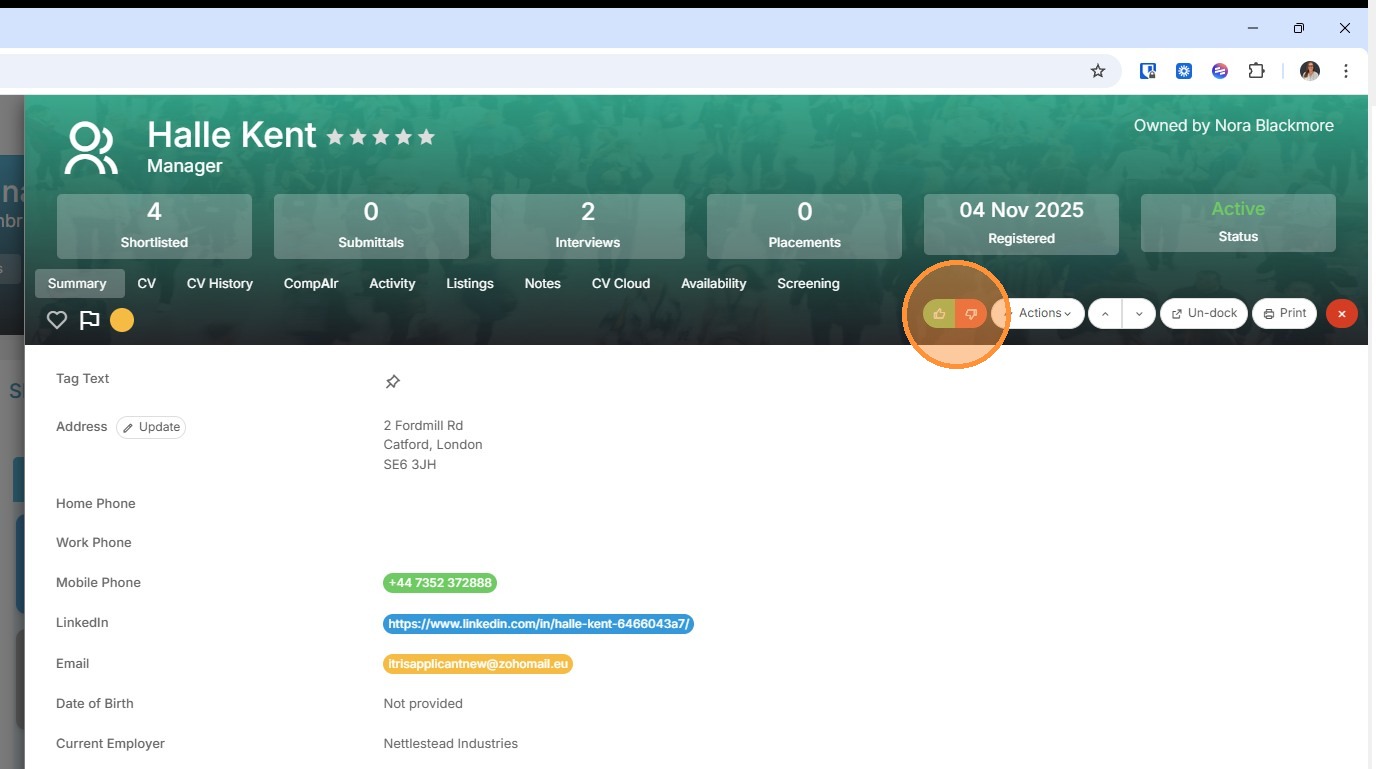
28. If you click on the candidates name, this will open a Quick View of their candidate record.
29. Here we see the candidate quick view. Note the various tabs, buttons and overview information displayed.
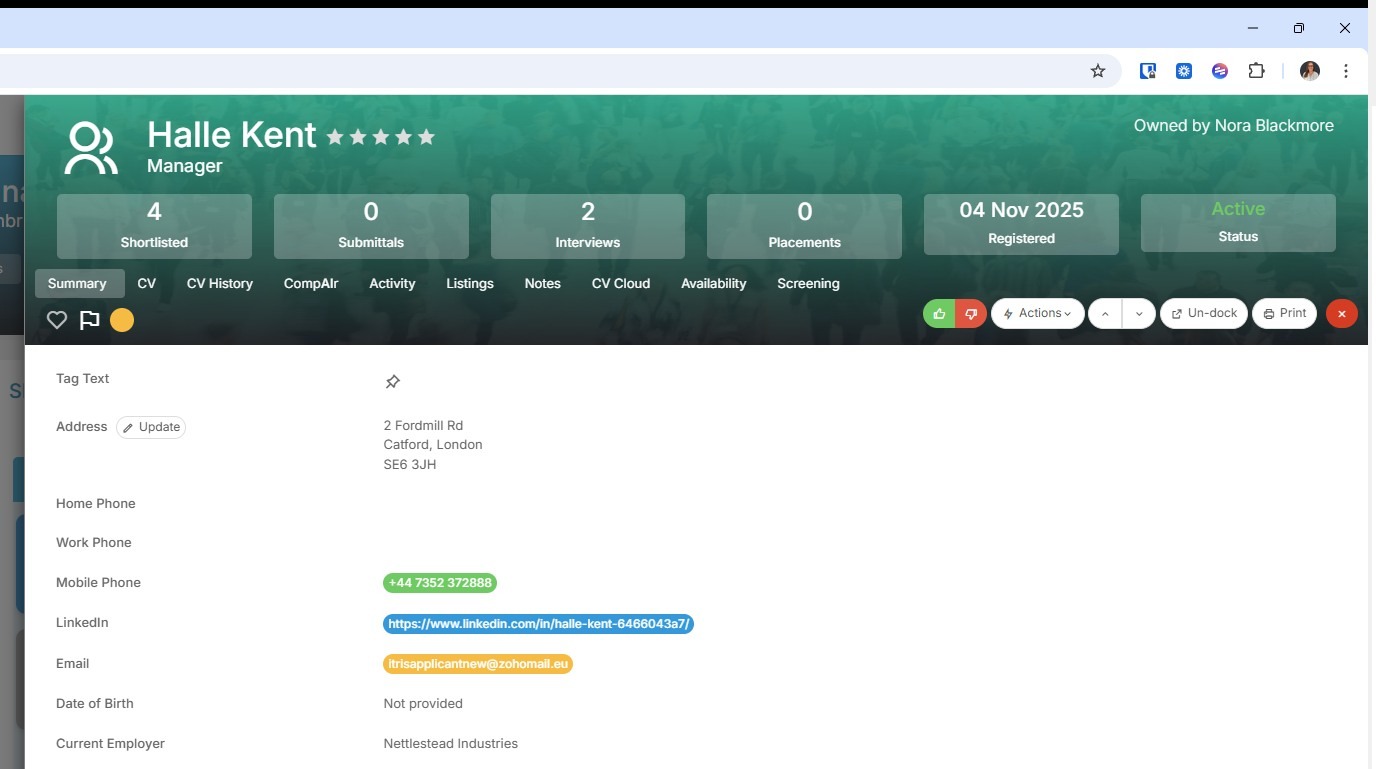
30. If this view was accessed for a candidate in either the applied or shortlist groups you have the addition of Thumbs Up and Thumbs Down buttons. These are used to update their submission stage.
Clicking Thumbs Up (accept) when a candidate is at the Applied stage will give them the green status flag and move them to the status specified in Tools & Settings, for example Shortlisted.
Clicking the Thumbs Down (reject) for either Applied or Shortlisted candidates will give them the red status flag and move them to the status specified in Tools & Settings, for example Rejected.
31. Clicking on the placement icon (which is revealed when you hover over the shortlist card) will open the Placement record (normally as a pop out from the side depending on your settings).
32. As with the Candidate quick view there are multiple tabs within this view and an actions button.
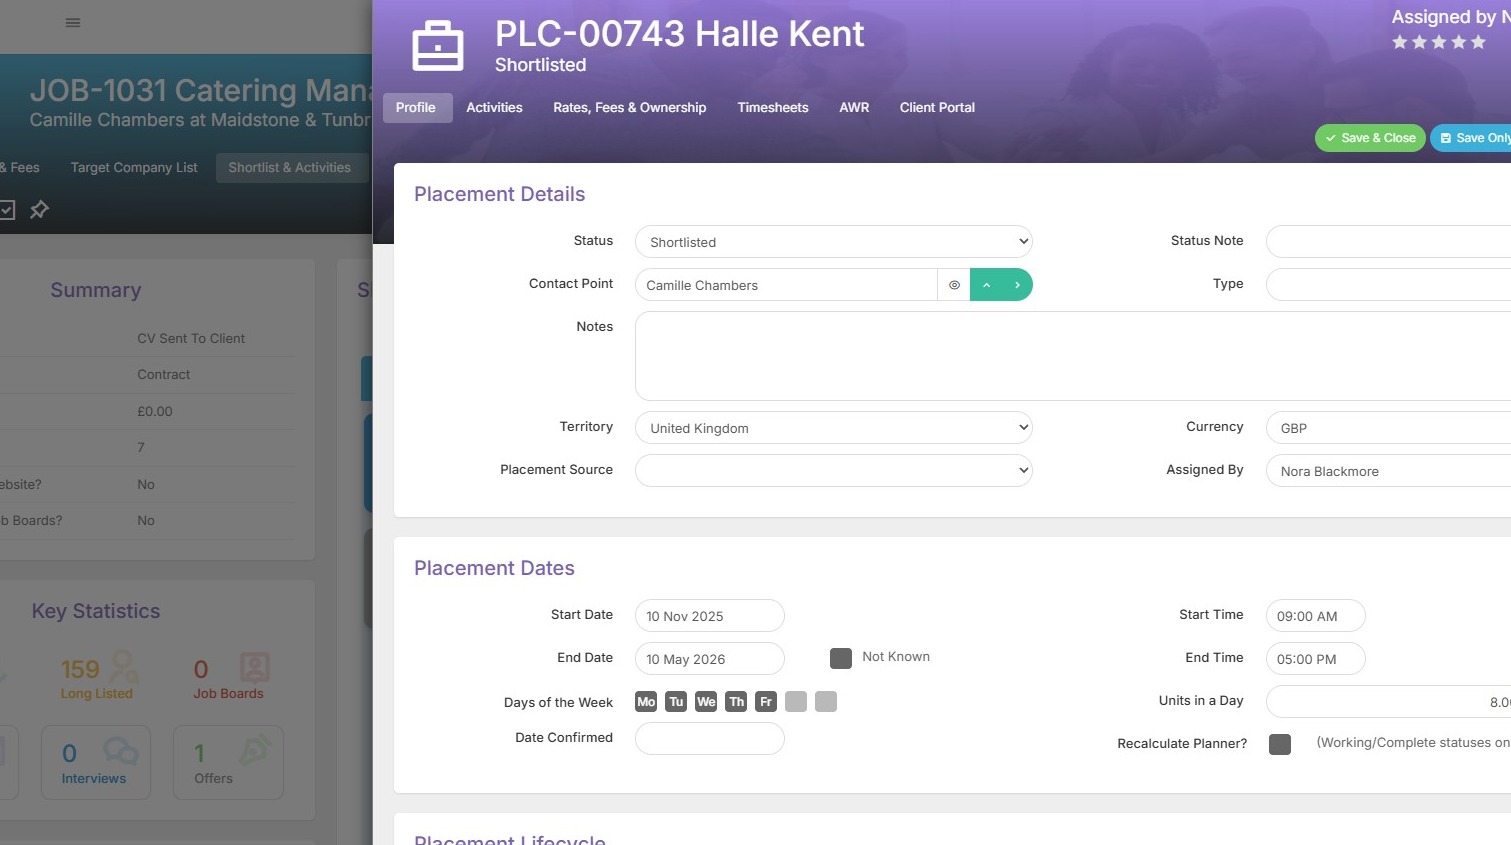
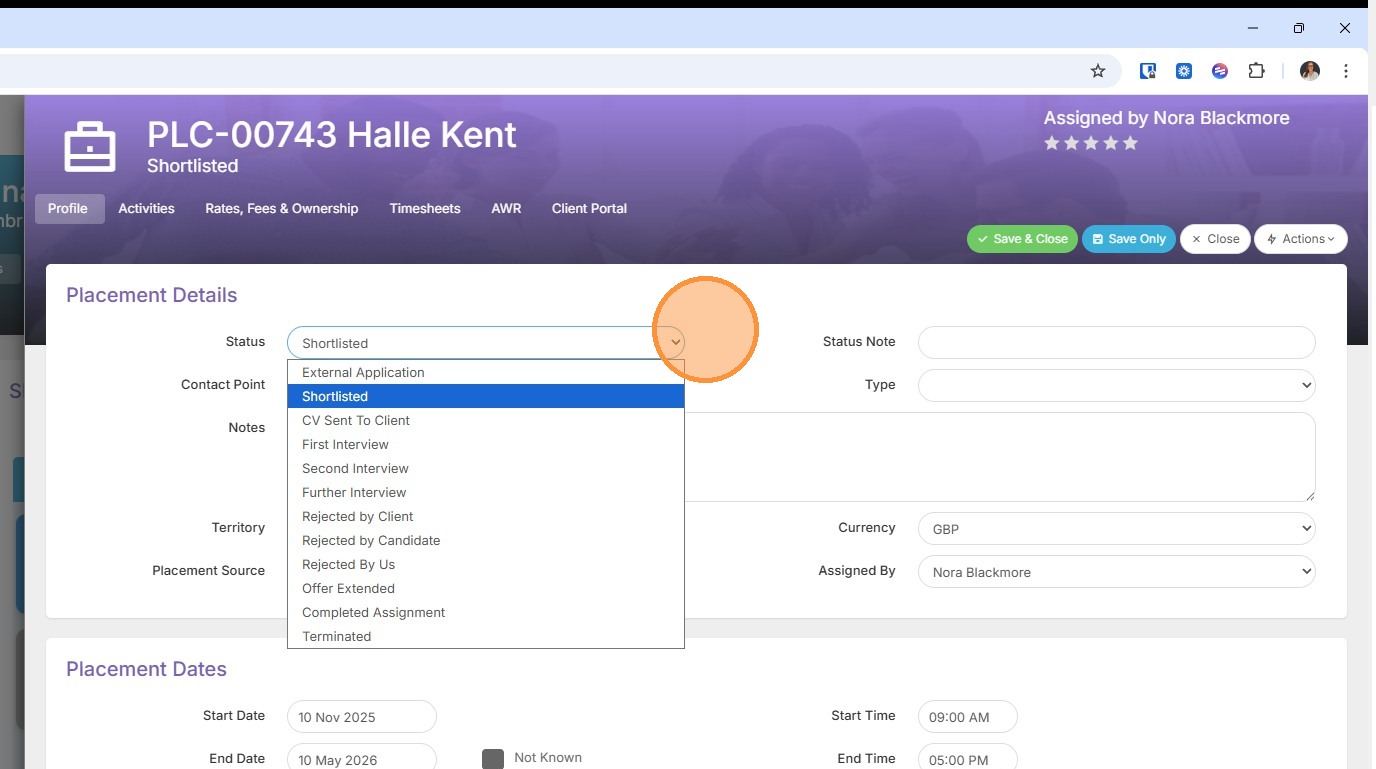
33. By changing the status here you can also progress a candidate through the submission stages.
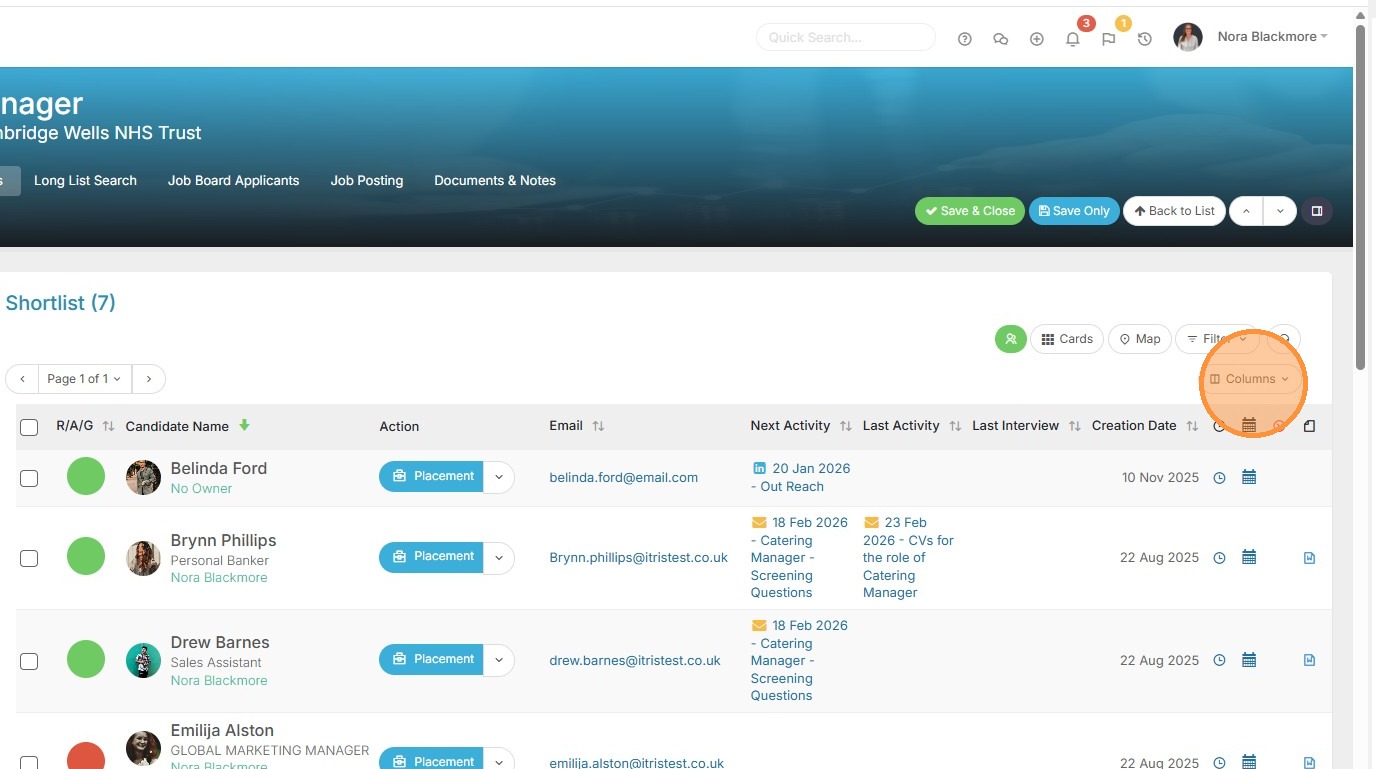
34. In addition to viewing the Shortlist block as Cards, you can also view as a list.
35. The list view allows you to add or remove columns for more candidate detail. This way you see the data that is important to you. You can also set jobs to default to List View in your My Settings, should you prefer.
As with other list views you can also drag and drop the columns into your preferred order.
Note you still have options such as RAG, Quick Views, Placement and Actions as you have via Card view.