This lesson gives and overview of the Shortlist and the options within it, such as Filters, list view and Map View.
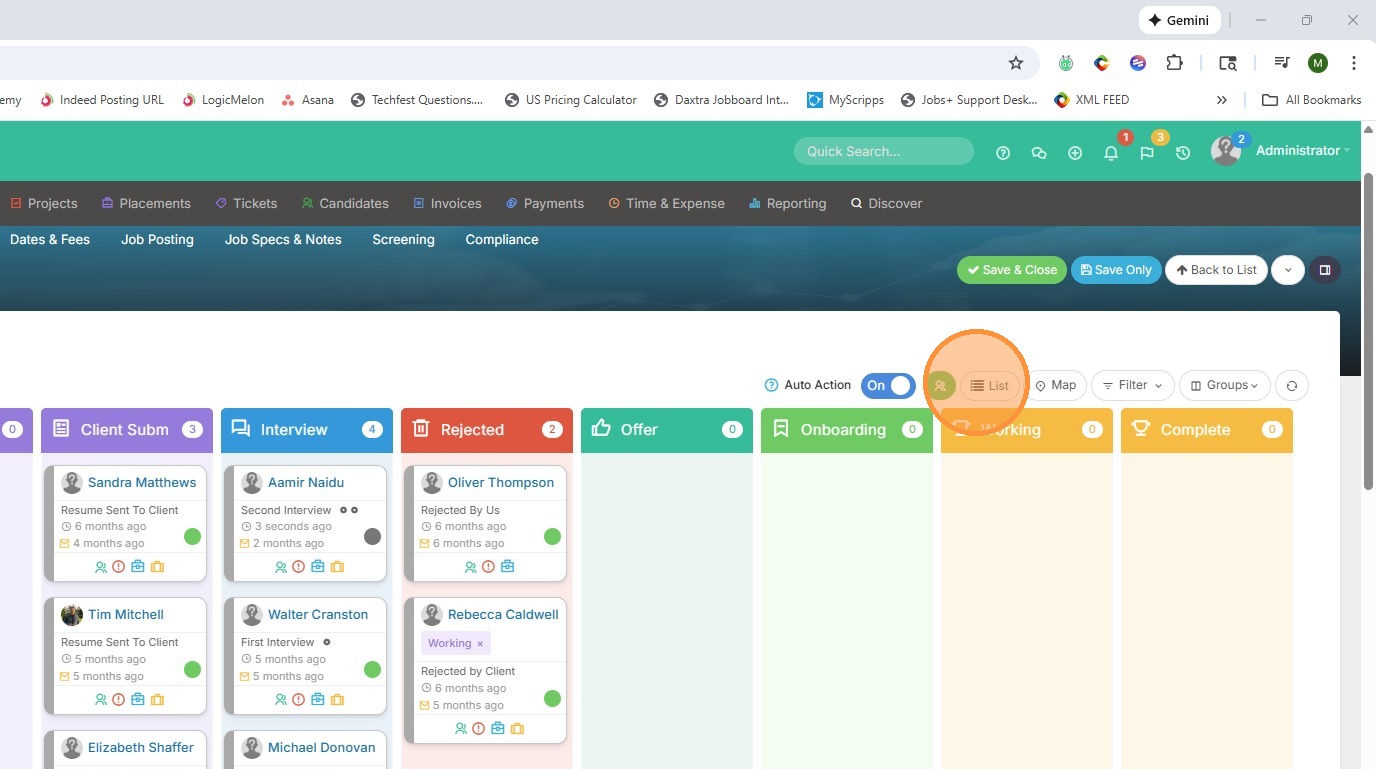
1. Currently in the Shortlist, you are seeing the card view visual. You can switch to the List view for more detail (and make this your default in Tools & Settings if you wish).
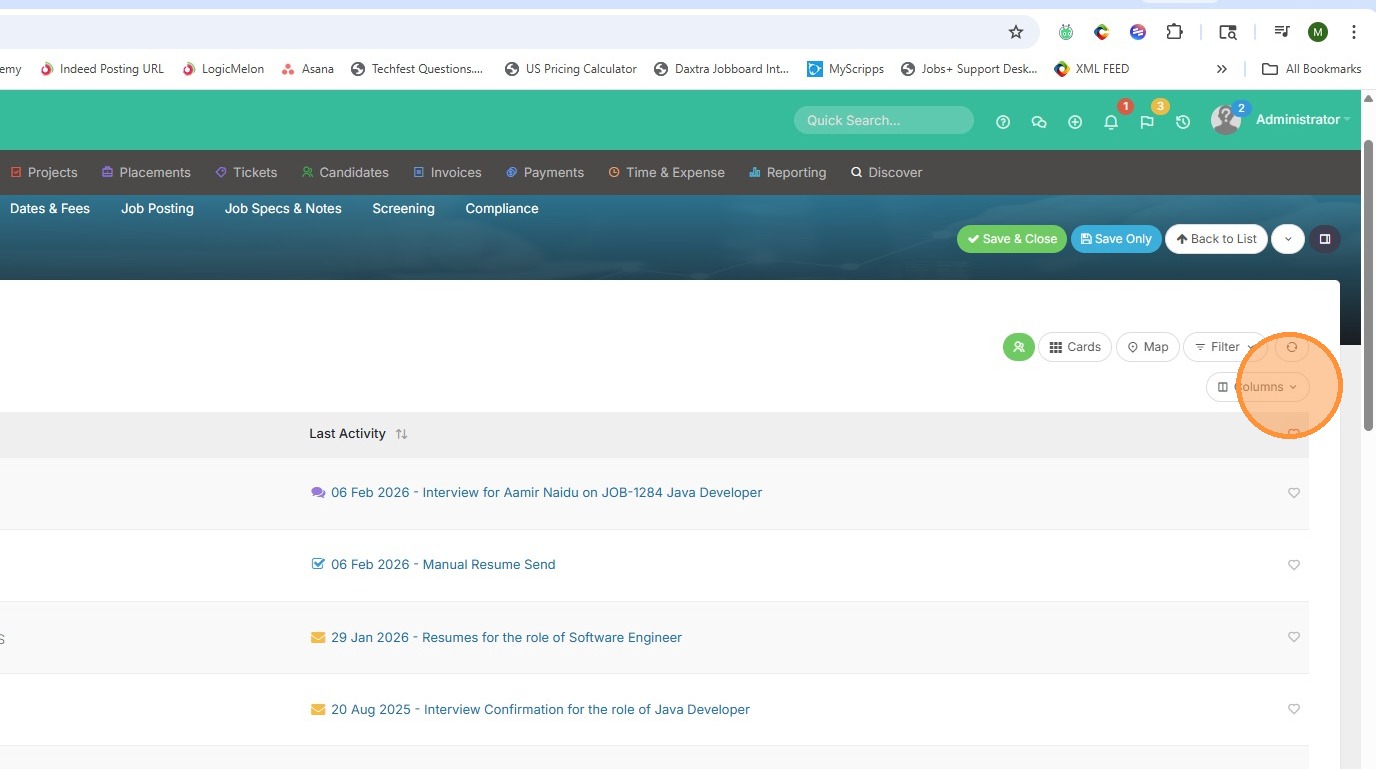
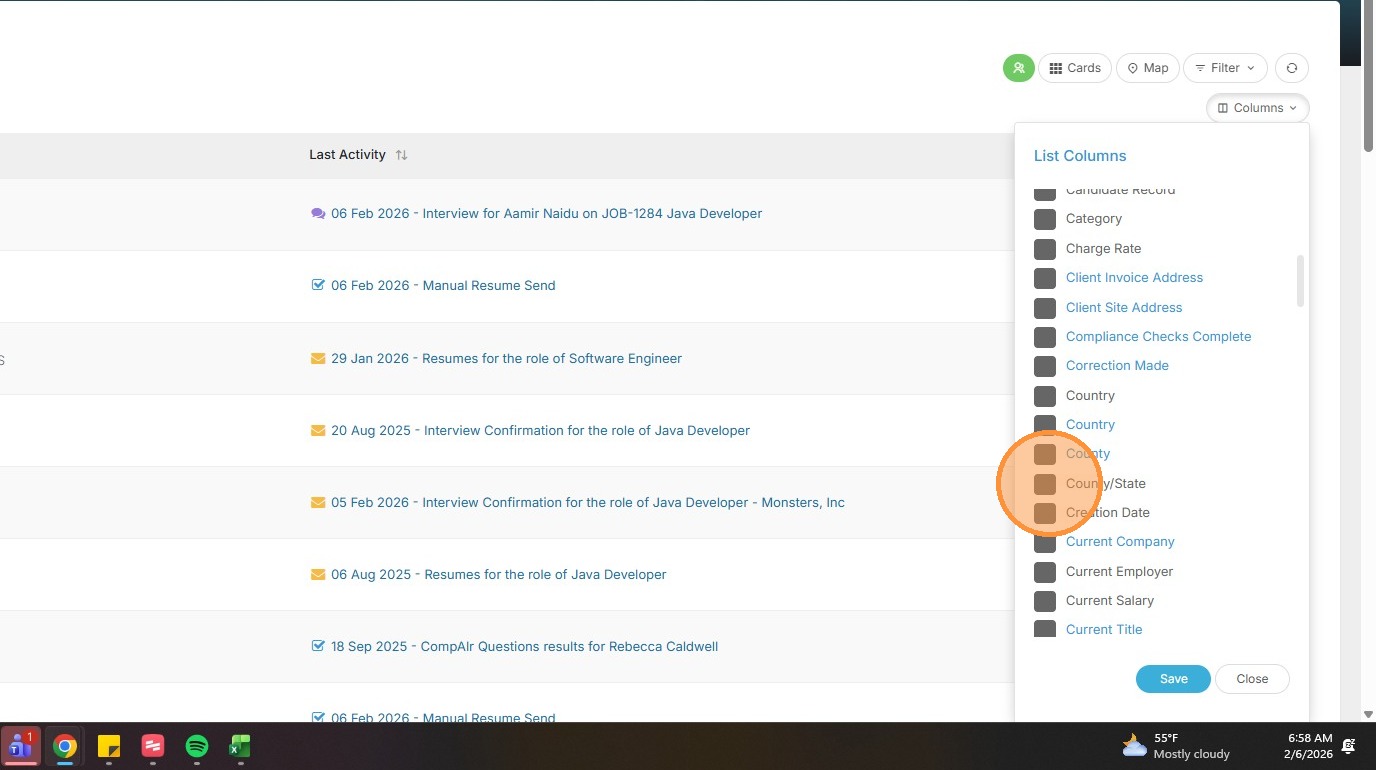
2. To add more detail to the list view, click on columns.
3. Here you can check off items you want to see whenever you view your lists.
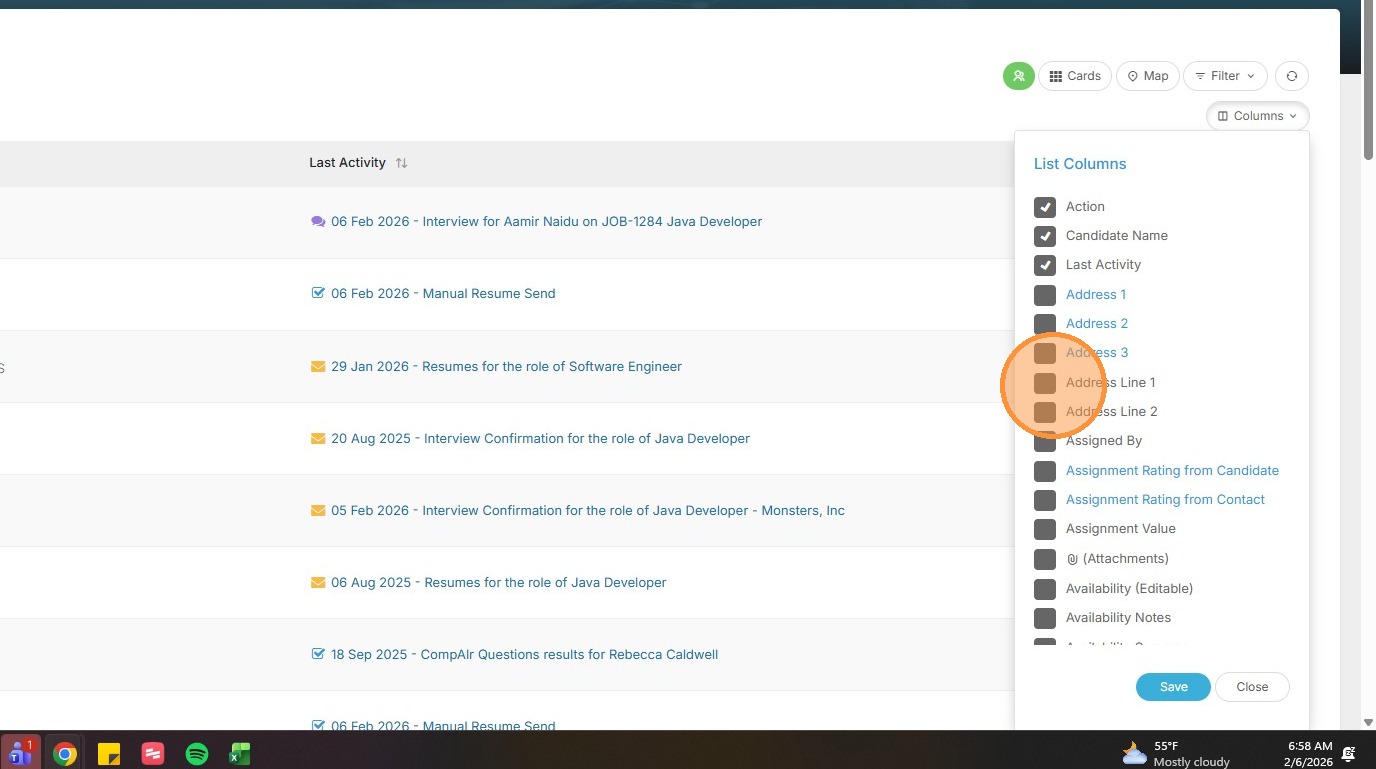
4. For example, State is a common one.
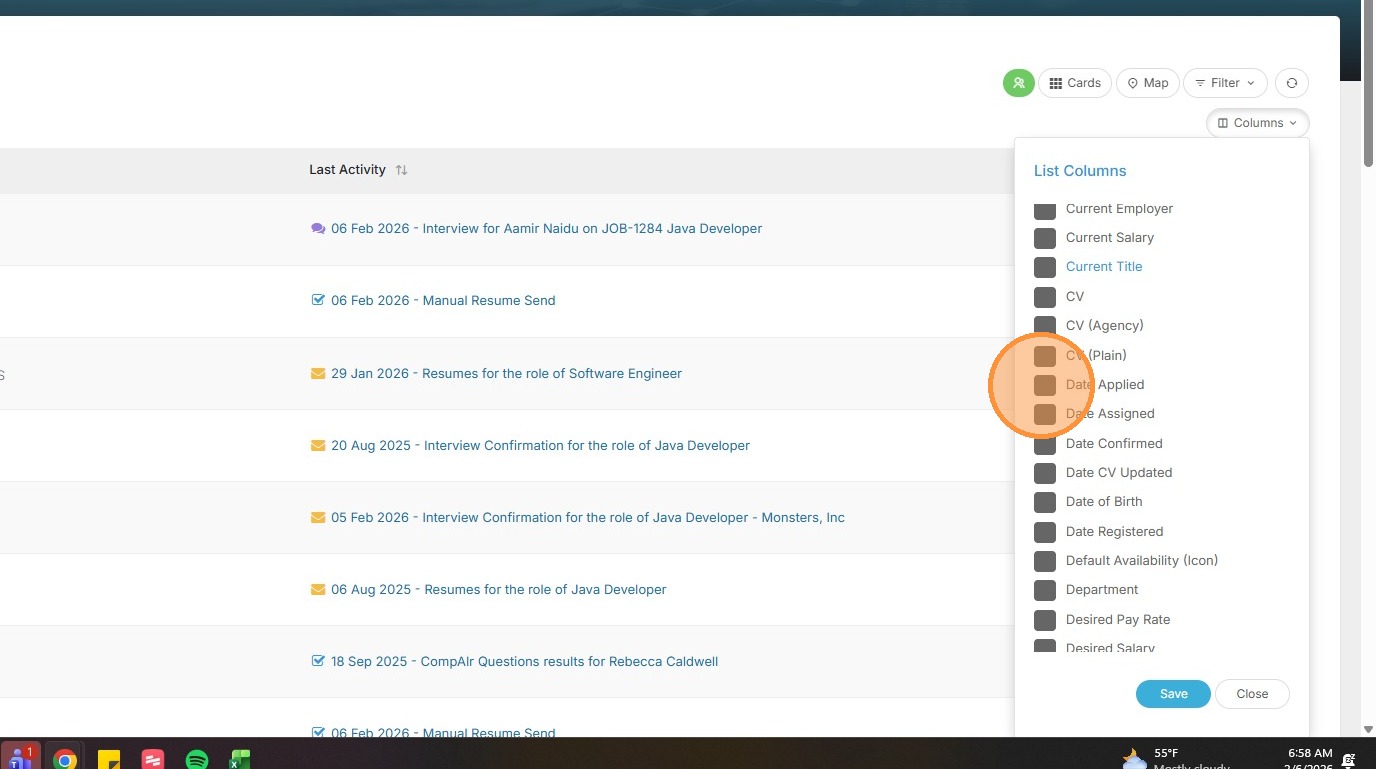
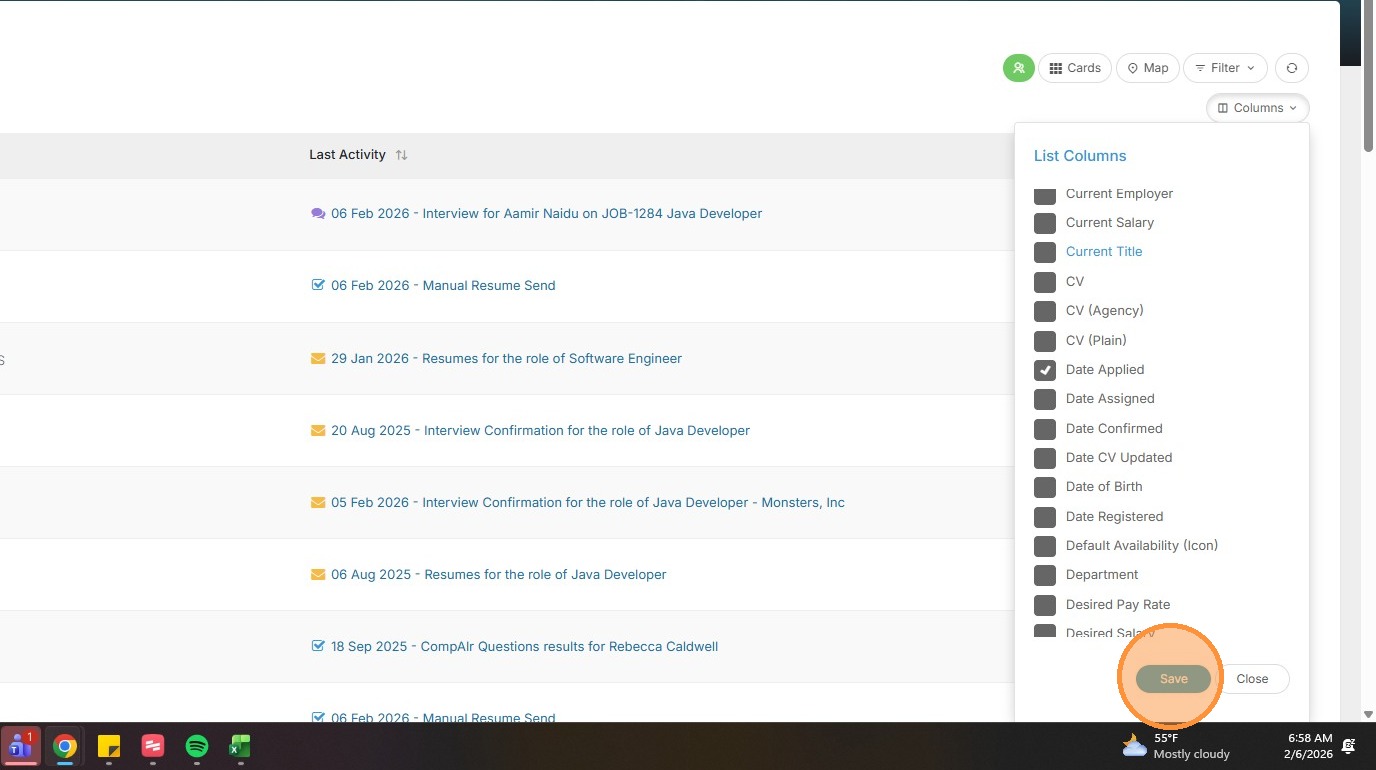
5. And Date Applied can be helpful.
6. Click "Save".
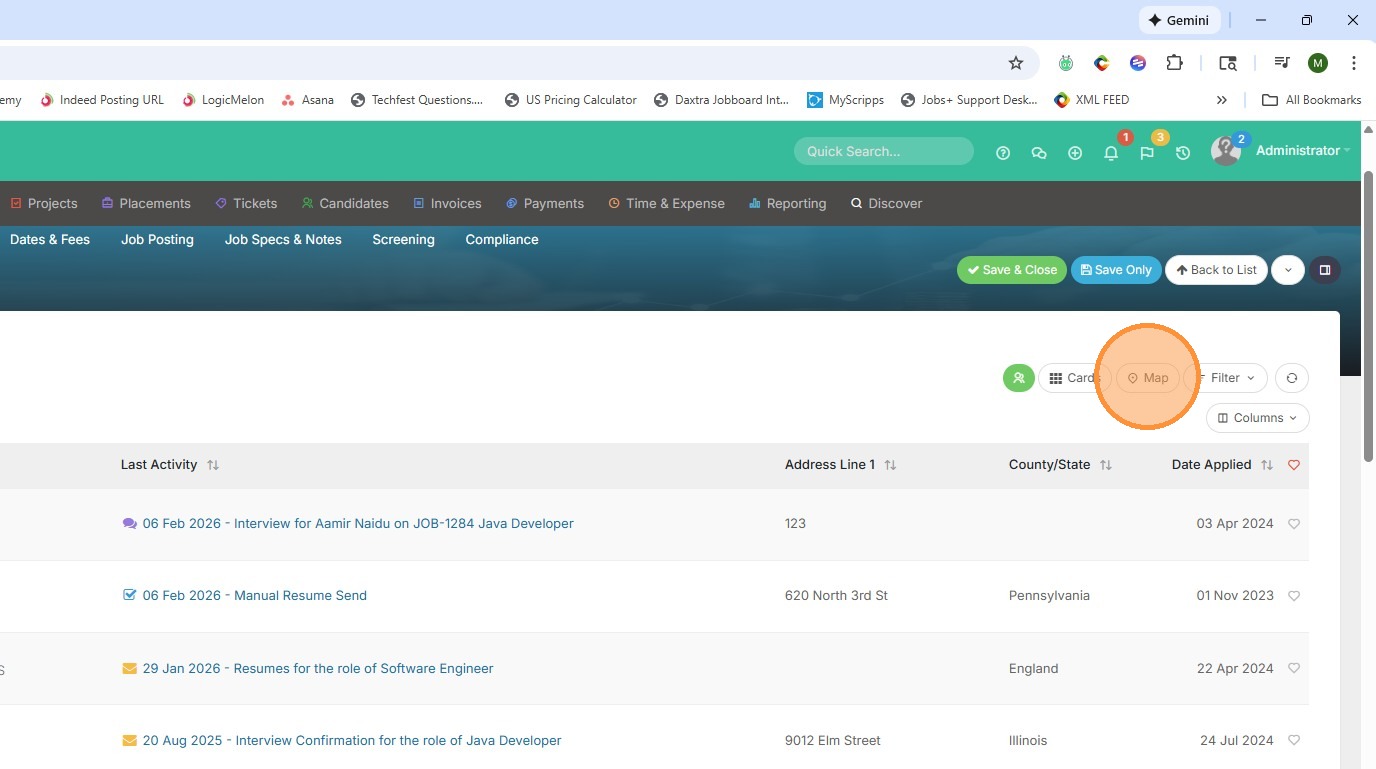
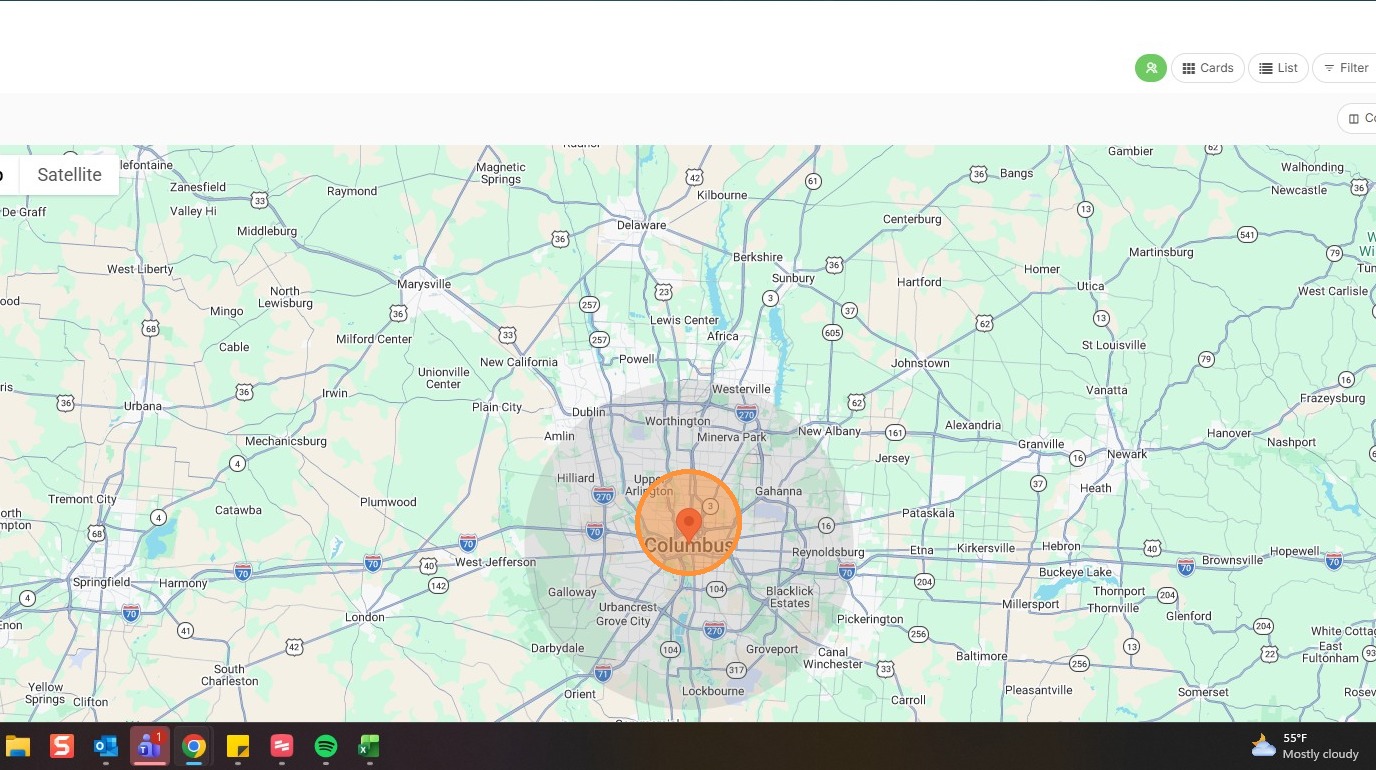
7. Click Map to view where candidates are in respect to this job location.
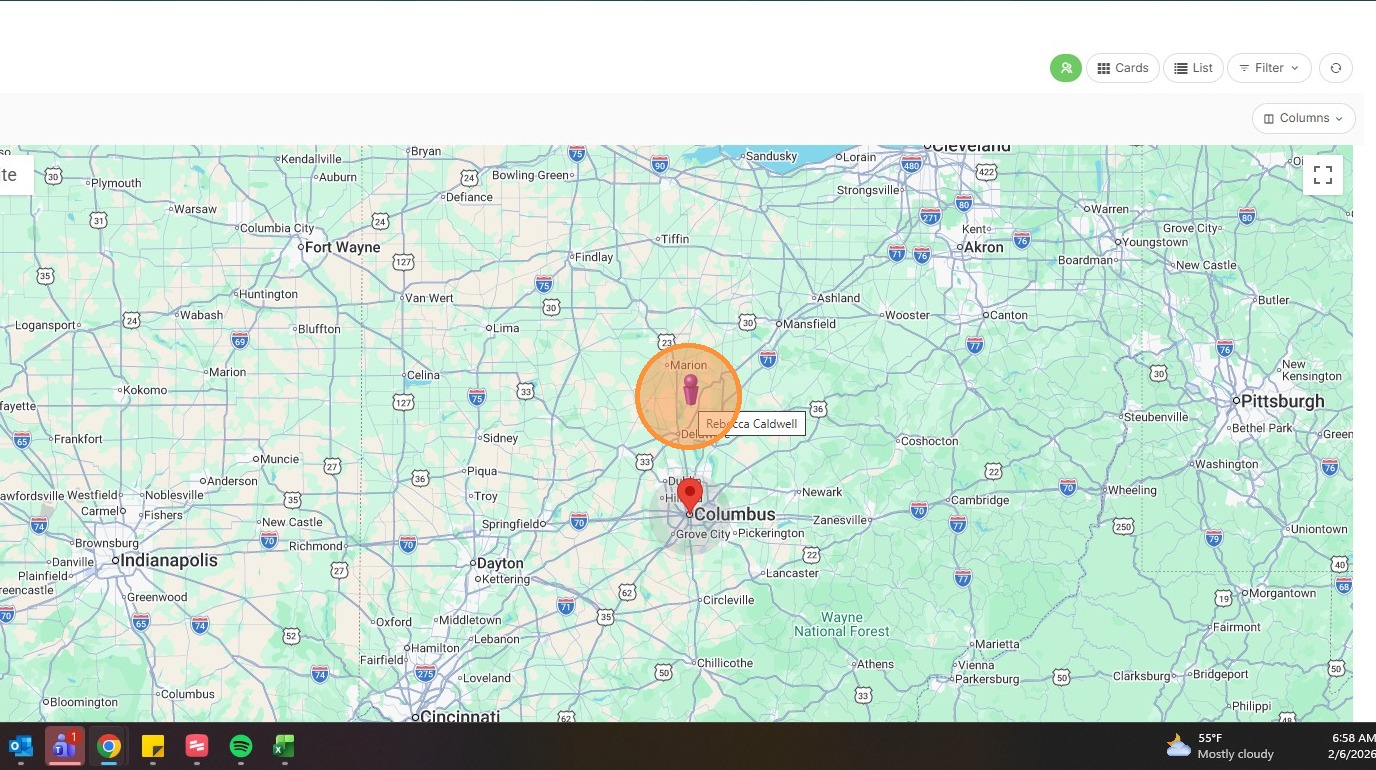
8. The red icon indicates the job location.
9. The purple icons indicate the candidates. When you click on these it highlights the candidate on the lefthand side of your screen. You can click on that candidate and quickly view their information.
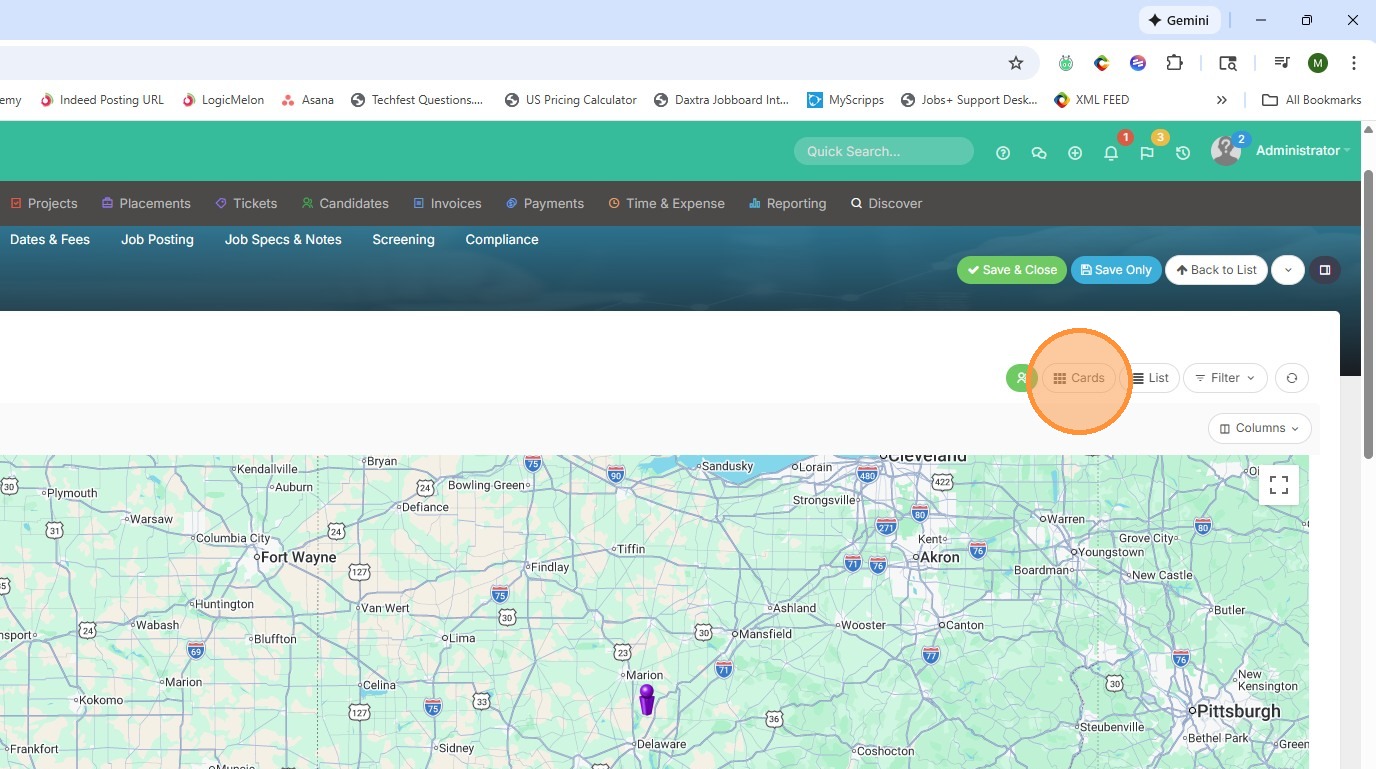
10. Click "Cards" to get back to the main Shortlist.
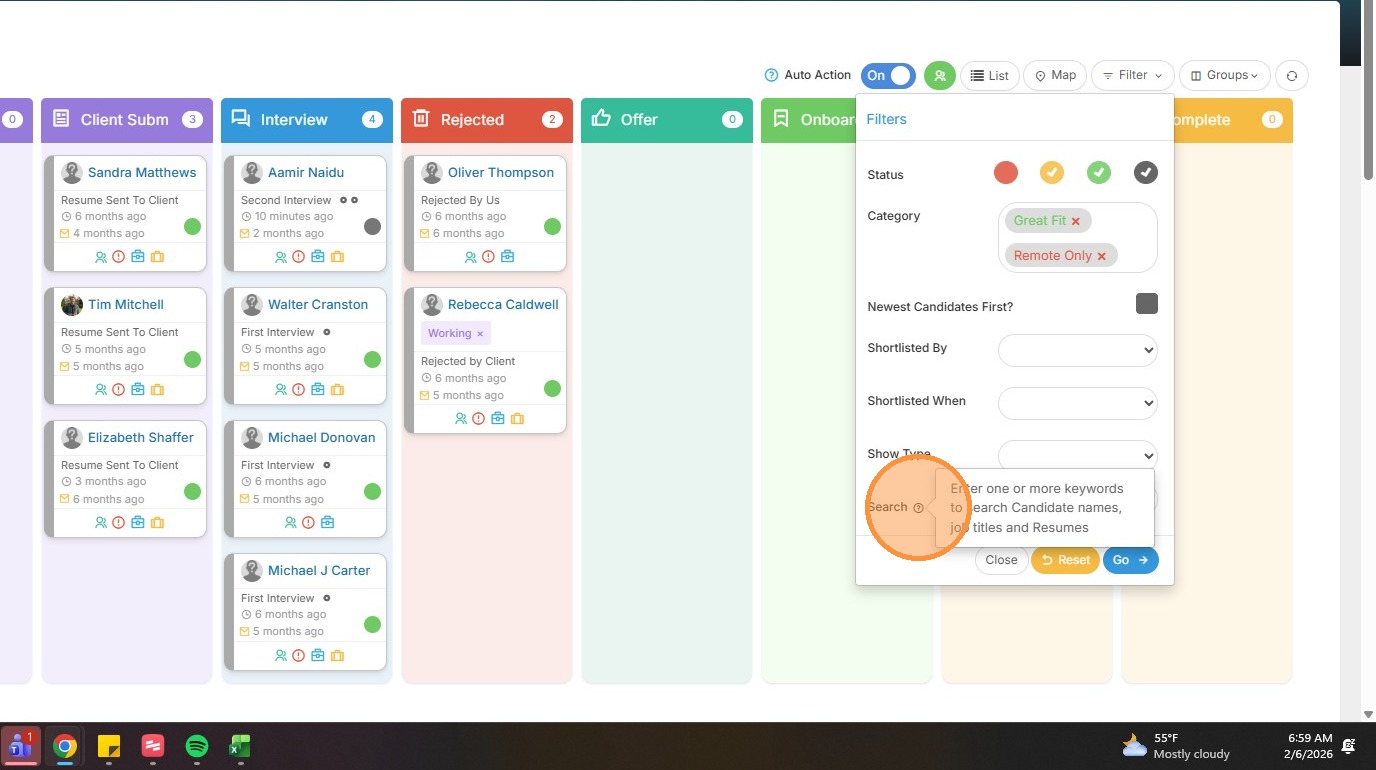
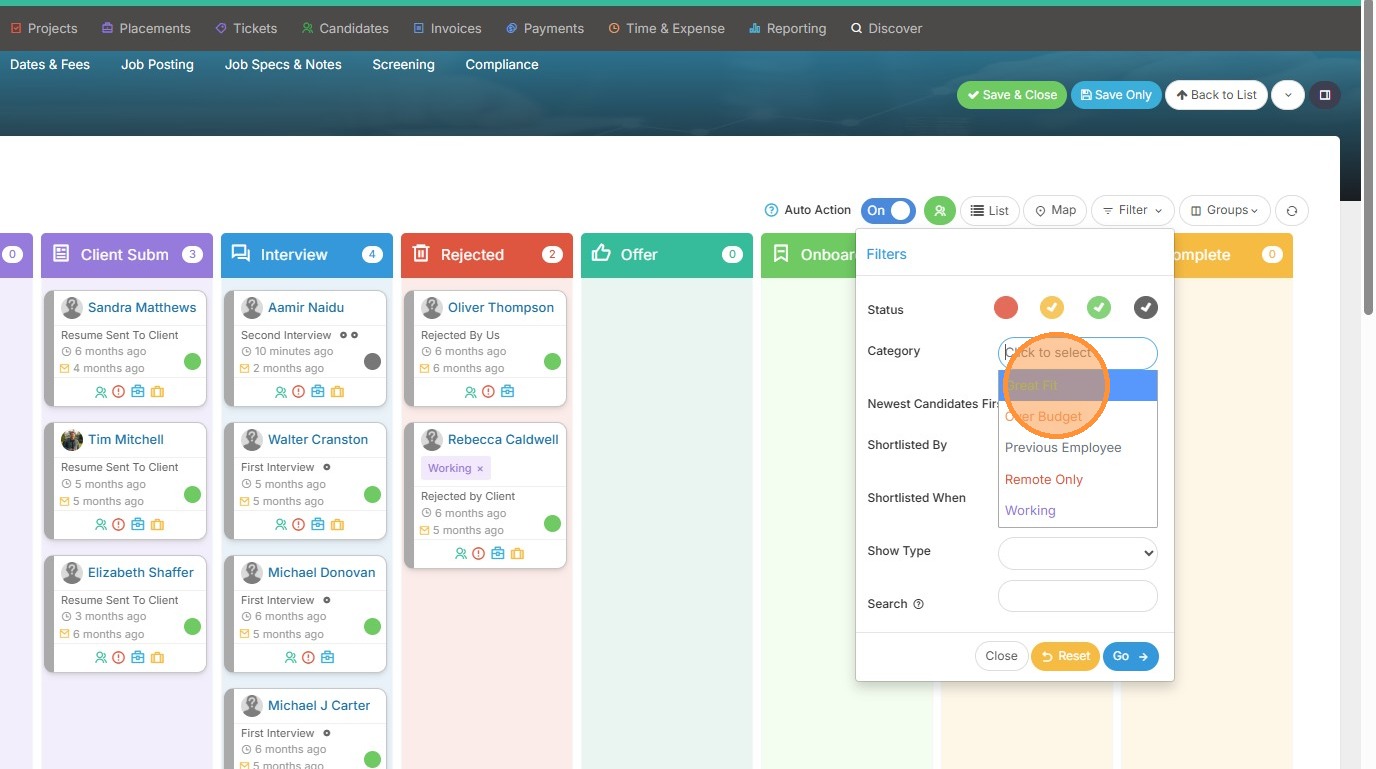
11. Click filter to view these options.
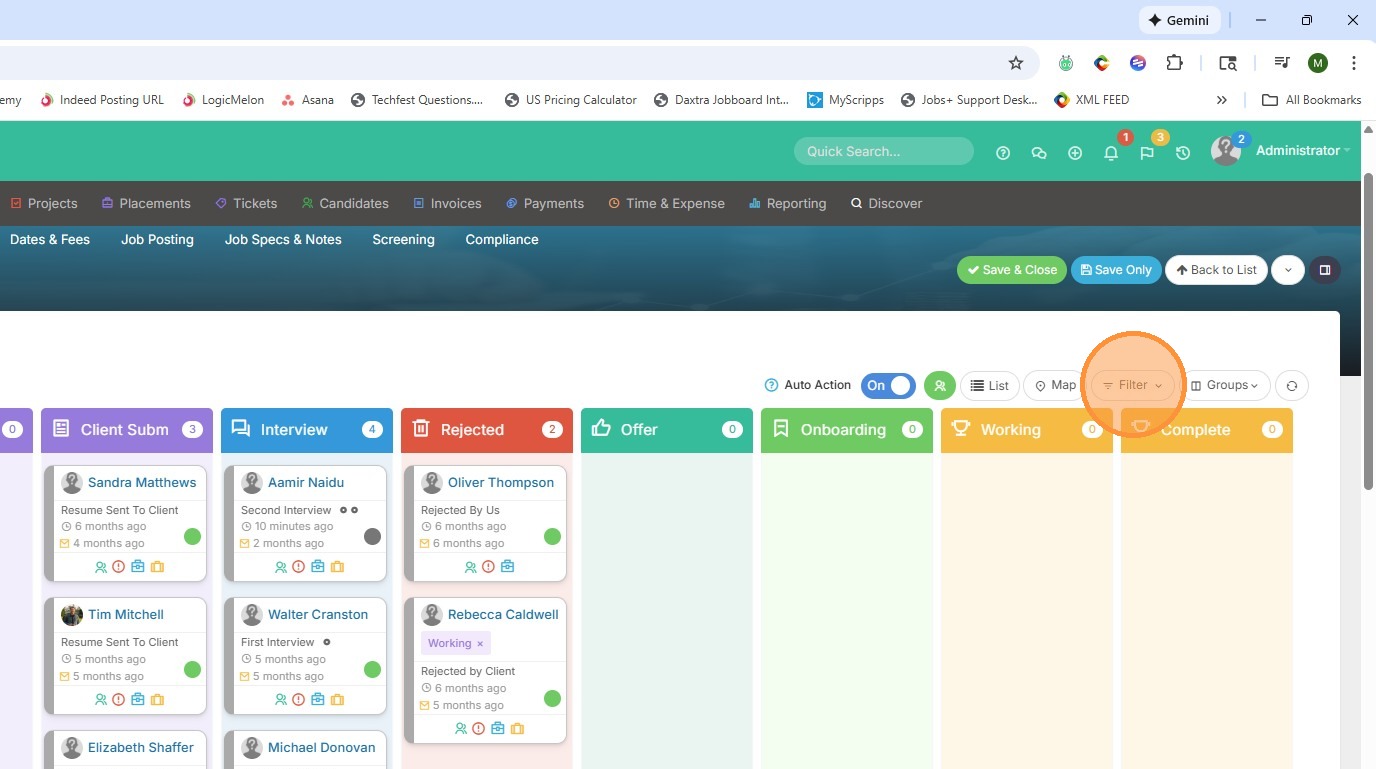
12. You can filter out candidates based on their color status.

13. Their category (if you're using these).

14. For example, if I wanted to only see those I categorized as a Great Fit.
15. Then, you can also filter by Newest Candidates First. This would include any candidate just added to Tracker in the last 7 days.
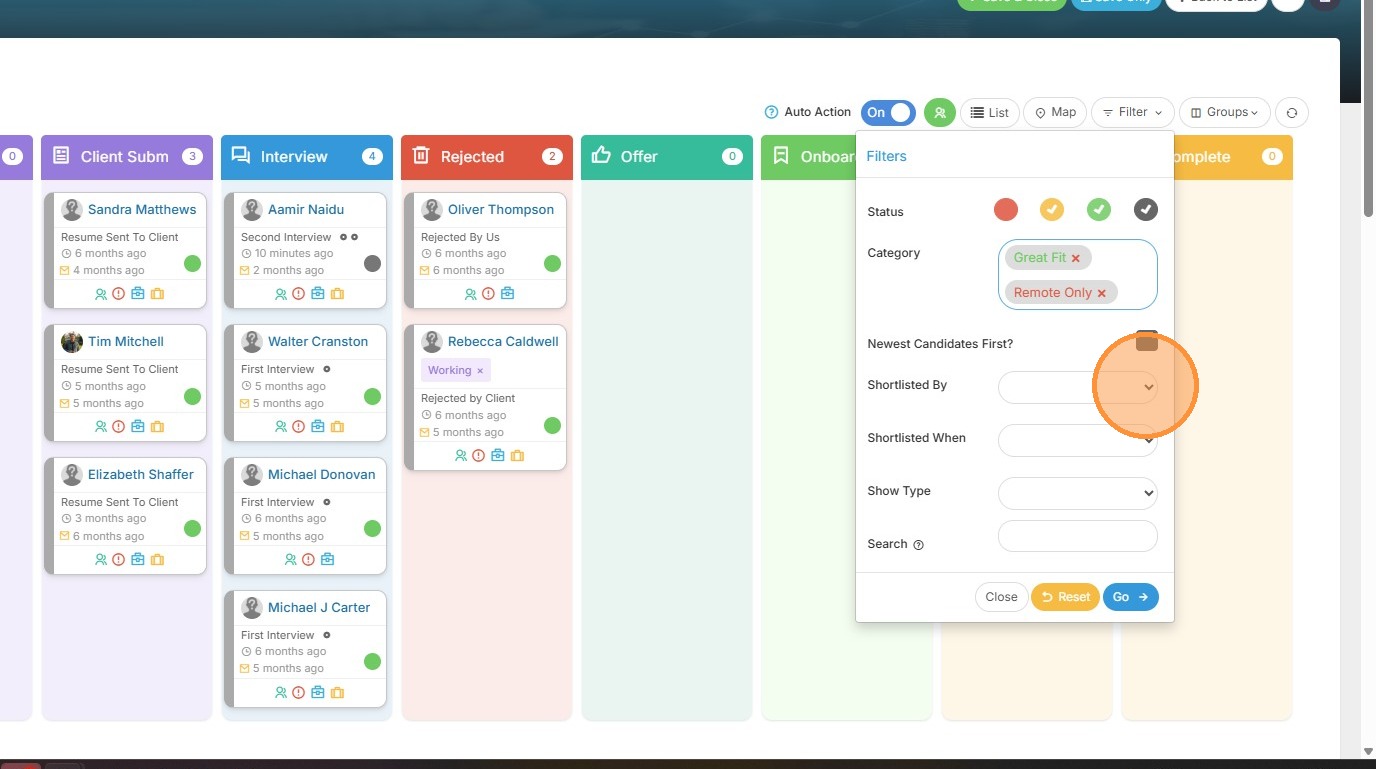
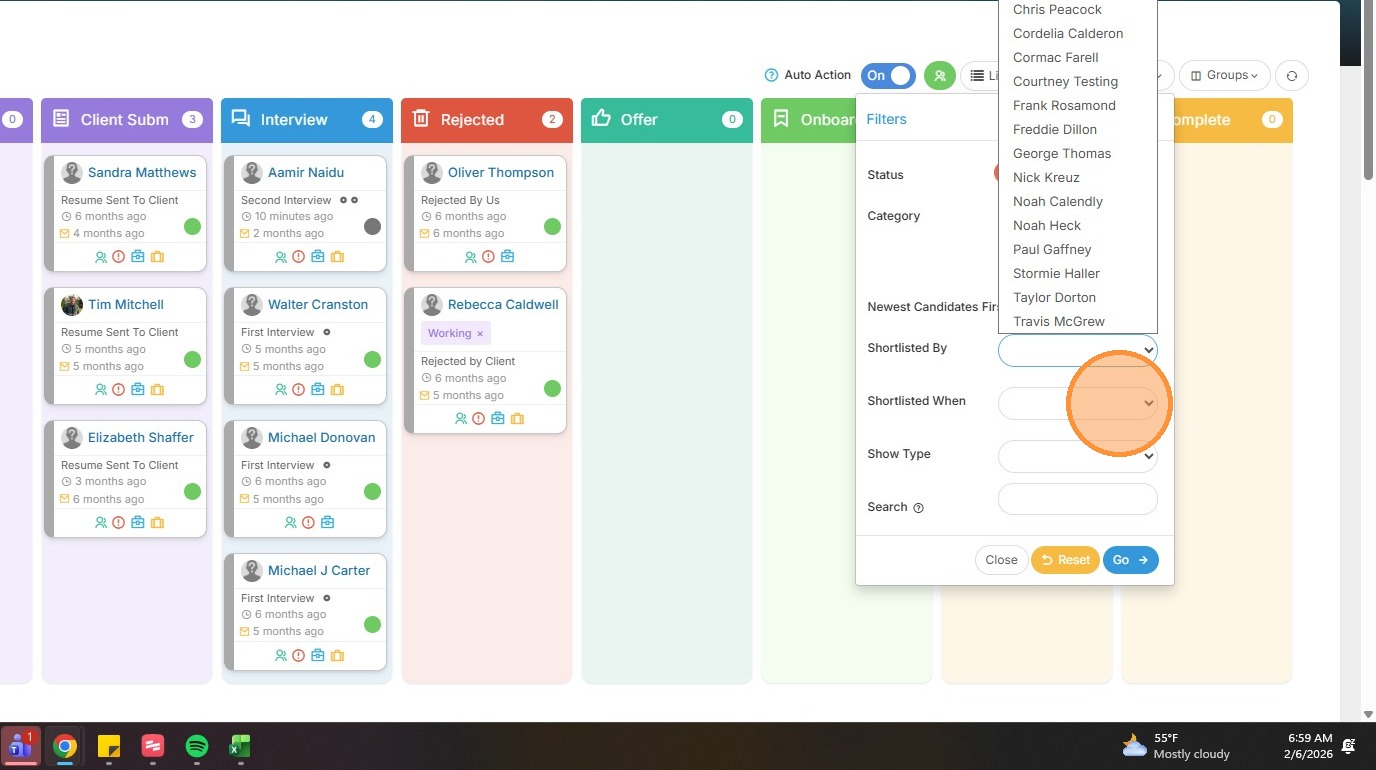
16. Who the candidate was Shortlisted by, and when.
17. Show Type: This is a filter on the Placement Type field in the Placement record.
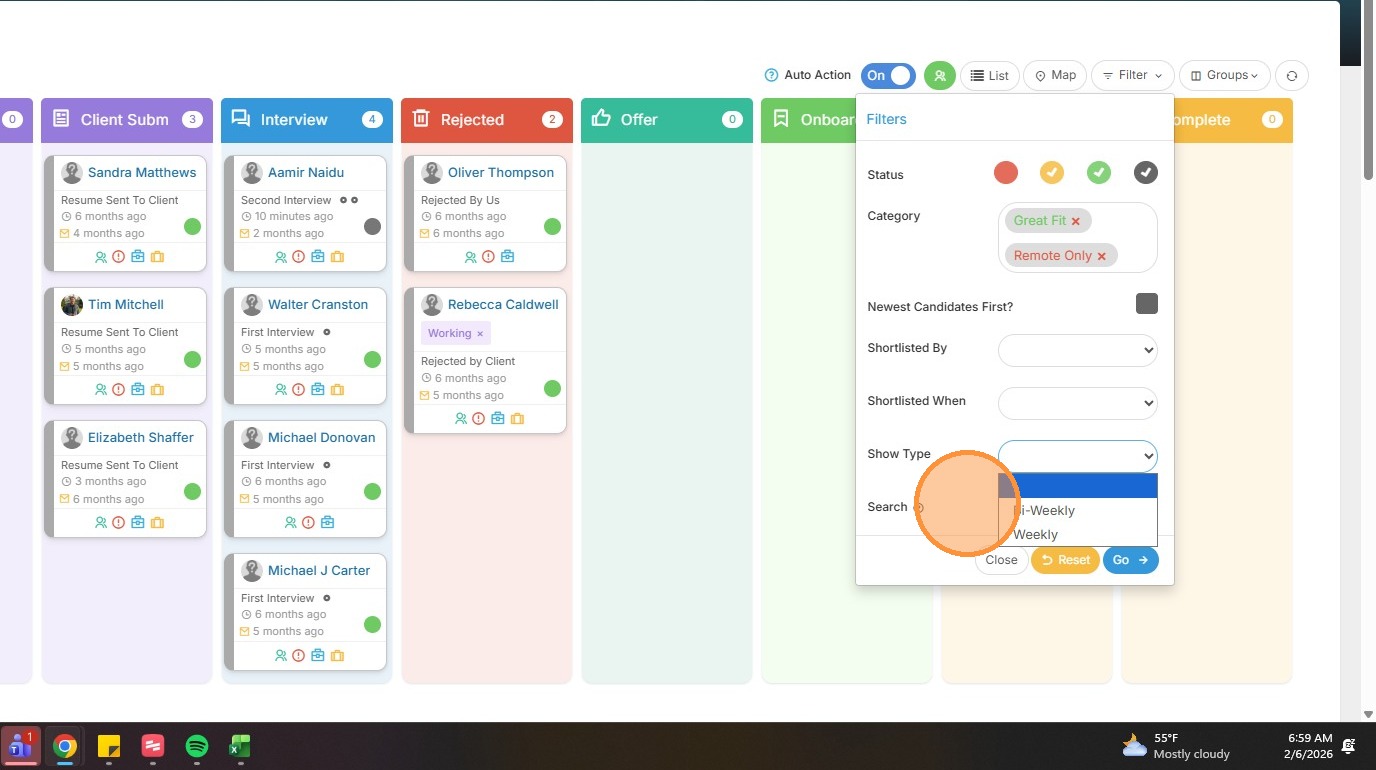
18. There's also an option to Search for candidates by job titles and keywords from their resumes.