Candidate Setup
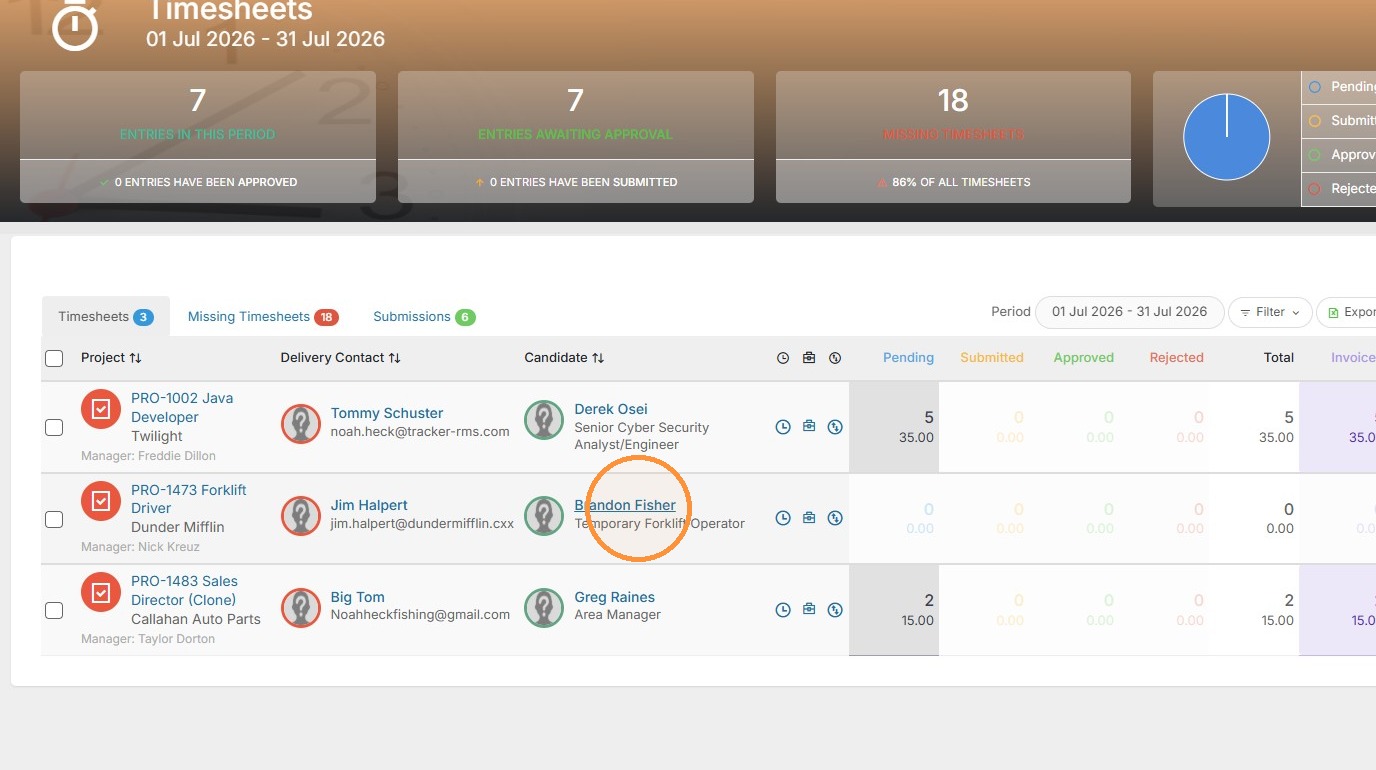
1. To access a candidate's timesheet portal, open that candidate record.
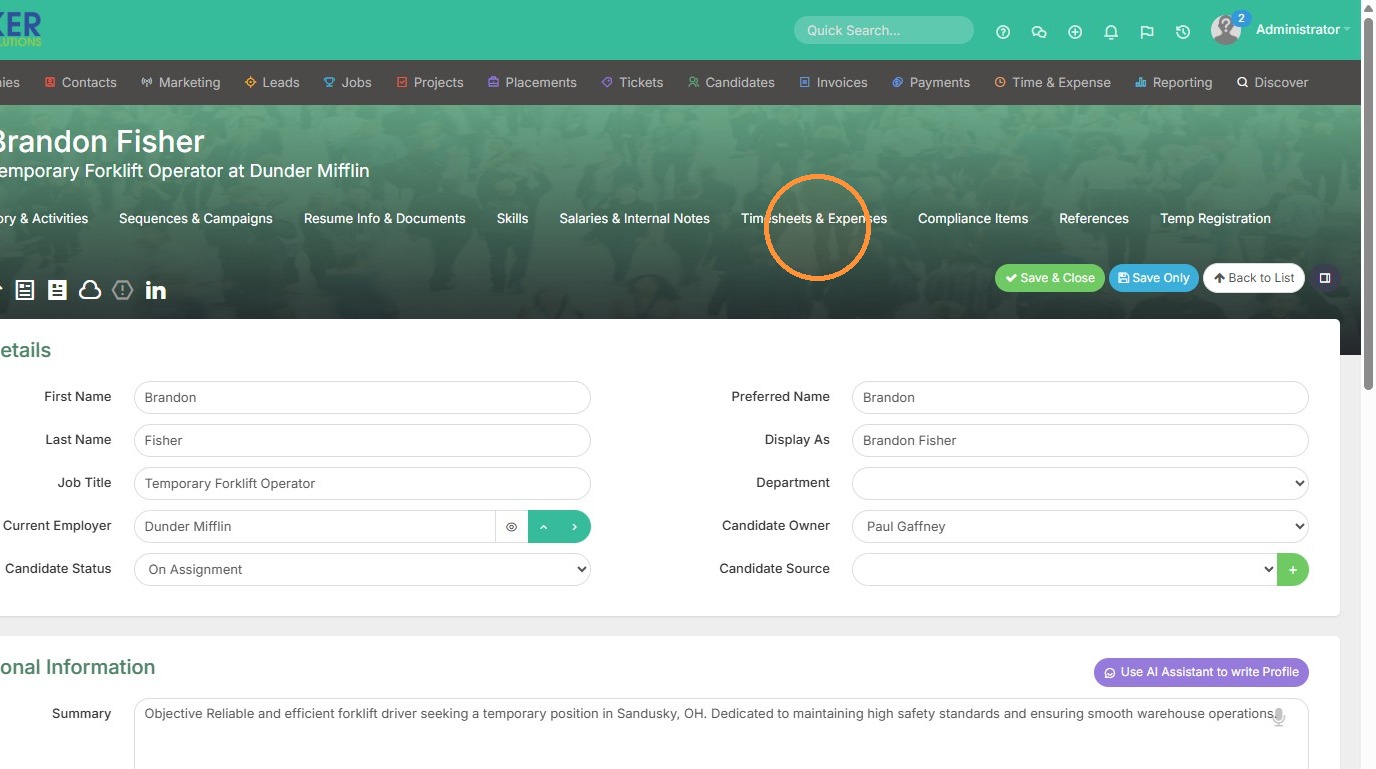
2. Click "Timesheets & Expenses" (you may have your candidate portal information in a different tab).
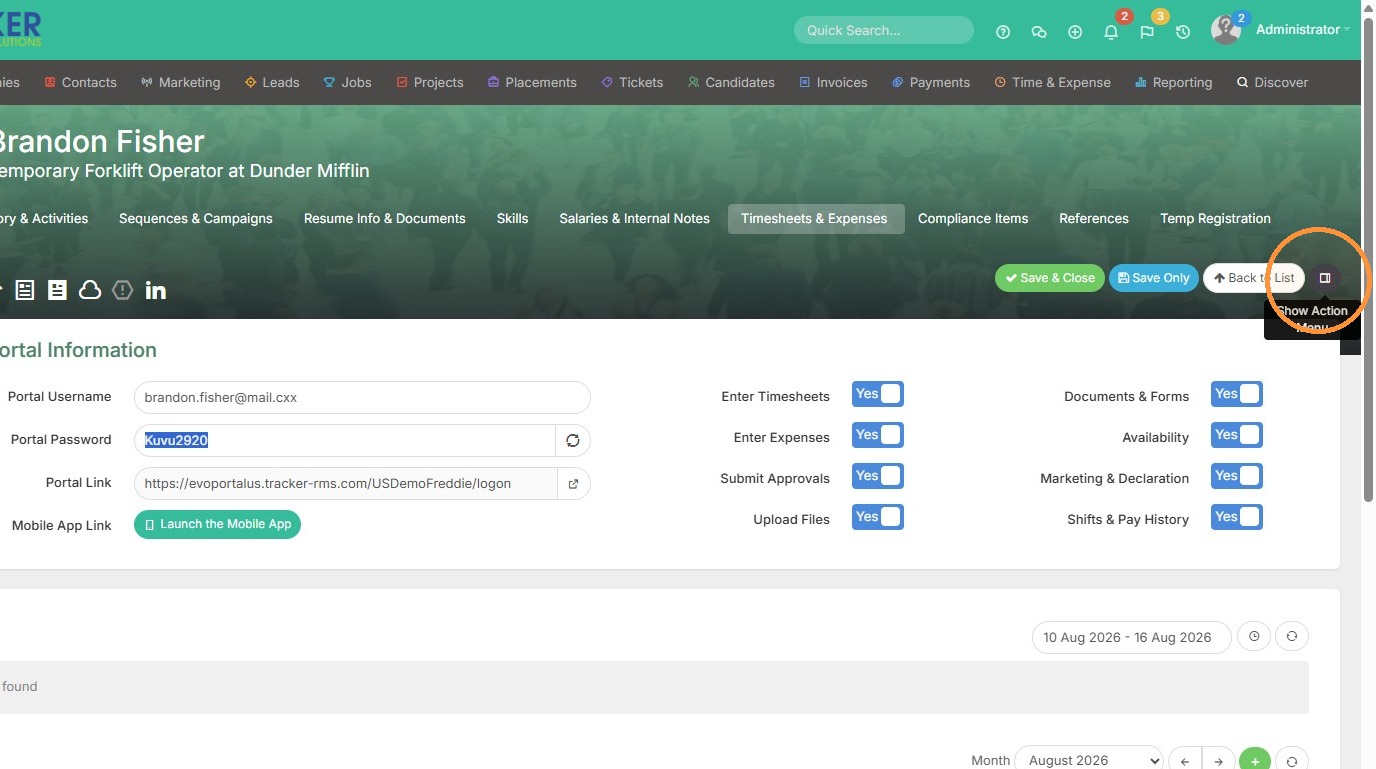
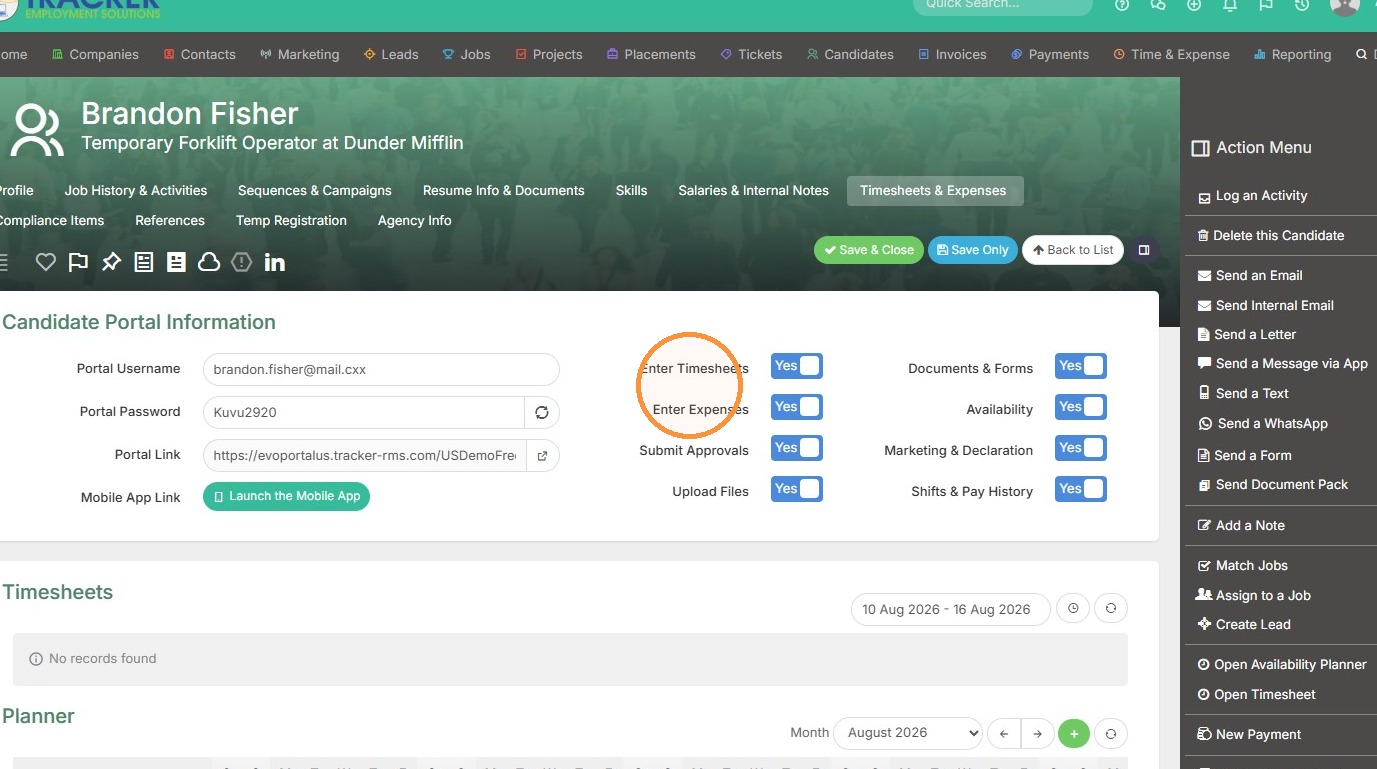
3. Here under Portal Information you can view the candidate's username/password, and all the items they have access to in the portal. You can pick and choose what they can access. You can also have these items pre-set if all of your candidates require the same access every time (saving yourself time!). This can be done in Tools & Settings.
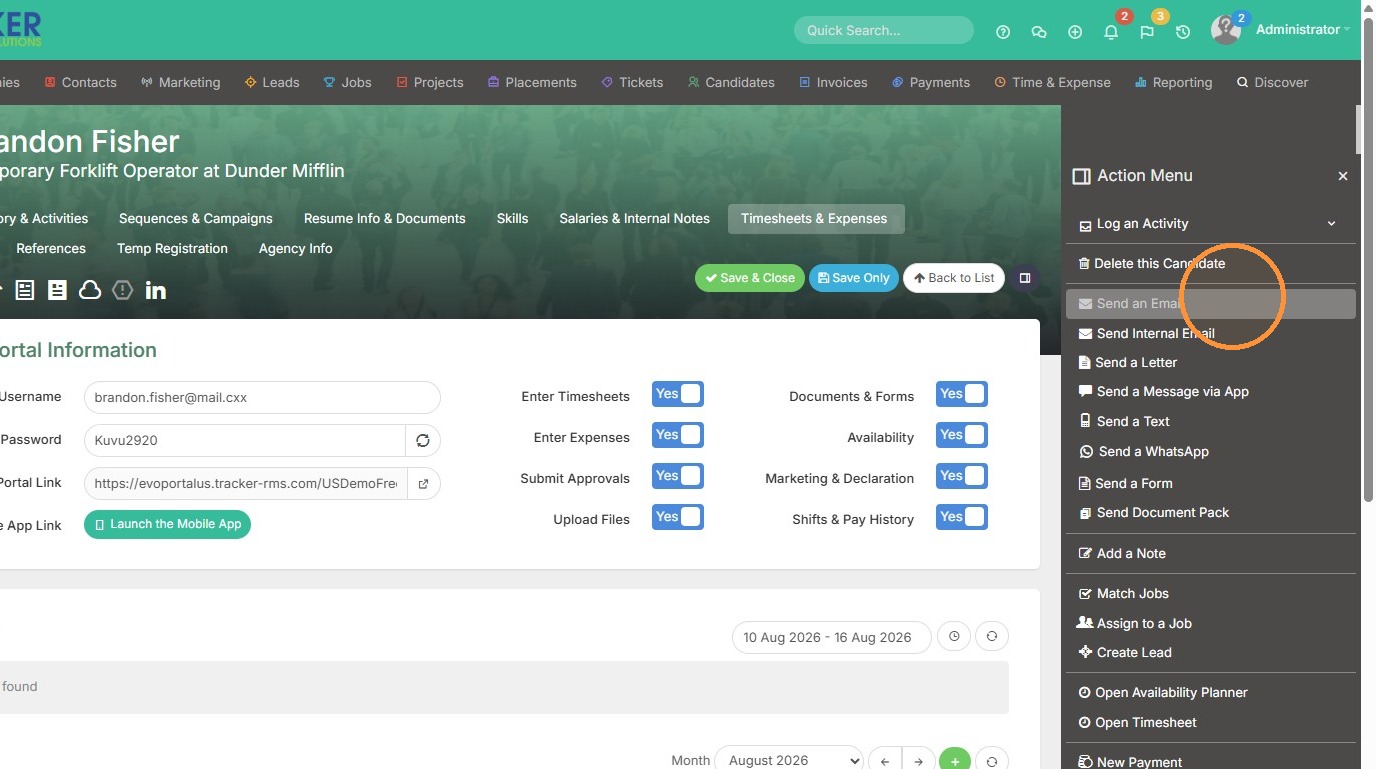
Click the action button to email the candidate their portal details.
4. Click "Send an Email"
Portal Email
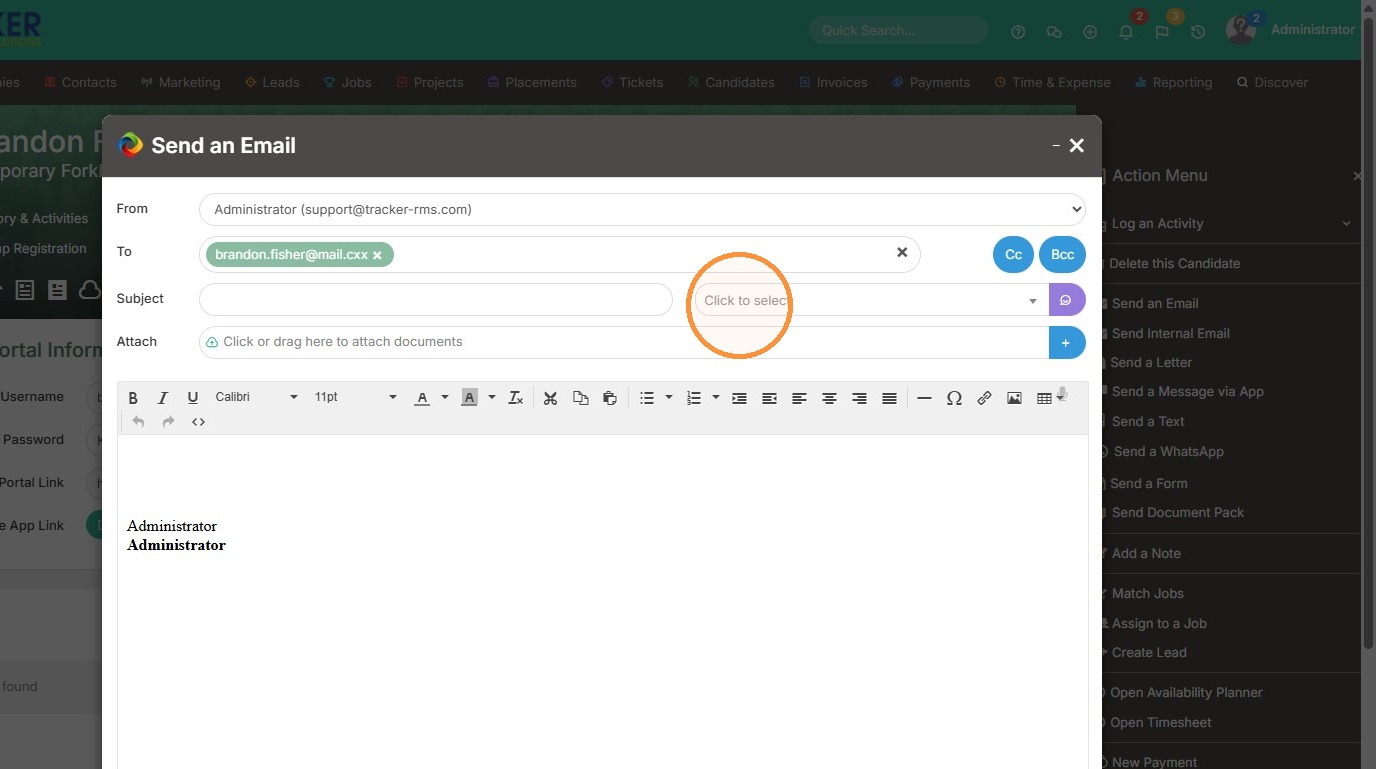
5. Open the email template selector.
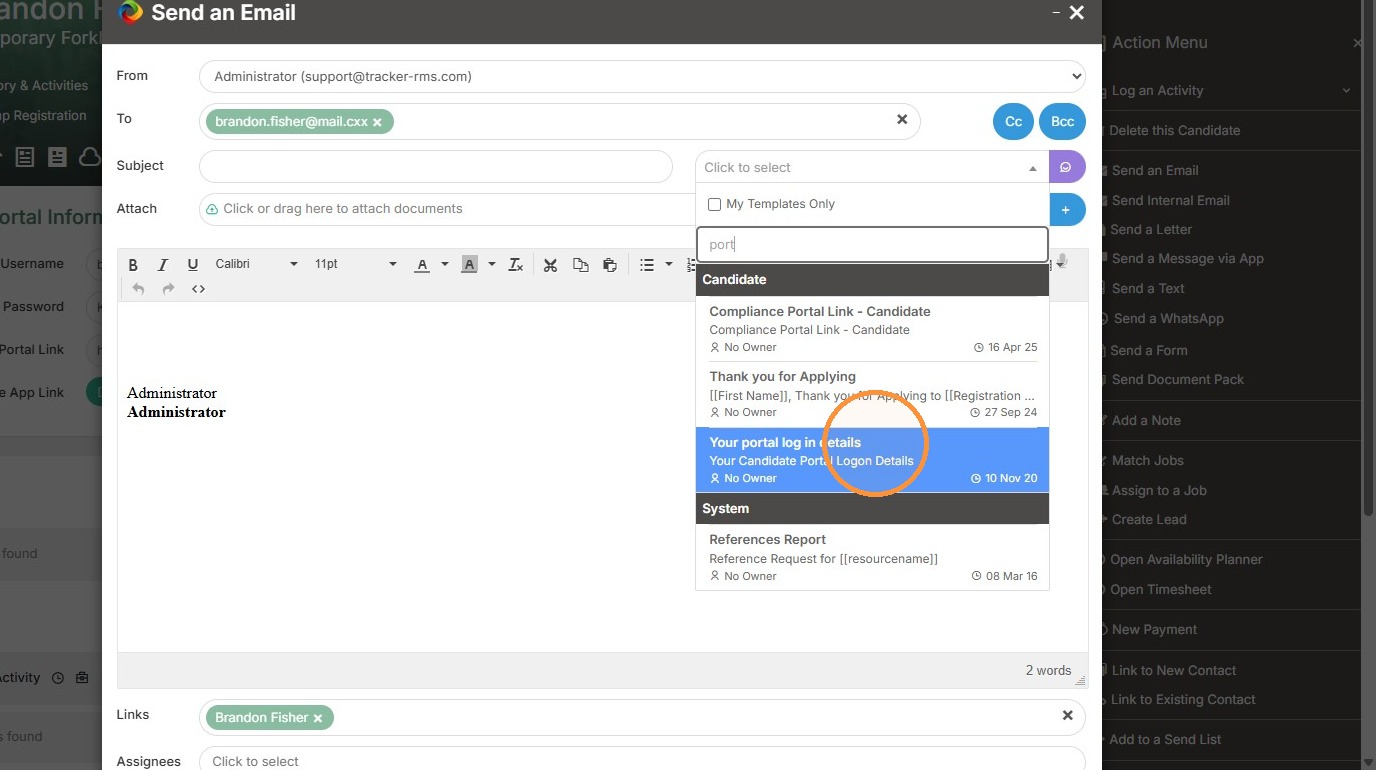
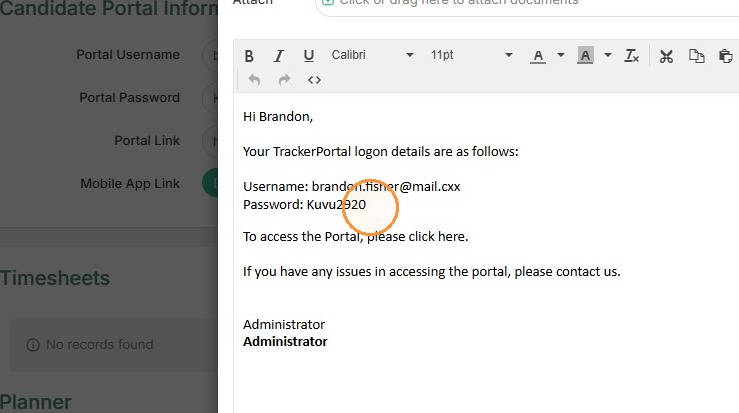
6. There will be an email template labeled "Your Portal Login Details". This can be edited under Tools & Settings, but it will automatically include the candidate's login details.
7. Next, you can see you can edit the candidate's access to certain items on the right. Right now, Brandon has access to everything.
Timesheets - Logging time.
Expenses - Logging expenses.
Submit Approvals - These will go to the client to approve by email.
Upload Files - Candidate can upload files to store in their portal.
Documents & Forms - If they need to sign anything, those will be stored here.
Availability - Time off requests.
Marketing & Declaration - You can have the candidate sign/check this off to approve you representing them on behalf of this job.
Shift & Pay - Allows your candidate to access our shifts portion of timesheets.
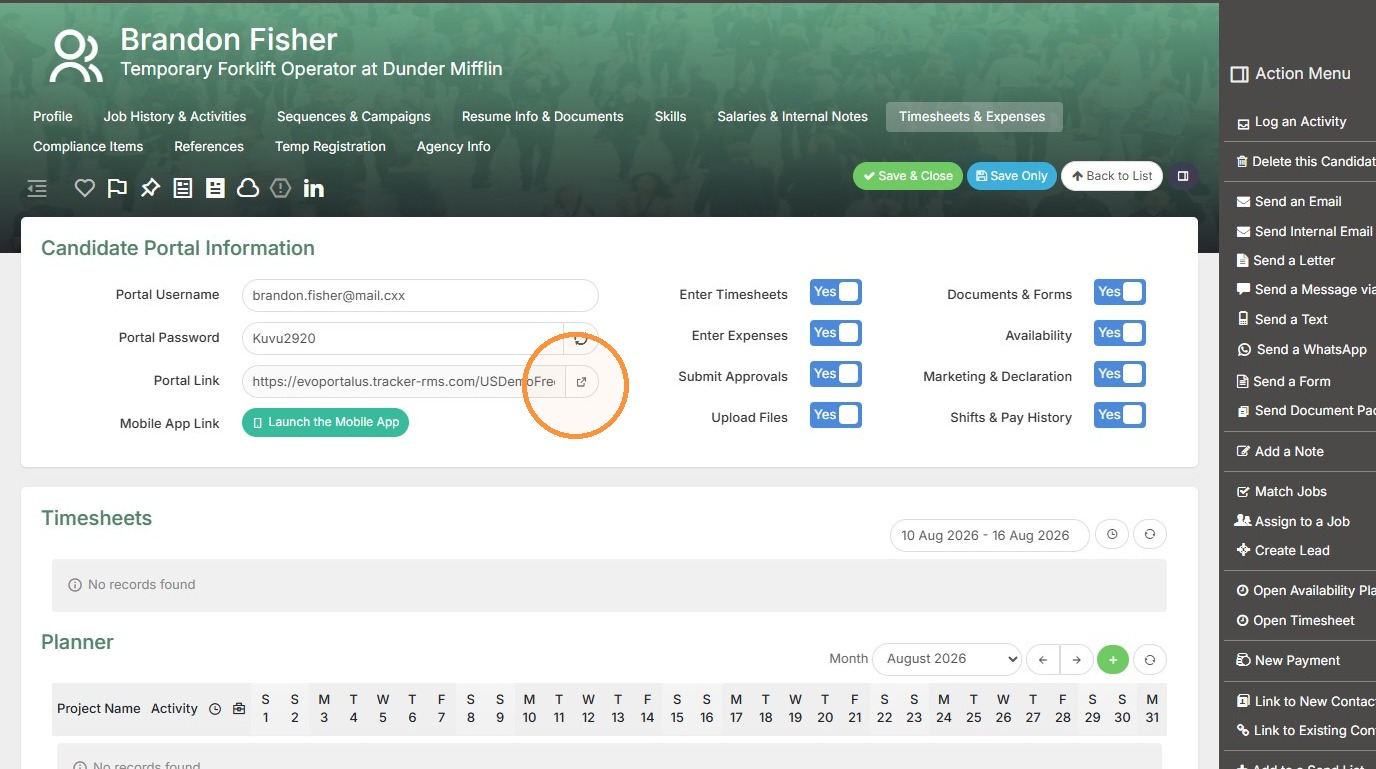
8. Click here to open the candidate's portal.
Portal Access
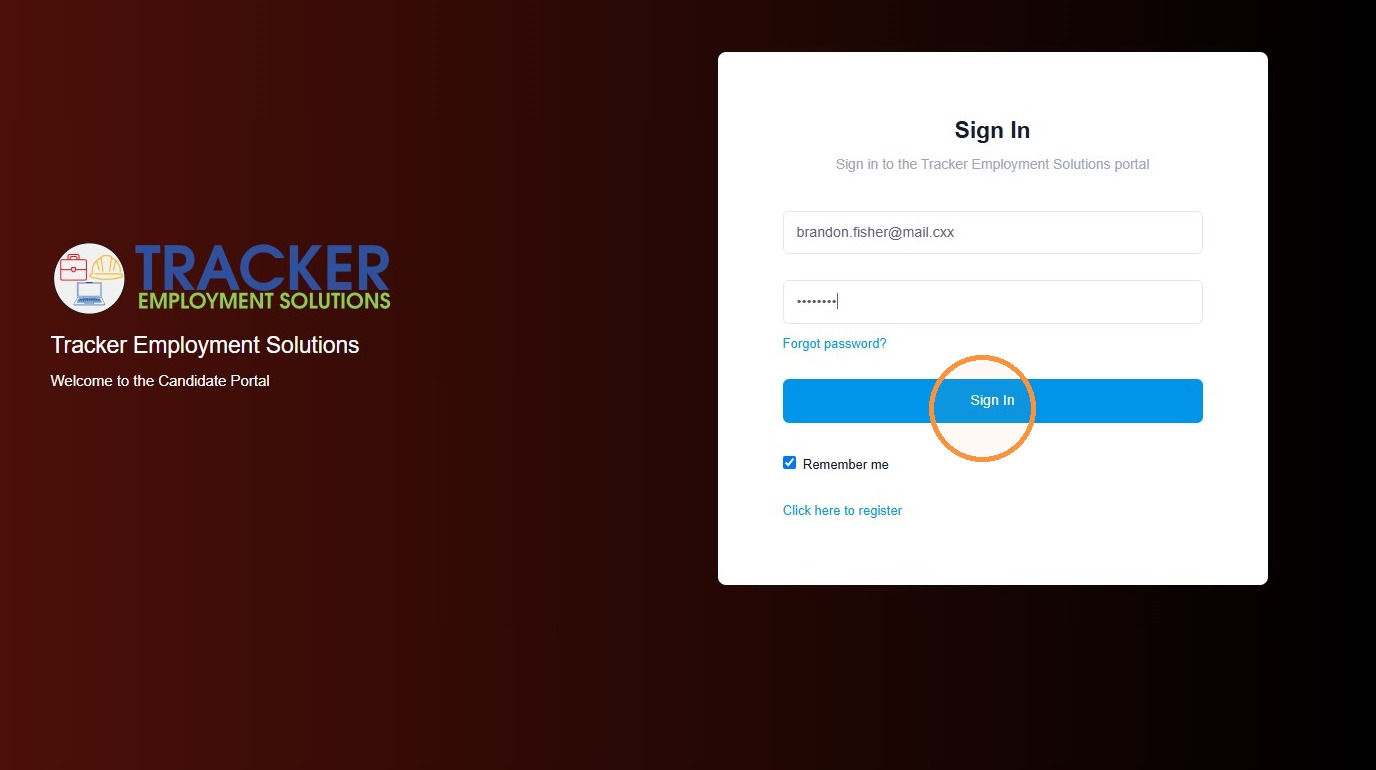
9. Click "Sign In" using their username and password.
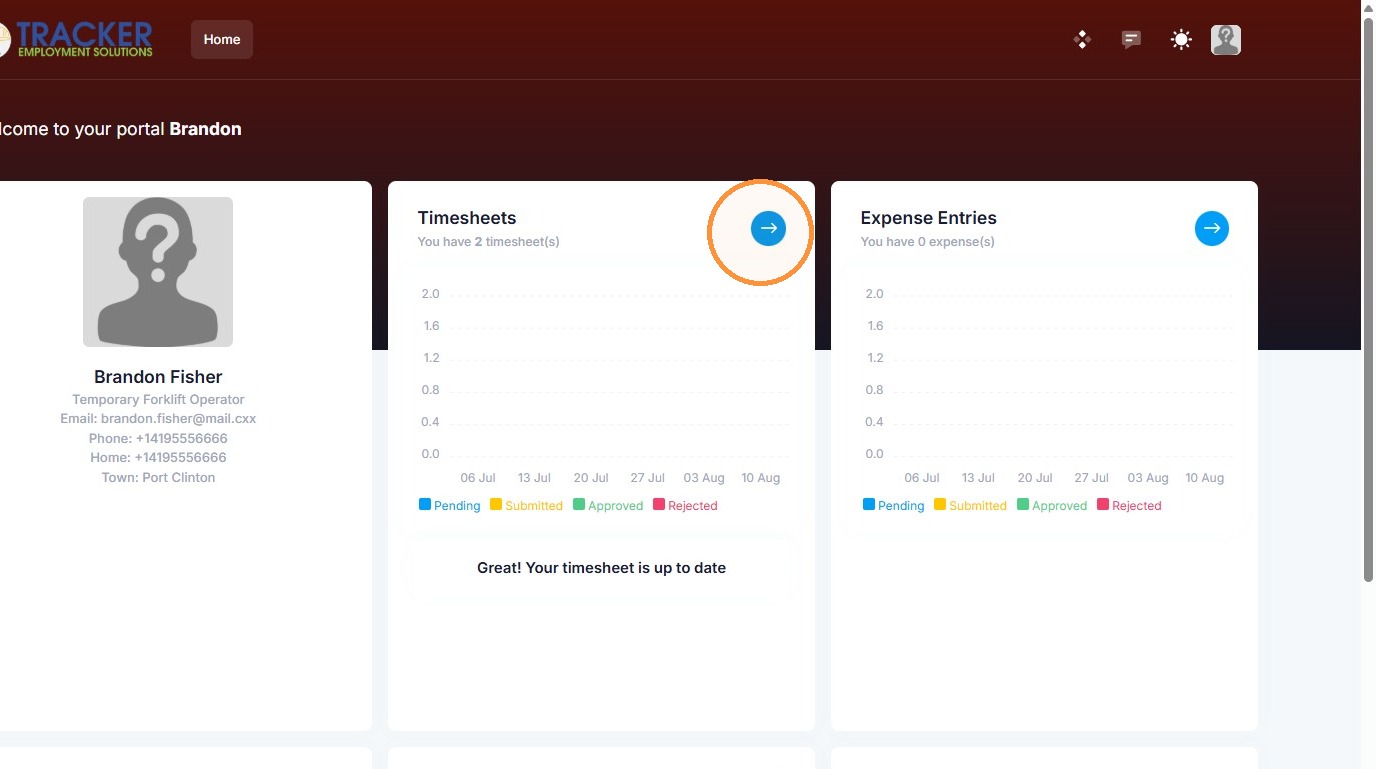
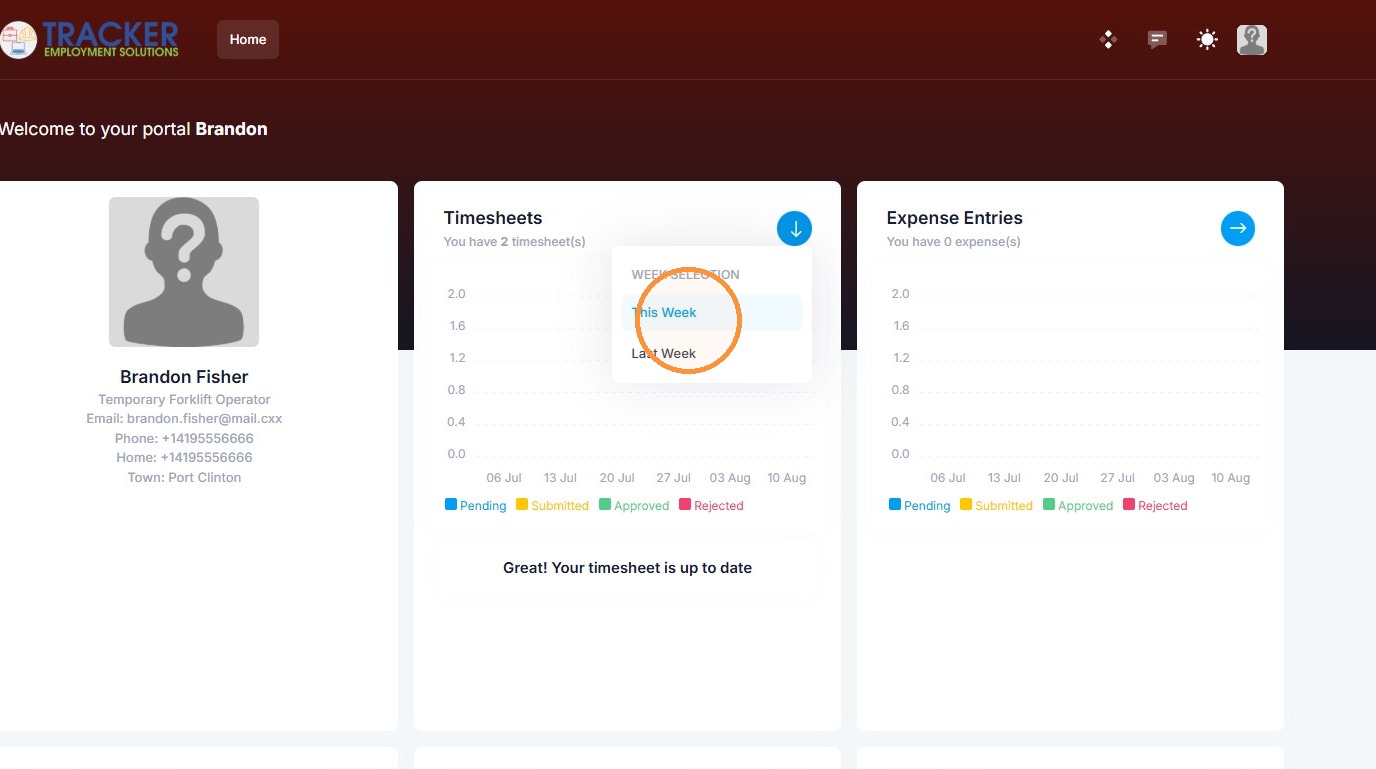
10. Open Timesheets from the candidate portal dashboard to view the timesheet section.
11. Click "This Week" (or Last Week).
Timesheet Submission
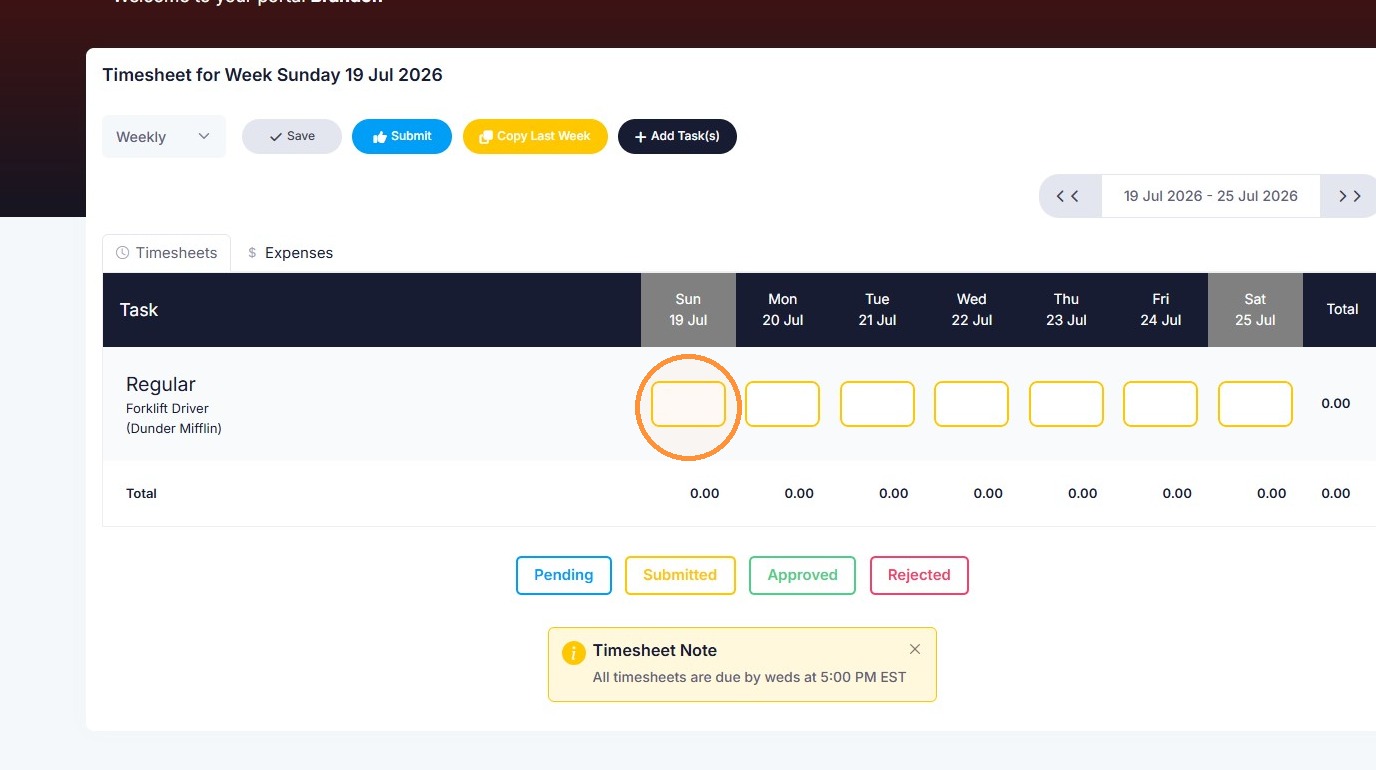
12. You can adjust the time period you're viewing in this area to the right. Below, you can click the checkboxes to log time etc.
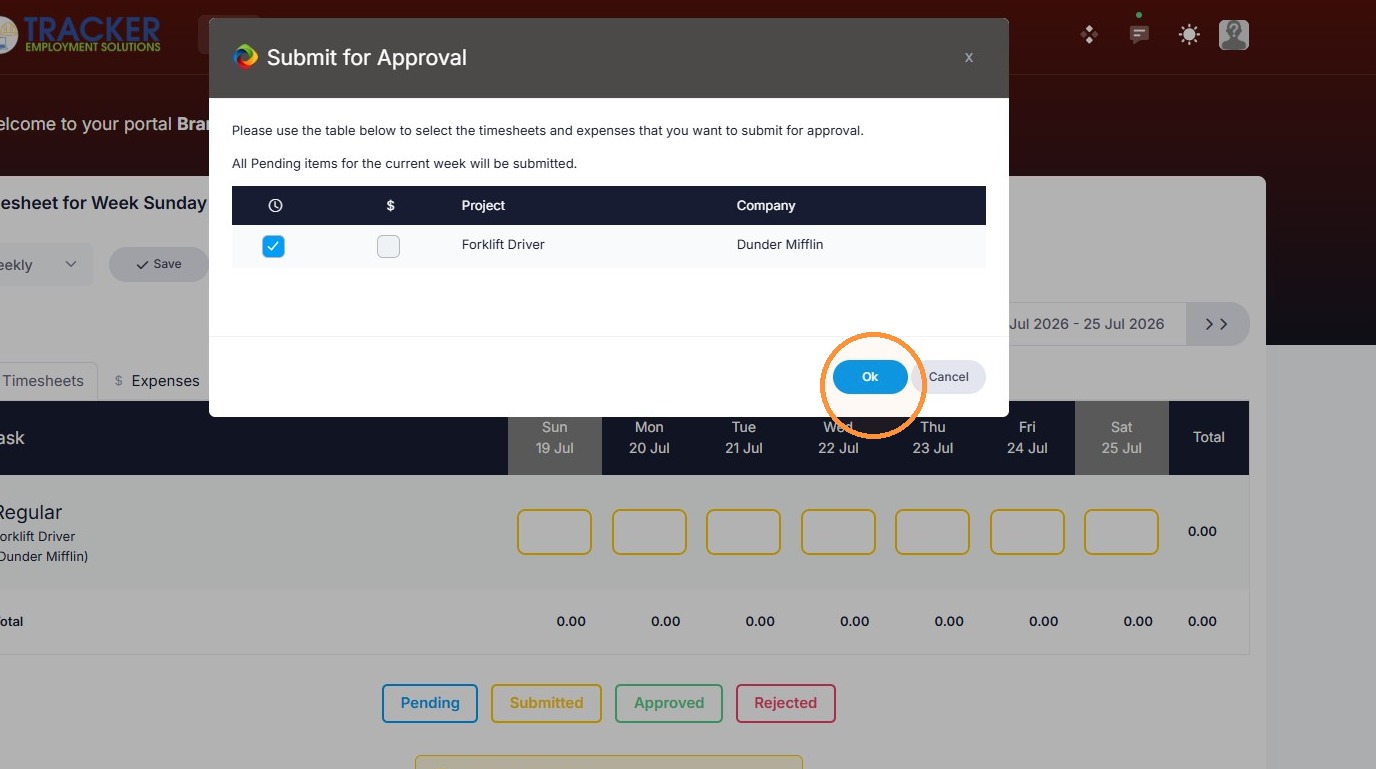
13. Click "Submit" to Submit time to be approved / add notes / expenses / documents etc.
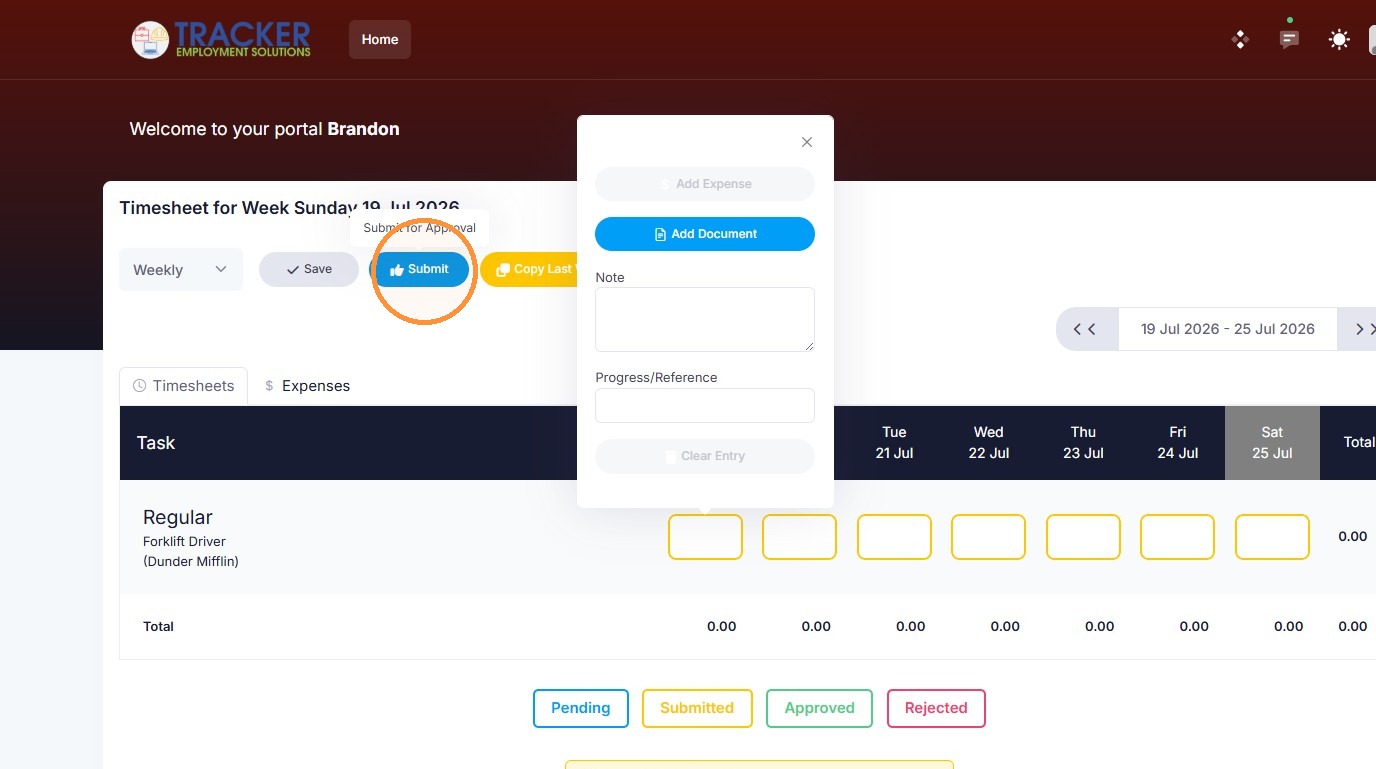
14. Click "Ok"