This lesson shows how to add Default Planning tasks. Setting default planning tasks will save you time when you create projects/assignments in Tracker, as you won't need to add each item manually.
Watch the video below to learn more on how to setup your defaults:
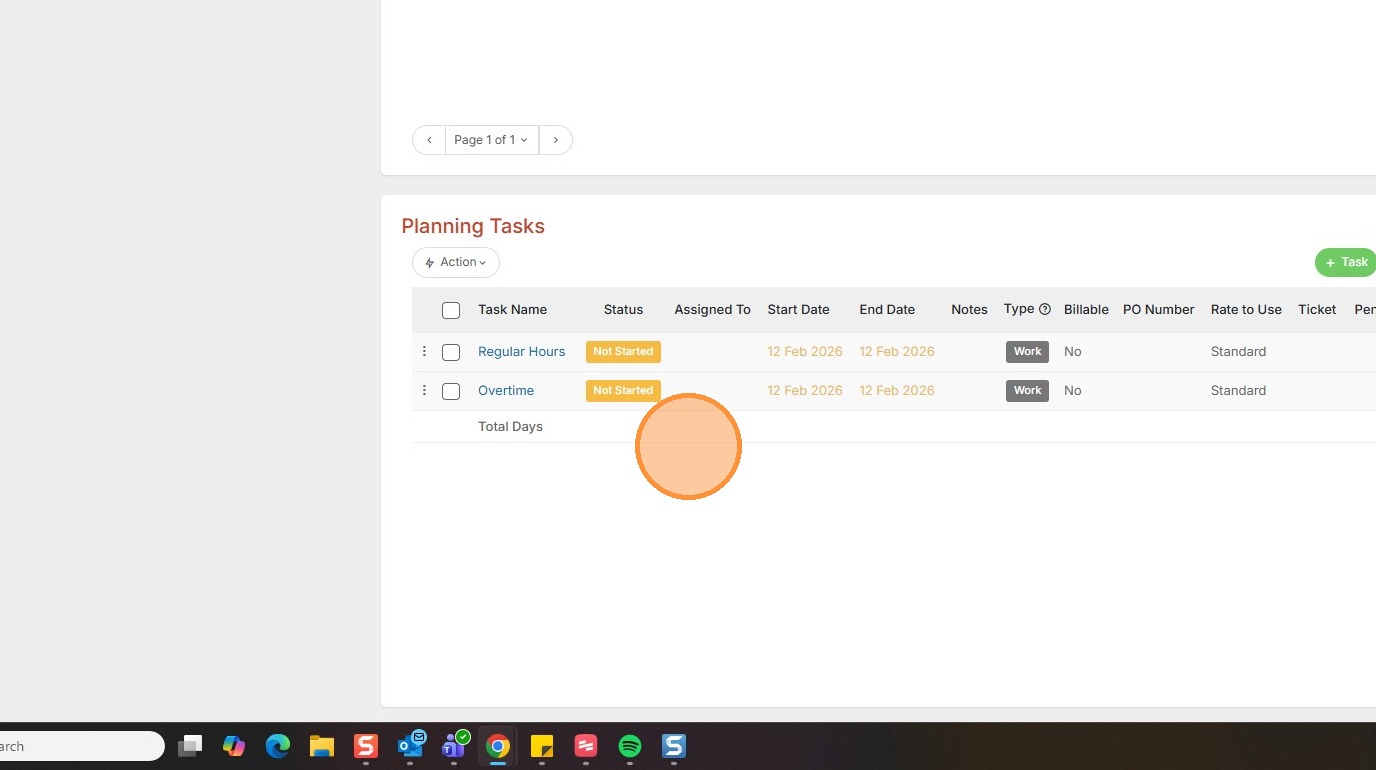
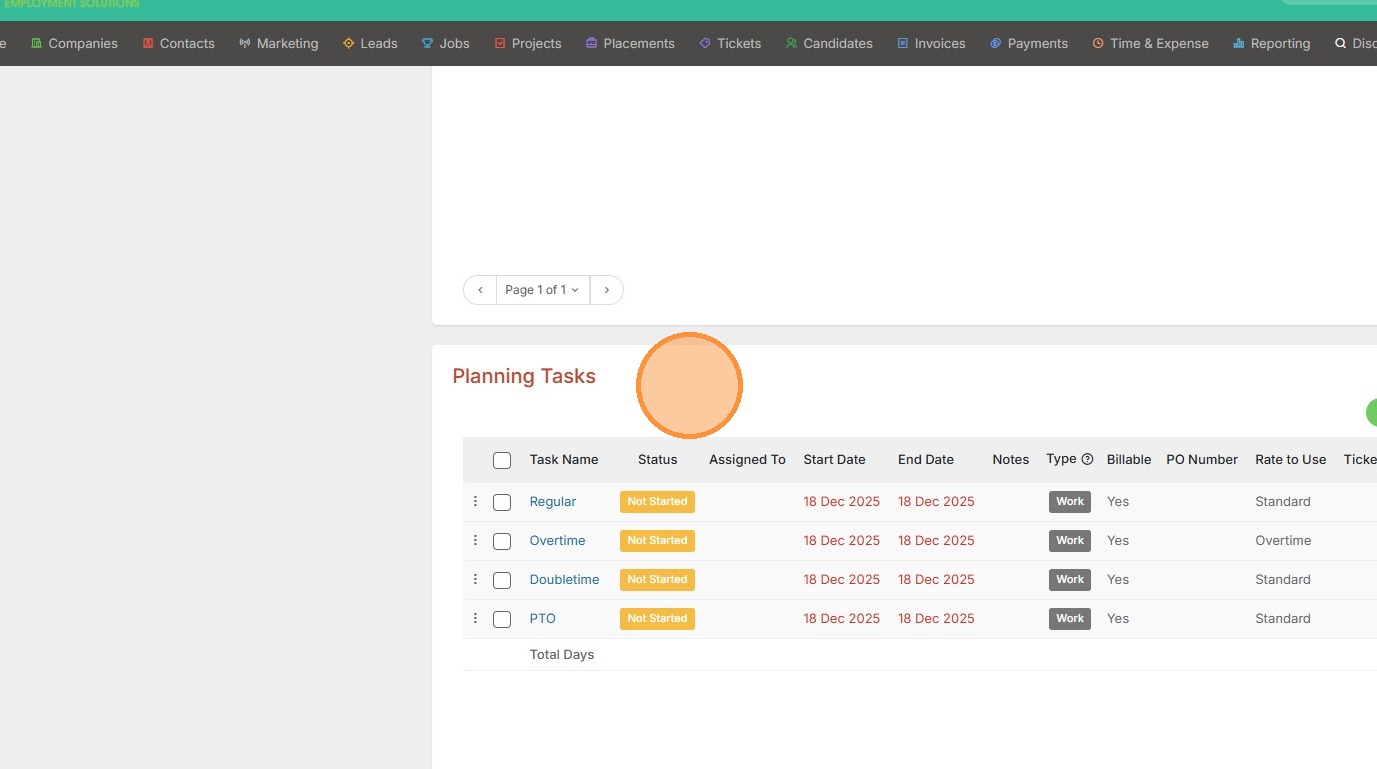
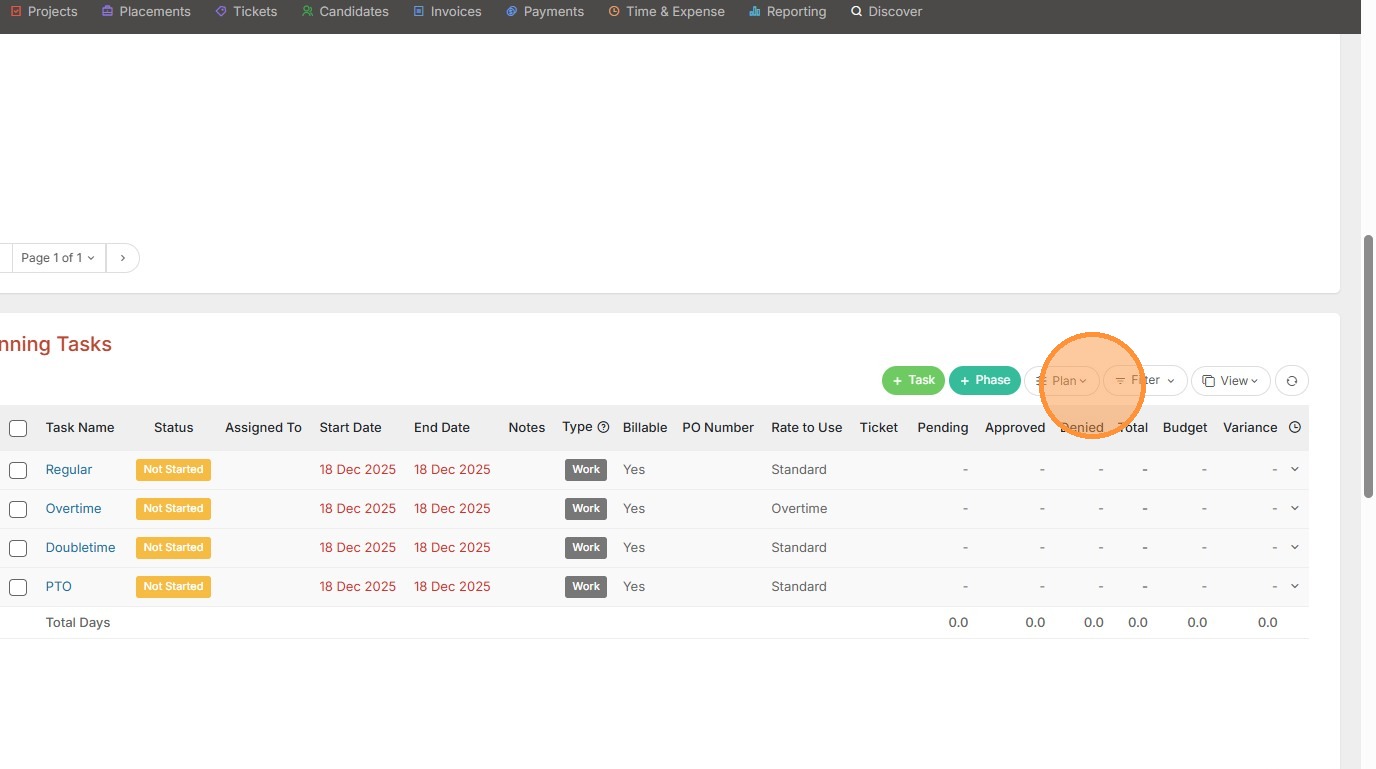
1. Within assignments, or projects, you can apply a default task set. This is done under the Planning Tasks section within the project.
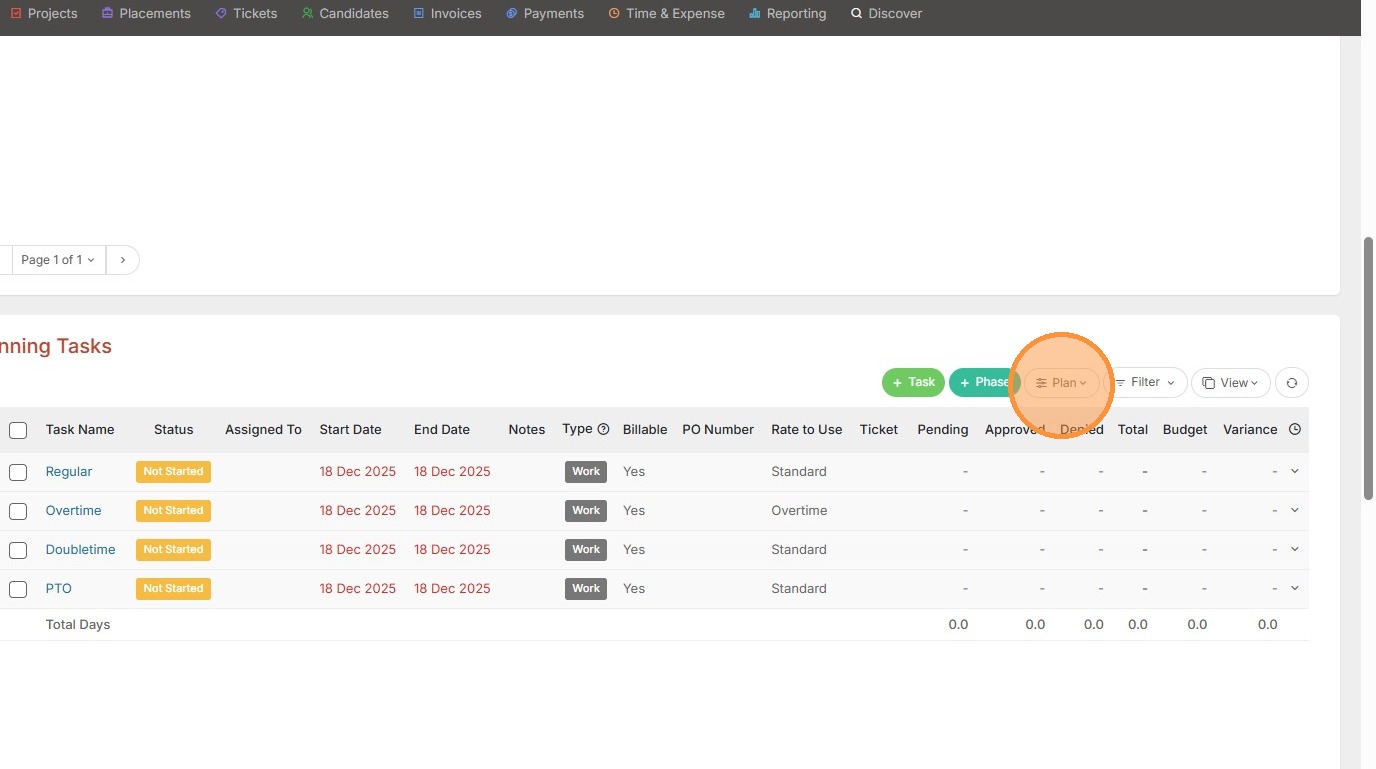
2. You can apply a default task set by clicking on the Plan button.
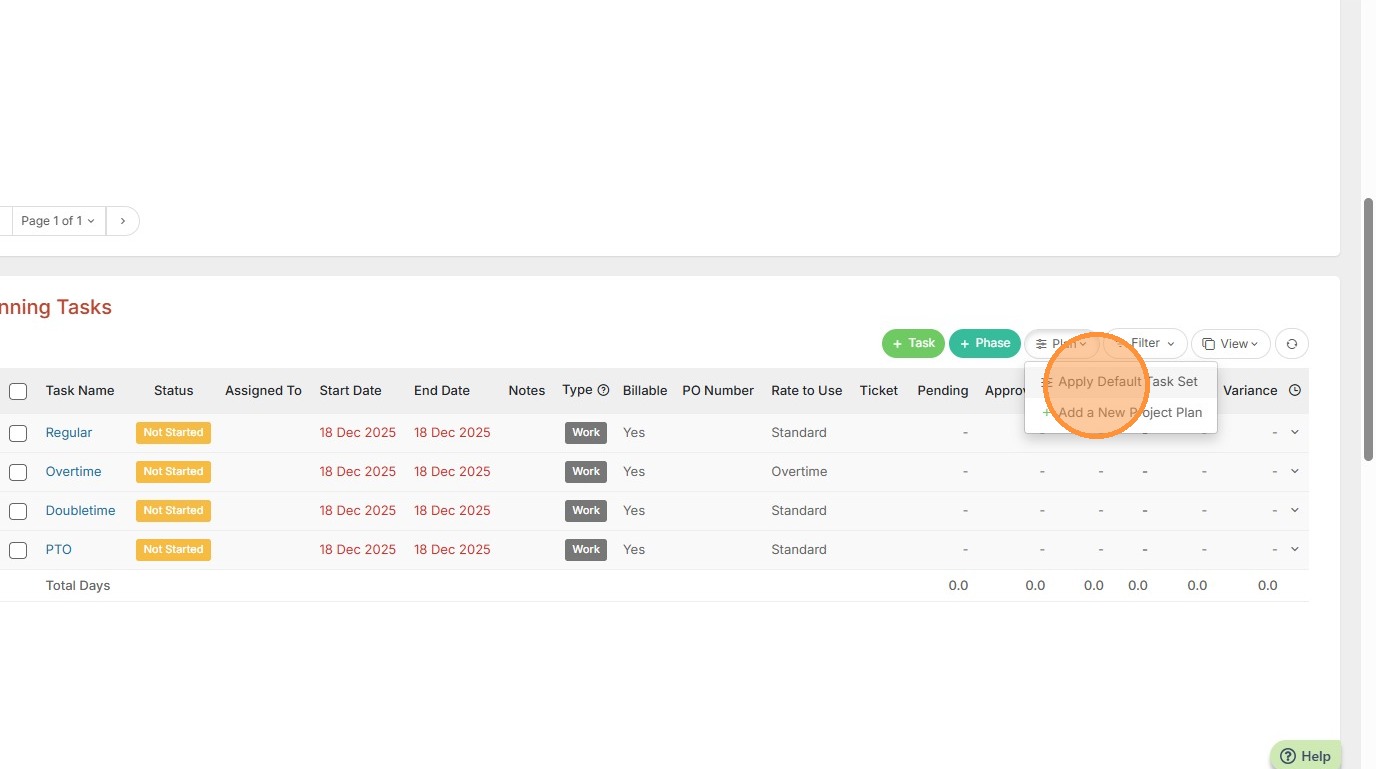
3. Then Apply Default Task Set.
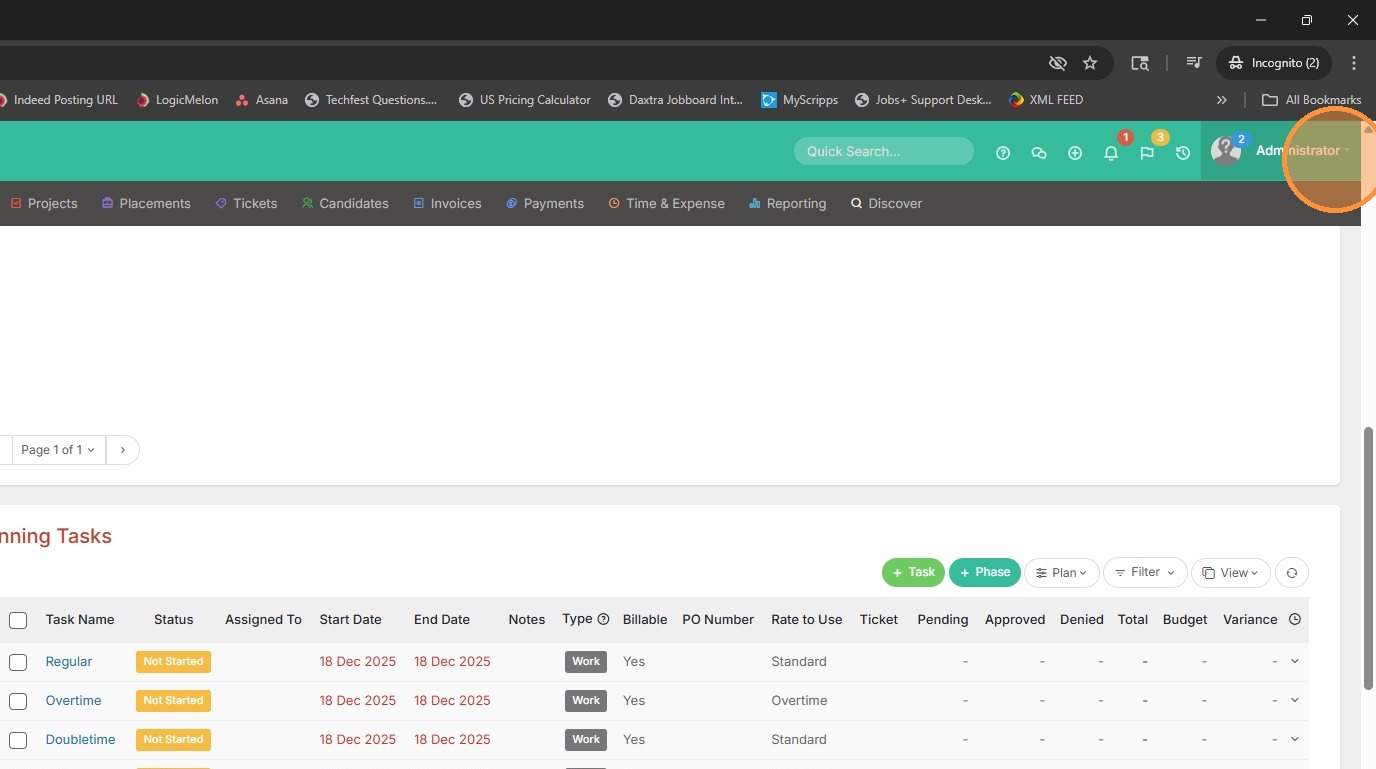
4. To add a default task set, so you have options in that Plan dropdown, click on your name at the top right corner of the screen.
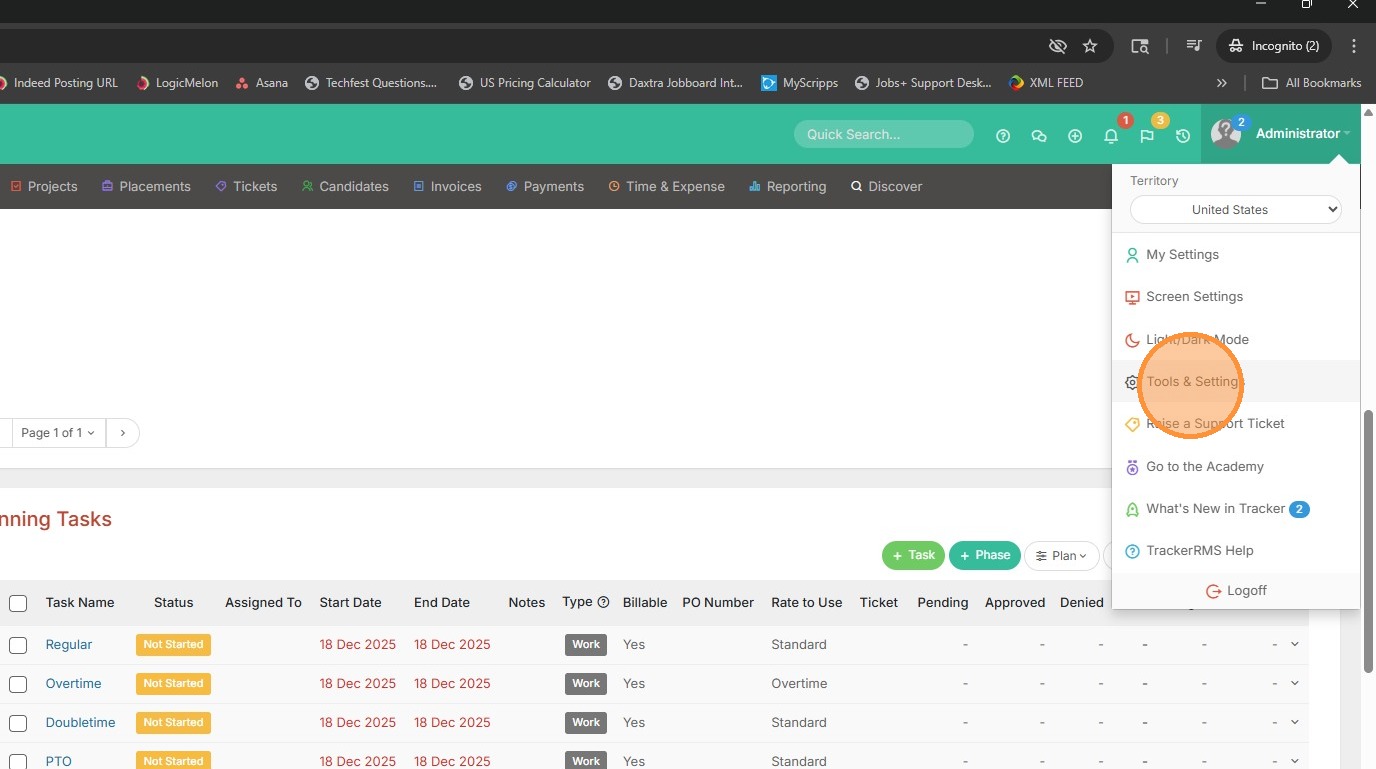
5. Select Tools & Settings.
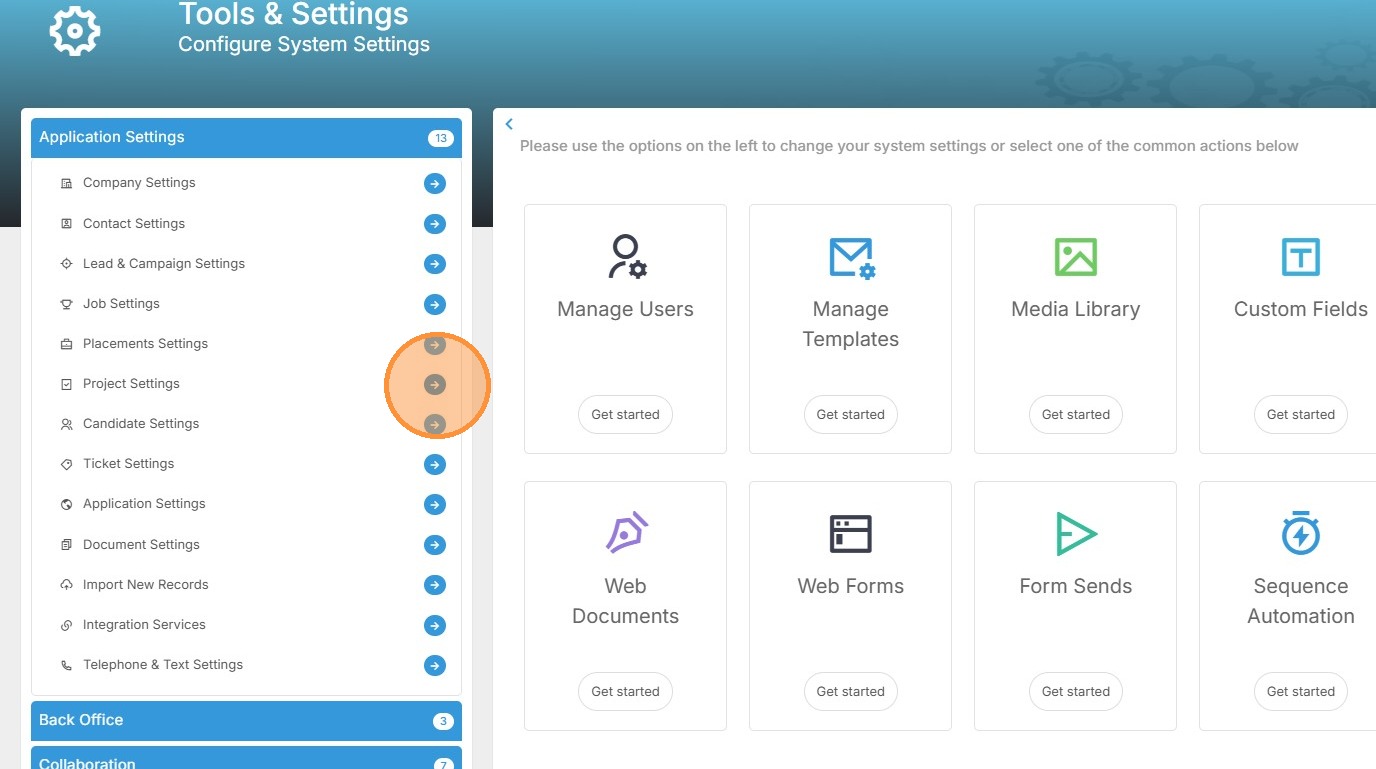
6. Open Project Settings.
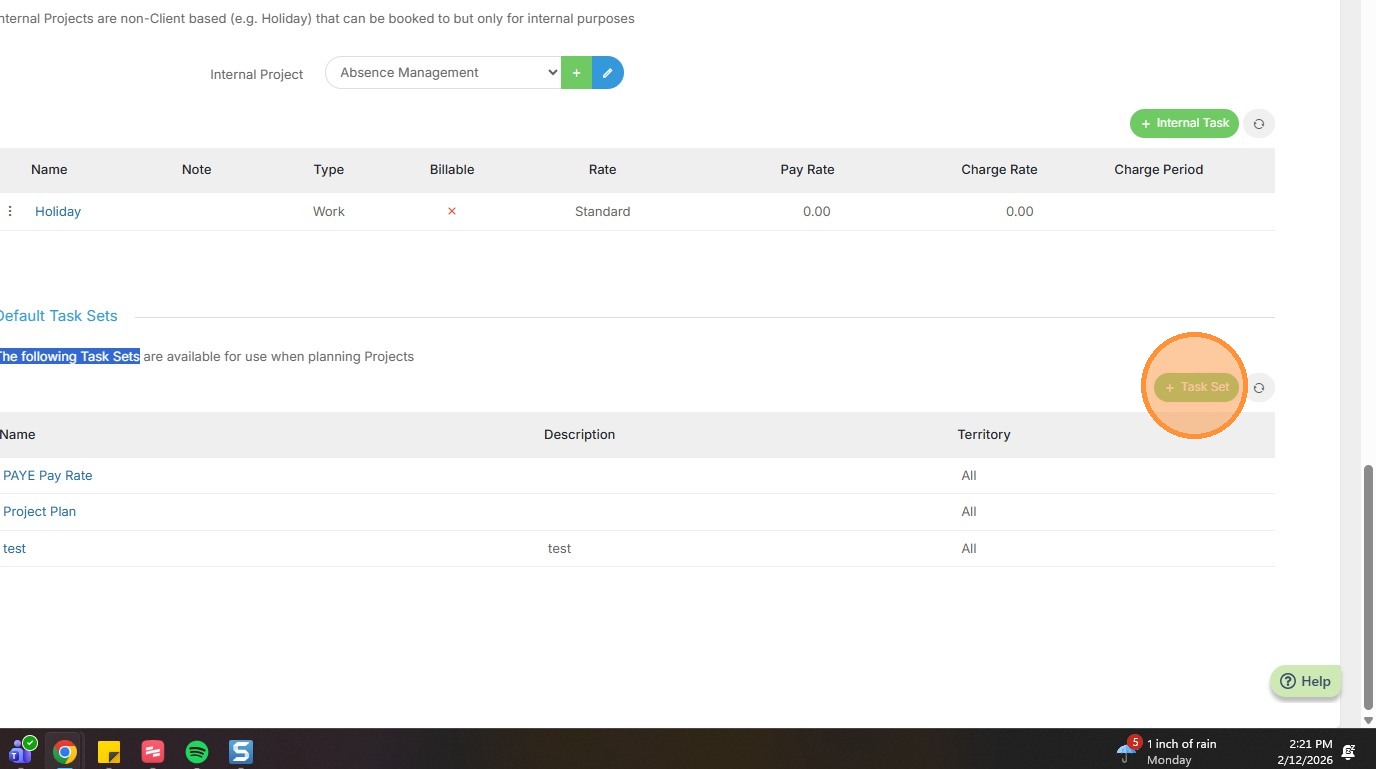
7. Scroll down to the Default Task Sets section.
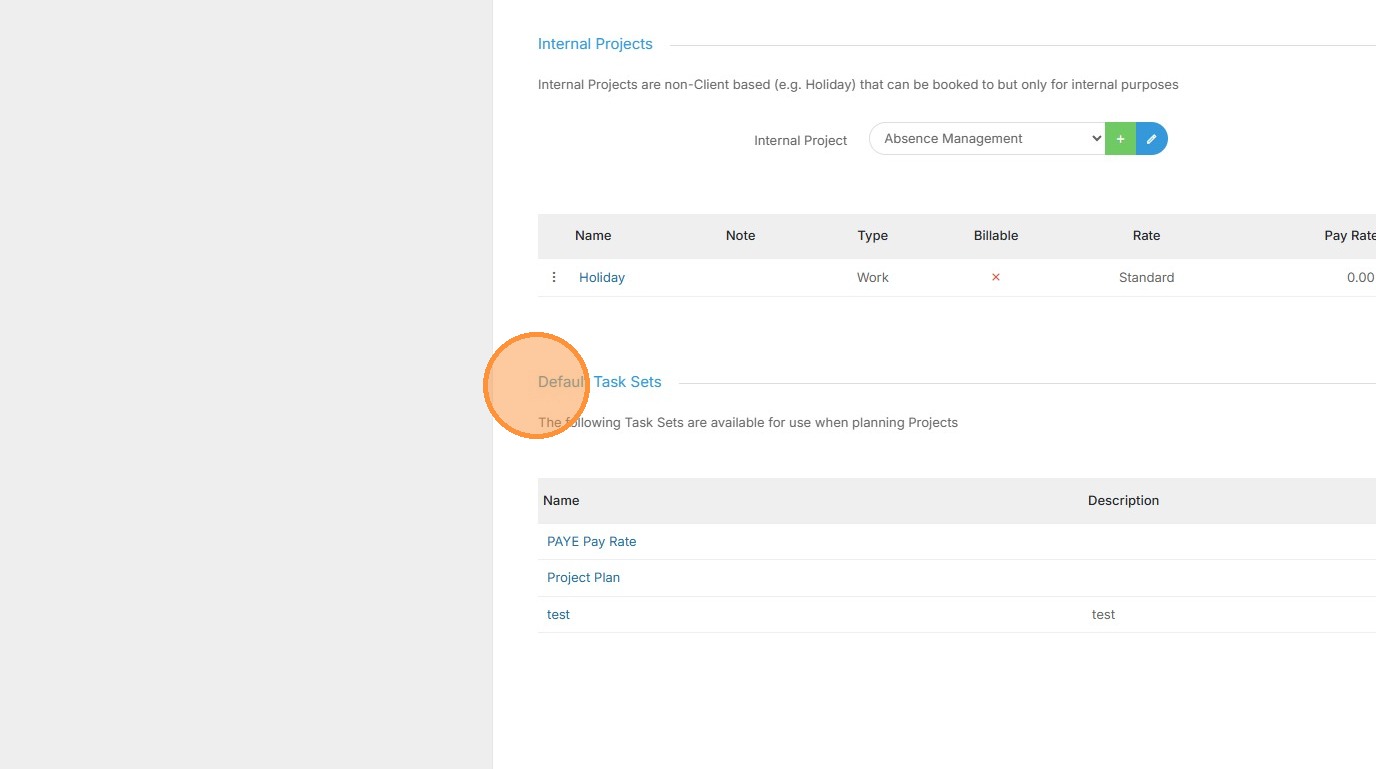
8. Click on the green Task Set button.
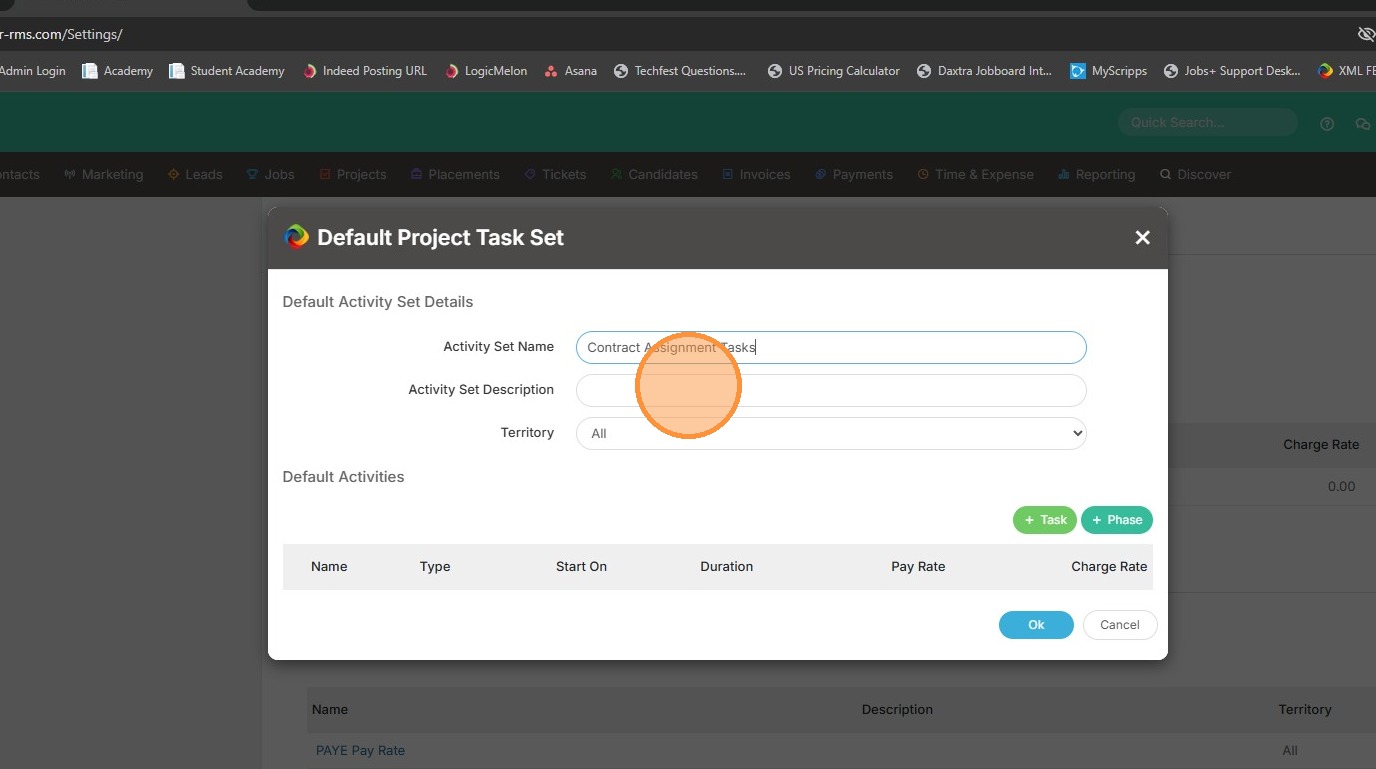
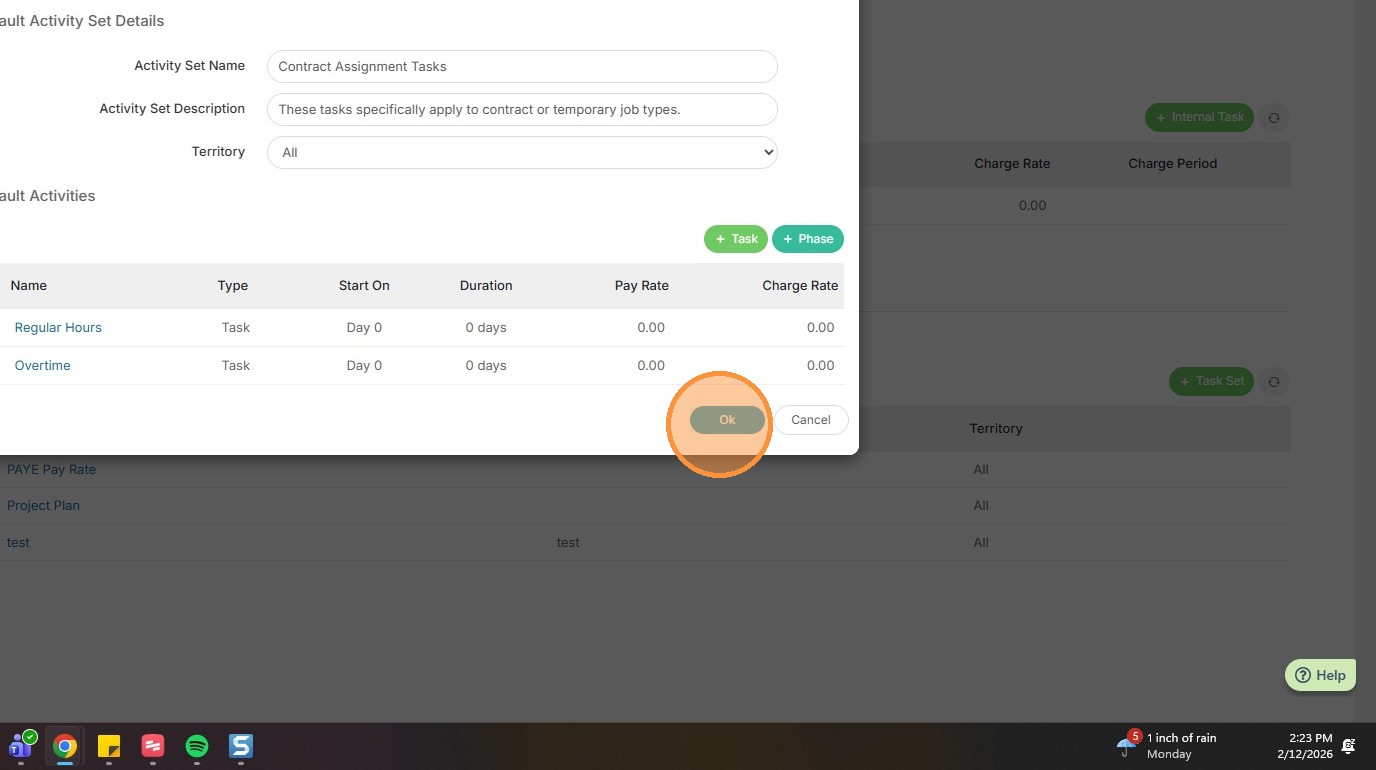
9. Add the activity set name.
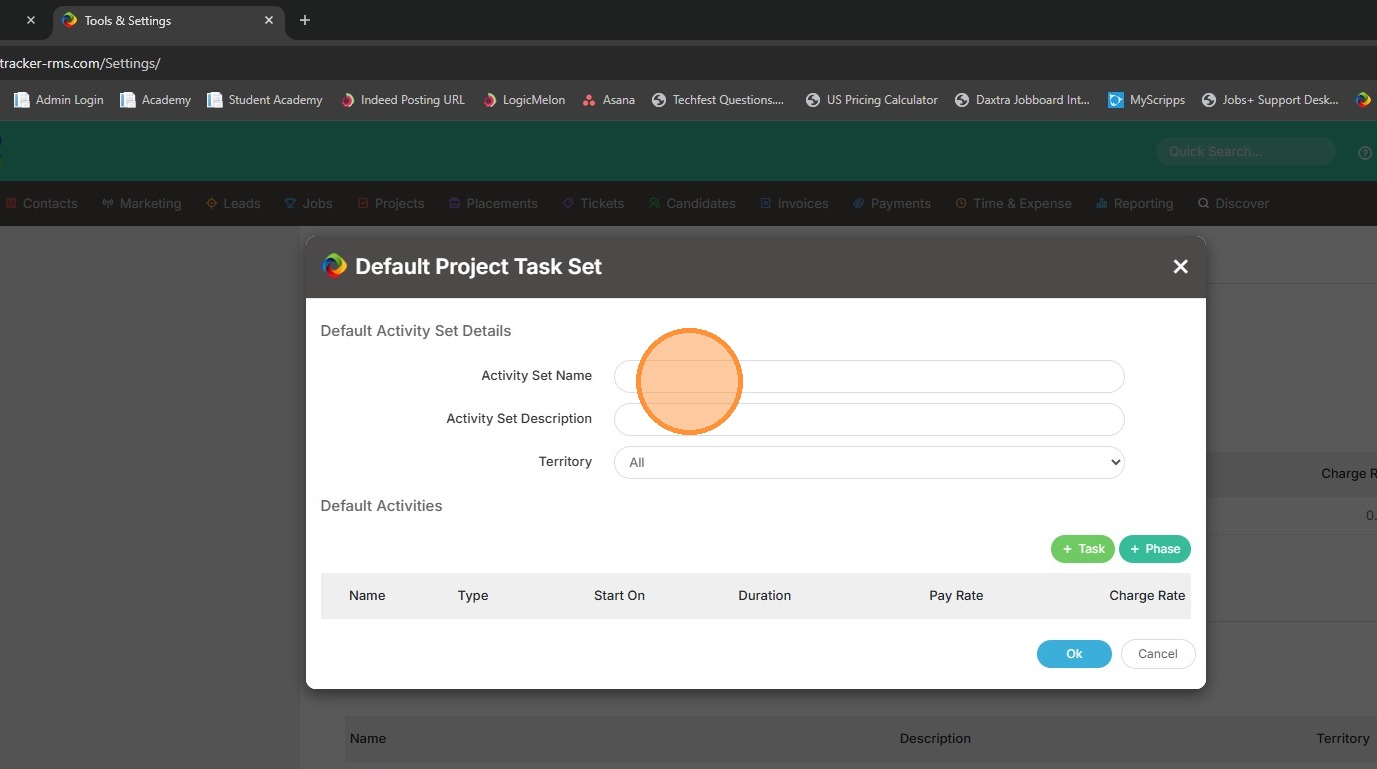
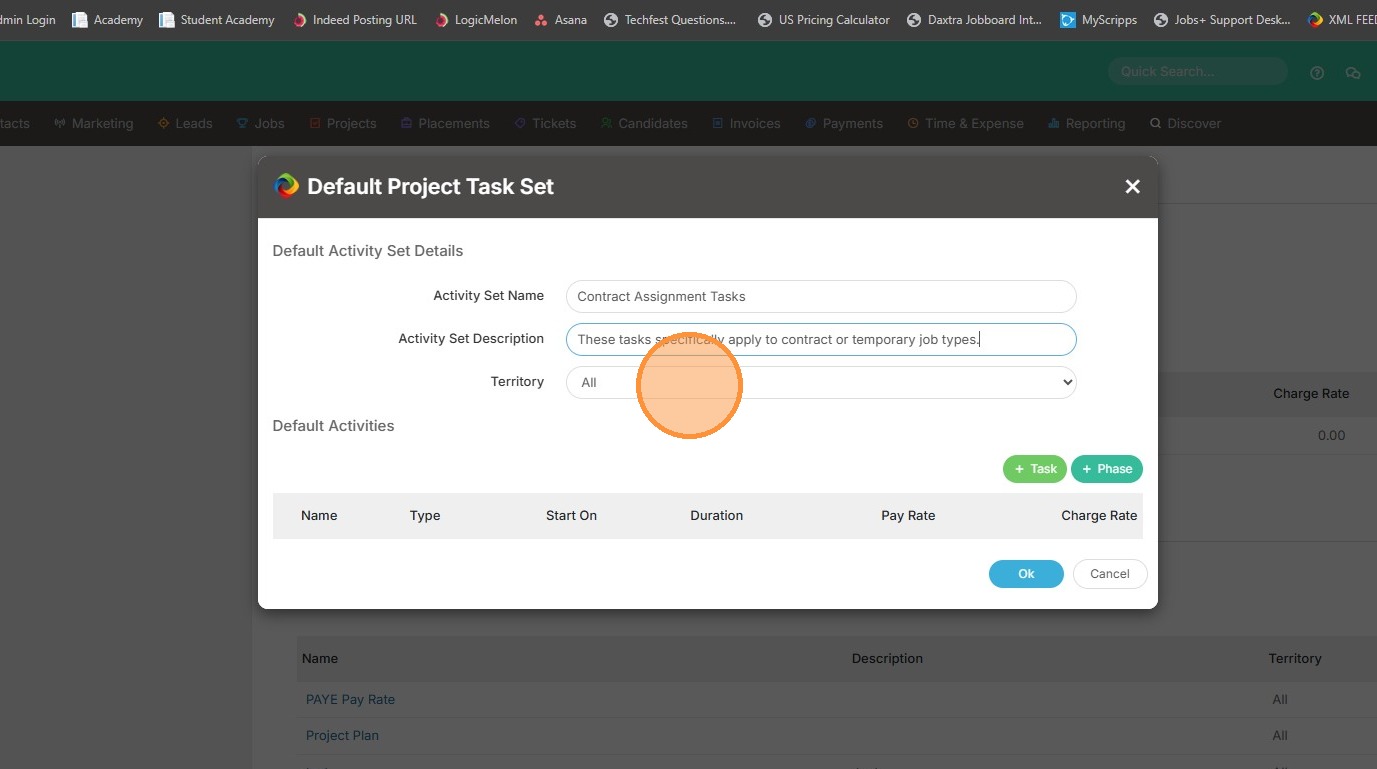
10. A description.
11. And lastly, choose whether this task set should be available for all territories or only certain ones.
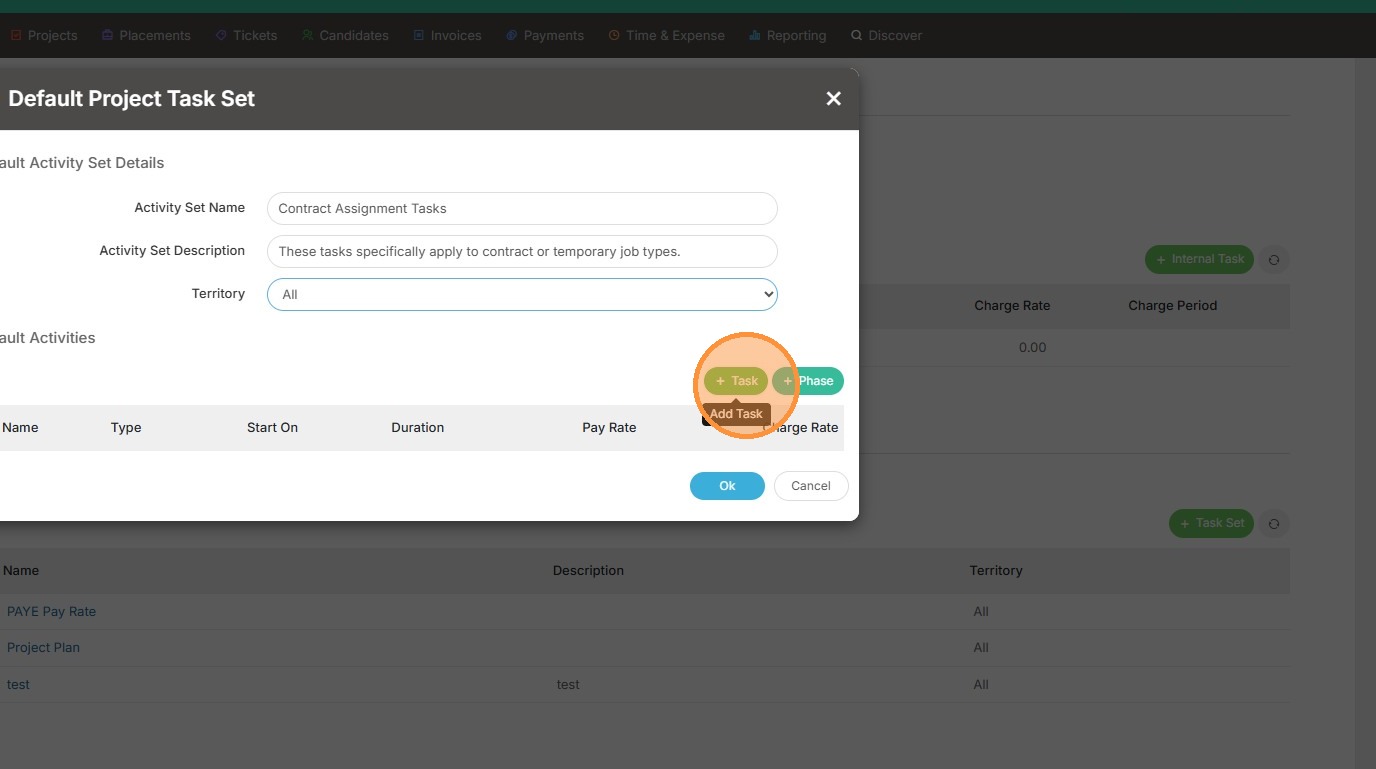
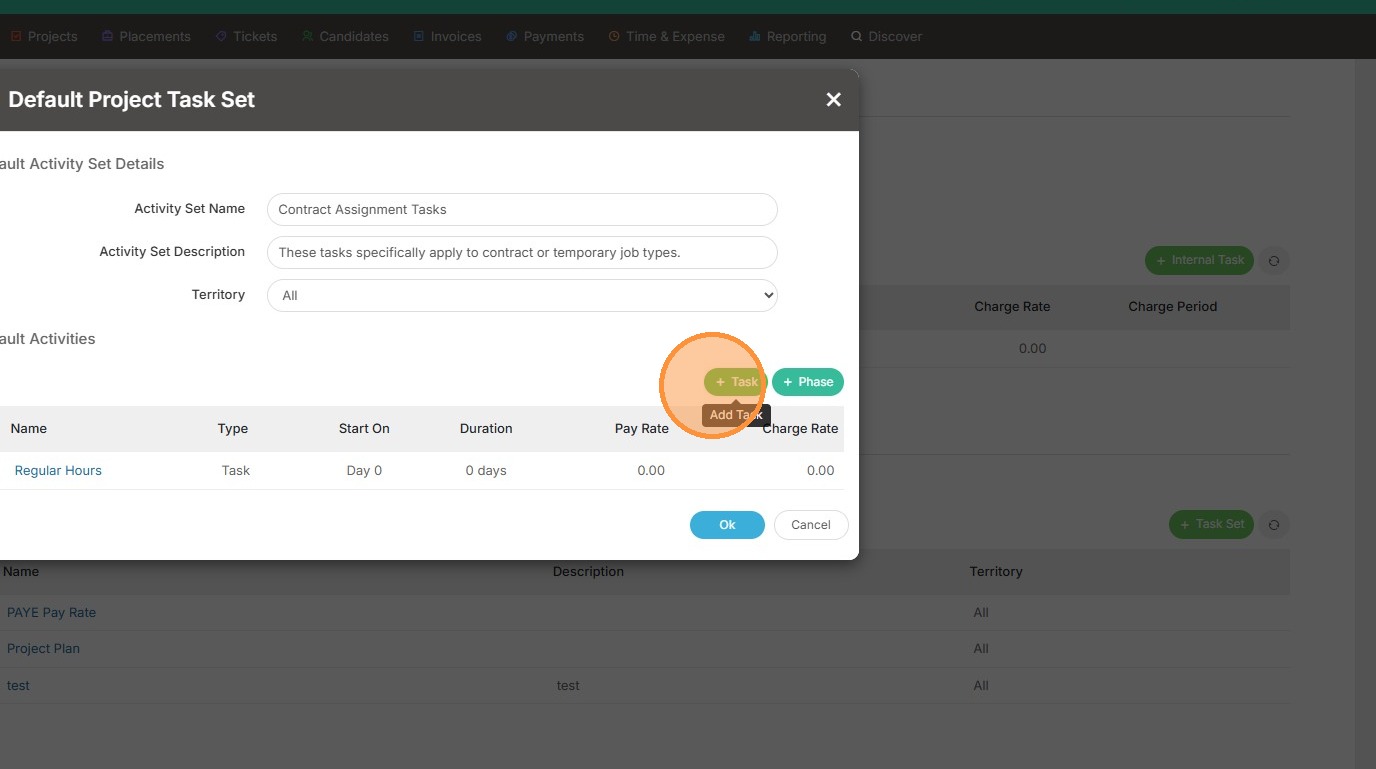
12. Click the green task button.
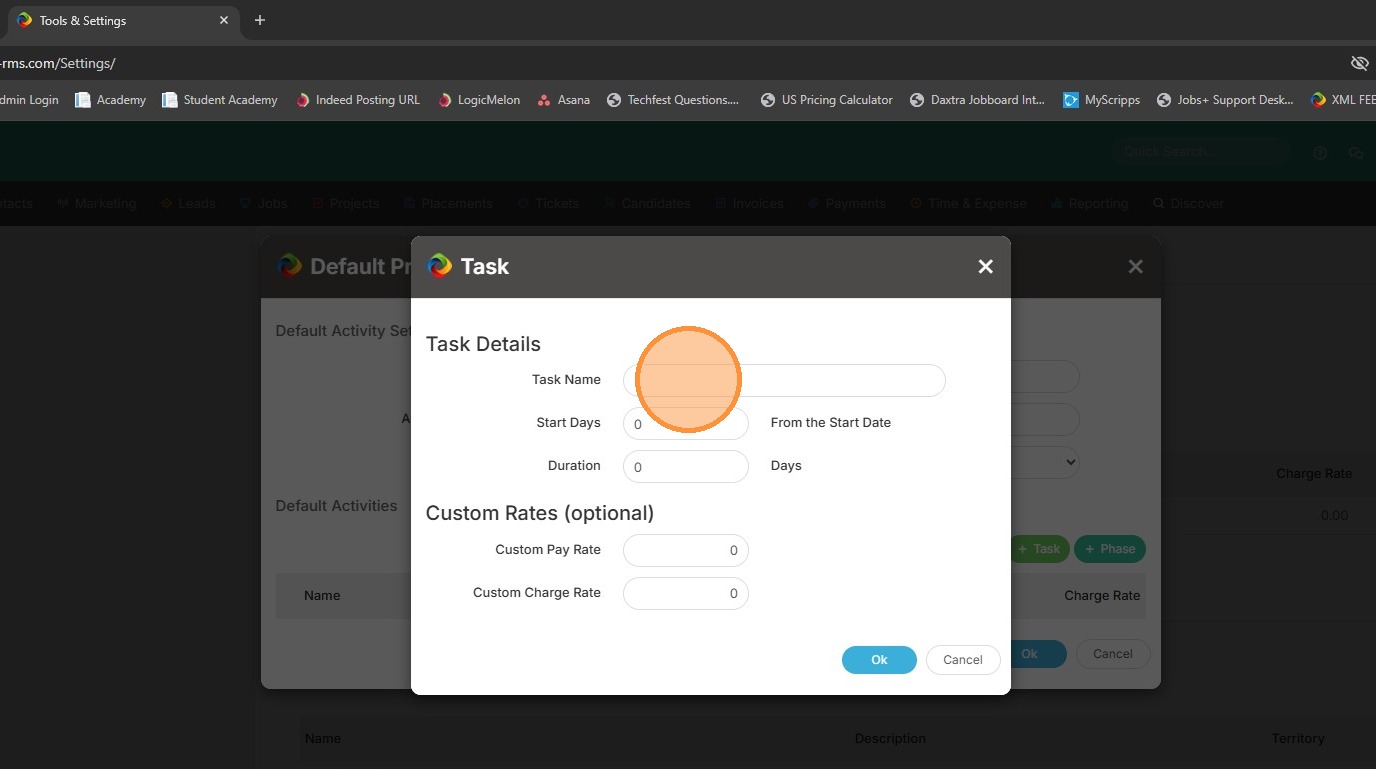
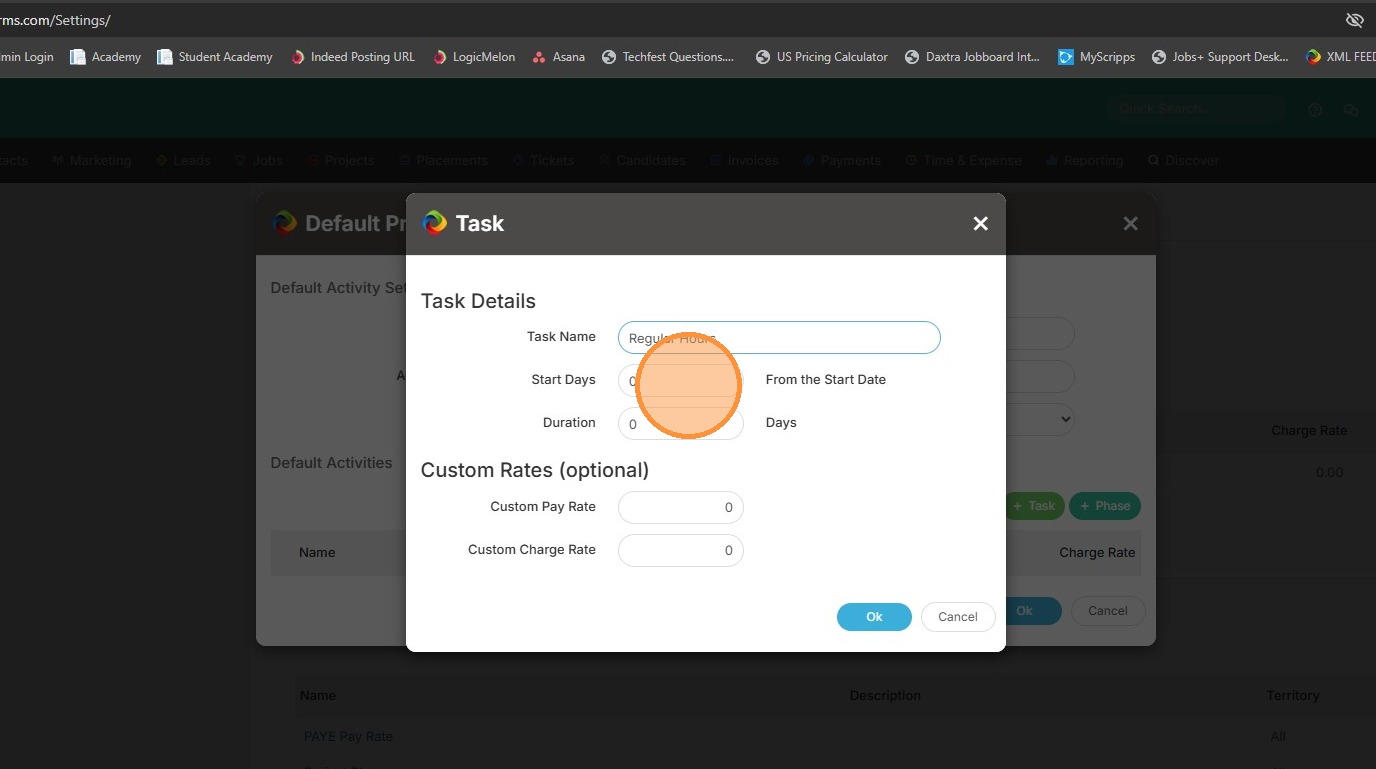
13. Then add the details of the task, such as the name. In this example, I'm going to add Regular Hours.
14. You can then click into Start Days and adjust the number of days if needed. If you leave this at 0 it will assume this task becomes available on the placement's start date. If you always have candidates working 2 days (for example) after their start date, you can enter the number 2, and the task won't become available until after that 2 day mark.
15. You can also edit the Duration field. This is helpful with contracted employees, that perhaps are always on contract for a year. You could enter in 365 days in that field, and the task will automatically expire after that time period.
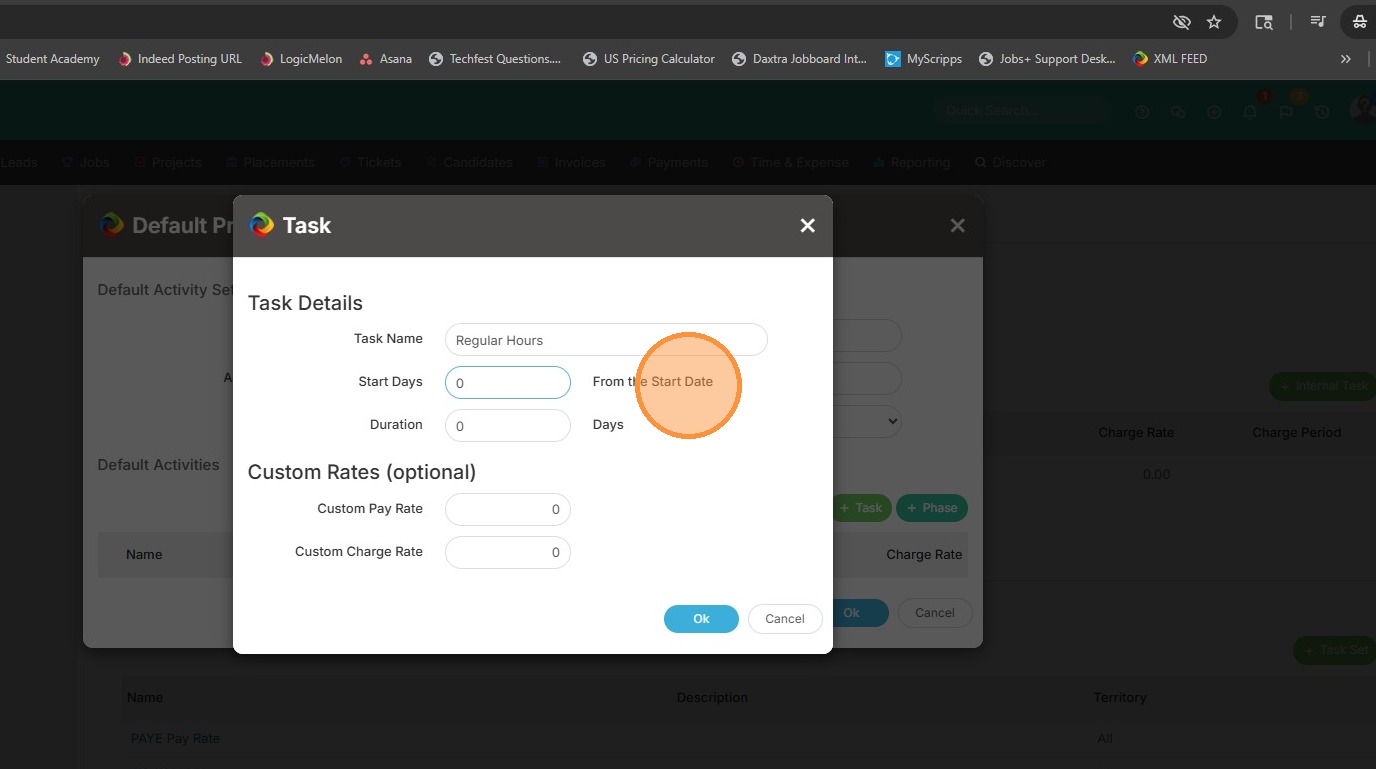
16. Then you have custom pay rate. If you're always paying these employees the same rate, you can enter that now. Otherwise, leaving this blank will automatically pickup on the placement's pay rate from their placement record.

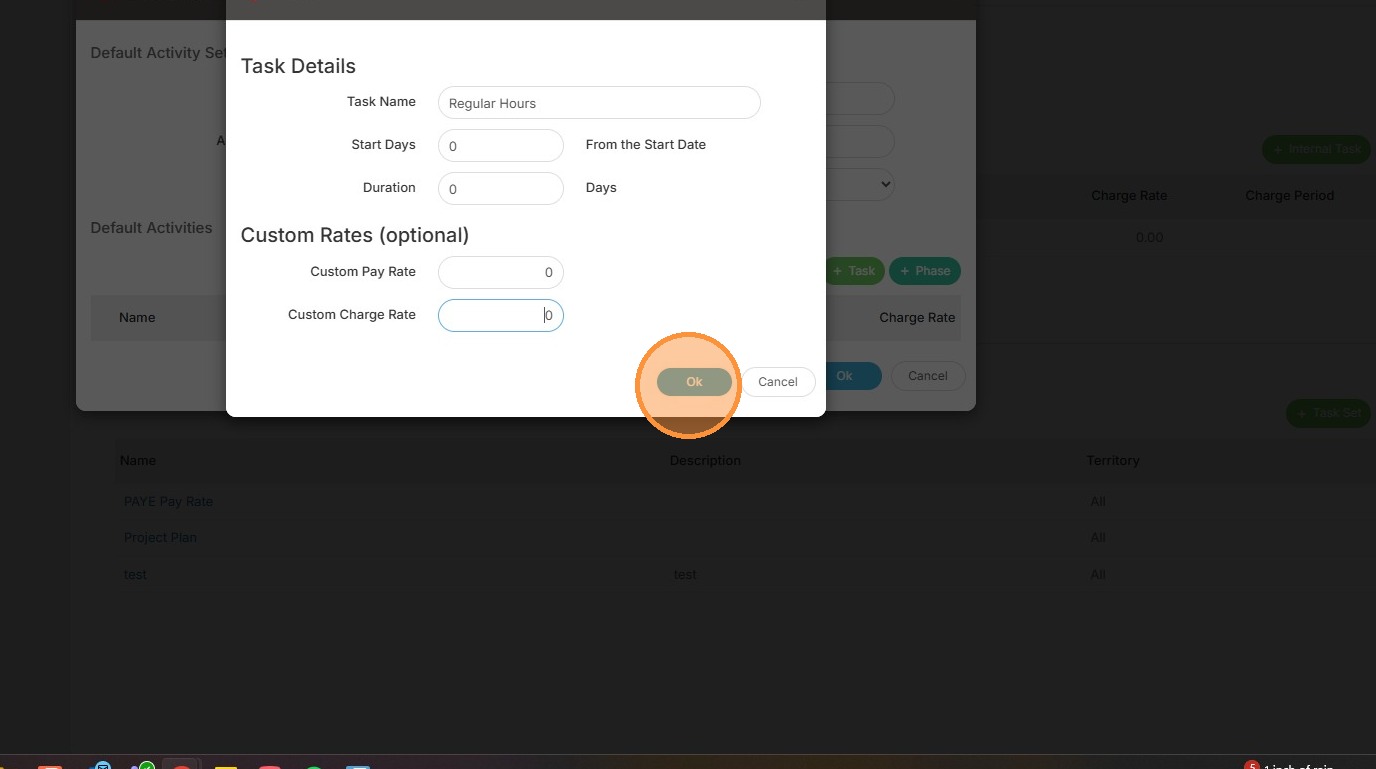
17. Same goes with the charge rate, if you have a specific charge or bill rate in mind, you can insert that here. Otherwise, it will auto pickup what it in the placement record.
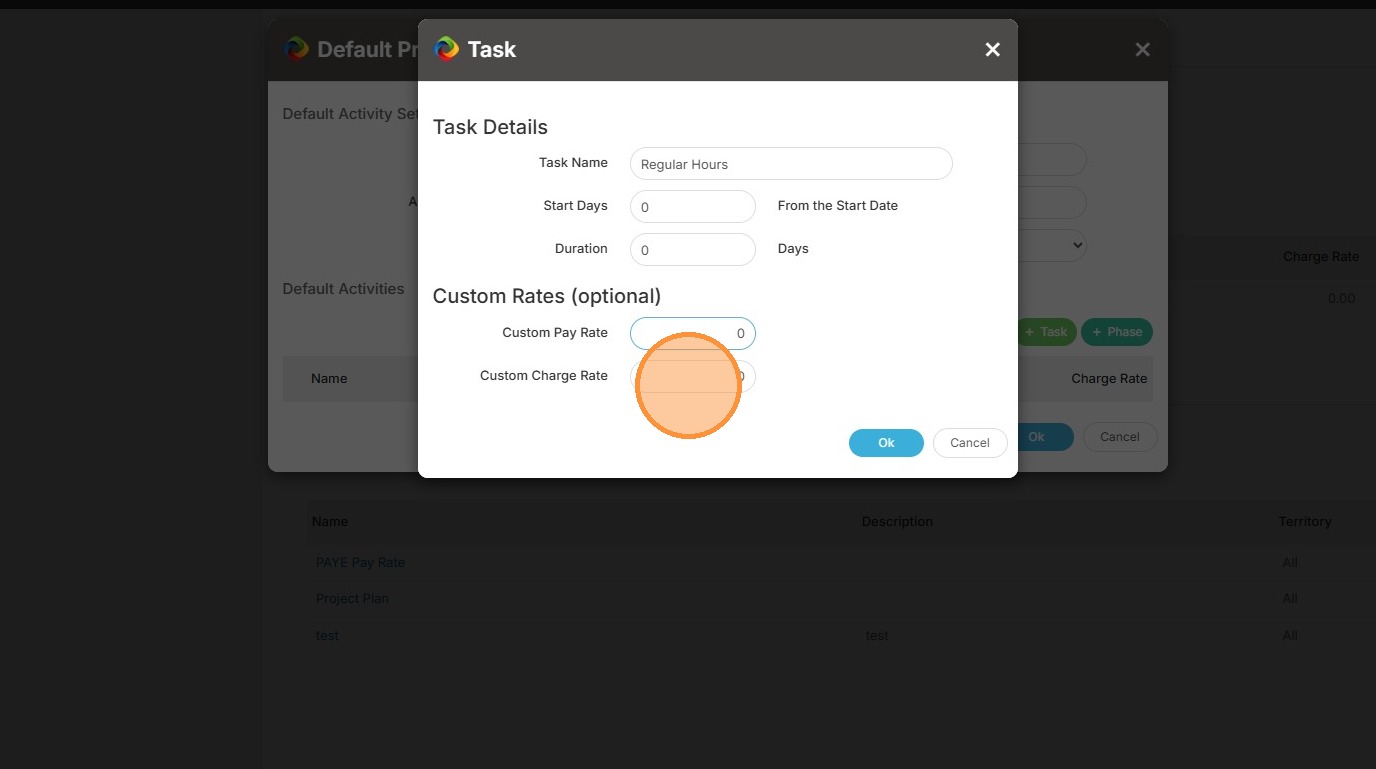
18. Click Ok once you're ready.
19. Then you can add in more tasks if needed.
20. Such as Overtime, for example.
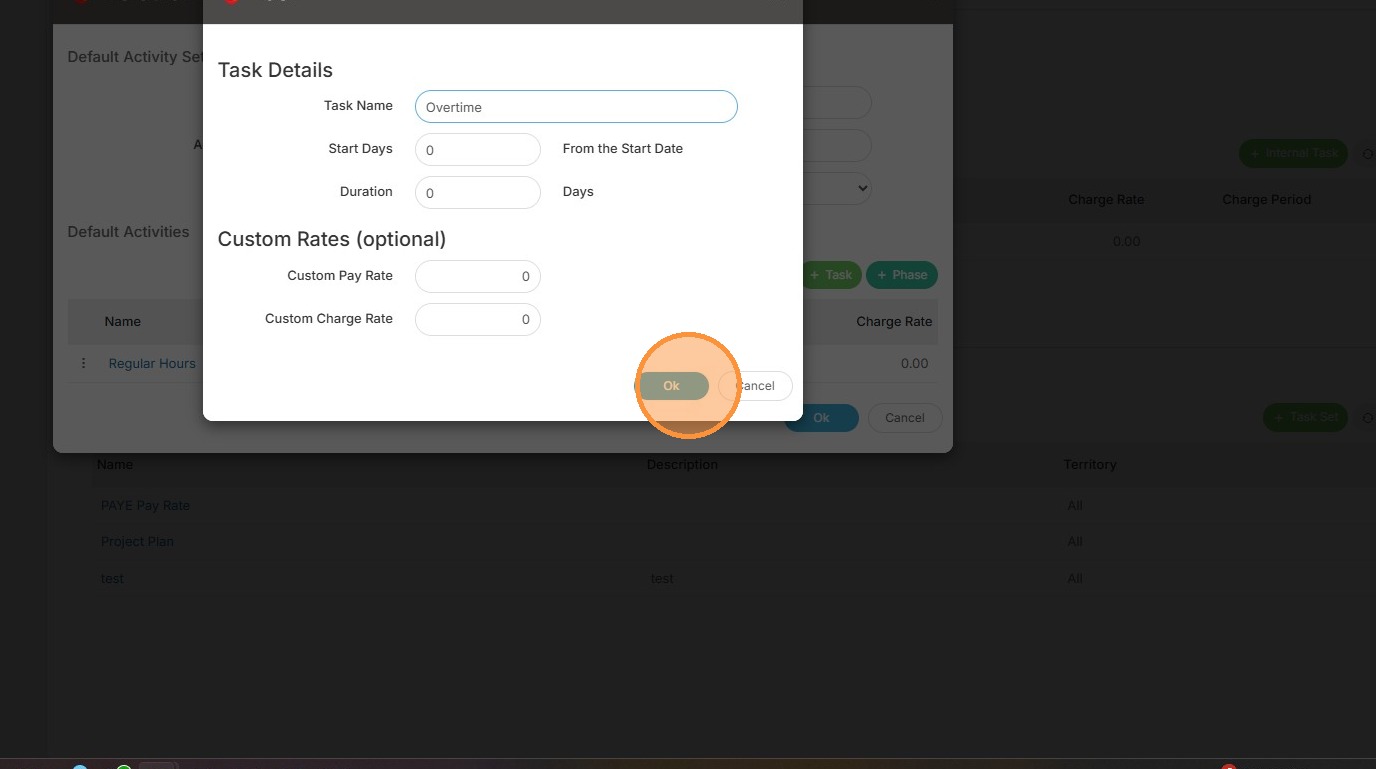
21. Click Ok once you're done.
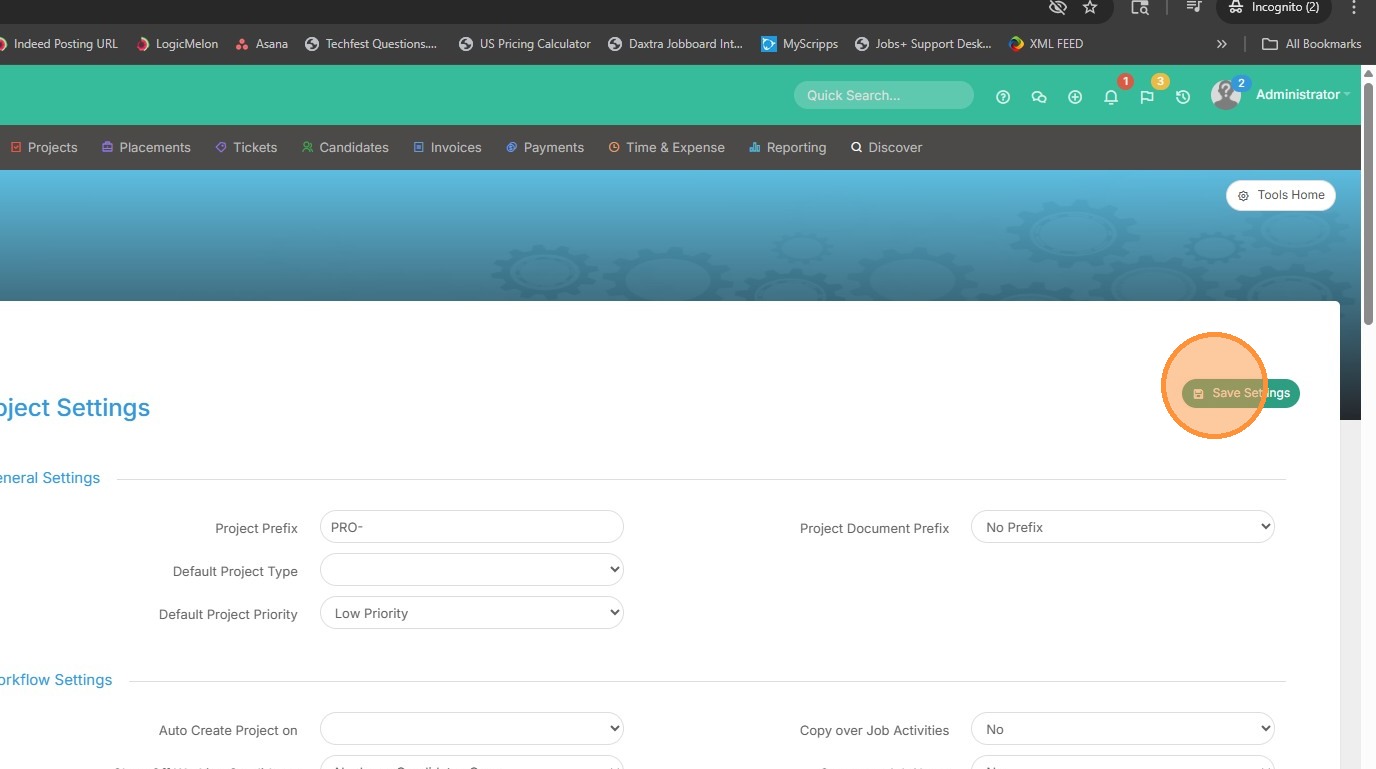
22. Scroll back up to the top of your screen and save the settings.
23. To check your work, go back into the project.

24. Select Plan.
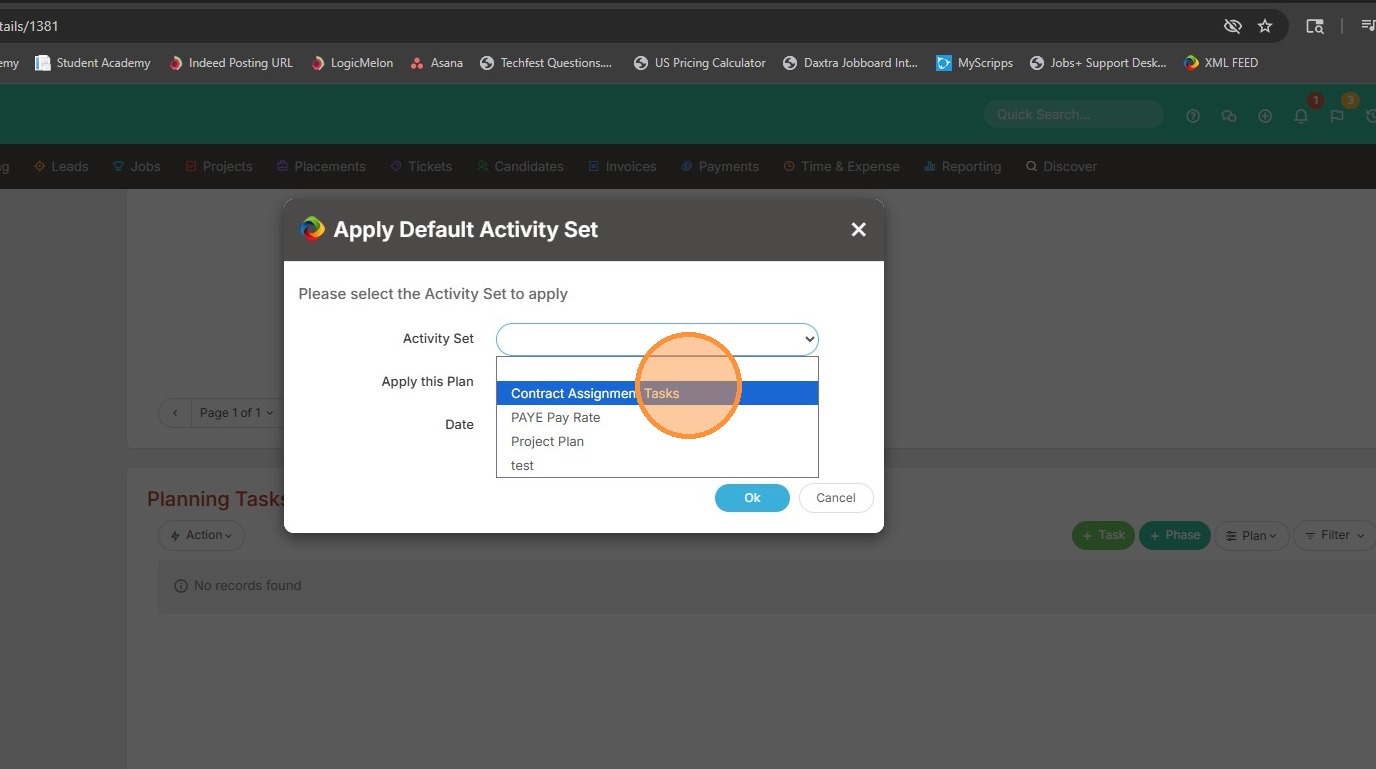
25. Then, Apply Default Task Set.

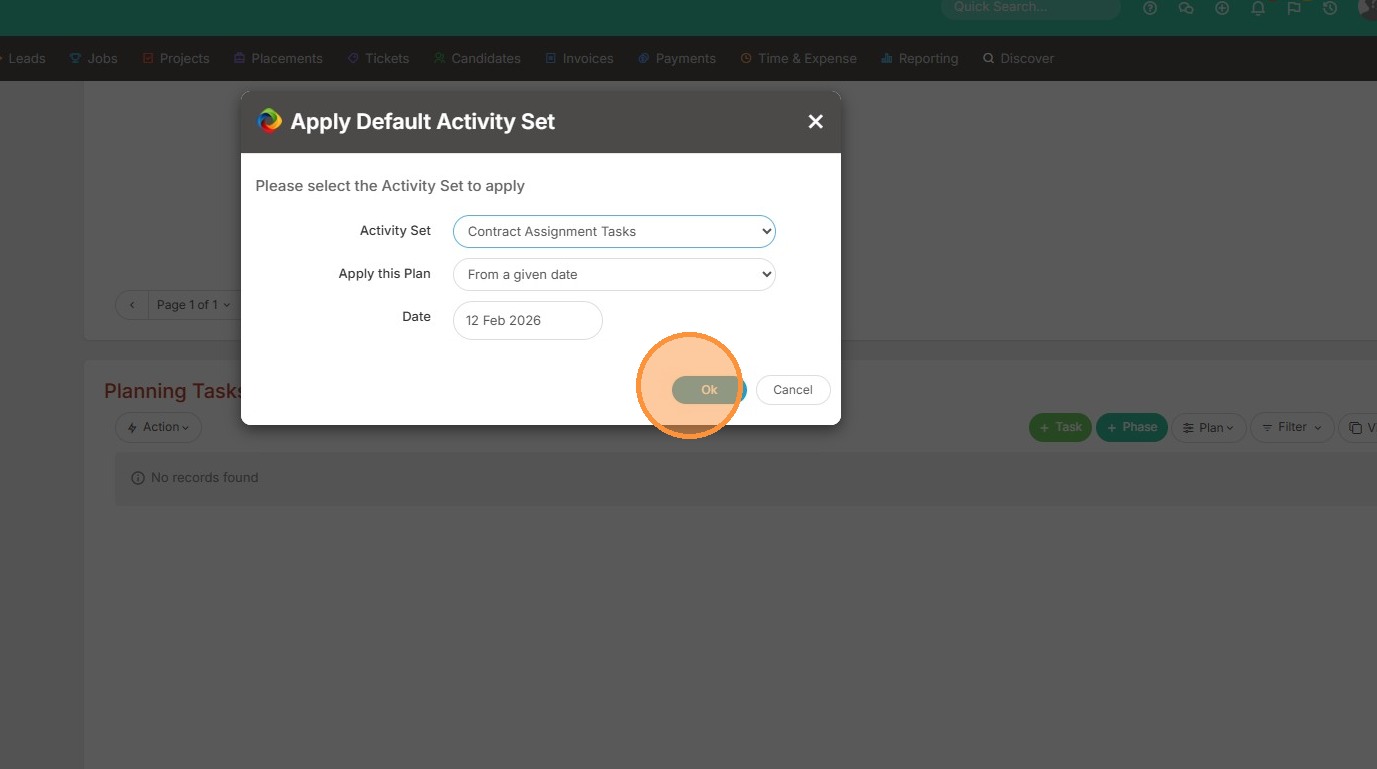
26. Select the name of the activity set just created.
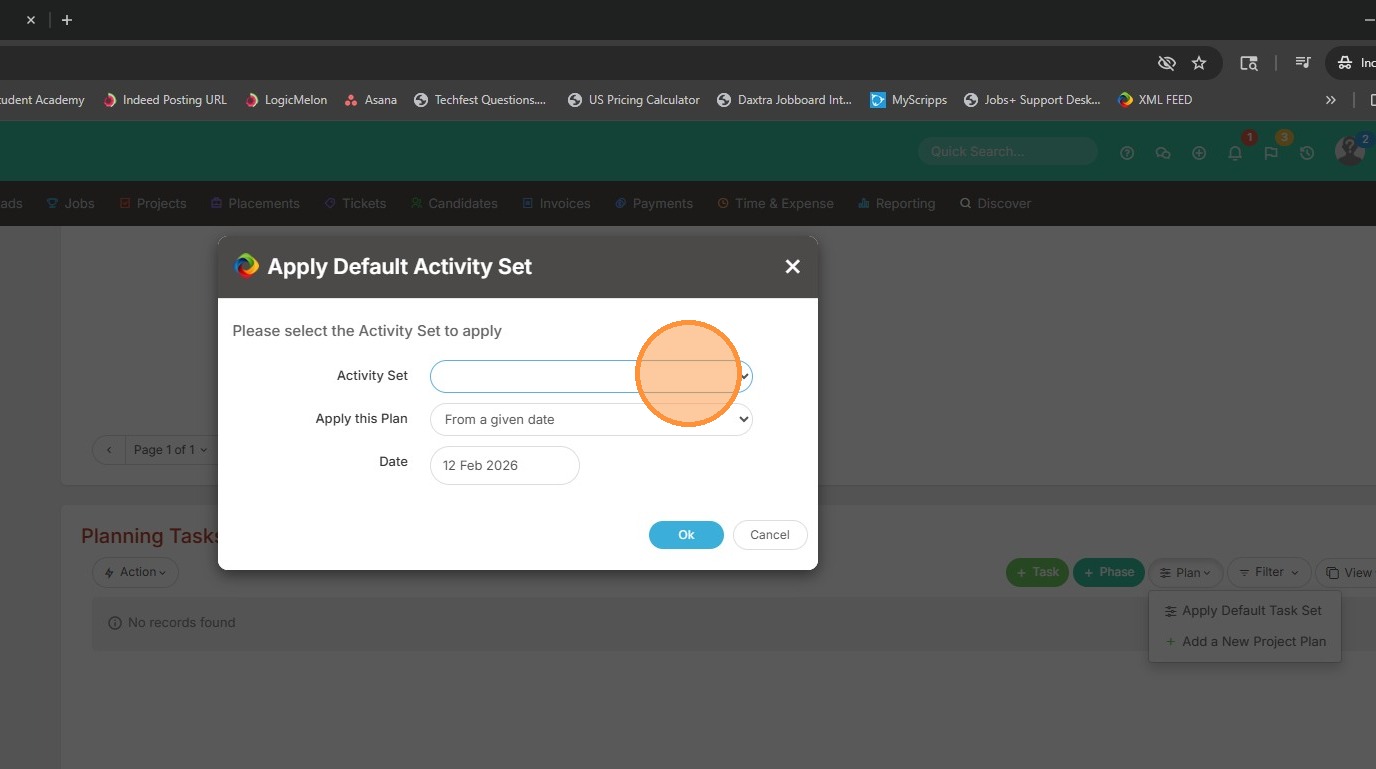
27. For example, mine was named Contract Assignment Tasks.
28. Click Ok.
29. Then you will see the tasks applied. This default planning tasks will be available in all projects moving forward if needed.