Once you've linked Tracker to Xero and configured your Payment and Invoices settings, you can begin syncing financial data between the two systems.
Xero Integration - Invoices
Once you've linked Tracker to Xero and configured your Payment and Invoices settings, you can begin syncing financial data between the two systems.
1. Sending Invoices from Tracker to Xero.
Invoices can be sent from Tracker to Xero either individually or in bulk. Individual invoices are accessible from the Invoices area, or from Job, Assignment and Company records. They can also be generated via the Timesheets area. Today we'll use the Invoices area to demonstrate the functionality. Please ensure you have the required level of subscription for Xero to use all of this functionality.
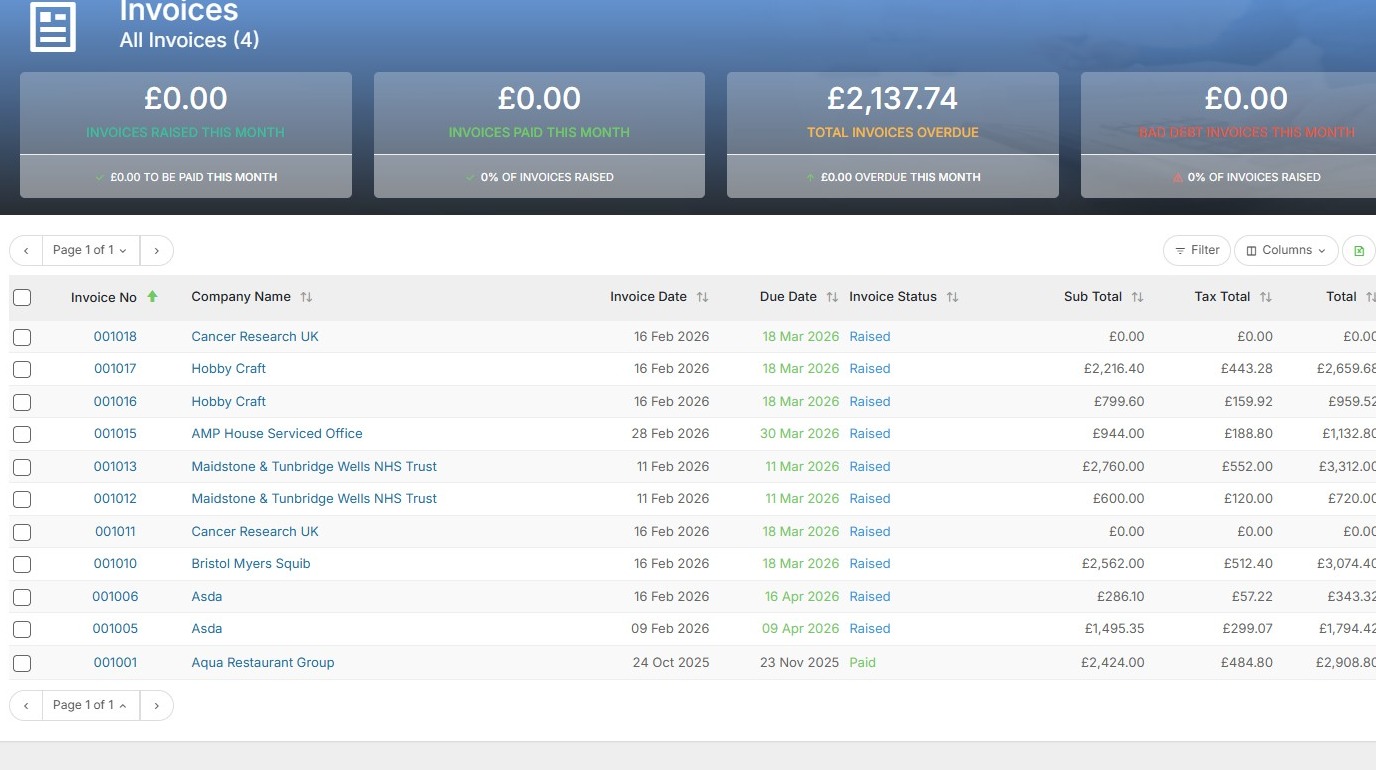
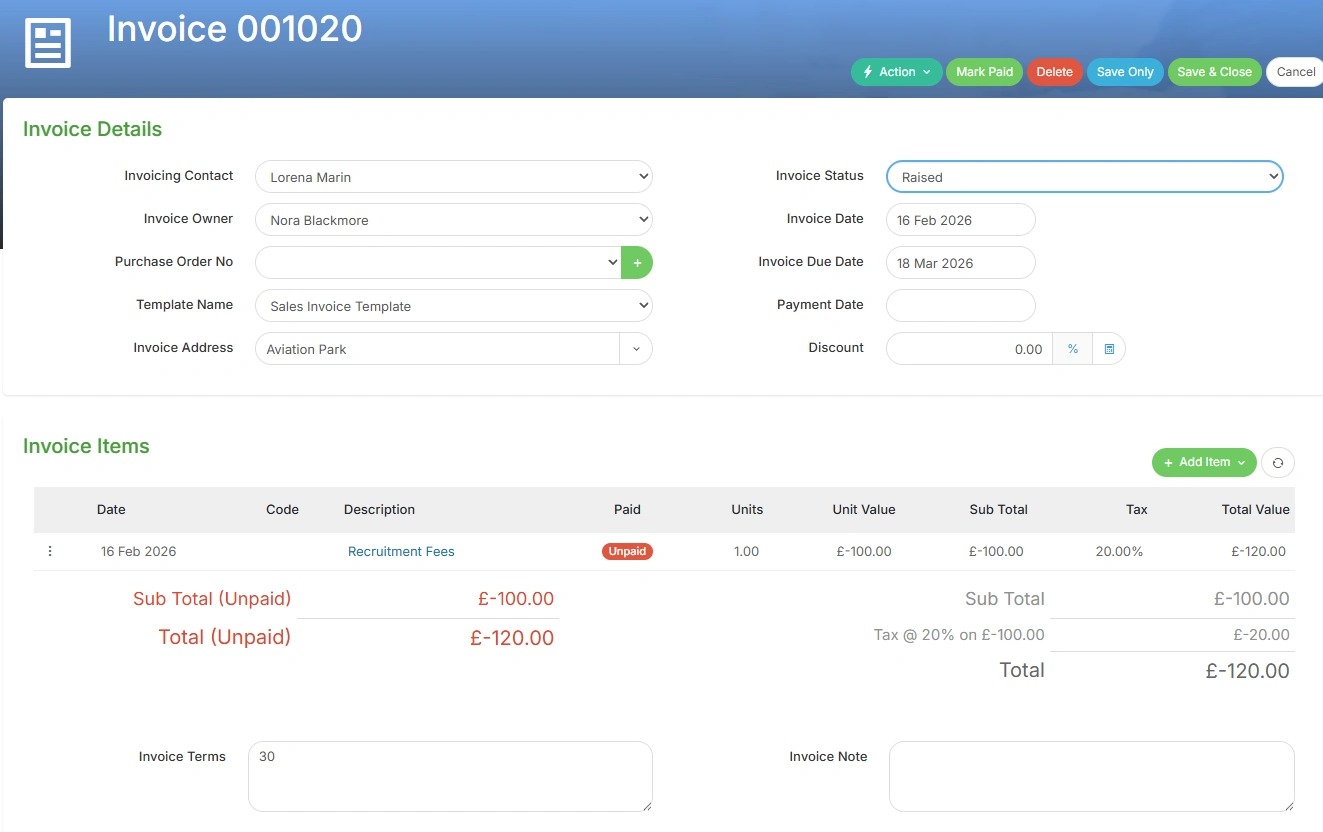
2. We can open the individual invoice by clicking on the Invoice Number.

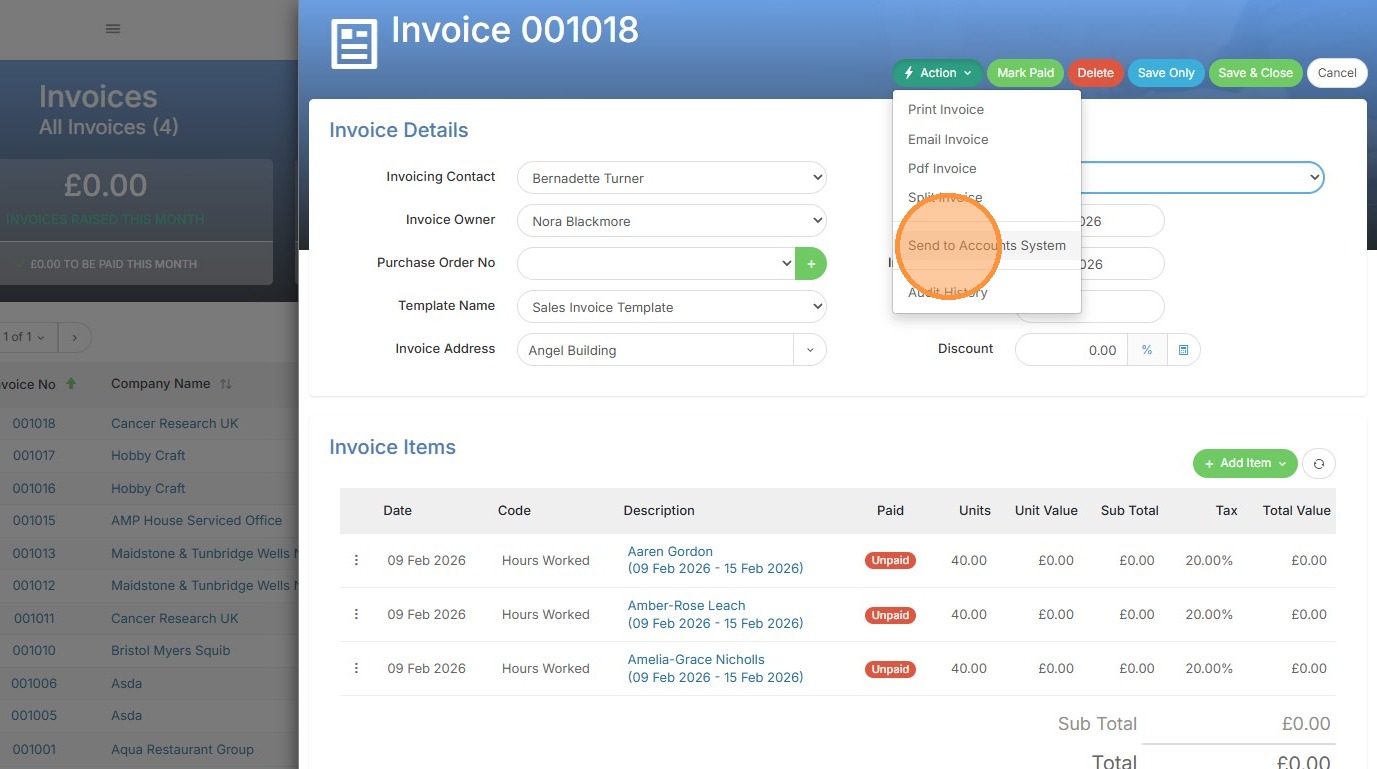
3. Under the Action Menu click "Send to Accounts System".
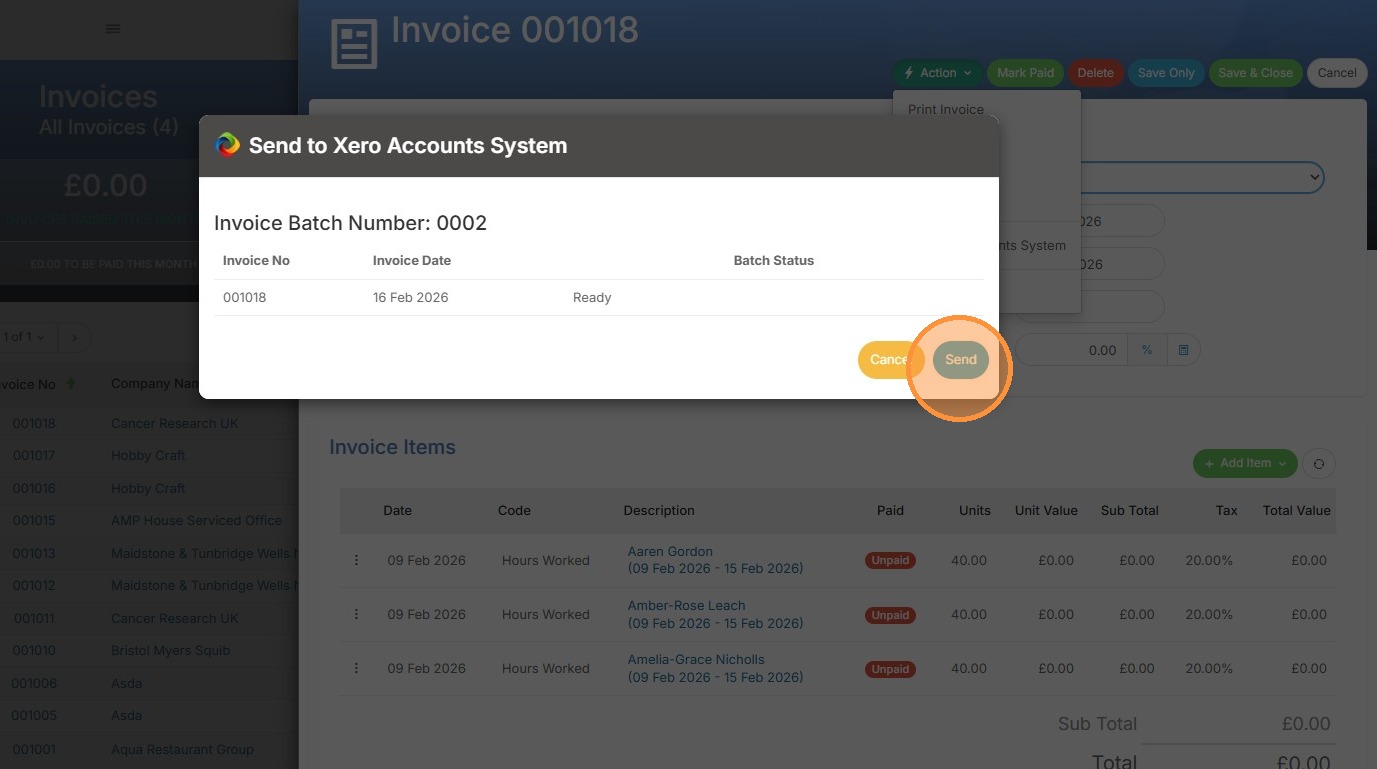
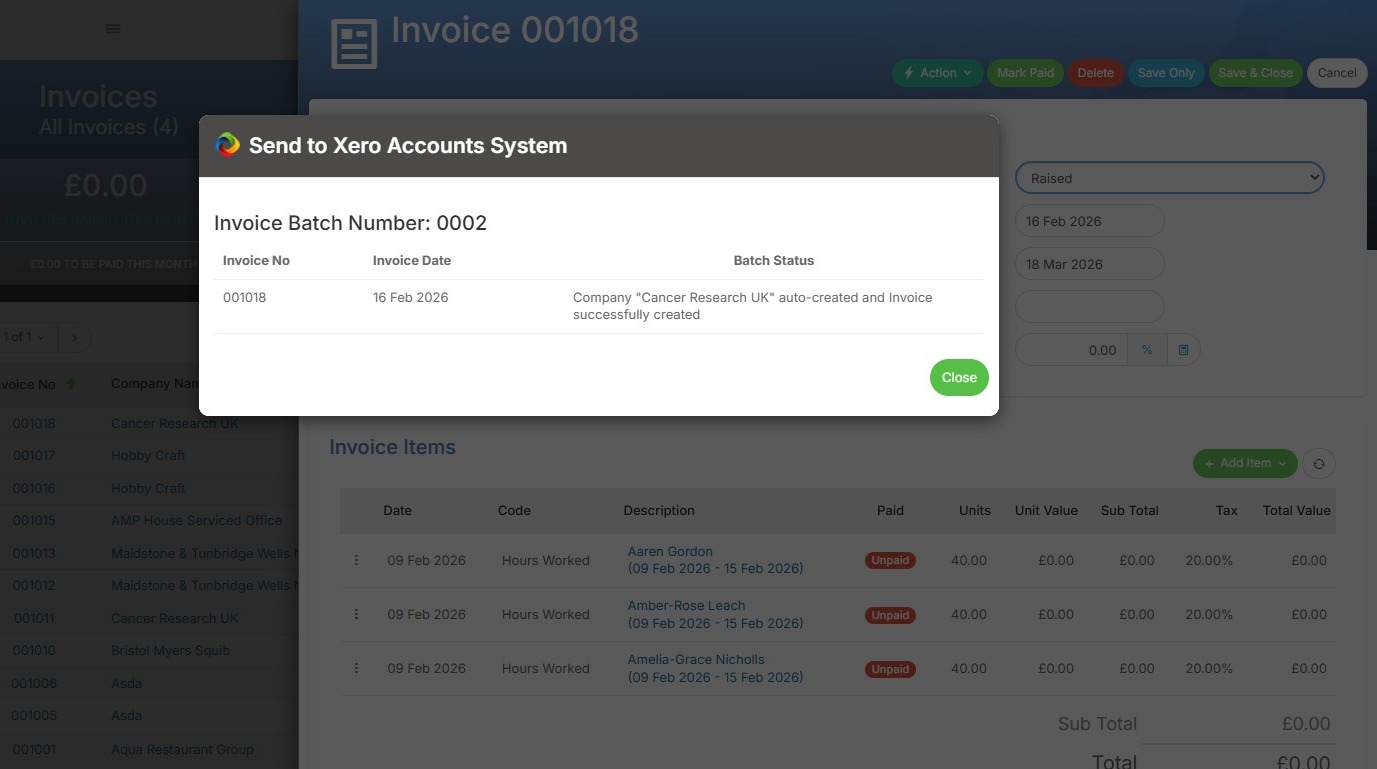
4. The pop up will confirm the details for the invoice we're sending, we just need to click Send.
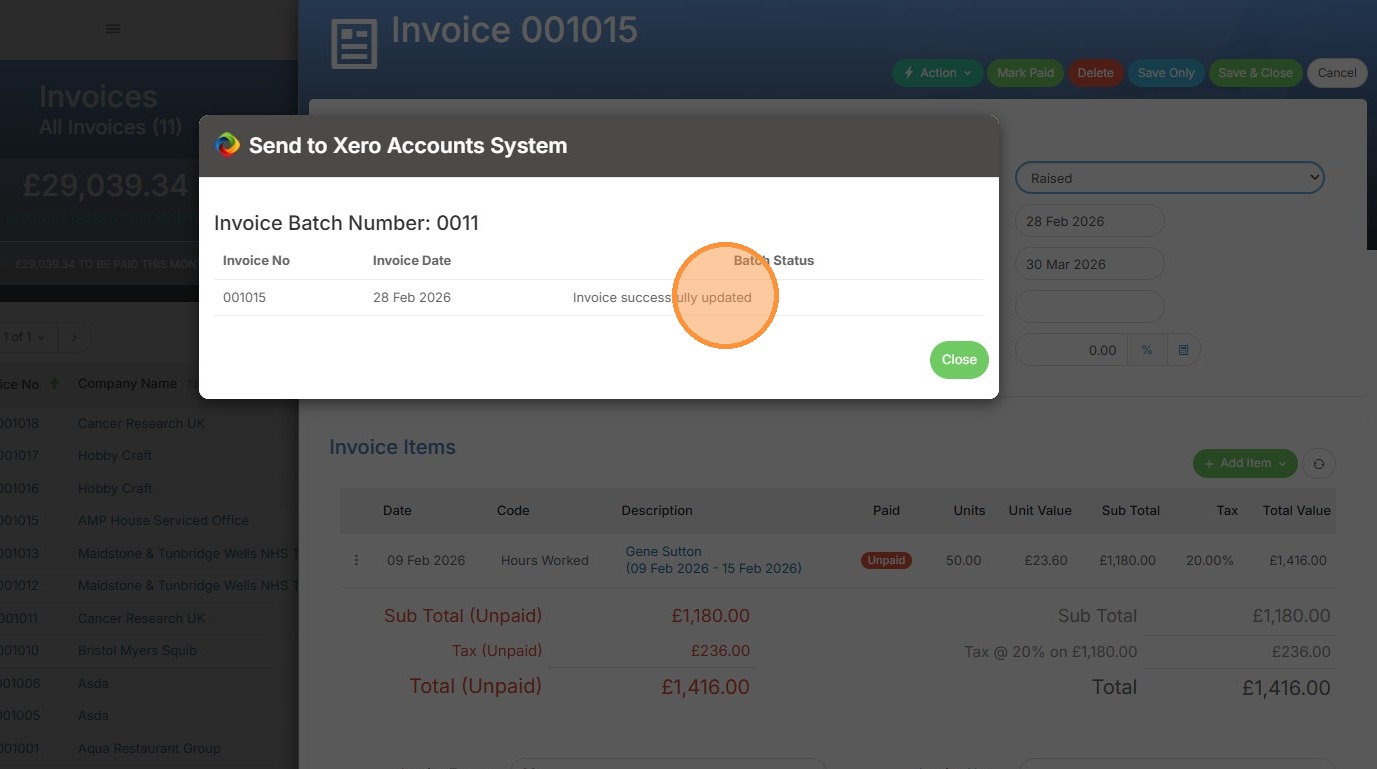
5. Next, a pop-up confirms whether the send was successful. A send may fail if, for example, the company doesn't exist in Xero and your settings prevent new companies from being created during this process.
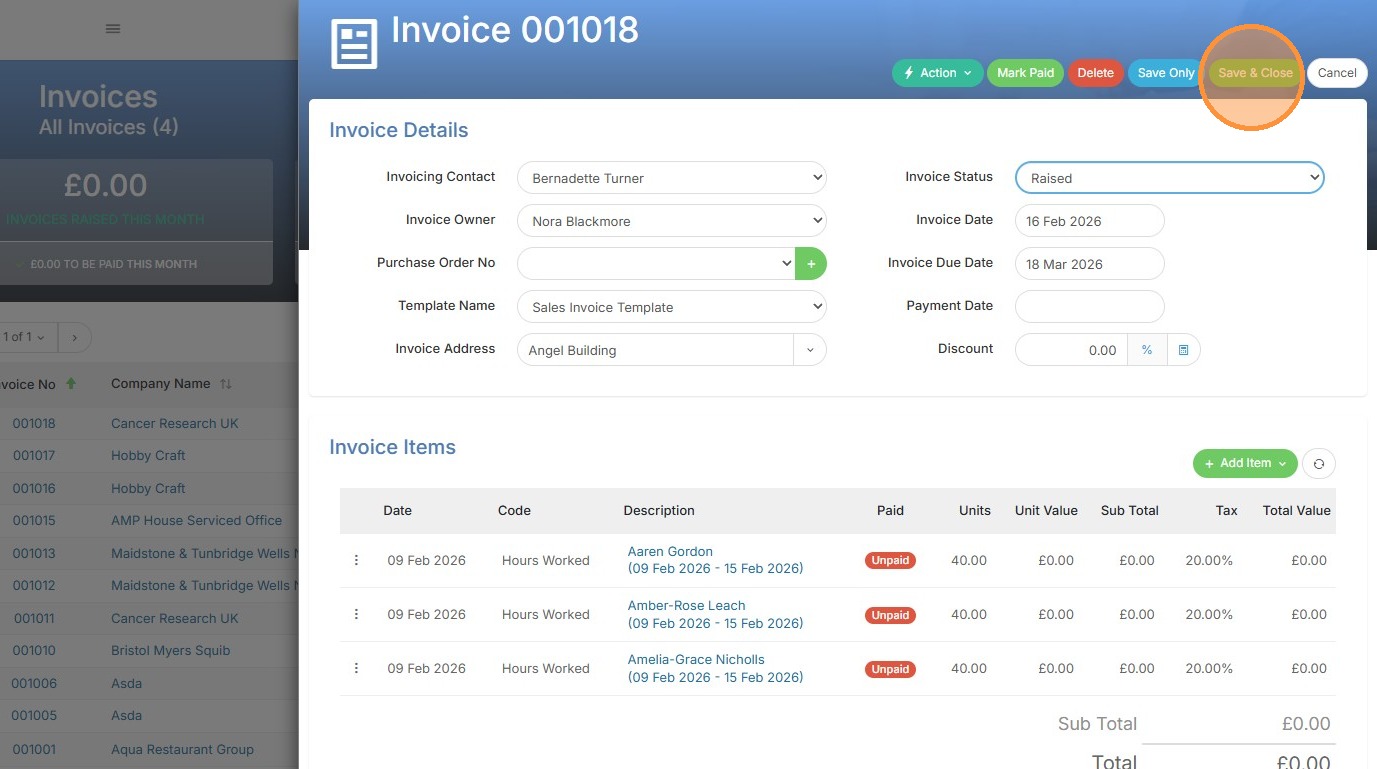
6. You'll be taken back to the Invoice to click Save and Close.
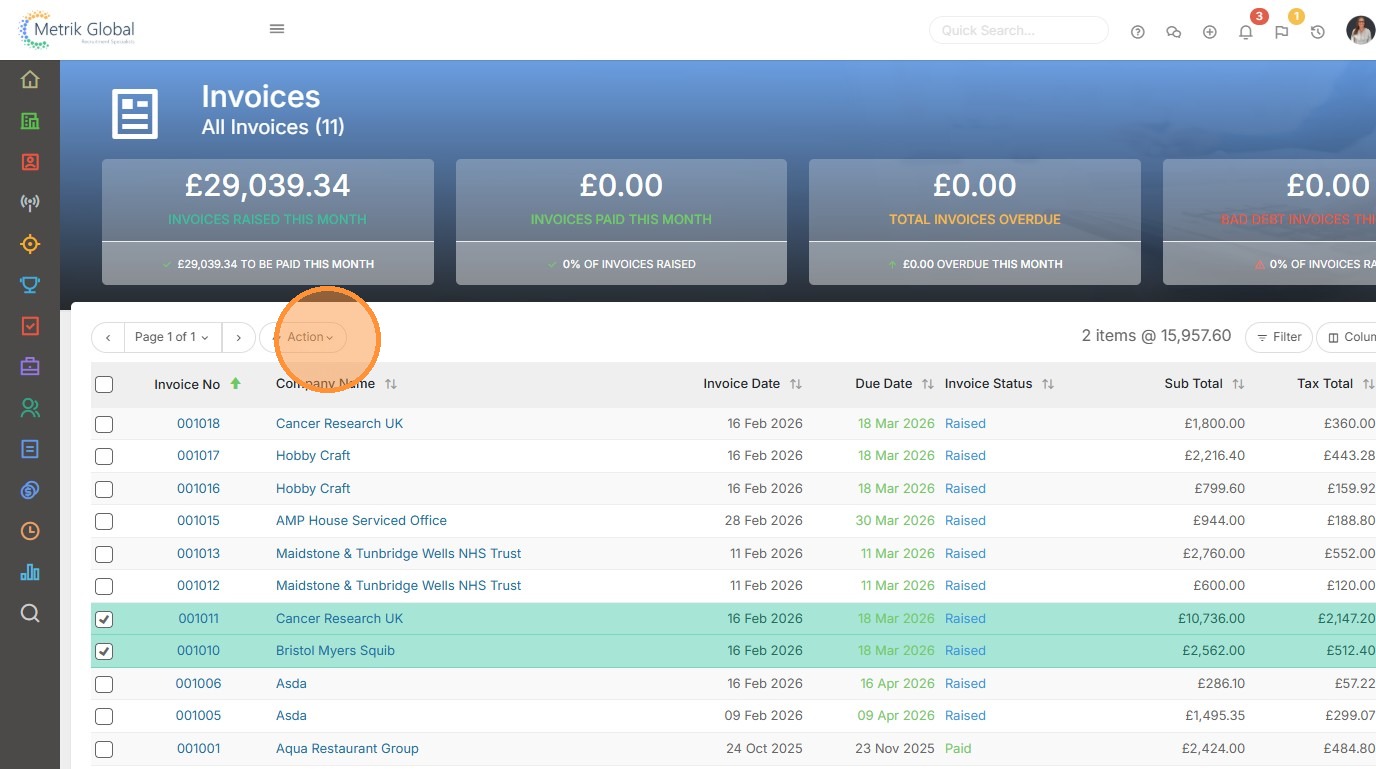
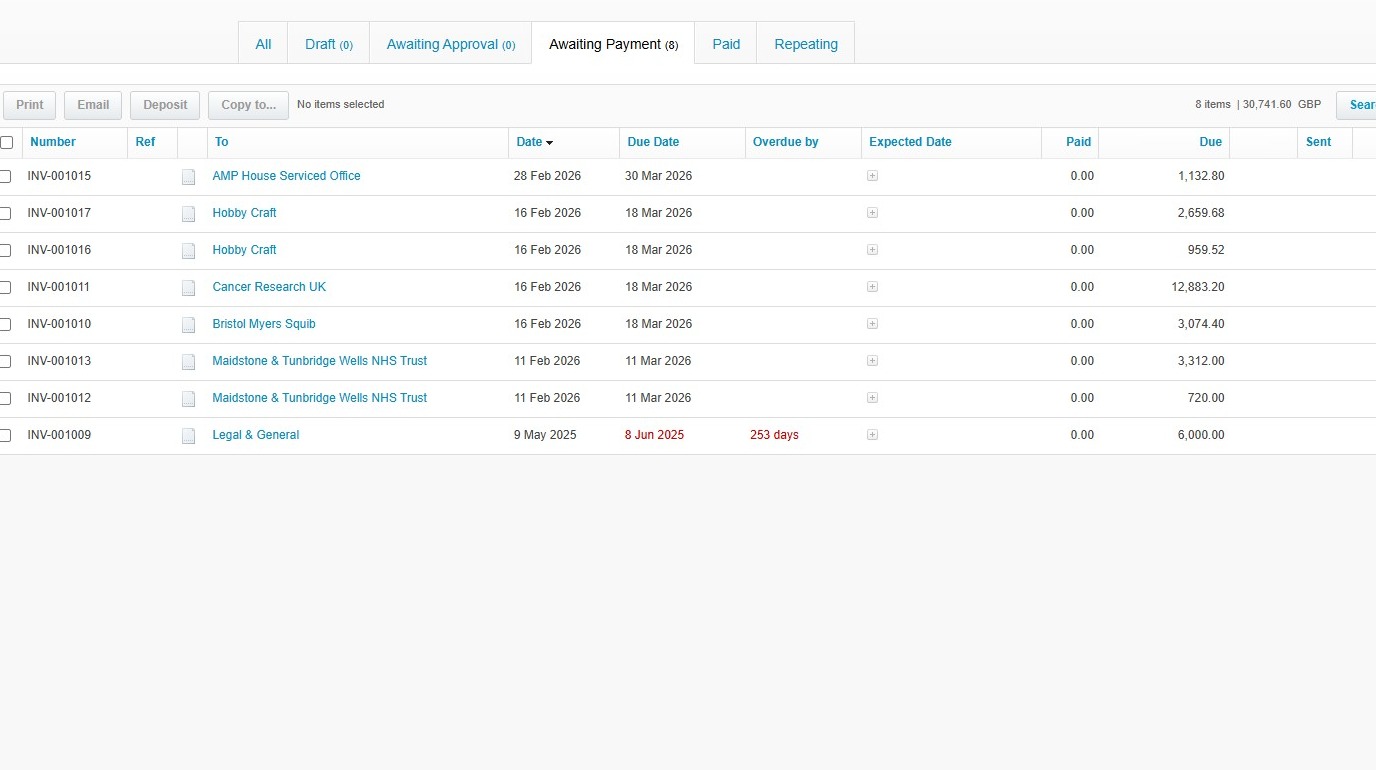
7. To send multiple Invoices to Xero we'll first tick those we want to send before clicking the Action Button.
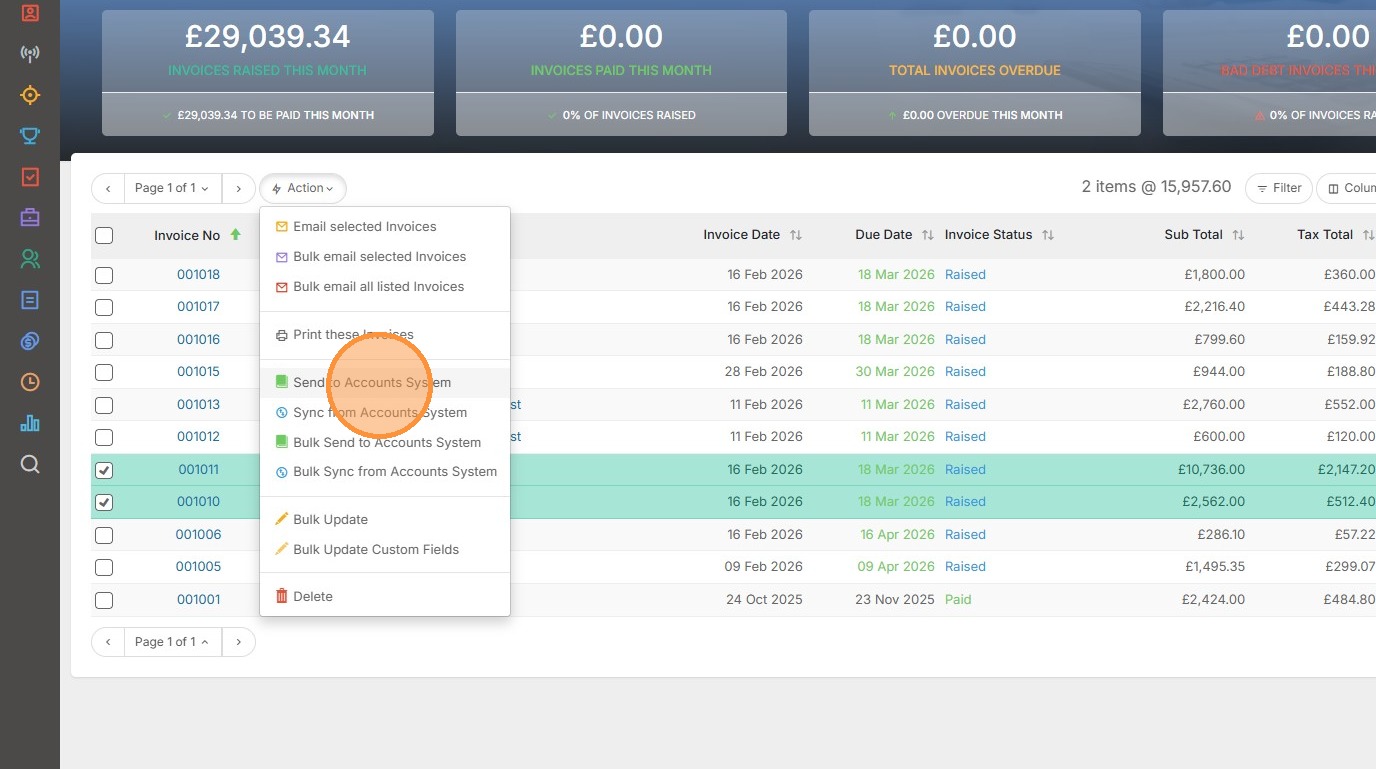
8. We have some options to choose from here to send Invoices to Xero:
Send to Accounts System / Sync from Accounts System - this will send/sync the records with ticks next to them.
Bulk Send to Accounts System / Bulk Sync from Accounts System - this will send/sync records displayed in the view (e.g. you have applied a filter to narrow down the list to a particular company, only those invoices will be sent/synced). When using the bulk option (for either send or sync) you will receive a confirmation box to continue with the action.
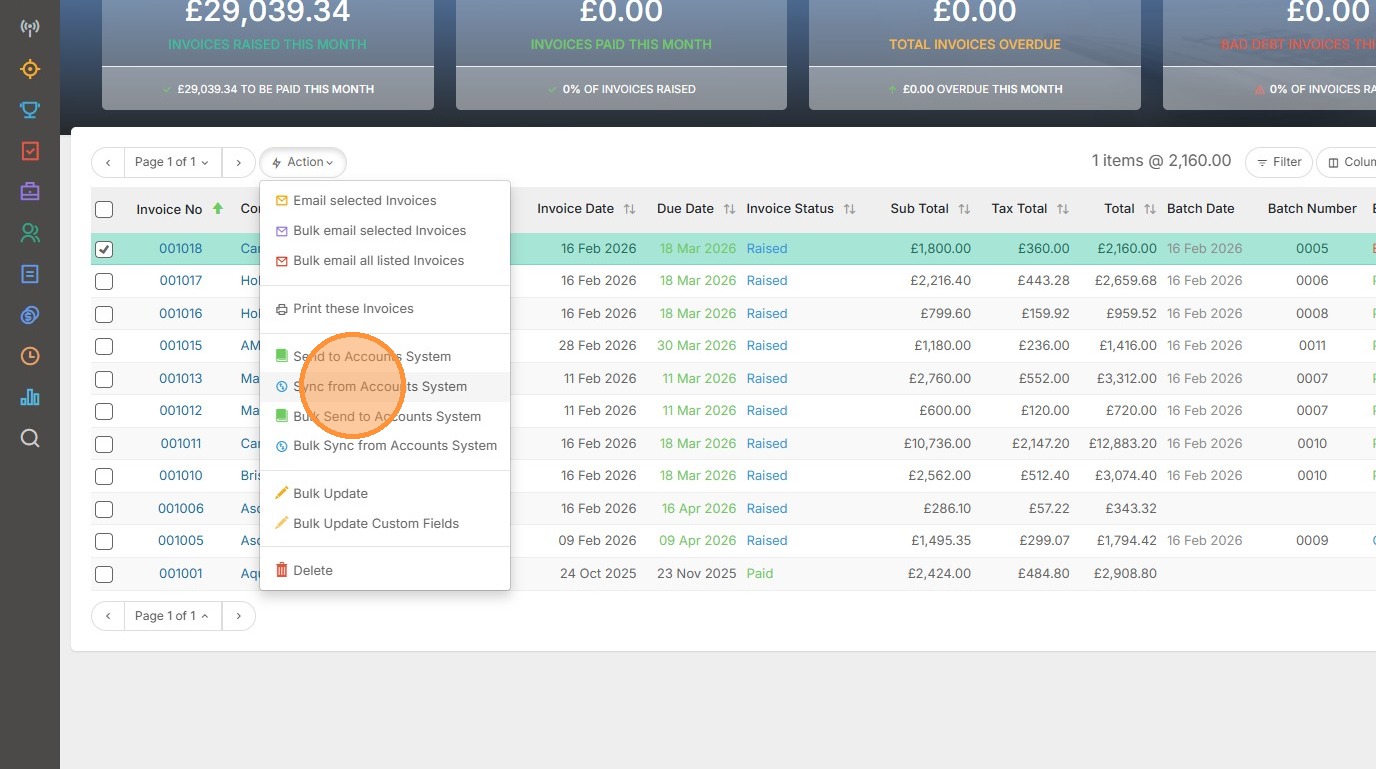
For this example we will click "Send to Accounts System" so that we are only actioning those that have been ticked.
9. As with sending individual invoices we first get a pop up confirming which invoices we plan to send. Click Send to proceed.
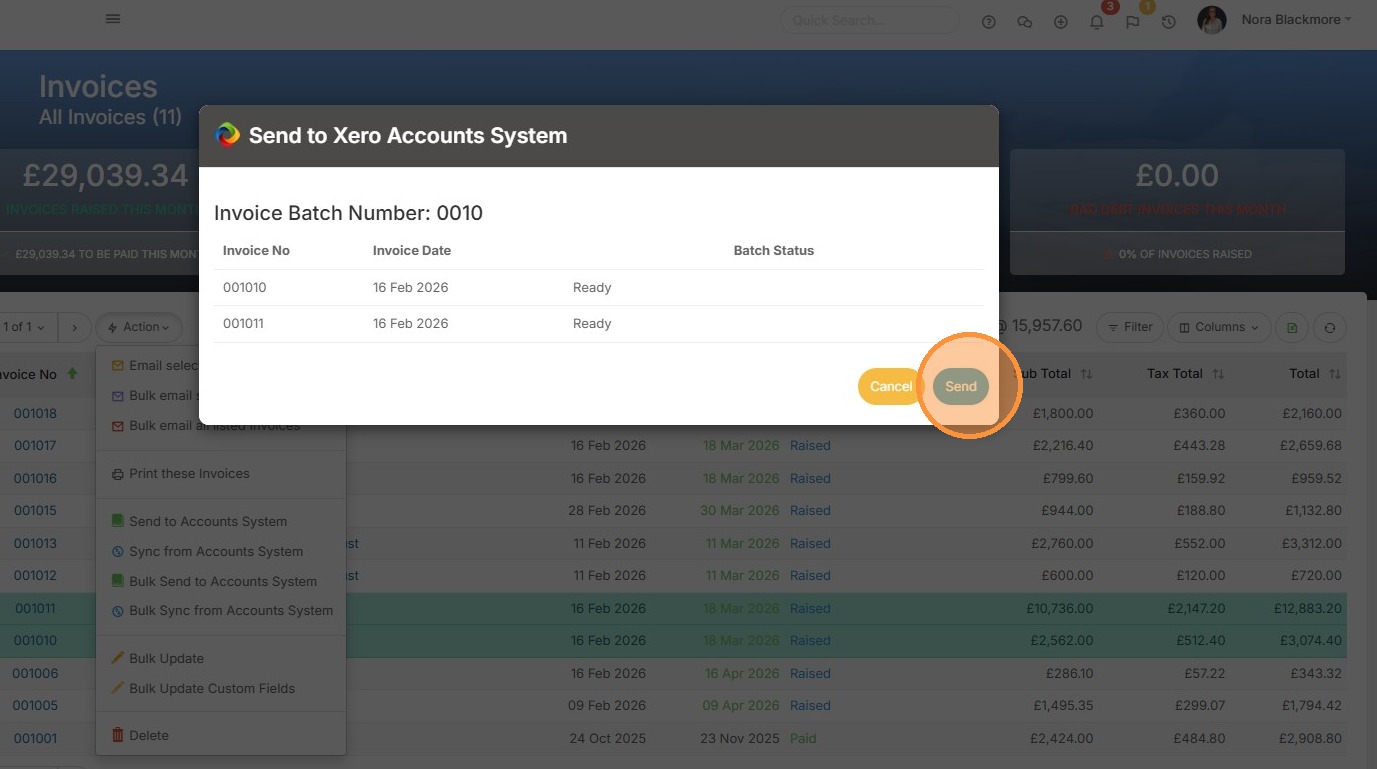
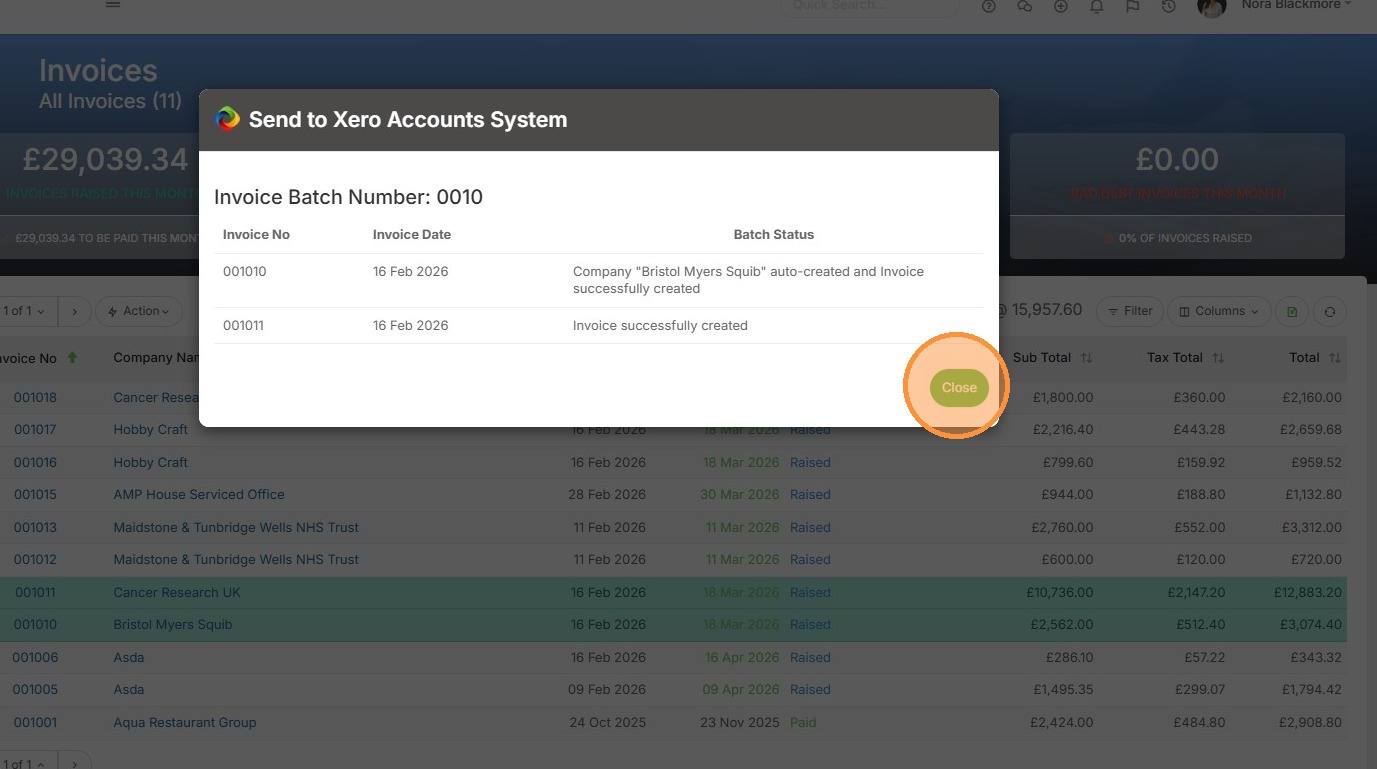
10. We'll get a confirmation as we did with a single invoice.
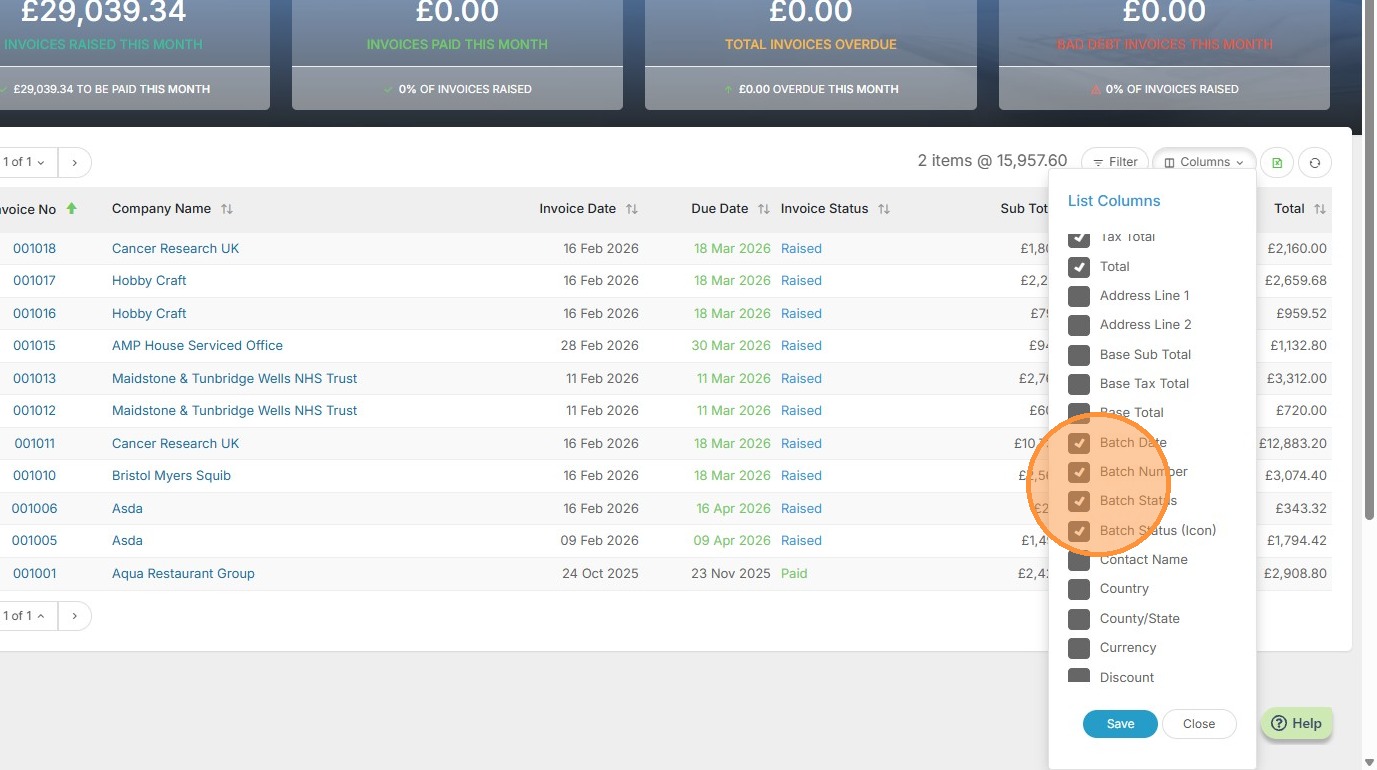
11. Back in Tracker, Invoices area there are a few columns you may wish to add to help you identify invoices that have been sent to Xero. Under the columns menu you can add columns for: Batch Date, Batch Number, Batch Status and Batch Status Icon. Remember to hit Save to add any selected columns.
12. Here we can see those columns added.
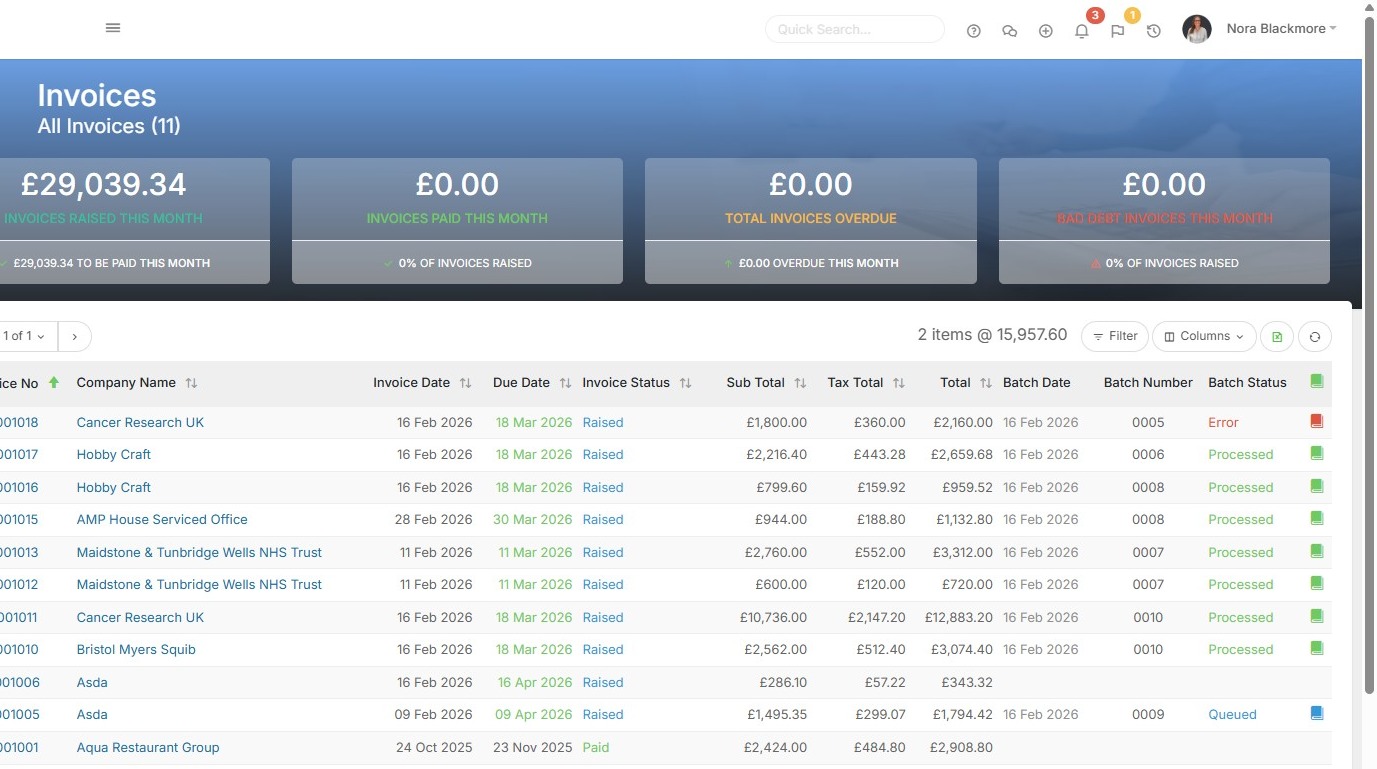
13. Invoices will instantly appear within Xero with the same details as Tracker and if the options for auto-creation are set to Yes then the companies and items will also have been created.
14. Credit Notes are also supported in the Xero integration.
Within Tracker, credit notes are defined as being a negative invoice and can be created in Tracker in the normal way.
15. ### Updating Existing Invoices from Tracker to Xero.
If you make a change to an existing Invoice within Tracker, you can re-send these to Xero and update the invoice directly so there is no need to make a change on both systems. This can include any of the items on the invoice or the status of the invoice, for example if the invoice is paid.
16. ### Updating Invoices from Xero to Tracker
Although the details of the invoices should always be updated in Tracker, not Xero, it is often the case that linked bank accounts to Xero mark the invoices as paid as this link looks for the invoice reference and amounts to reconcile payments against invoices.
We therefore provide the ability to Sync from the Accounts System which will look up the status of invoices within Xero and update them accordingly in Tracker allowing you to syncronize paid invoices between the two systems.
Within Tracker, select one or more Invoices then select the appropriate Sync option from the bulk Action menu.
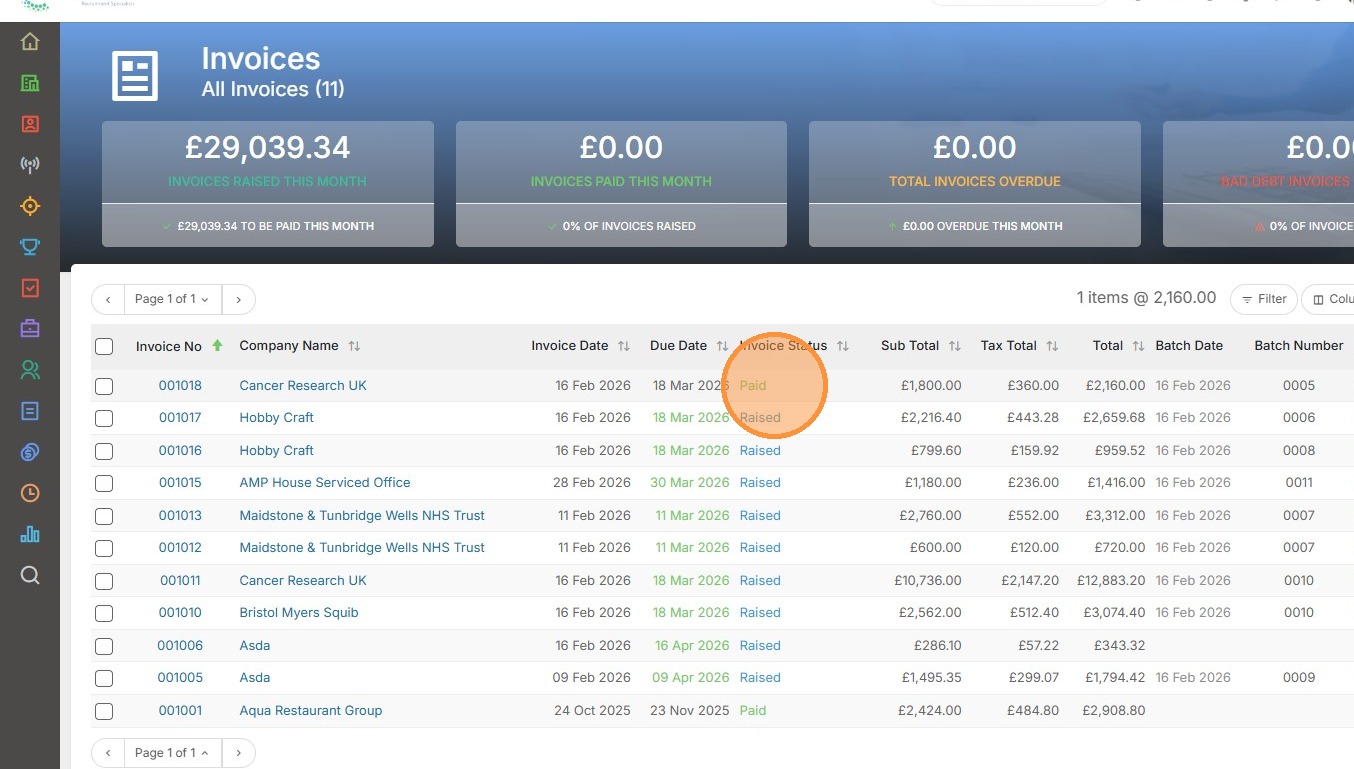
17. Here we see this invoice has been updated to "Paid".
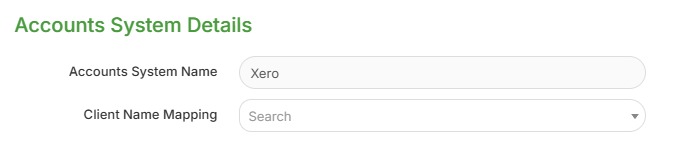
18. Confirming Client Reference to Xero
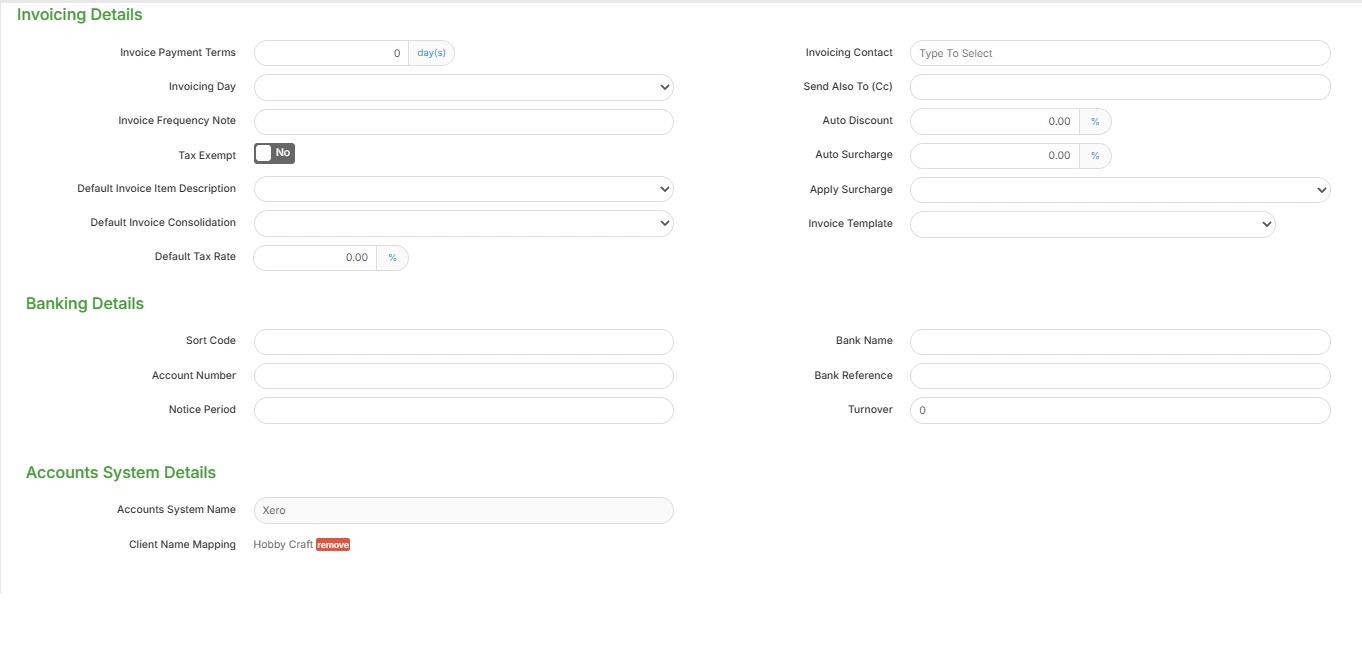
To confirm the Company record link in Tracker, or to manually select the Xero Contacts record to link Tracker to, open the Company record in Tracker and go to the Banking Details block > Accounts System Details area.
Here you will see the details of the Accounts System and the linked record which will be automatically linked for new records created in Xero by Tracker
19. If there is no linked record you can search and select it from the list provided.