This lesson explains how to use the Gmail Addin.
1. Once you have downloaded the Gmail Addin from this lesson, you will see the Tracker icon on the righthand side of your Gmail screen.
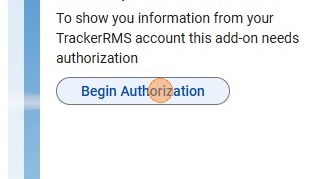
2. Click "Begin Authorization" if this is the first time you are using the addin (you will only have to do this part once).
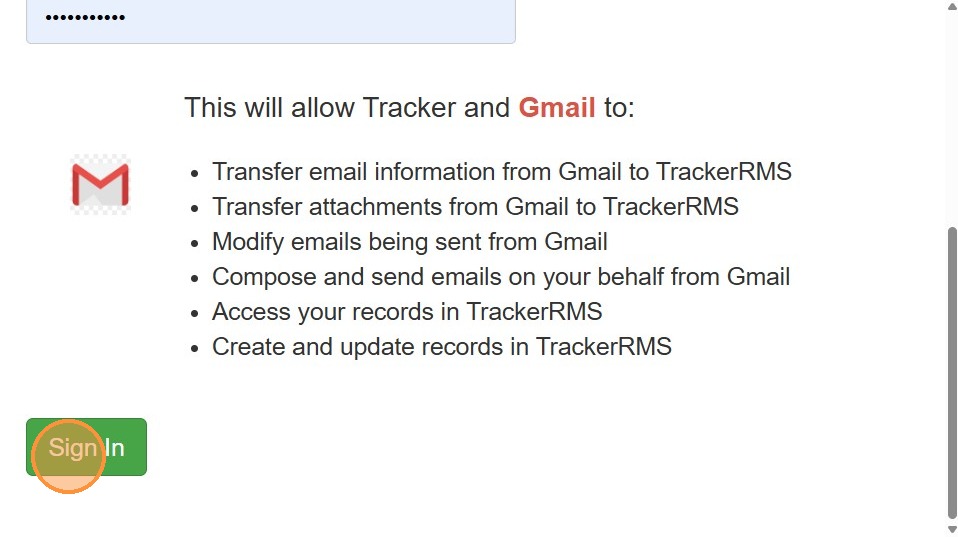
3. Type in your Tracker login details (username and password).
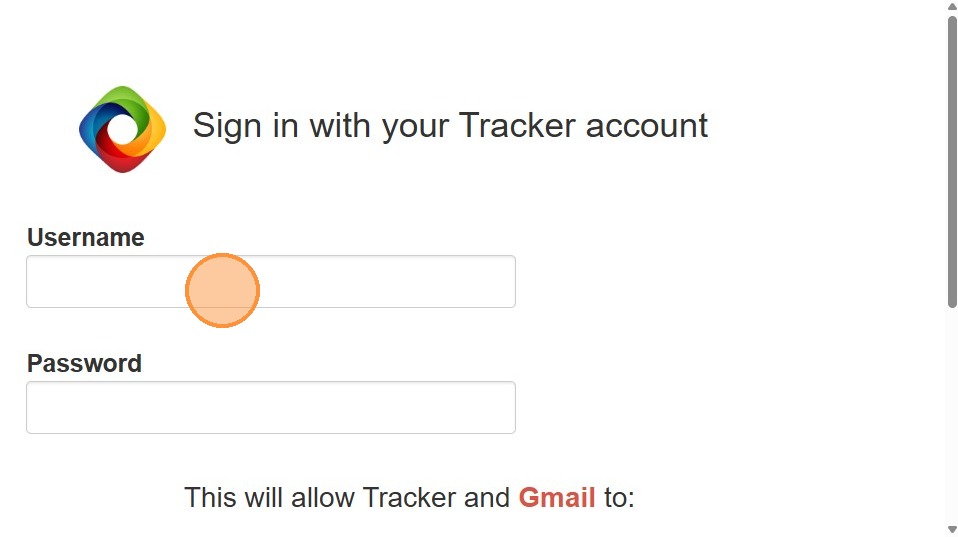
4. Click "Sign In"
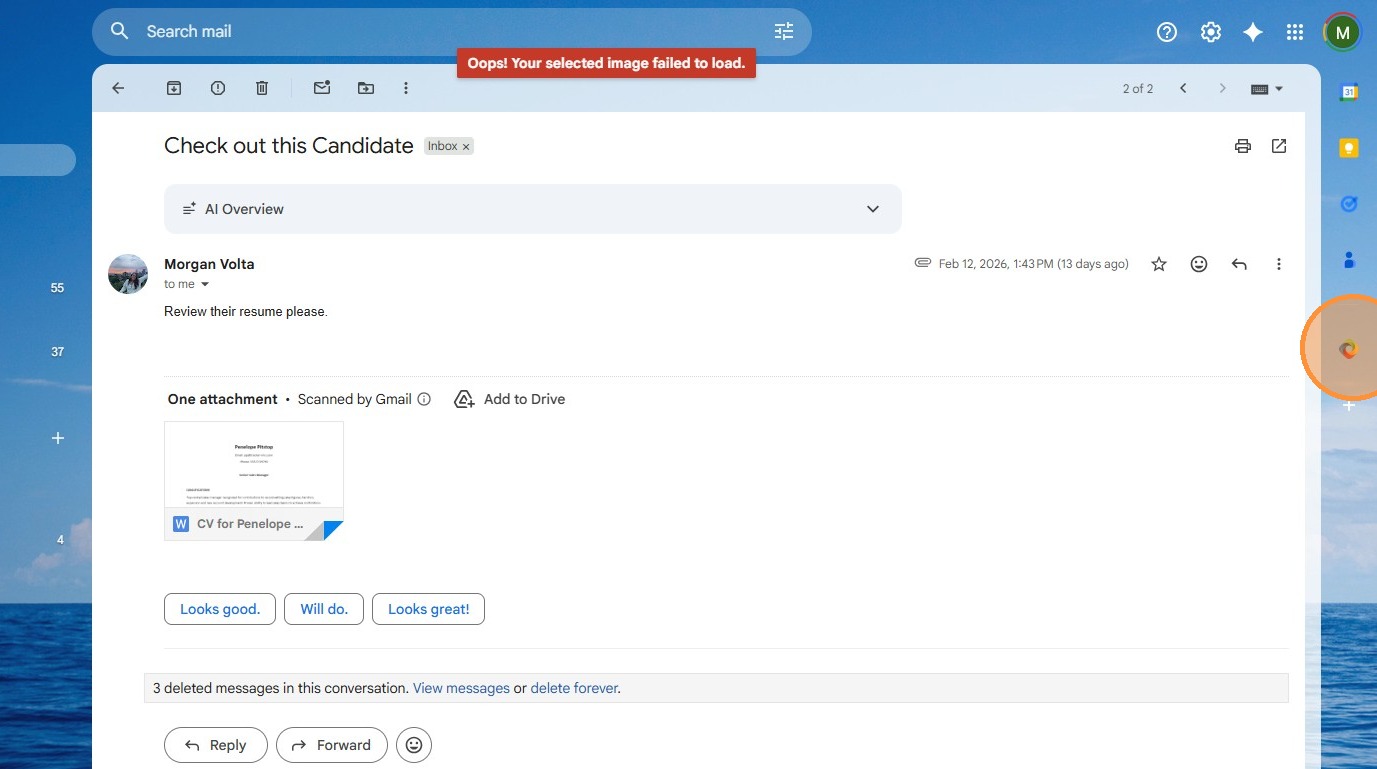
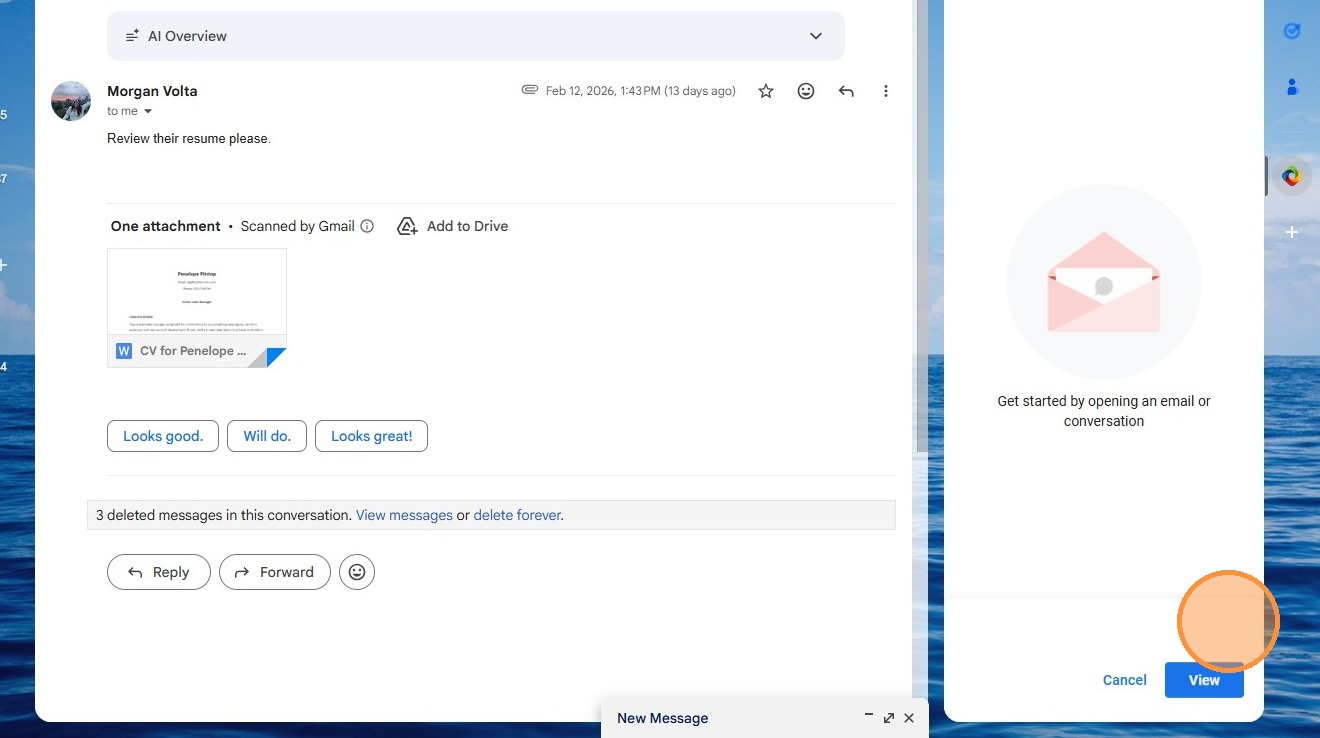
5. Now you can get started by clicking on an email and hitting "View".
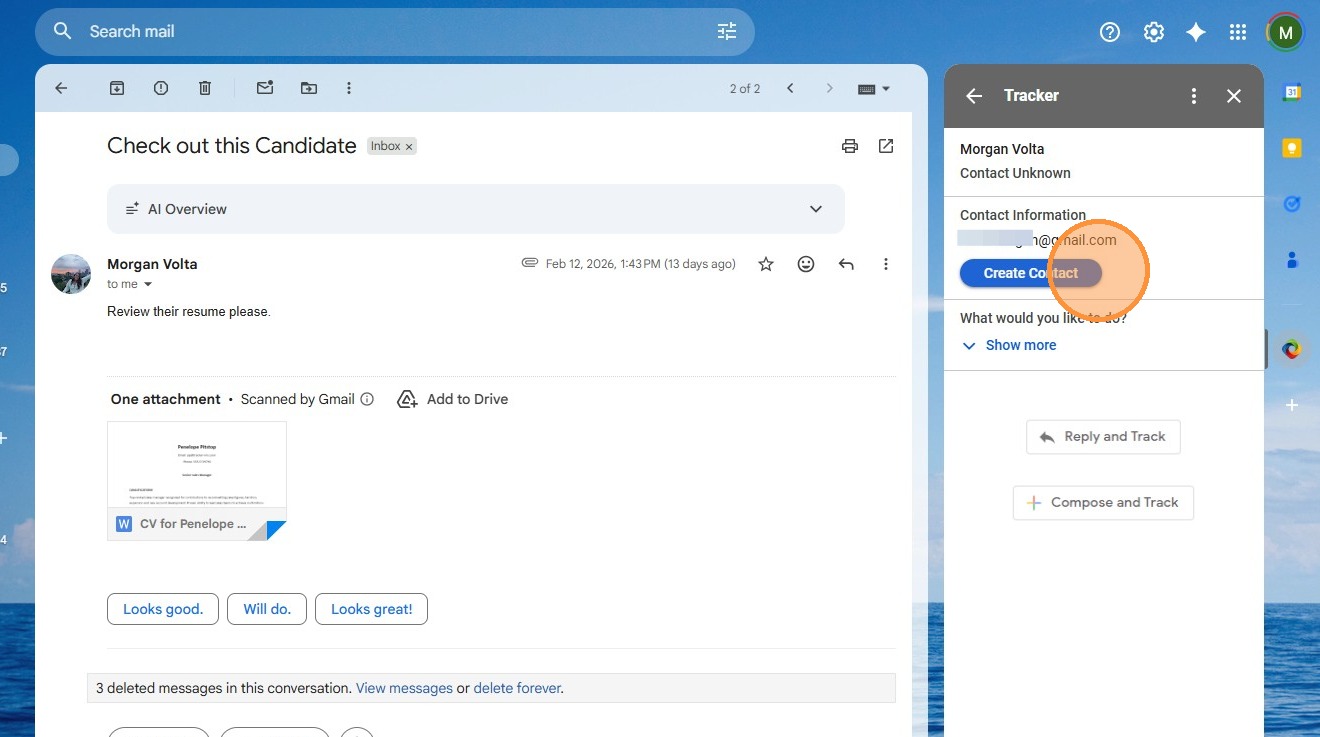
6. In this case, I can create a new contact record based on this email a client sent with a candidate's resume attached.
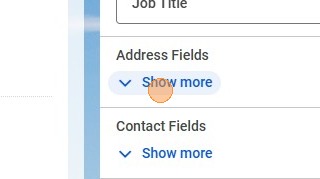
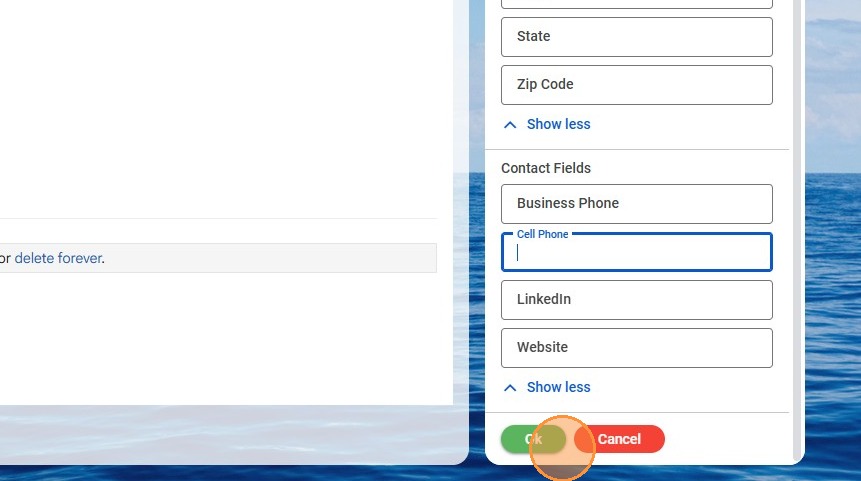
7. If any of the details for this contact didn't auto-fill, you can easily type them in. Name, Company, Job Title are at the top - but you can add address and other contact details by clicking the "Show More" options.
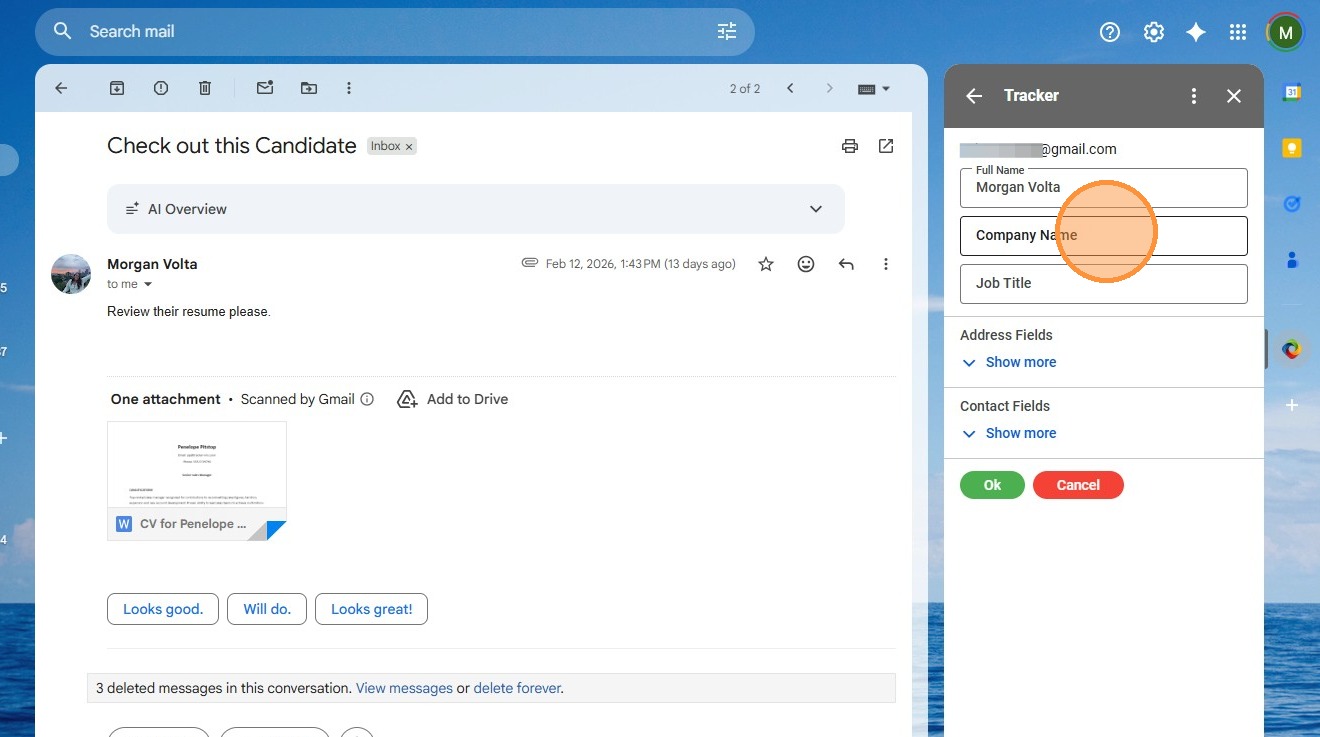
8. Click "Show more"
9. Click Ok to add the contact record.
10. You can also simply hit "Reply and Track". Keep in mind the email will not go into Tracker if the record does not exist yet.
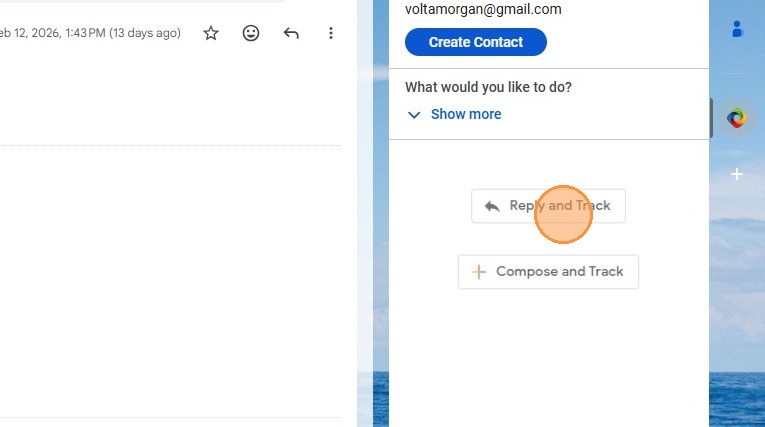
11. Click "Show more" if you want to explore other options.
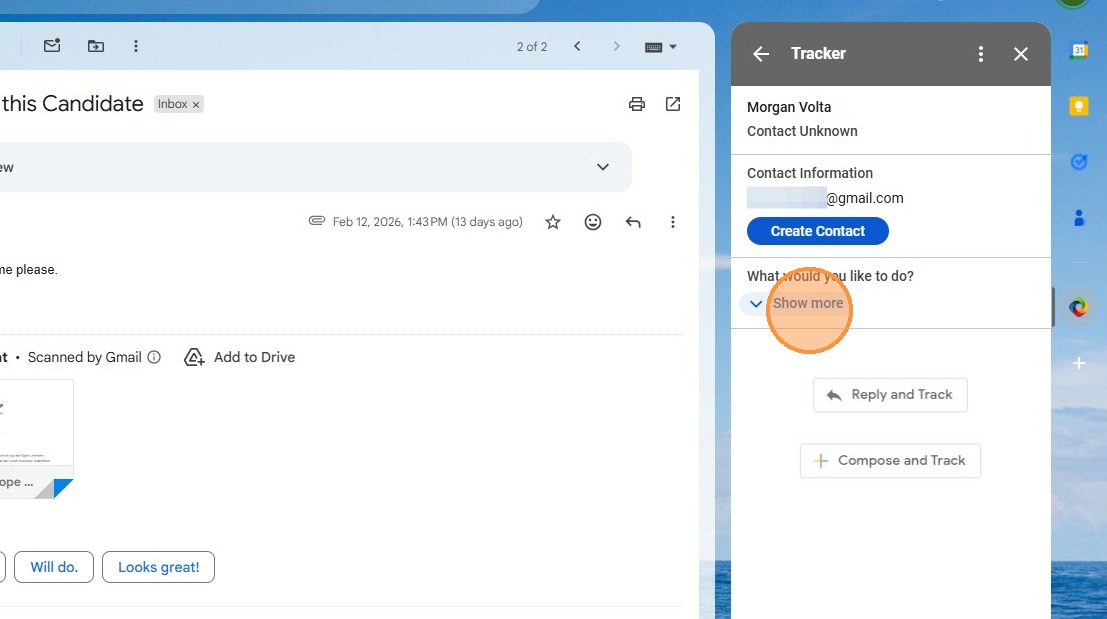
12. Click "Create Opportunity" to create a job record.
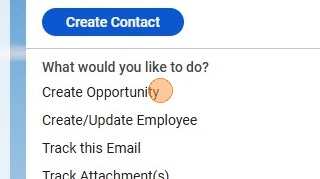
13. Create/Update Employee (In my system, candidate records are called "employees") - this will create a candidate record if there is a resume attached to the email.
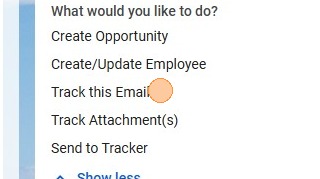
Track this Email will allow you to send this email into any record in Tracker (it will show in the activities section of that record). Job, Contact, Client, Candidate...etc.
Track Attachments will add any attachments from the email into any record of your choosing (job, candidate etc.).
Send to Tracker will add the entire email into the existing record.
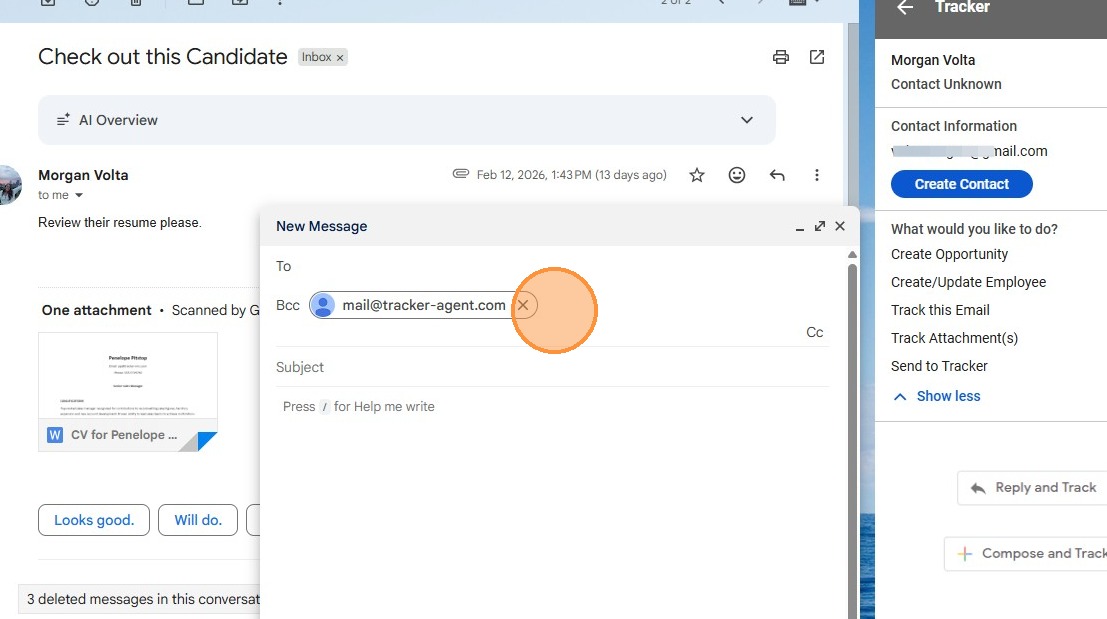
14. Lastly, Compose and Track will allow you to open a new email, which will then be automatically added into Tracker.
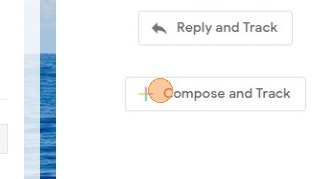
15. You'll notice when you click that option it will have Tracker's mail agent automatically bcc'd.